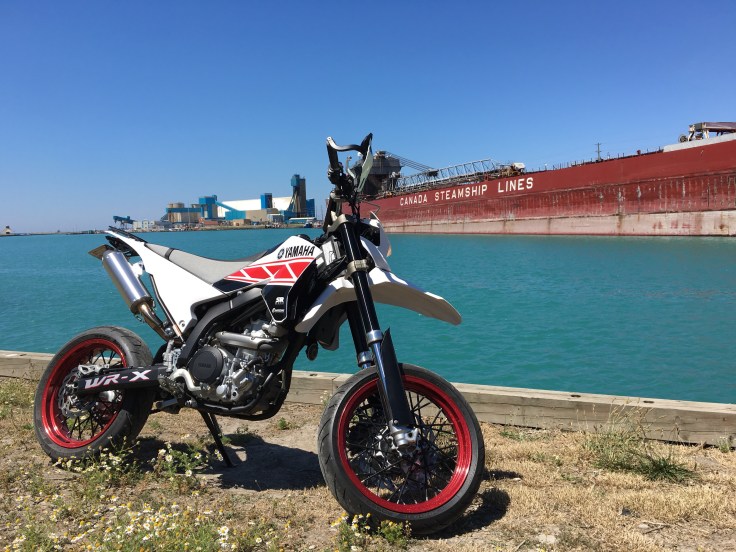
Most motorcycles on the road today have a chain final drive, driven by 2 sprockets which determine the motorcycle’s final drive ratio. With time, these parts wear down and cause your bike to lose of power at the rear wheel and run less smoothly. The good news: changing your chain and sprockets is a relatively easy DIY which we will demonstrate on our project Yamaha WR250X. Read on to learn how.
So, you’ve determined (or been advised) that your bike needs a new chain and sprockets. There are 3 main reasons one would undertake this project:
- The chain has worn out: this can be assessed by rotating the chain and pressing up on it at its loosest point to see if it kinks (when lubricated). All links in a well-maintained chain should articulate smoothly. Other reasons the chain would require replacement are if the chain is rusted or as preventative maintenance on an older chain.
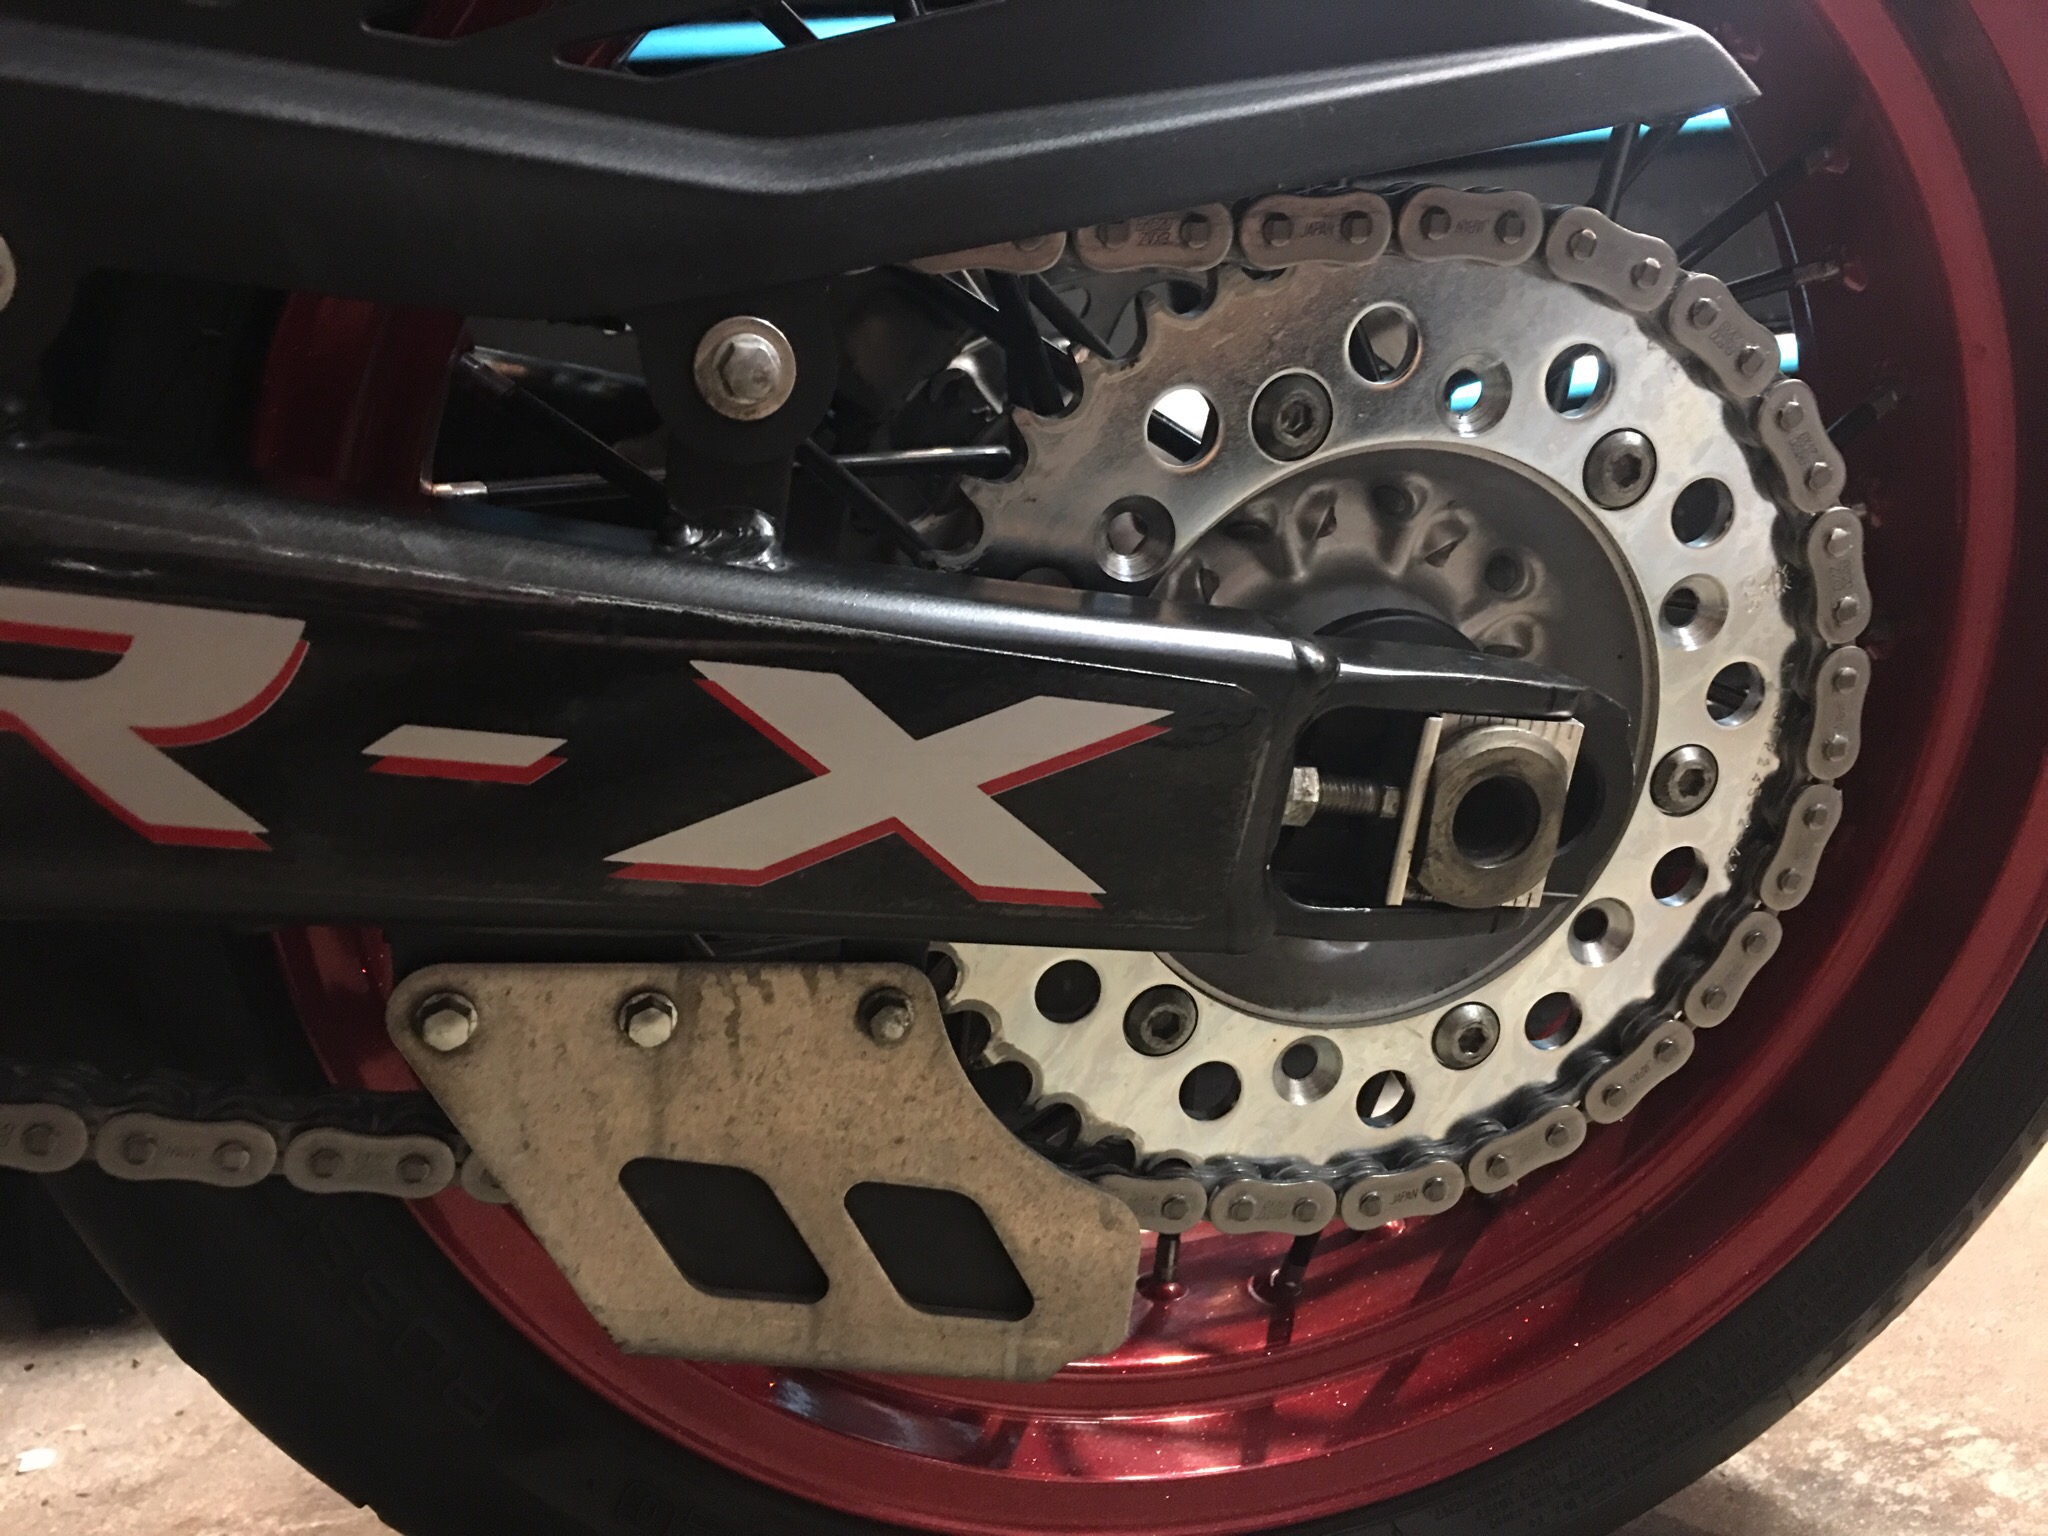
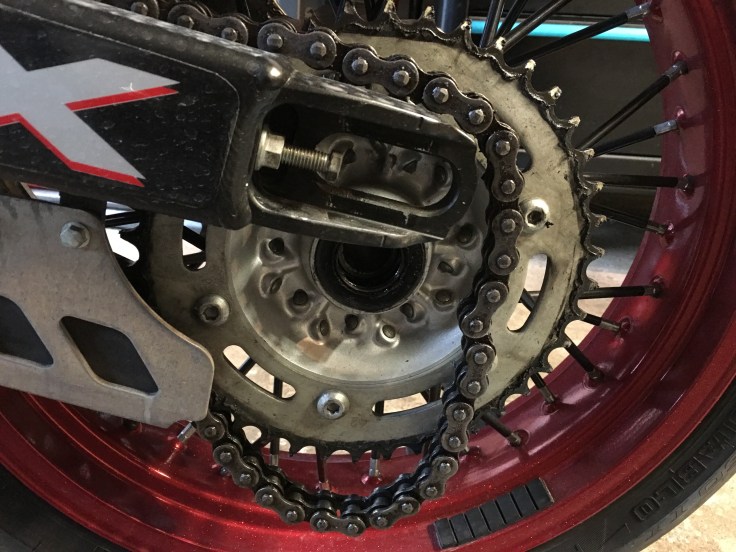
- The sprockets are worn out: the easiest way to diagnose this is to look at the shape of the teeth (especially on the rear sprocket). If they are square and even, they are OK whereas if they resemble curved shark fins, they have begun to wear out (see images further below in sprocket replacement section)
- You are re-gearing the bike: although reasons for changing the final drive ratio is a separate topic unto itself, one may elect to change the entire assembly (chain, front and rear sprocket) at once. A handy ressource for re-gearing calculations is gearingcommander.com which will help caculate the effect of changing everything from chain length to tire size as it relates to speed and RPM.
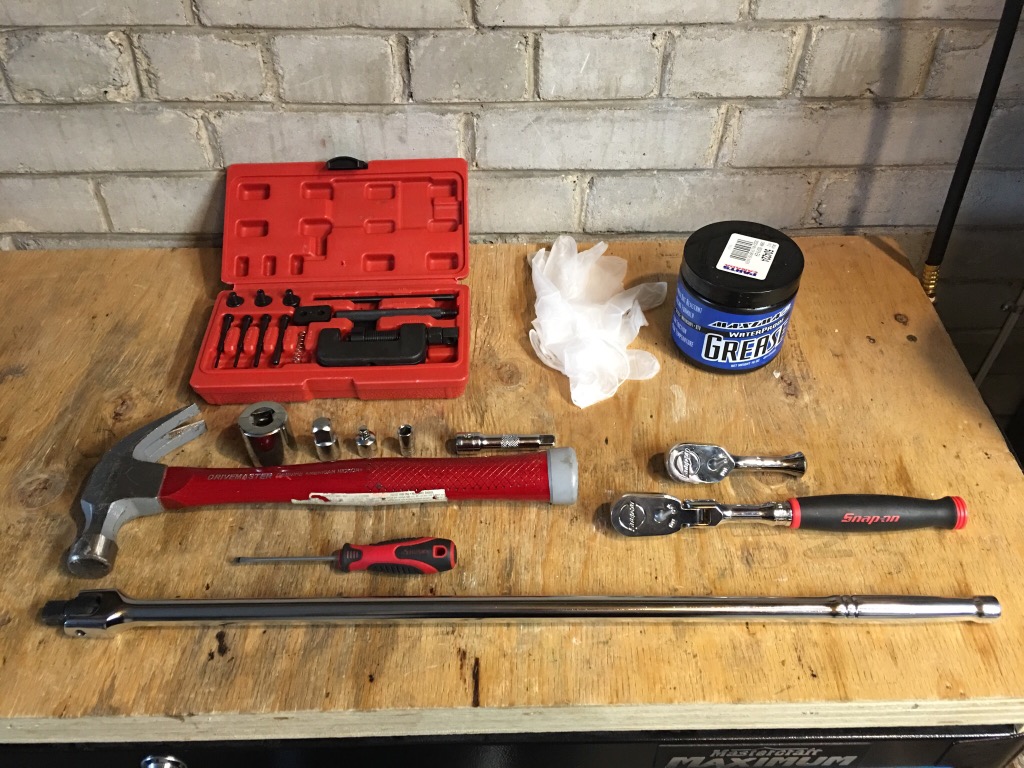
First, let’s start with the tools you will need:
The chain on your motorcycle works in tandem with the sprockets to form your drivetrain. Although it’s possible to replace any of the components individually, it’s best to do all 3 parts at the same time to ensure that chain and cogs mesh properly. Changing any one component of a warn drivetrain may cause premature wear and should be avoided whenever possible.
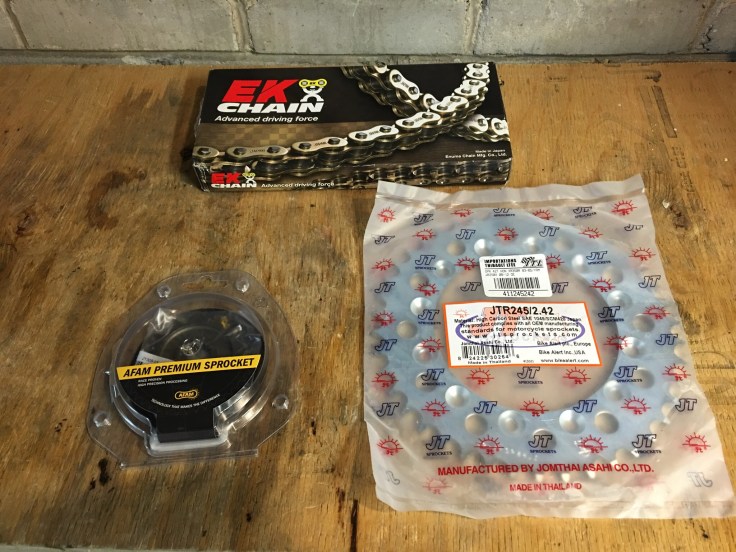
Parts you will need:
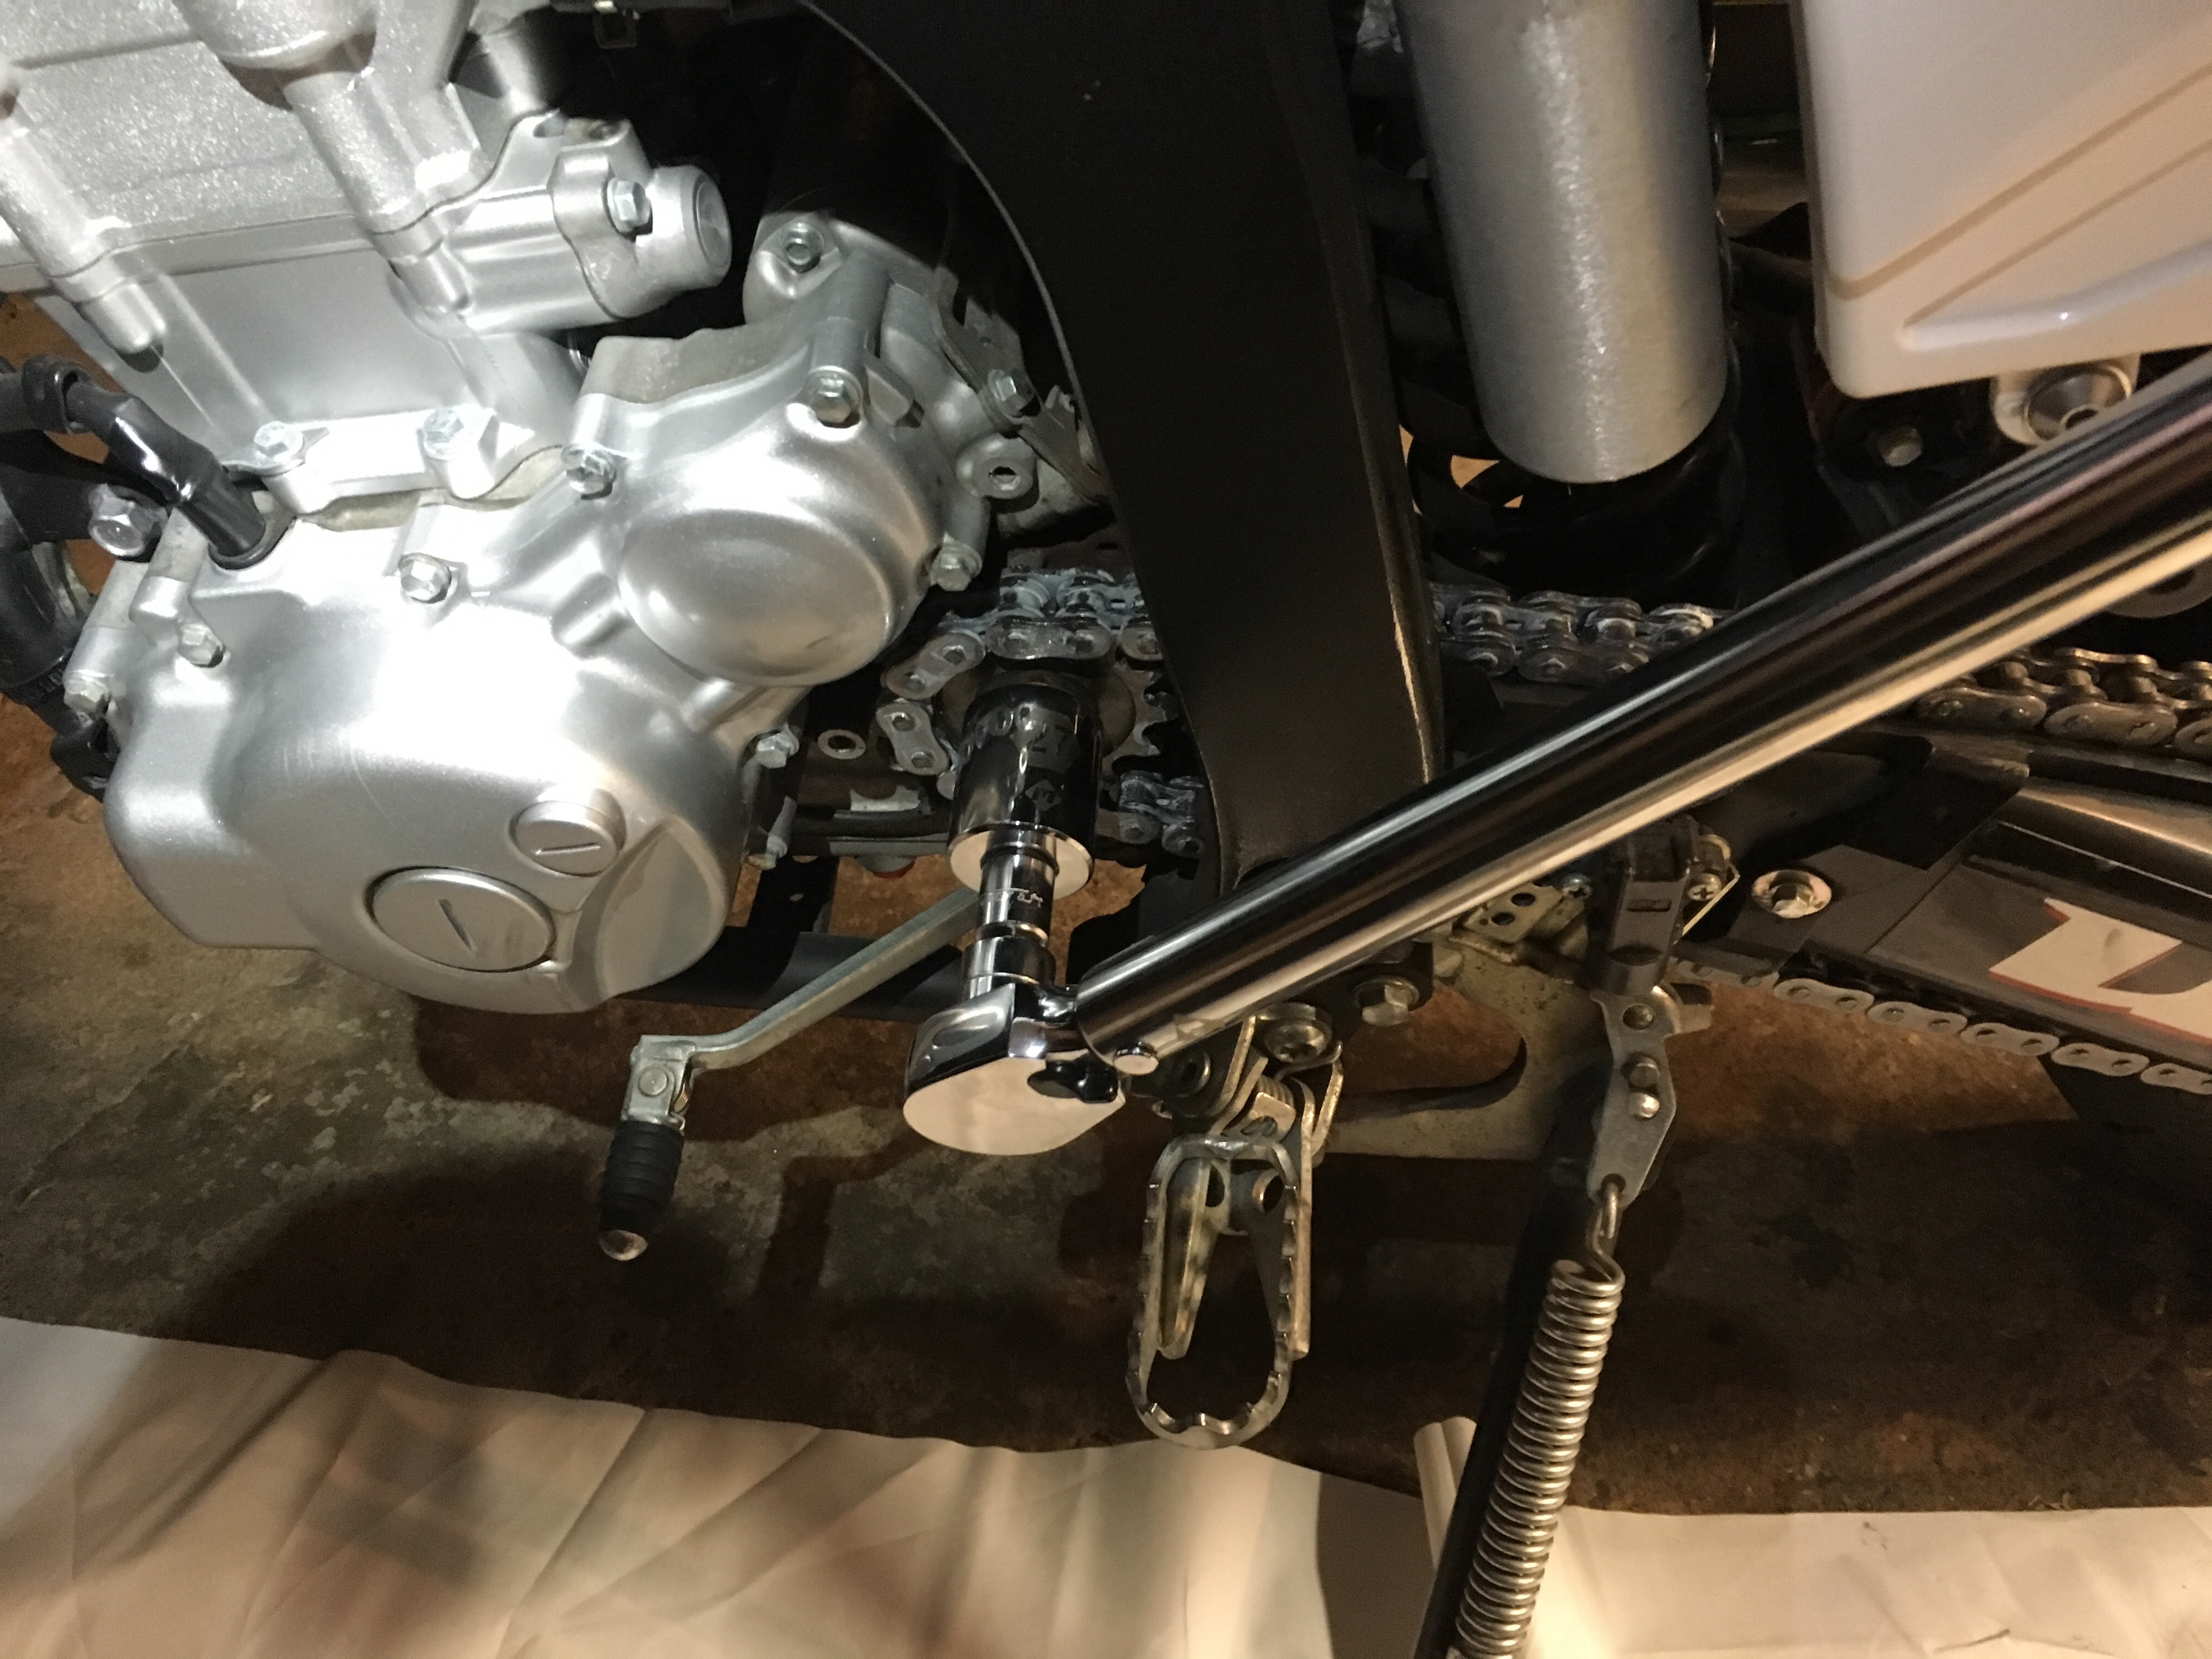
Step 1: With your bike on its kickstand, loosen the front sprocket. On most bikes, this will require the removal of the sprocket cover which is typically held in place by a few bolts. Removal of the actual front sprocket however can be a tricky proposition. Being a highly stressed part (after all, this sprocket’s job is to relay up to 200HP from the motor to the chain!), OEMs go through a great deal of trouble to ensure that the sprocket stays firmly in place and this sometimes means a) high torque values and/or b) secondary restraint mechanisms. In the case of the former, putting the bike in gear and having a friend lock the rear wheel with the brake is the best way to allow the requisite torque to be applied so you can break the nut free with a cheater bar. As for the latter, your bike may have a cotter pin or crush nut which has to be deformed, prior to removing the locking nut that holds the sprocket in place.

On certain bikes, the drive shaft is slotted or threaded which is yet another way to ensure the drive sprocket stays firmly in place. Take note of this before removing the sprocket later on so that you’re familiar with the proper installation of the part.

Step 2: Before putting your bike on a rear stand, break the rear axle nut loose. If your bike happens to have a single-sided swingarm, the procedure can be tricky as the wheel is usually held on by a single (large) nut that’s torqued to a really high value. For any case of rear-wheel-nut stubborn-ness, a handy trick is to let some air out of the rear tire or even deflate it completely. Applying the rear brake should then be enough to break the nut loose, without the wheel spinning. Having a friend/significant other around to help is always welcome.
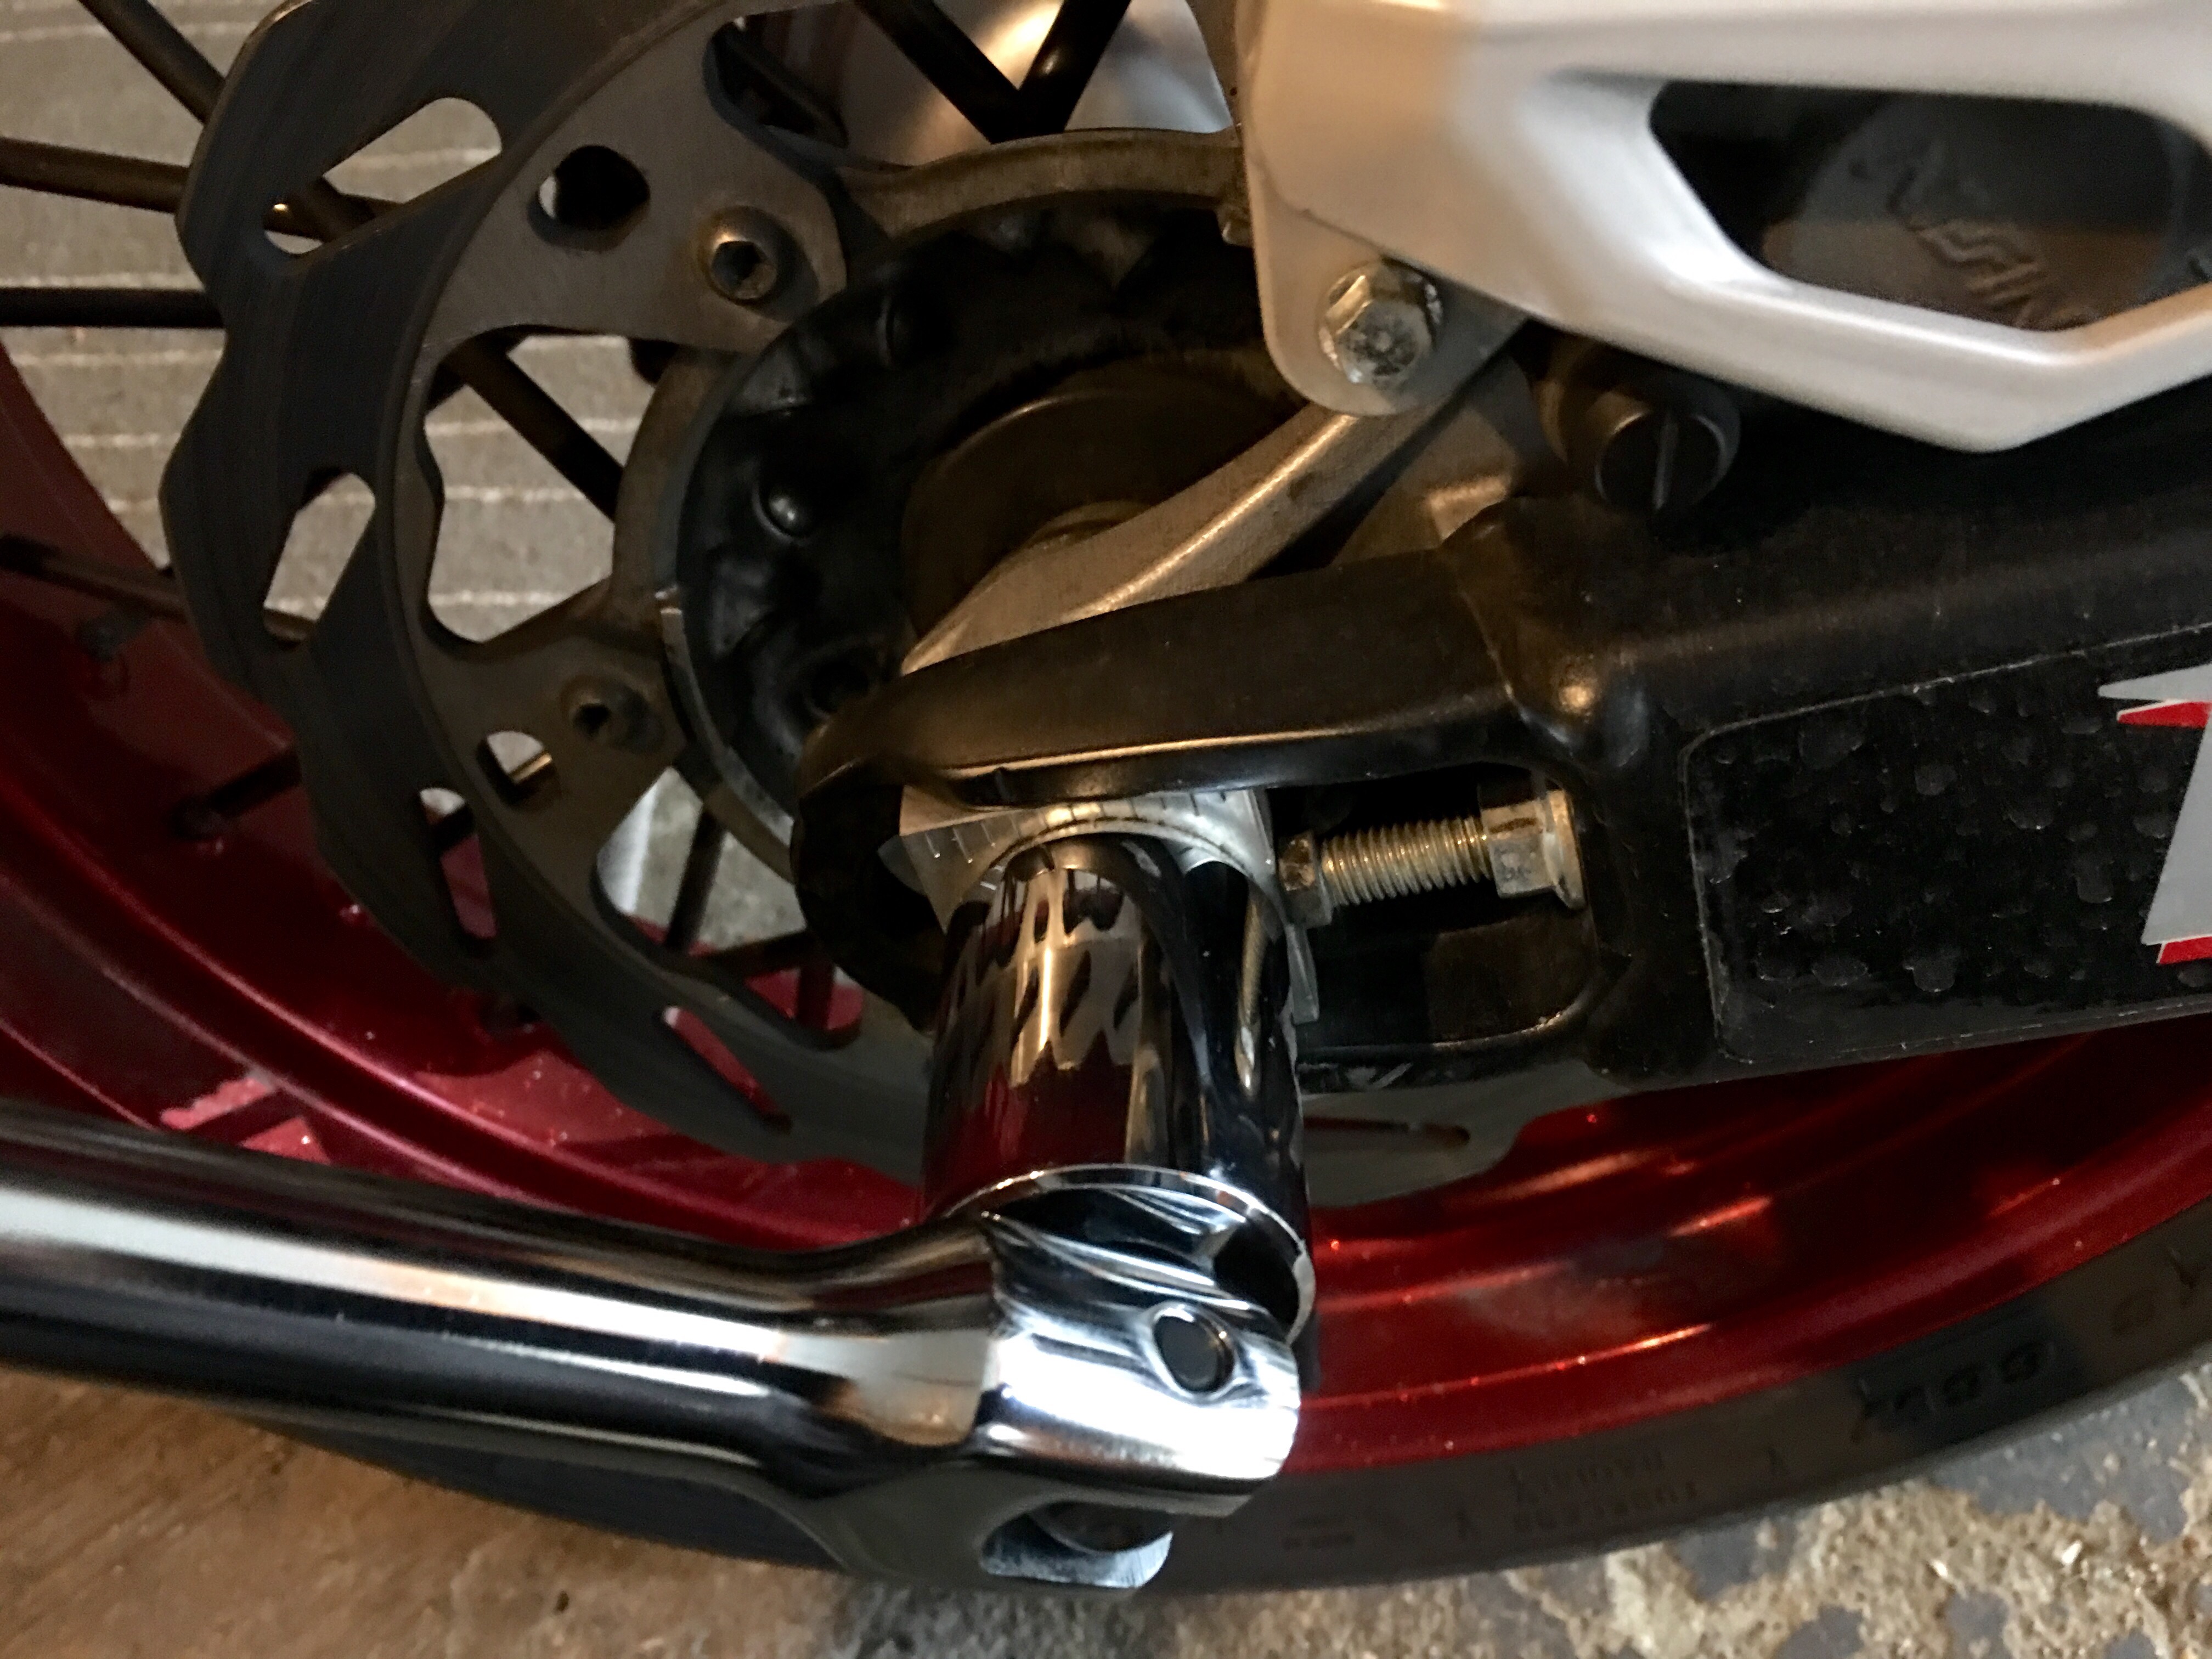
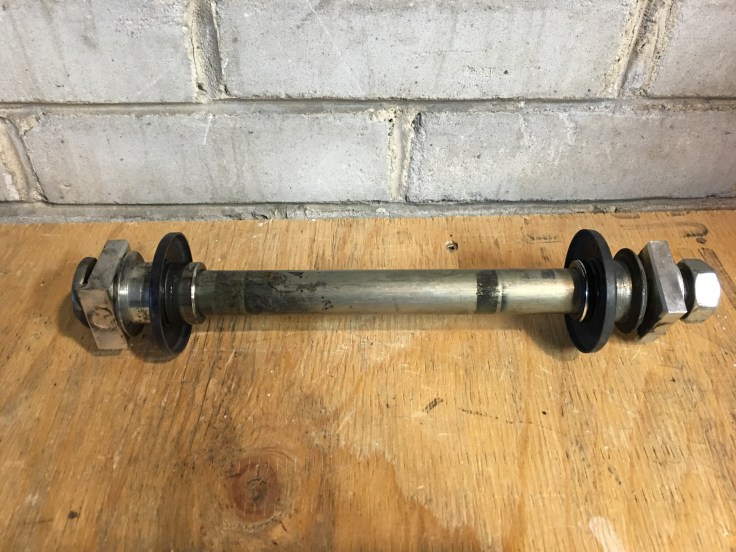
Step 3: Put the rear end up on a stand, then pull the rear axle out and take note of the various spacers and blocks, specific to your bike. A handy tip is to thread all the components back on the axle, making it easy to remember what goes where, especially if you plan on completing the project over multiple day (or beverages).
Step 4: Pull the chain off the sprocket by sliding the rear wheel forward to give the chain some slack. You can then remove the rear wheel to access the rear sprocket.
Step 5: There are 2 ways to remove the chain from the bike. 1) The slow way and 2) the fun way. The former involves using a chain breaking tool (which we will cover later, during the install steps) on the master link. The latter simply requires a grinder or dremel with a cutting wheel. The choice should be obvious.
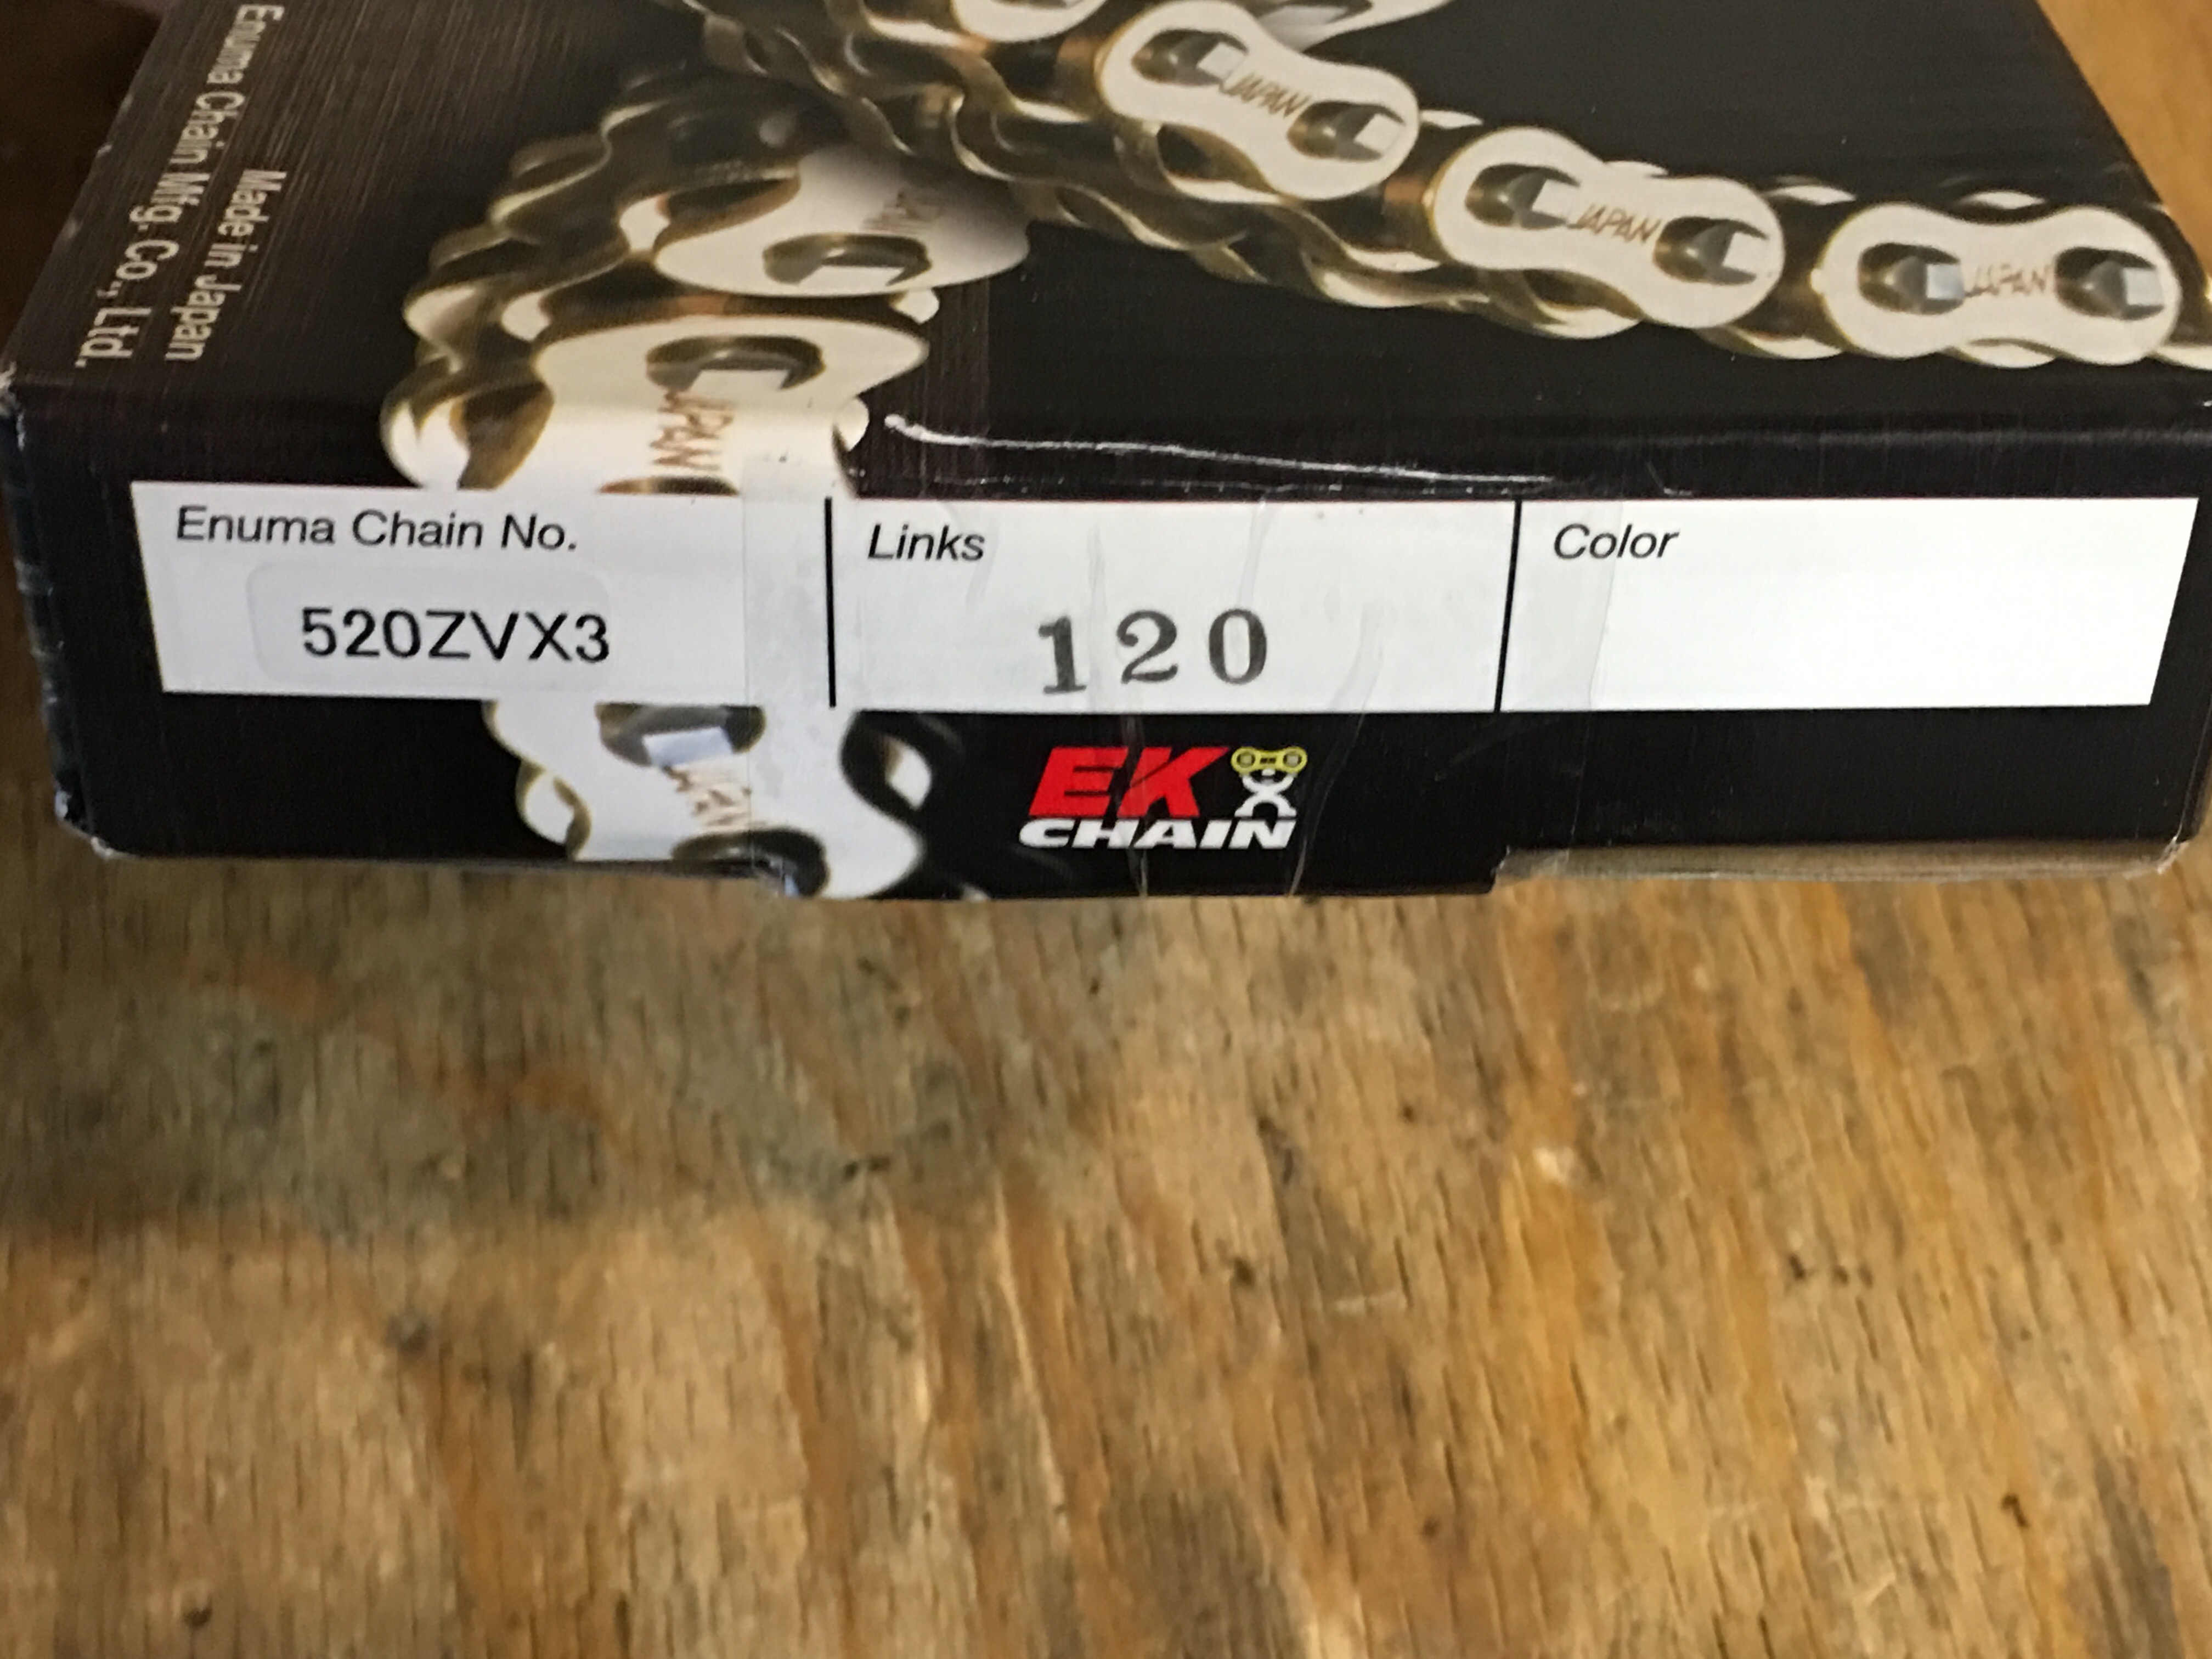
Step 6: Measure the new chain to prepare it for sizing. In most cases, motorcycle OEMs don’t make their own chains (they source them from reputable manufacturers, much like suspension components), so your replacement chain will likely be generic and need to be sized in order to fit your bike properly.
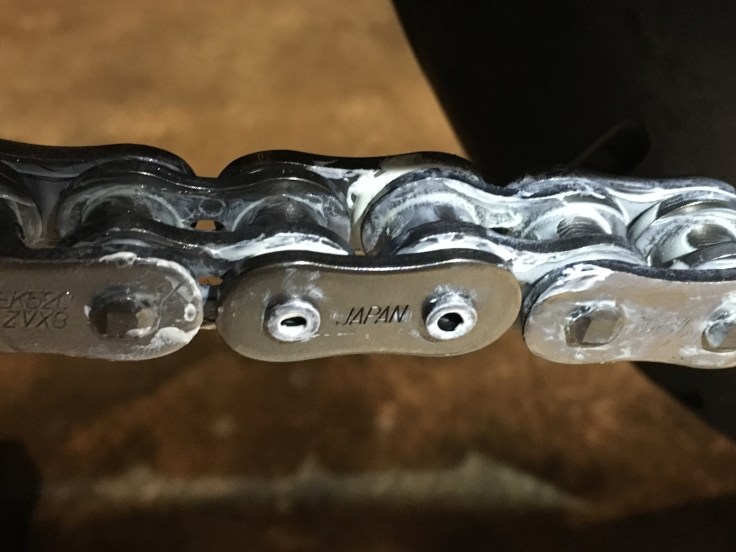
Bike chains are measured by the number of links in the chain, so providing you bought the right size and pitch chain (your bike’s manual will specify what you need), then counting the links and matching the number to the OEM chain is all you need to do.

When buying a new chain, you’ll want to chose a chain that has either the same number of links as your stock chain (unlikely), or one that’s a little longer. Conventional wisdom says that chain links should be removed, but never added to a new chain.
Since you only get one shot at shortening the chain, you’ll want to triple check your measurements by doing any combination of counting chain links, measuring the chain, or even laying old and new chain side-by-side to locate the correct link to break in the next step.

Step 7: Break the new chain to the desired length.
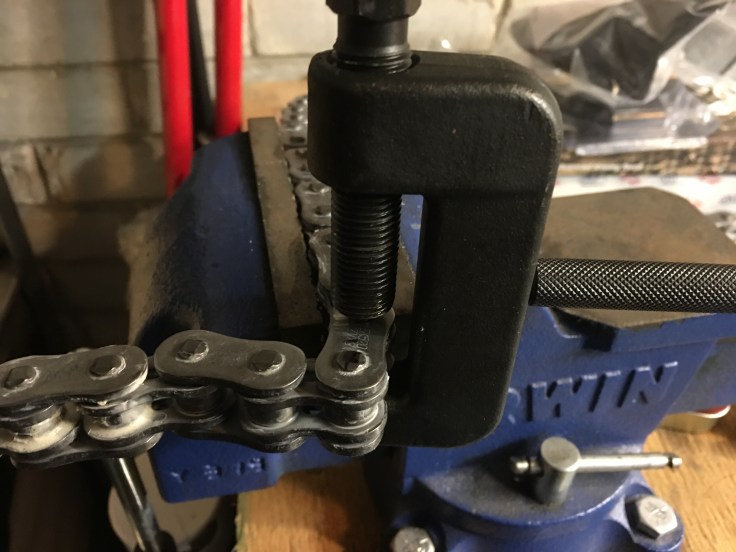
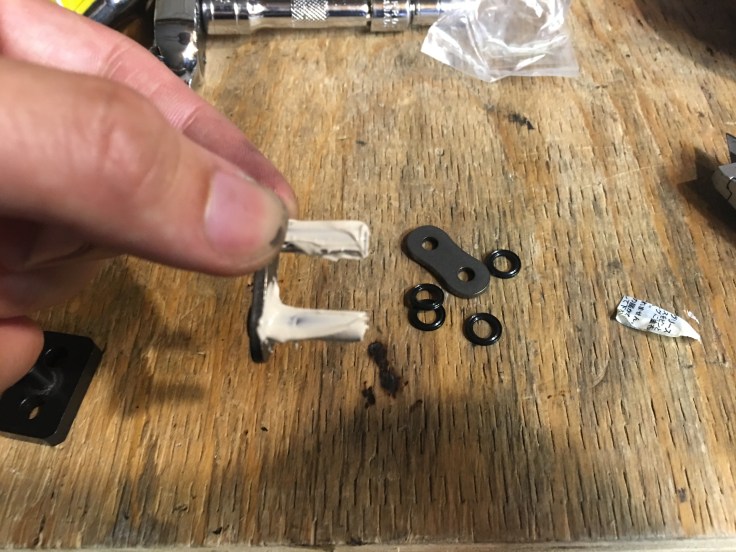
Step 8: Install the master link to complete the new chain.
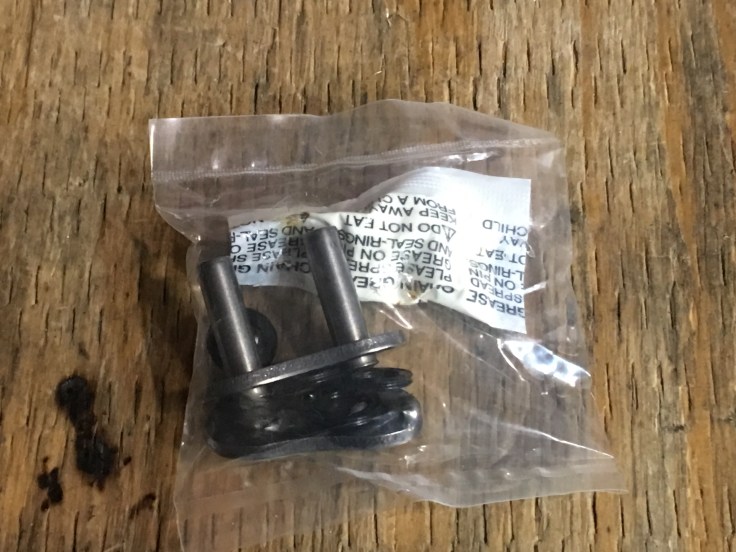
Your new chain will be covered in some heavy duty grease that acts as a base coat for lubrication. You should find a small container of extra grease in the package which is to be applied to the master link before installation.
Next, run the chain over the drive shaft (making sure to route it behind the frame and swing arm) and pick a spot on the chain return (lower part of the chain) so you can join both ends with the master.
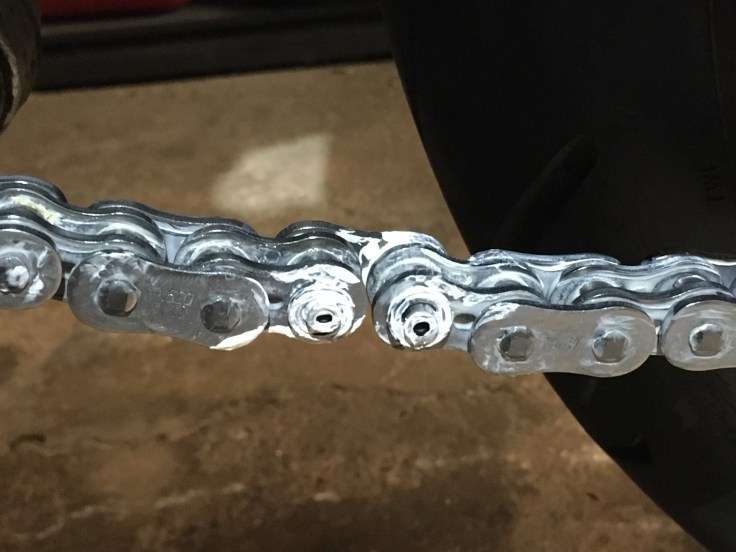
Once the master link is pressed on and that you have mushroomed the rivets sufficiently, check to ensure there is proper articulation between the master link and adjacent links. If you’ve pressed the master link on too tight, it will cause the chain to kink which can lead to problems over time.
Step 9: Remove the rear sprocket. A simple procedure at this point but you may require a breaker bar to get the bolts loose. For both loosening and tightening of bolts, using a cross pattern will yield better results, particularly on re-assembly.
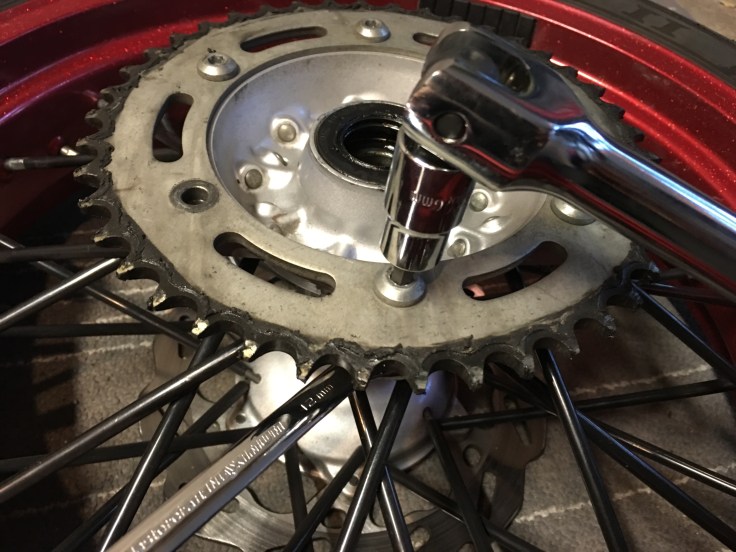
Step 10: Install the new rear sprocket. Before bolting the new sprocket on, it’s a good idea to do a quick side-by-side to ensure the sprocket mounting points line up.

As with any drivetrain part, torque values are critical. Check your bike’s manual for the correct settings, then tighten everything to spec.

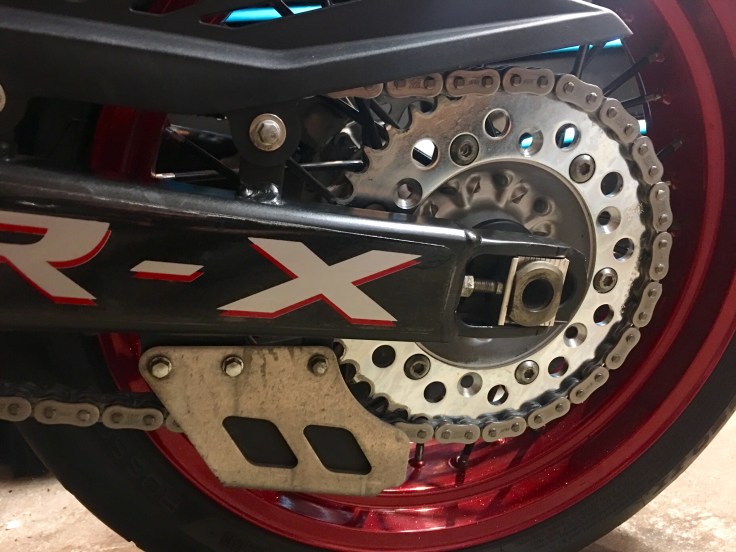
Step 11: Install the rear wheel.
Step 12: Install the new front sprocket. This should be a straightforward process until the time comes to torque the bolt into place. Repeat the steps you performed to remove it and it should all go smoothly.

Step 13: Adjust, clean and lubricate the new chain and sprockets. Your new drivetrain is now together so it’s only a matter of cleaning thing up and setting the correct chain tension before you can take the bike out for a test ride. Some of the protective grease that the chain came with will likely need to be removed (or else your bike will be covered in it), so a wipe-down with a rag and some WD-40 is a good idea. Over the course of the next few rides, clean and lubricate your chain frequently to ensure proper break-in.
Step 14: Go for a test ride. Your bike now has an entirely new final drive. Before attempting any spirited riding, do some low speed testing to ensure that everything is running smoothly. When you get back from your test ride, check the chain tension again and take another look at the master link to ensure it is operating properly.