
In this Chance Moto build, we take a time and budget-minded approach to creating a uniquely styled, smooth running retro. Starting with a 1981 Honda CM400T, restoring it to peak mechanical shape and adding a touch of cafe-racer-inspired-style, here’s how we brought this old bike into the 21st century.
The 1970’s and 80’s were an important period for modern day motorcycles. The Japanese in particular were building affordable, durable bikes and innovation (for the era) was running wild. Fast forward to 2018, a time when everything old is new again, where self-expression often trumps performance and where discretionary income is increasingly hard to come by. It’s should come as no surprise then that bikes of yesteryear are getting a new lease on life today, in the hands of both new and experienced riders alike.
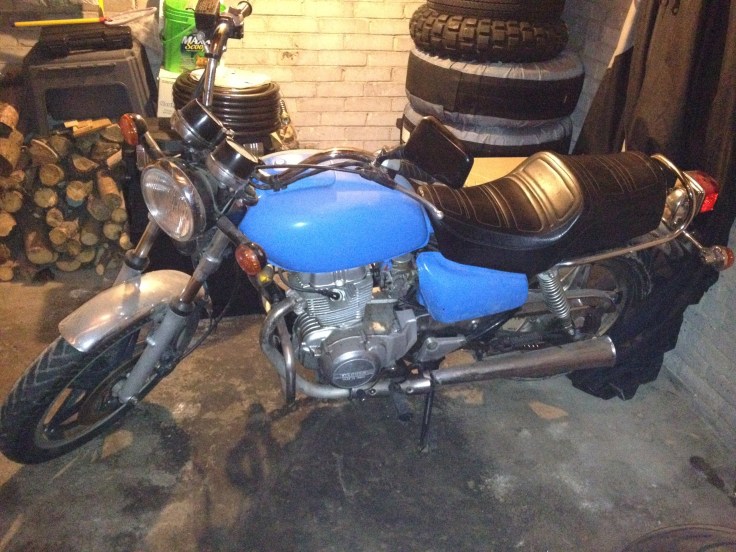
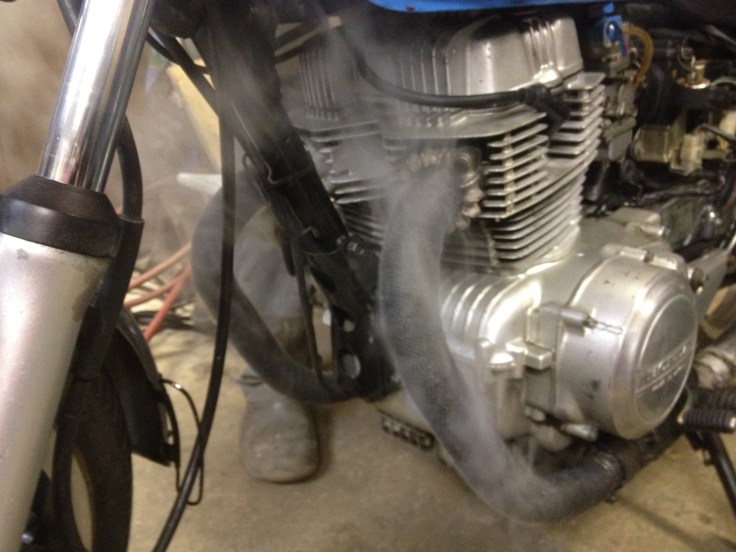
By today’s standards, Honda’s 1981 CM 400T is a pretty unremarkable motorcycle in stock form. A 400cc, carbureted parallel twin that’s makes about 40HP and weighs about 400 lbs wet. Although the bike was technically in “running condition” when the project began, it was hard-starting and had a visible (and audible) exhaust leak, but more concerningly, was spitting oil out of the head at an alarming rate. The bike had been a previous owner’s project bike and was admittedly too much for him to handle, so we took the project on, with the simple instructions to “make it looks like a cafe racer and run like a new bike”. Let’s get started.
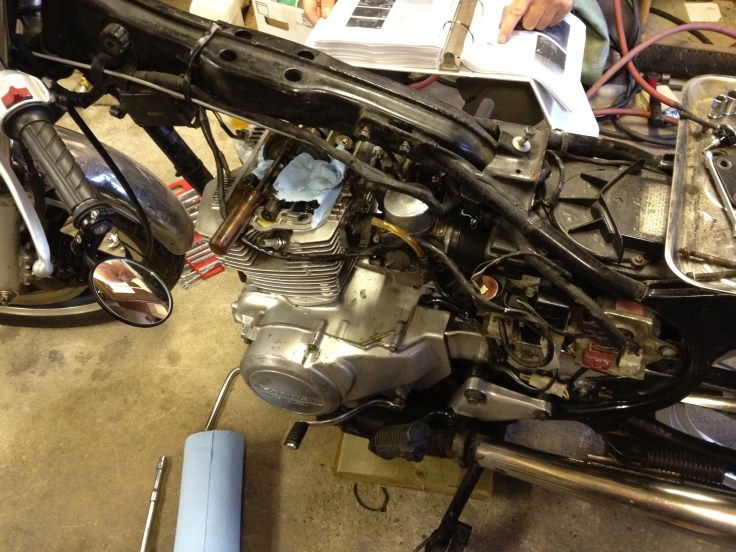
Our first step was to get the bike on the bench and take the head off to assess the overall health of the motor and eventually, determine where the oil was leaking from.
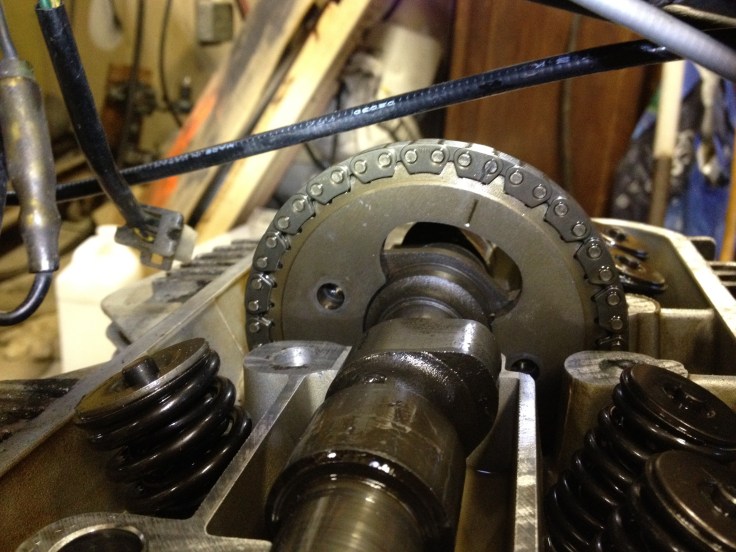
Taking the head cover off revealed that the valves and cam timing chain appeared to be in a good state of repair, but that oil and gas had been through there from a mix of time, neglect and obvious carburetion issues.
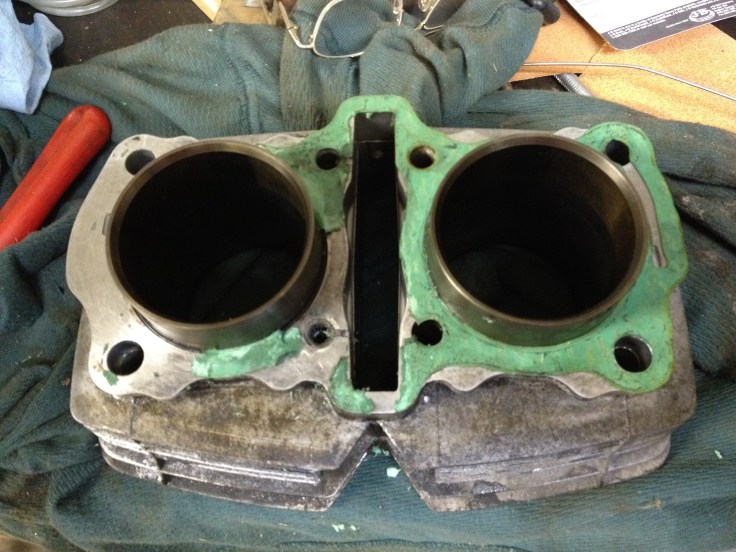
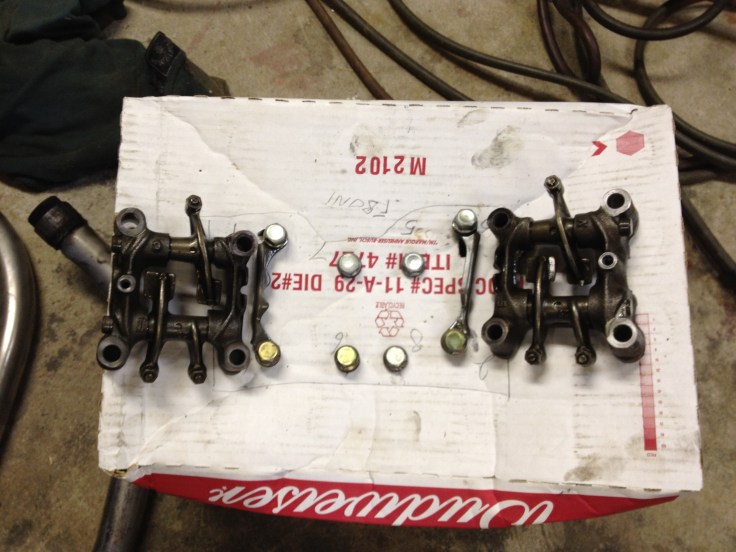
Since the oil leak was coming from the lower part of the head, we decided to take the entire head off for closer inspection. We then removed the rocker arms, camshaft and timing chain and pulled the head apart into its 2 components: the valvetrain (top) and the cylinders (bottom).
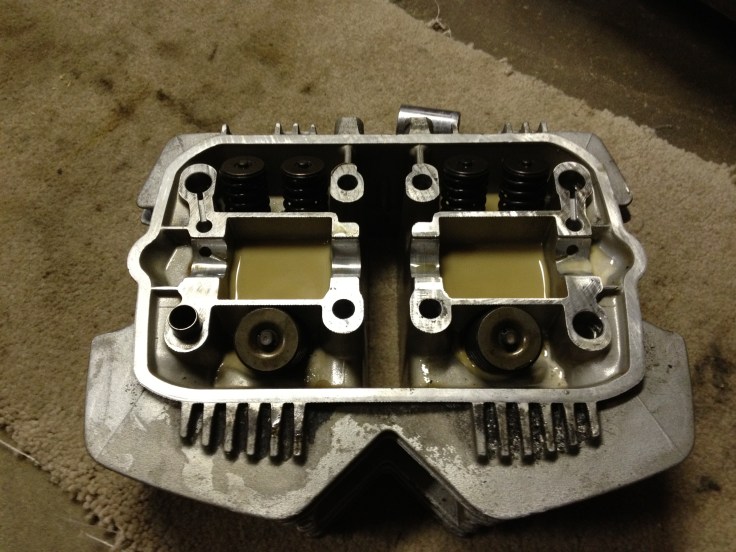
There were no cracks or visible leaks in the head casings but the gaskets had been replaced incorrectly and may have been problematic. For good measure, we ordered a new set, scraped the old gaskets off and applied the new ones so that the entire head would have a good seal.
Since the head had been apart before (and as a general best practice), we kept track of what-goes-where using the tried-and-true “box method”. Some detective work would have to go into determining if the previous owner(s) had re-assembled the head correctly as it had clearly been apart a time or three in the past and we suspected this may be the reason for the oil leak.
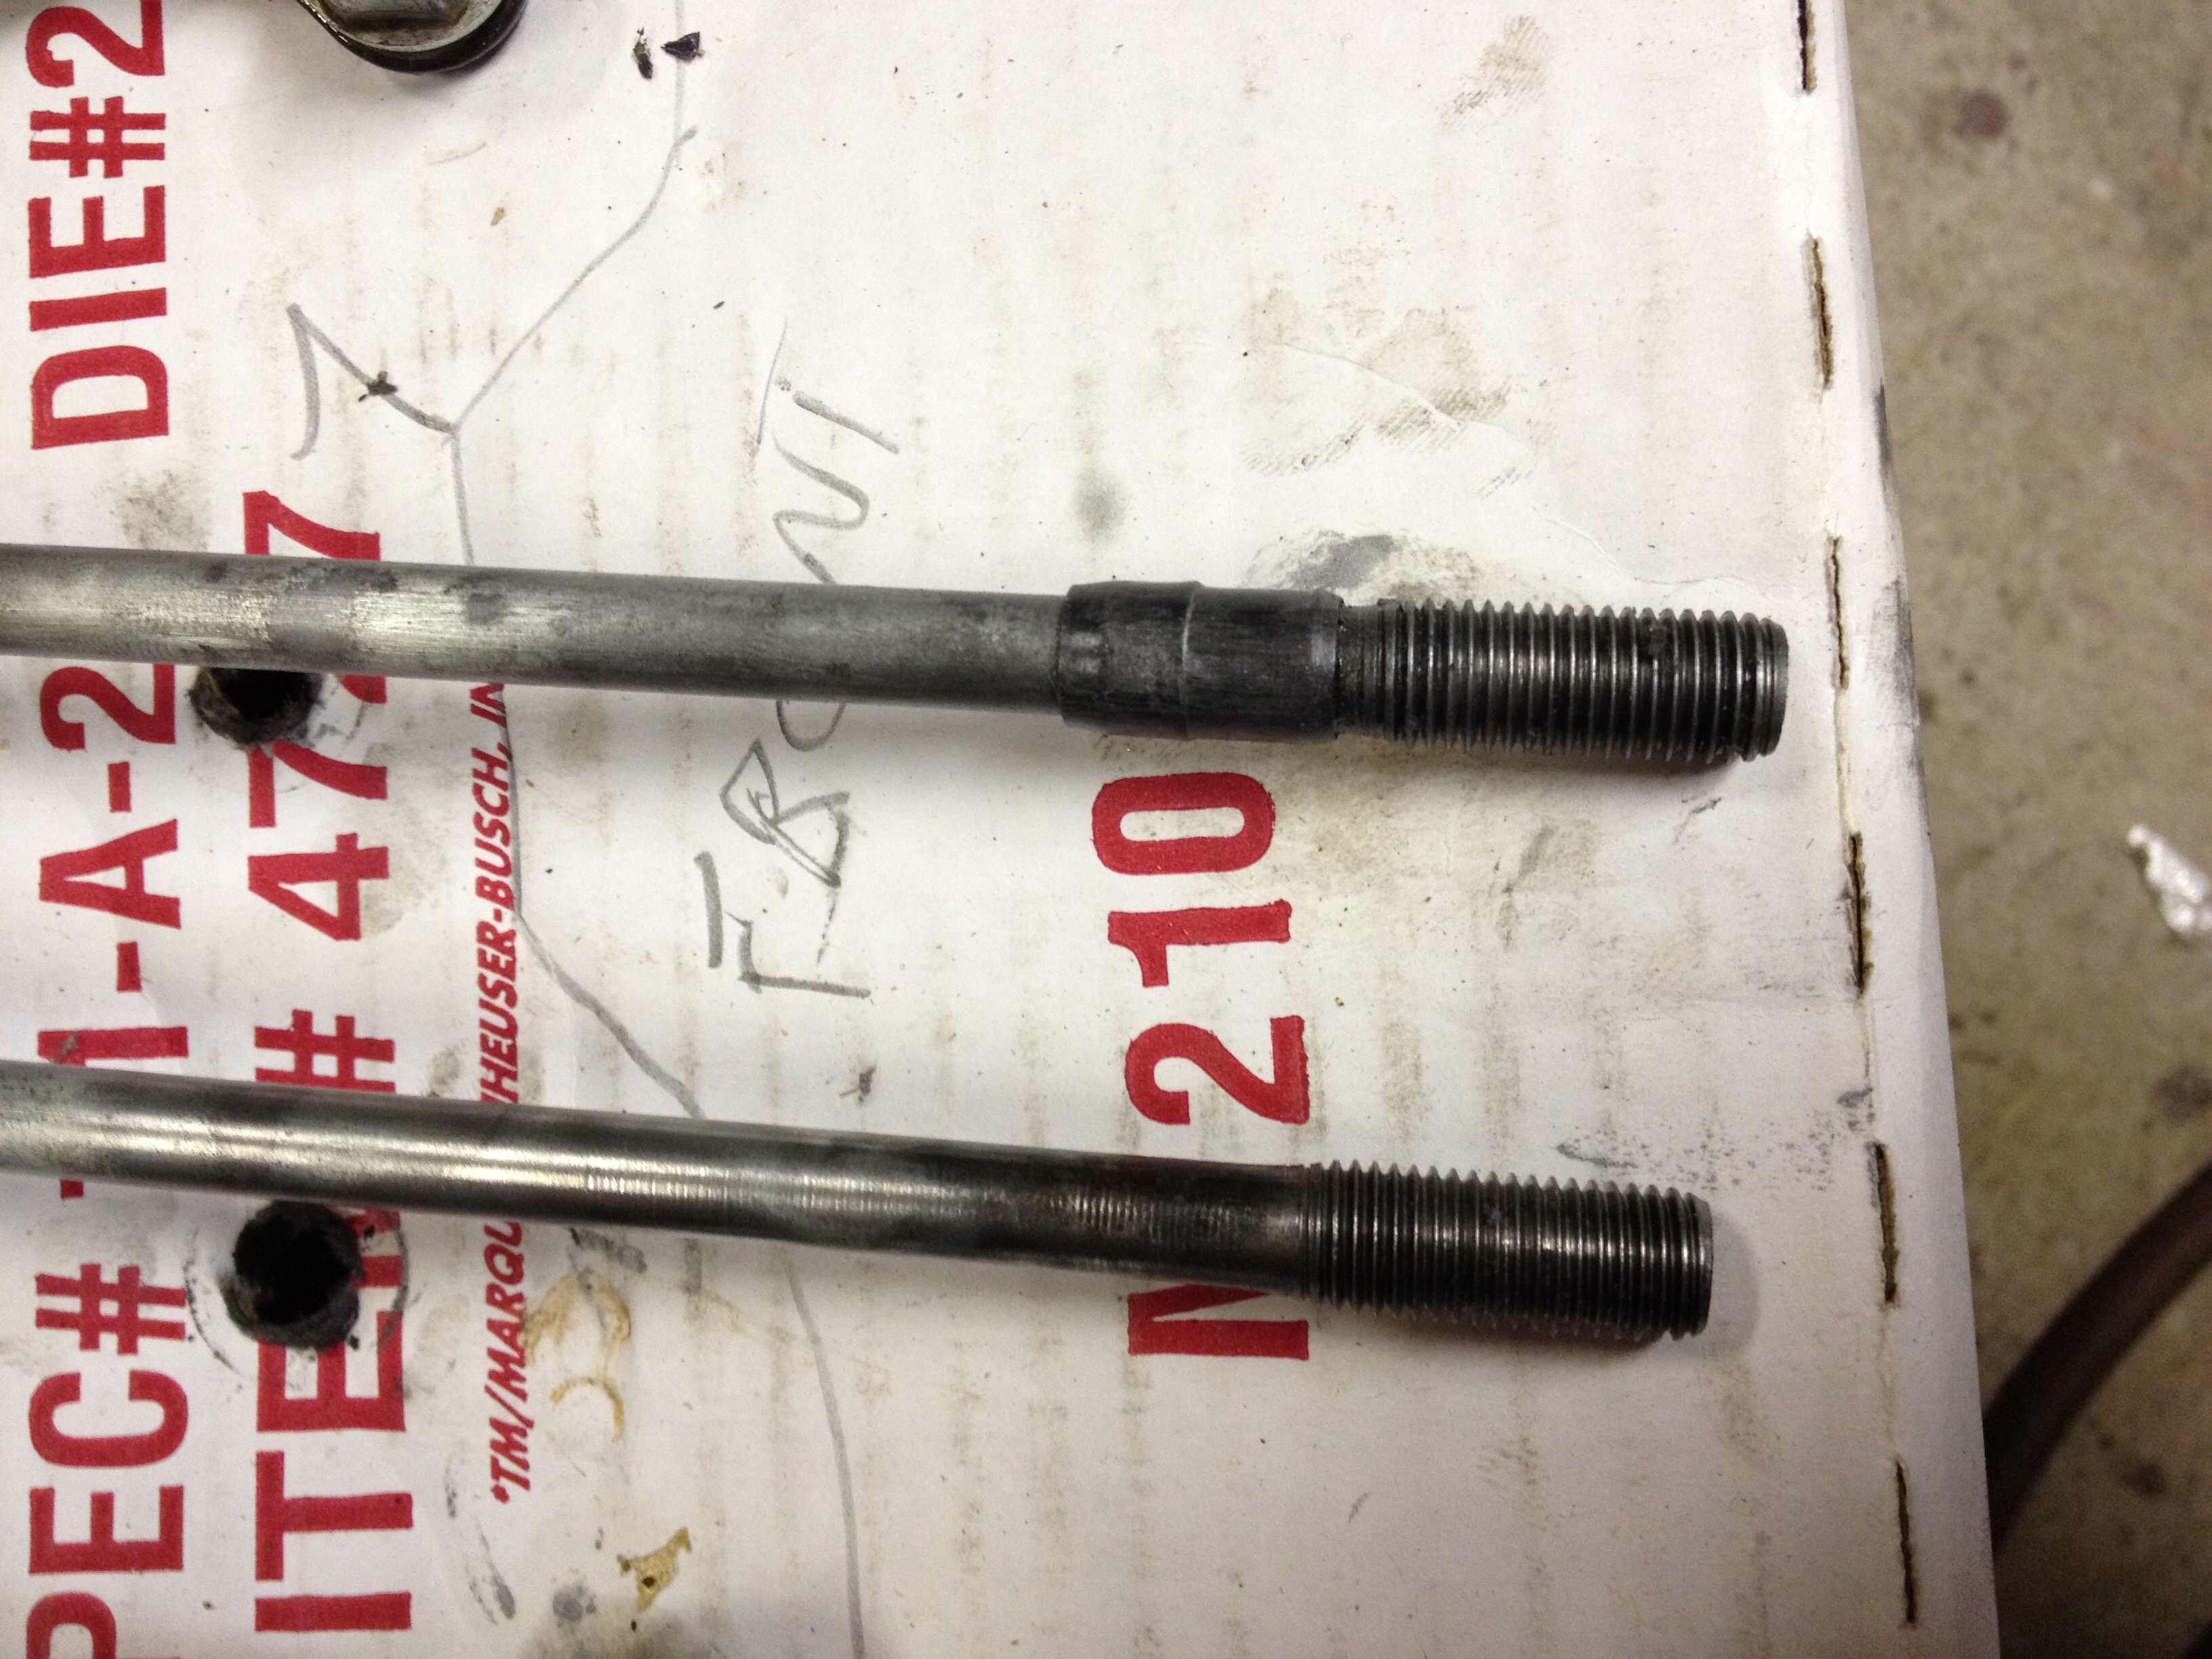
After many hours of analysis, we discovered that the 8 long bolts that go through the head (and secure the rocker arms) are uneven length and that some have seals whereas others do not. At some point over the last 35 years, someone mismatched one of the bolts and oil was shooting up and out of the head as a result. Oftentimes, mechanical work is detective work and this was one of those times.
Since most of the motor was already apart, we took the opportunity to give the carbs a good cleaning, replace the needles as well as one of the floats, then bolt everything back together (correctly this time!), while making sure not to alter timing.
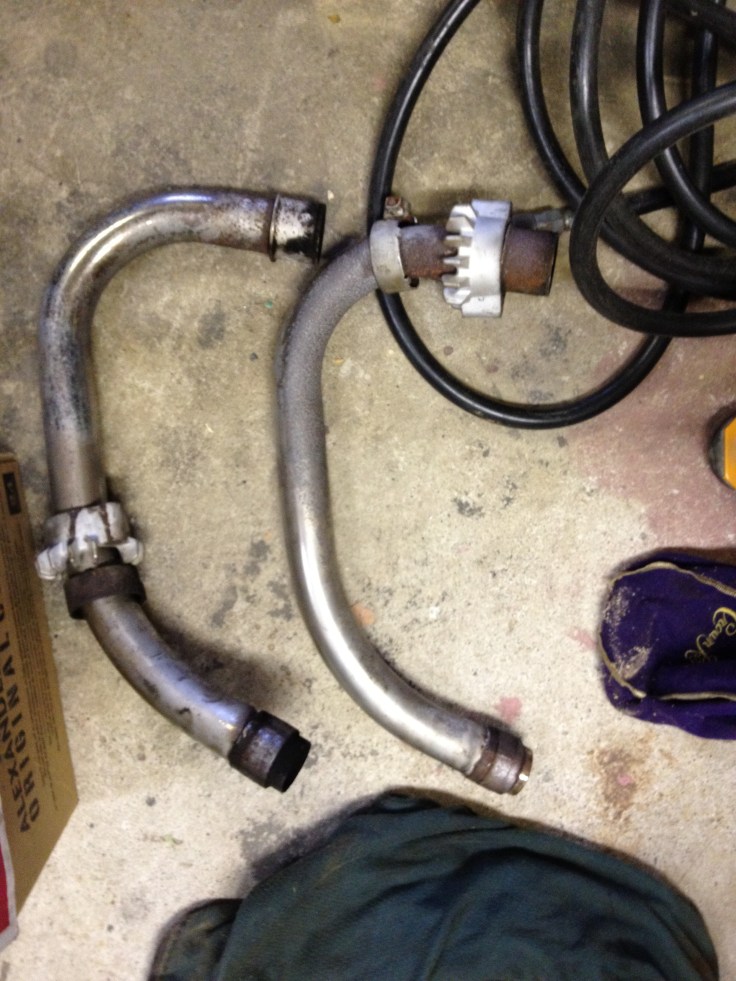
Next, we turned our attention to the exhaust leak which appeared (and sounded) like it was coming from the area where the headers meet the H box. Pulling the pipes off, cleaning off the rust and fitting some liquid exhaust gasket did the trick and got the back pressure to where it needed to be.
Since the pipes were already off the bike, we decided to apply some heat wrap to begin establishing the cafe racer look we were after.
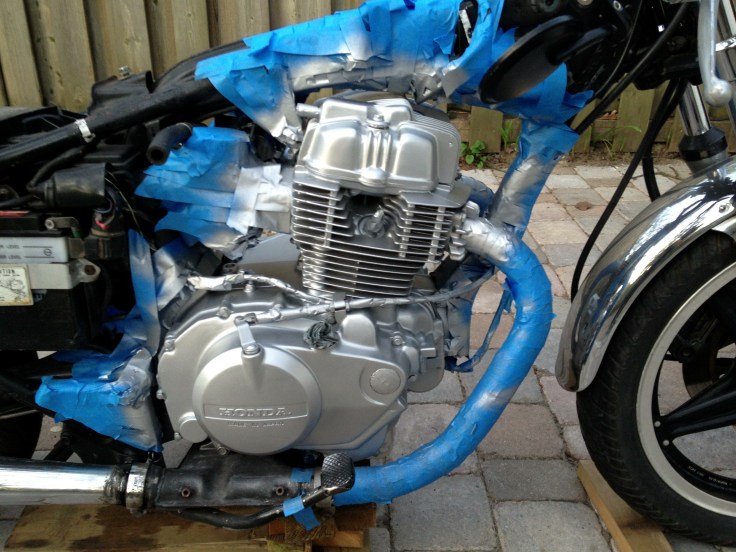
Next came the refinishing of the engine externals. In our case, the parts had already been painted so significant prep work was required in order to get to the bare metal. If price and time were no object, a complete engine removal and sandblast would have been preferable but this specific build had constraints so wet sanding, masking and engine enamel did the trick.
The tank was a project of its own and its prep took several days due to the number of coats that had been applied over the years. Again, wet sanding and elbow grease got down to the bare metal and we were then able to apply primer, base coats and clear coats.

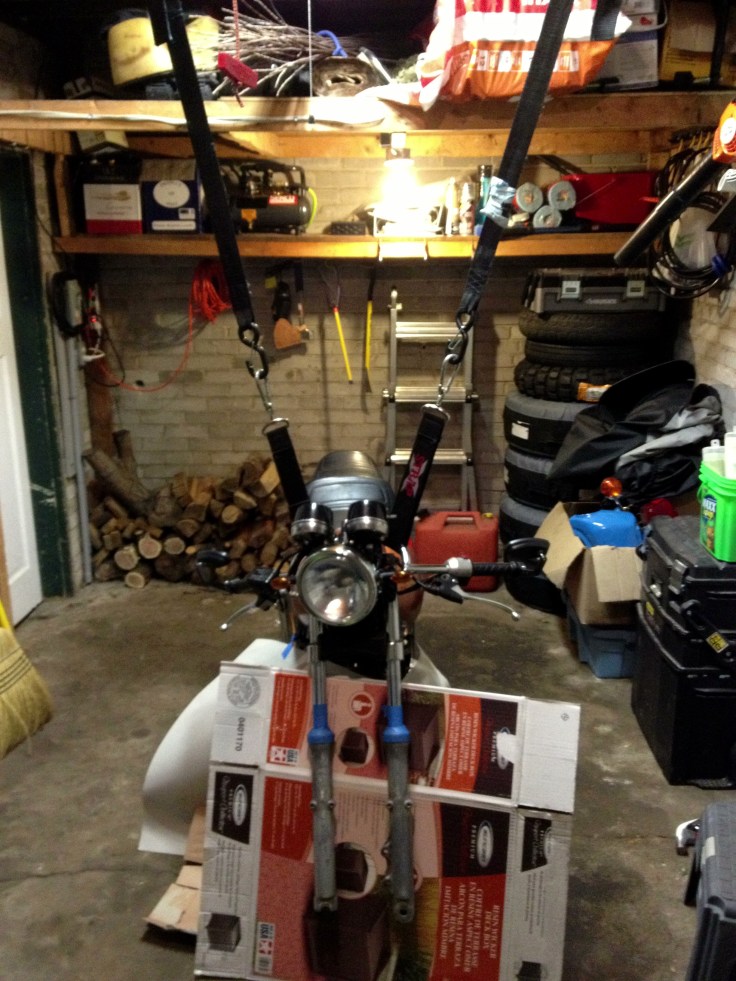
Re-finishing work extended to other parts of the bike, including the fork, panels and fenders. While working on the front end, we added a set of clubman bars to lower the riding position into something more suitable for a cafe racer.
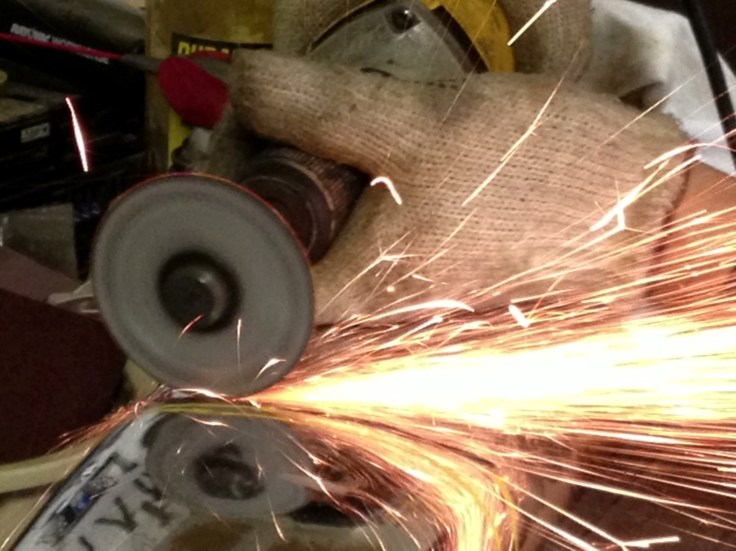
No cafe racer would be complete without some chopping work, so we took a grinder to the chrome tail before re-painting it to match the tank for a continuous line. We also decided to omit the front fender altogether for a cleaner look.
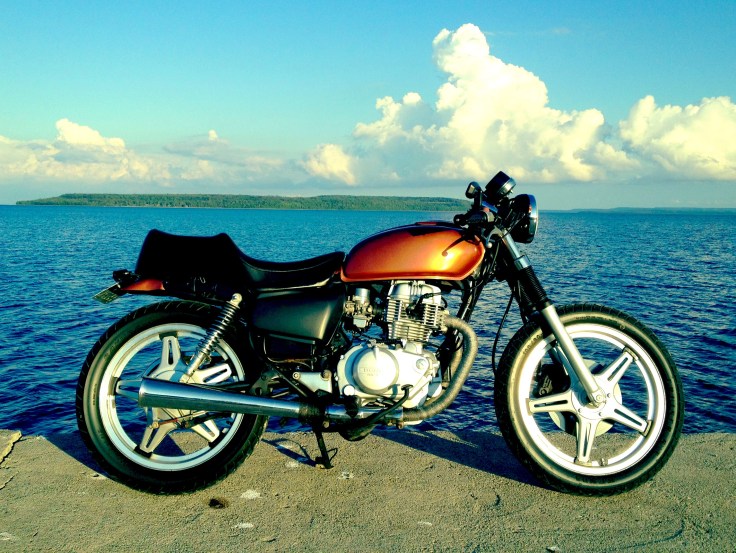
In the end, a few weeks of work and a few hundred dollars in supplies turned an old junker into a head-turning retro that rides as good as it looks.

Leave a comment