
In this Chance Moto DIY, we’ll be adding some (much needed) protection to the 1290 Super Duke’s tank with some clear 3M protective film. *Note that you can also use this method for other parts of the bike such as the headlight.
Because one tends to sit “in” the 1290 Super Duke, the tank is particularly succeptible to marking from race leathers, jacket zippers or jeans. As such, applying some protection will go a long way to preserve that oh-so-expensive Austrian paint.
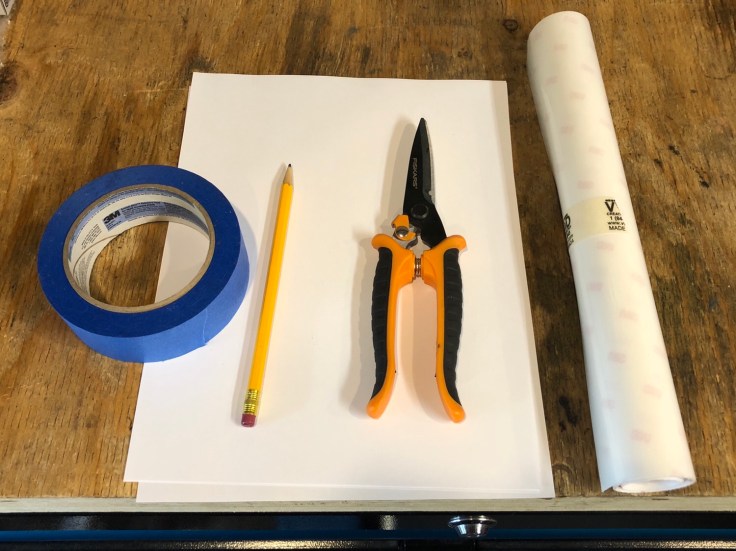
Tools you’ll need:
–3M clear protective film (available on Amazon)
-Masking tape
-Three 8.5 x 11 sheets of paper (or similar)
-Scissors
-A marker and a pencil (a pen will do in a pinch)
-Spray bottle with soap and warm water (optional but recommended)
-Squeegee (optional but recommended)
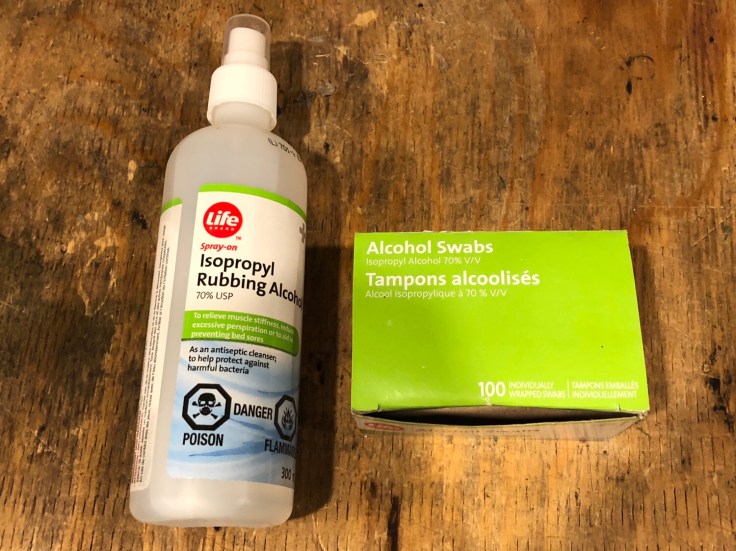
-Isopropyl alcohol (wipes or spray)
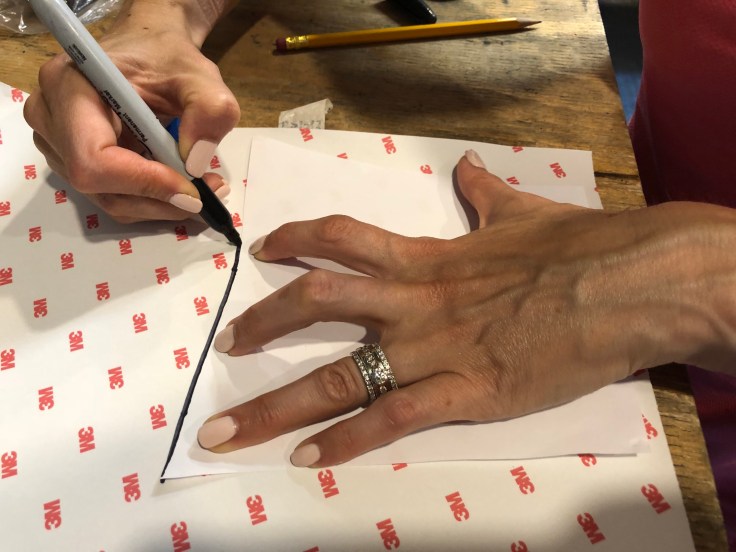
Step 1: Create your templates
We recommend making 3 protectors: one for each side of the tank and one for the middle.
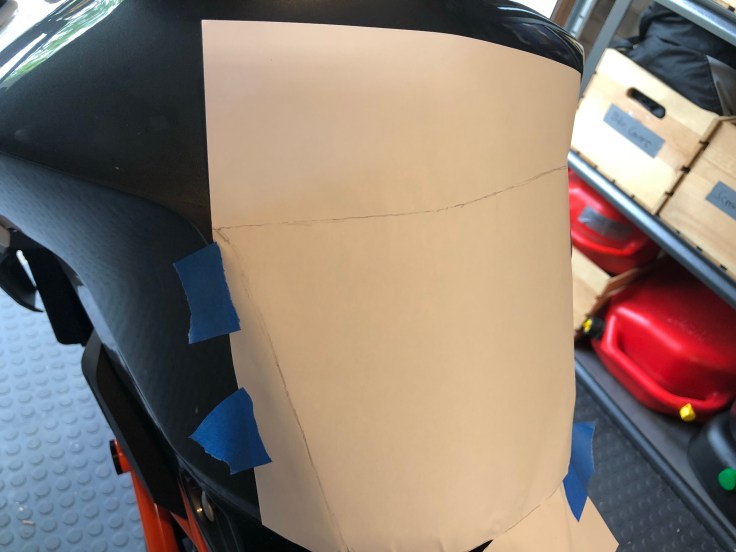
Place a blank sheet of paper on the desired coverage area. You can trim the 8.5 x 11 paper roughly to get a basic fit, then use the masking tape to secure the paper and trace the outline of the desired protector shape with the pencil.
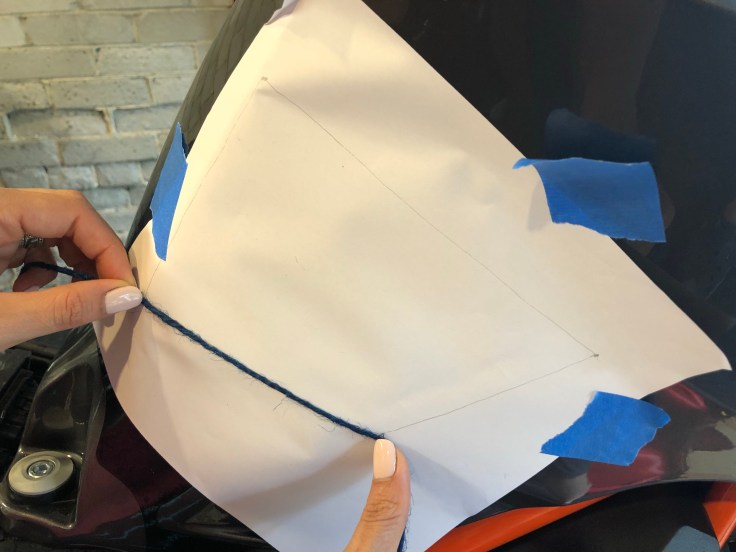
*Note that if you prefer to use an aftermarket adhesive pad in the middle of the tank, then you’ll only need a side template and can simply reverse the template from one side to create the one for the opposite side.

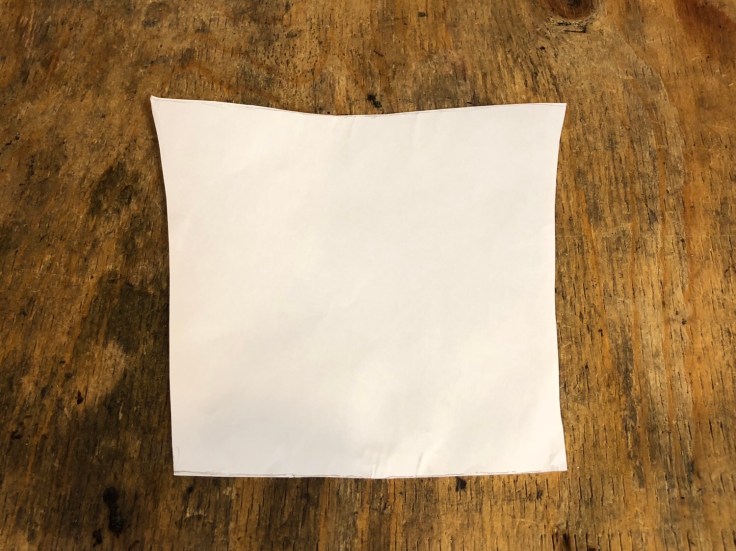
Once you have your template, do one final test-fit on the bike to make sure you have the exact shape you want.
Step 2: Trace the templates on the adhesive:
Use the paper templates to trace the shapes on the 3M clear adhesive. Again, it’s better to leave a little extra so you can test-fit and trim a little bit off. 3M clear film is pricey so you’ll want to minimize waste.
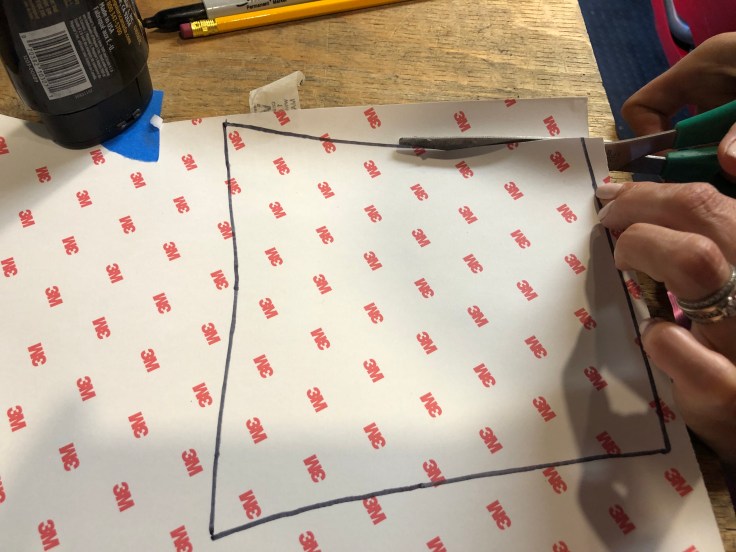
Step 3: Cut out the clear film decals
If you used a marker in Step 2, this step is a lot easier as you can cut on the inside of the marker lines to maintain the same size as your original template. Once you have your shapes, do one last test fit before moving to the application step.
Step 4: Prep the surface
This is an important step if you want to ensure the decals stick properly and look…well…invisible. At the risk of stating the obvious: if your bike is dirty, you’ll first want to clean it with soap and water, prior to the alcohol wipe-down. Once the tank is clean, use the isopropyl alcohol and wipe the surfaces you plan on mounting the decals to. This will remove any wax, polish or residue and give the decal an ideal surface for adhesion.
Step 5: Apply the clear decals:
There are 2 ways you can apply the decals. 1) The proper way and 2) The lazy way.
- The proper way: Wet application
If you don’t have experience doing wet decal application, watch this video for a quick tutorial. If there are any water air bubbles under the decal once you’re done squeegee’ing, you can use a safety pin to pop them and the water/air will naturally escape as the film dries.
- The lazy way: Dry application
Although riskier and less flexible (you can’t reposition the decal once you lay it down and it will be near-impossible to get any air bubble out), you can still achieve a good result by applying the clear film as you would a normal sticker. For best results, use an “edge-to-edge” method to prevent air from getting trapped in the middle of the decal.

Once you are done the application, it’s a good idea to take the templates (or the backing paper from the decals you created) and store them in a clear plastic bag. The protective film will wear (and possibly discolor) over time and you can re-use the templates if/when the time comes to refresh the protective film.
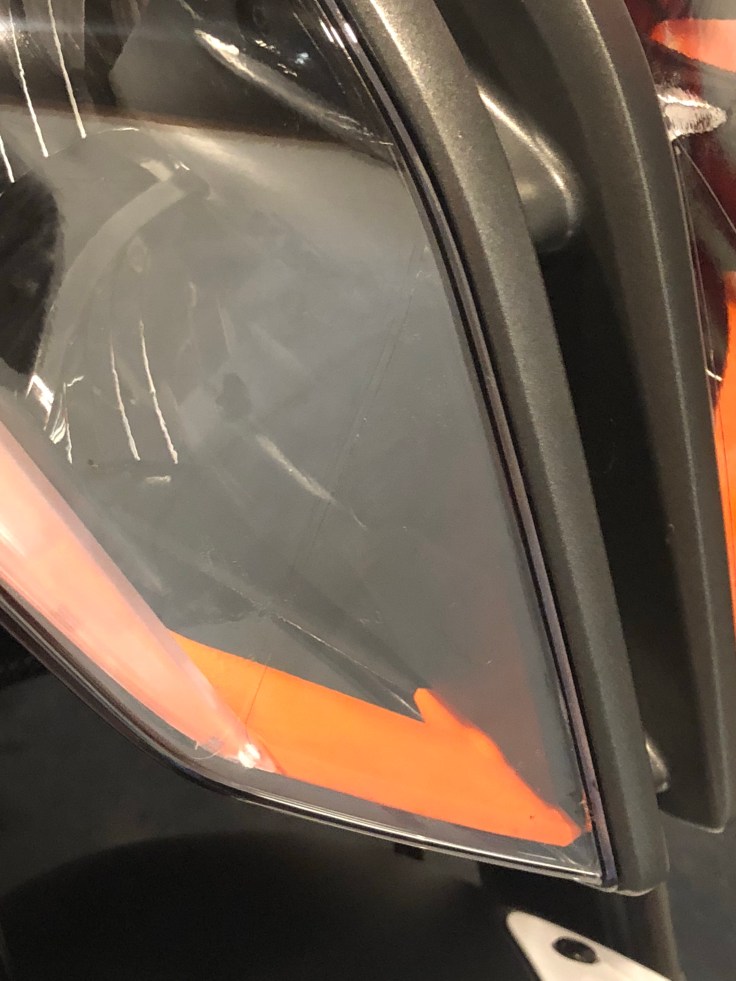
BONUS: Headlight protection
The headlight is another good place to apply clear protective film as it will take a beating from stone chips. Covering it can be done in a variety of ways but we recommend dividing the headlight into 4 sections for easier application of the film and using the wet application method.

Leave a comment