
KTM’s potent 1290 Super Duke R platform features a top triple clamp with 2 possible handlebar positions (fore and aft) that are set 15mm apart. KTM recommends the front-most position for track duty but certain riders may prefer the bars closer to the rider for everyday comfort. In this ChanceMoto DIY, we will walk through the simple procedure of relocating them from one position to the other. We are using a 2021 (3rd Gen) bike for this guide but the procedure is similar for previous years.
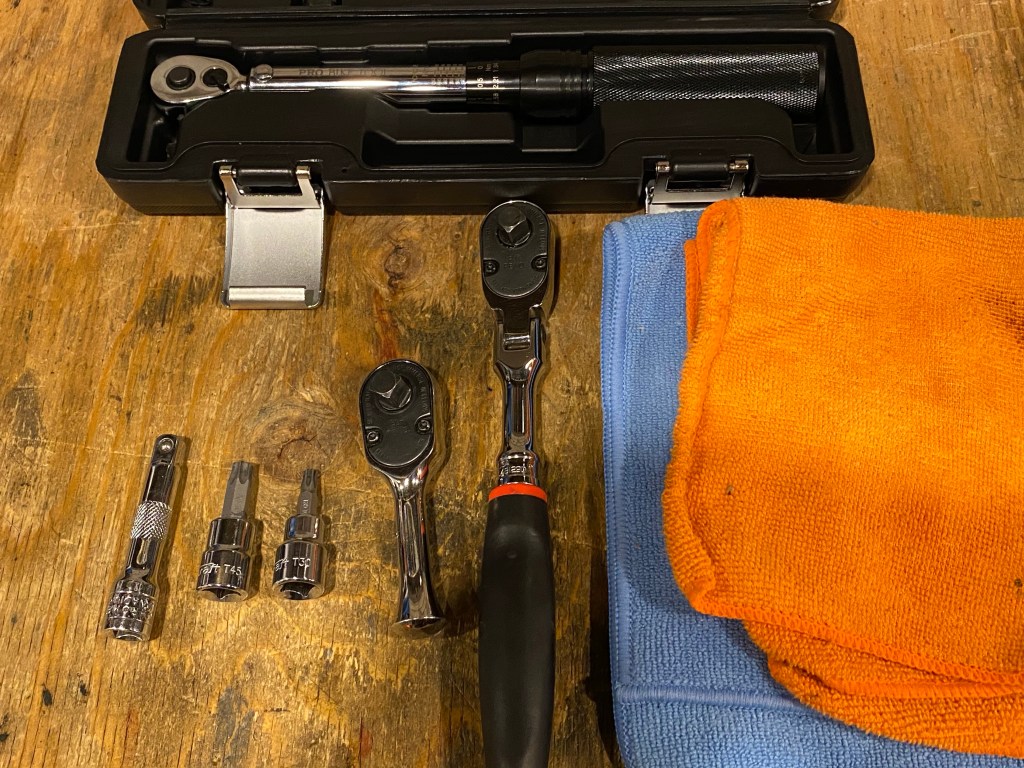
Tools Required: Ratchet, T30 Torx, T45 Torx, thread locker, torque wrench, rags or towels
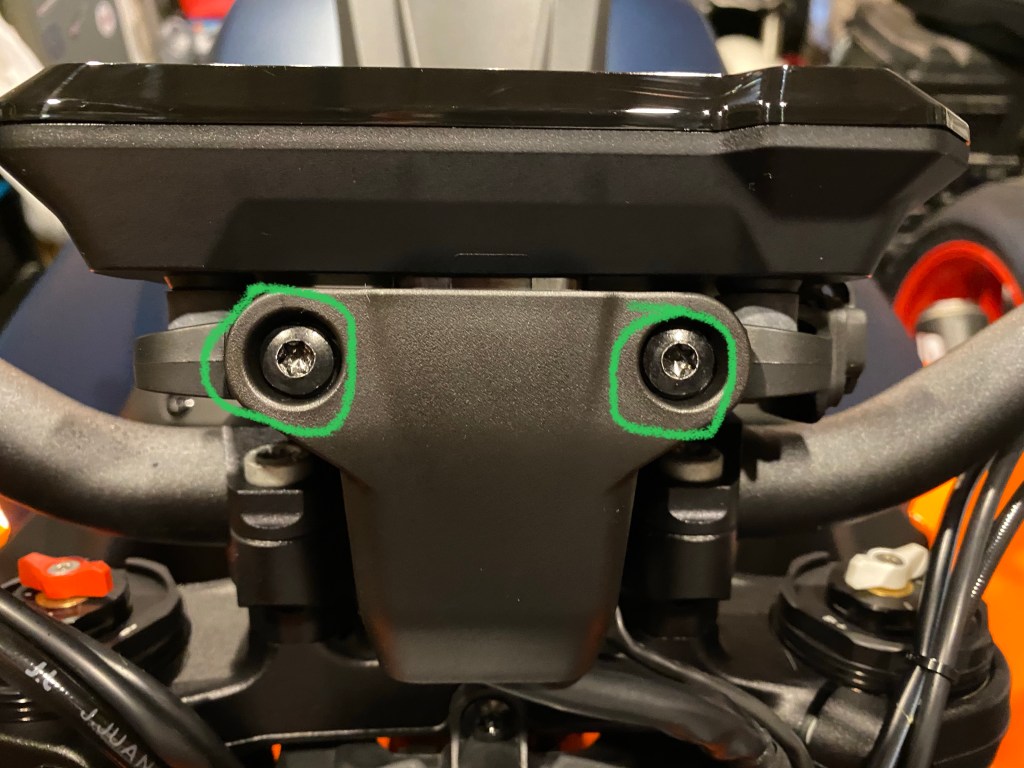
Step 1: Remove plastic bracket cover above headlight (2 x T30 Torx)
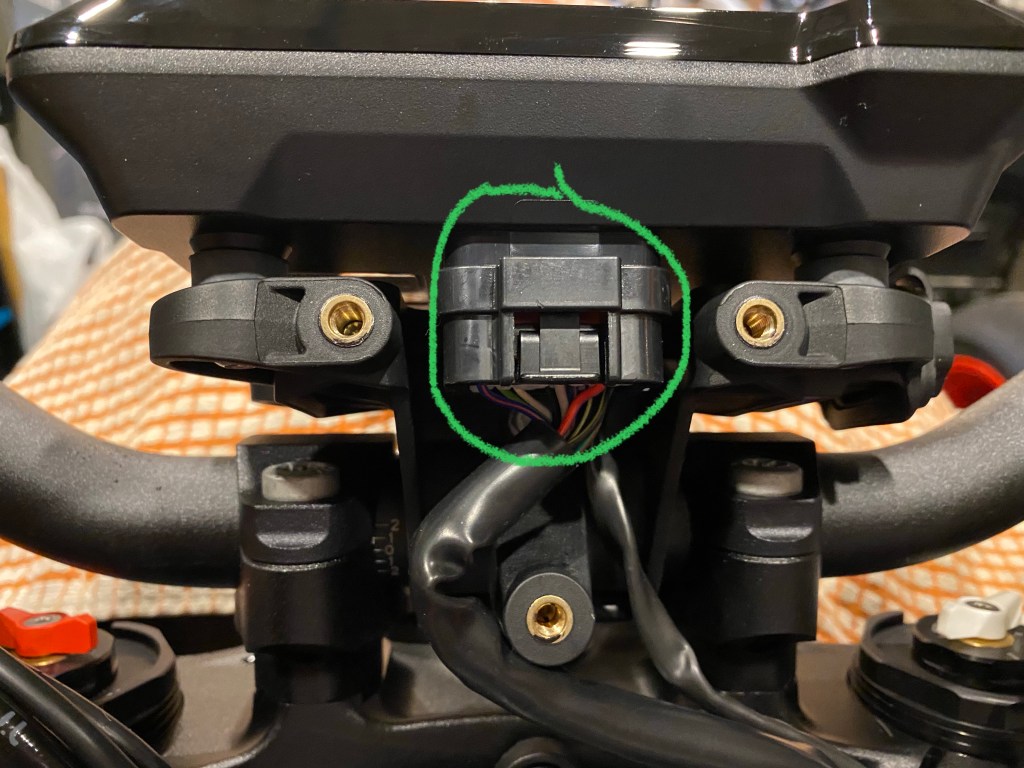
Step 2: Disconnect gauge cluster/display by squeezing on the tab and gently pulling away from display.
Step 3: Remove display clamp bolt (1 x T30 Torx)

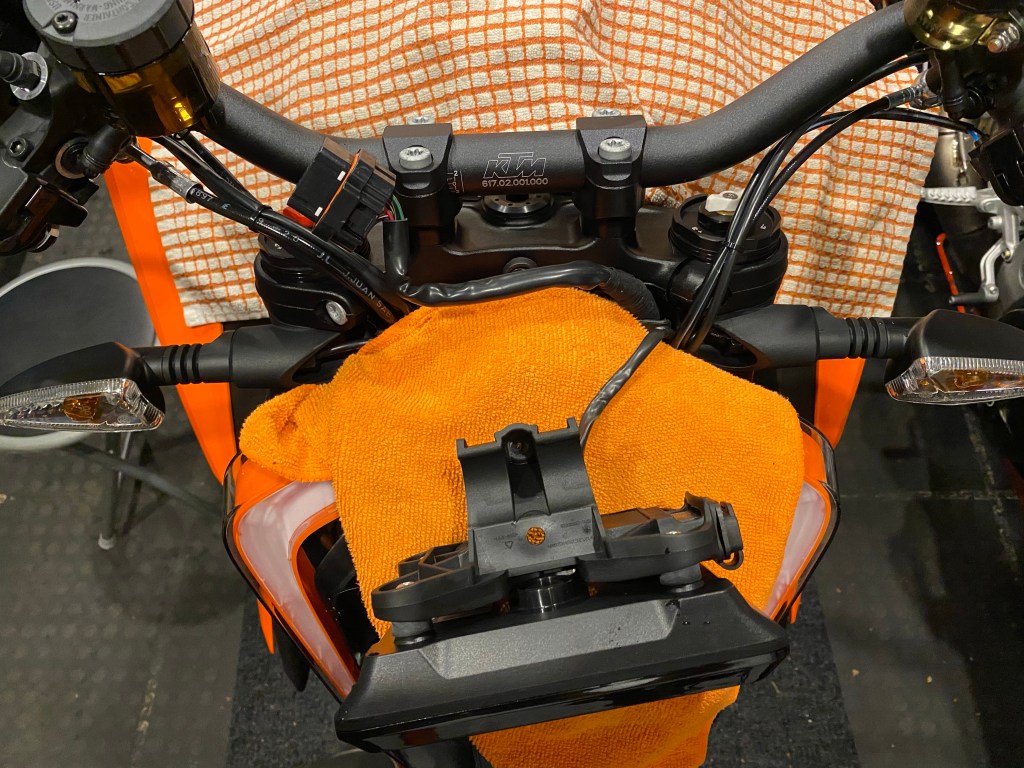
Step 4: Rest display on headlight (use rags or towels to avoid scratching).
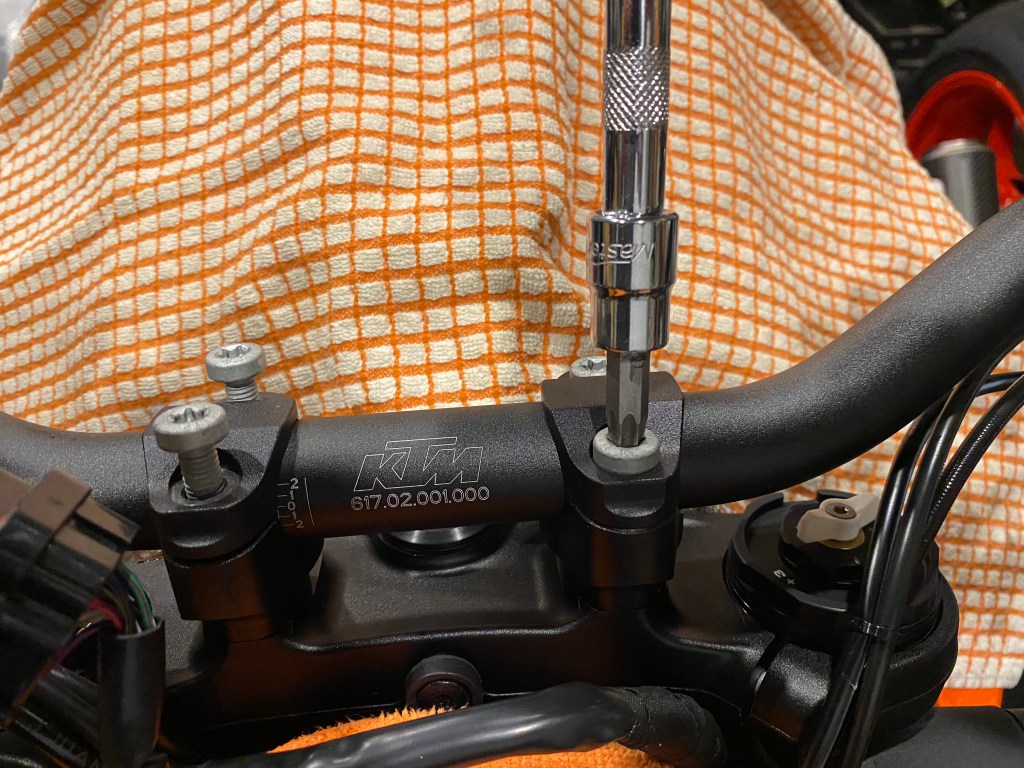
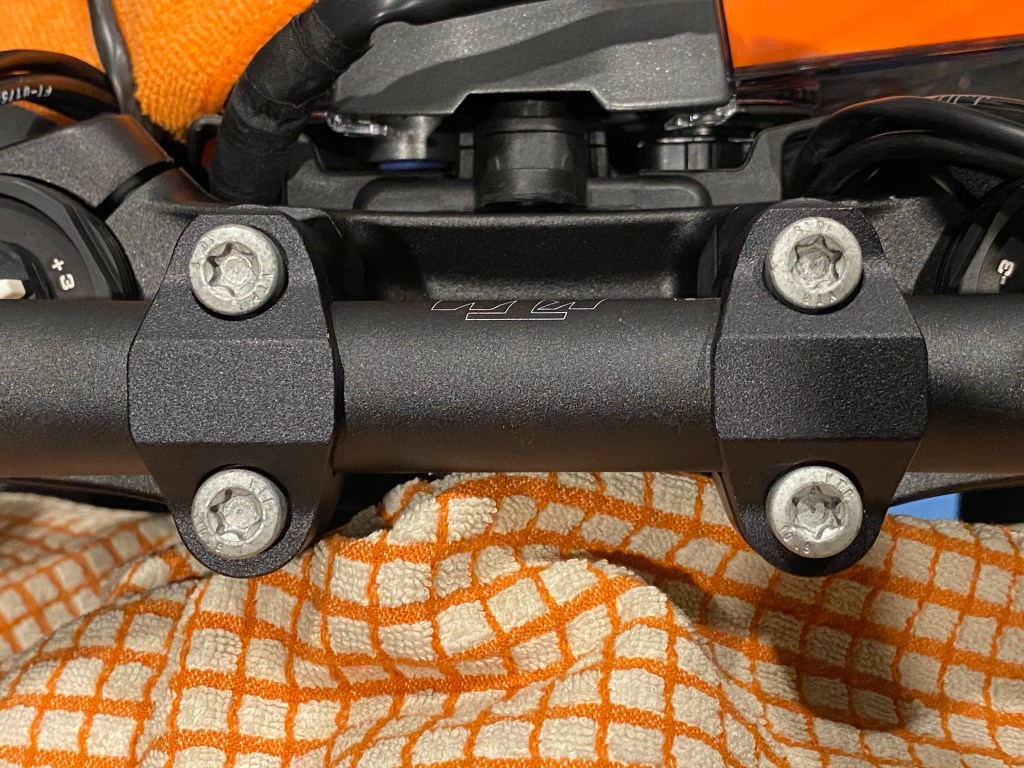
Step 5: Remove handlebar clamps (4 x T45 Torx). Note that the top clamp brackets are a-symmetrical. The flat part goes towards the front of the bike (important for re-assembly later)
Step 6: Rest handlebars on headlight (again, using rags/towels to avoid scratching).
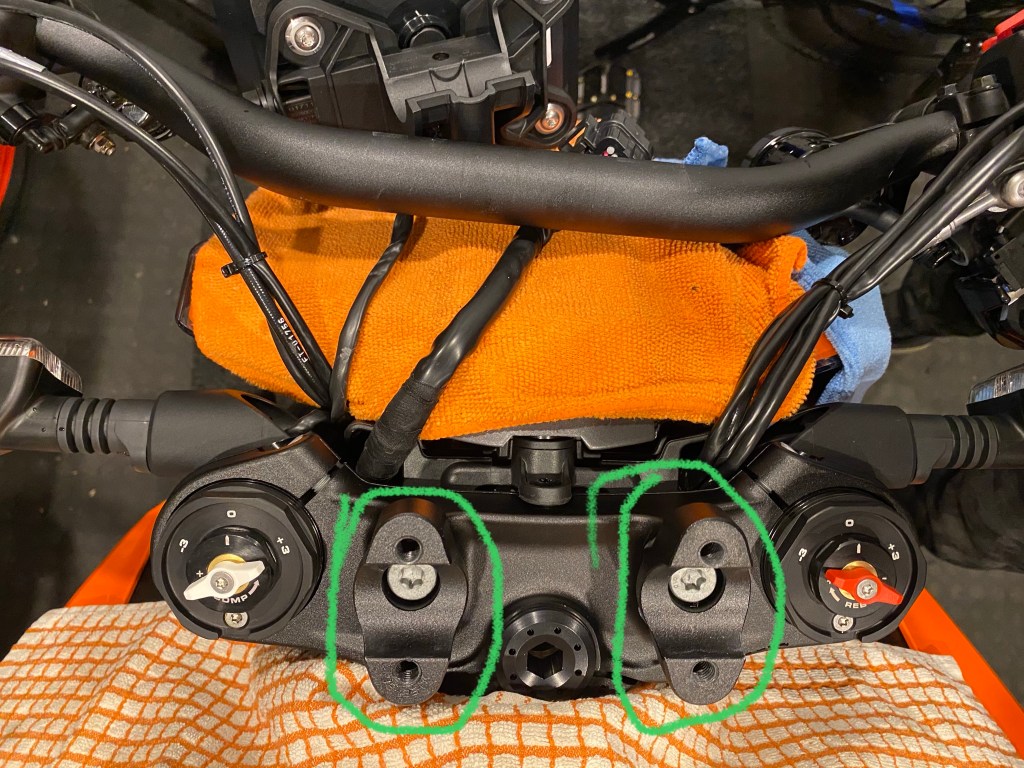
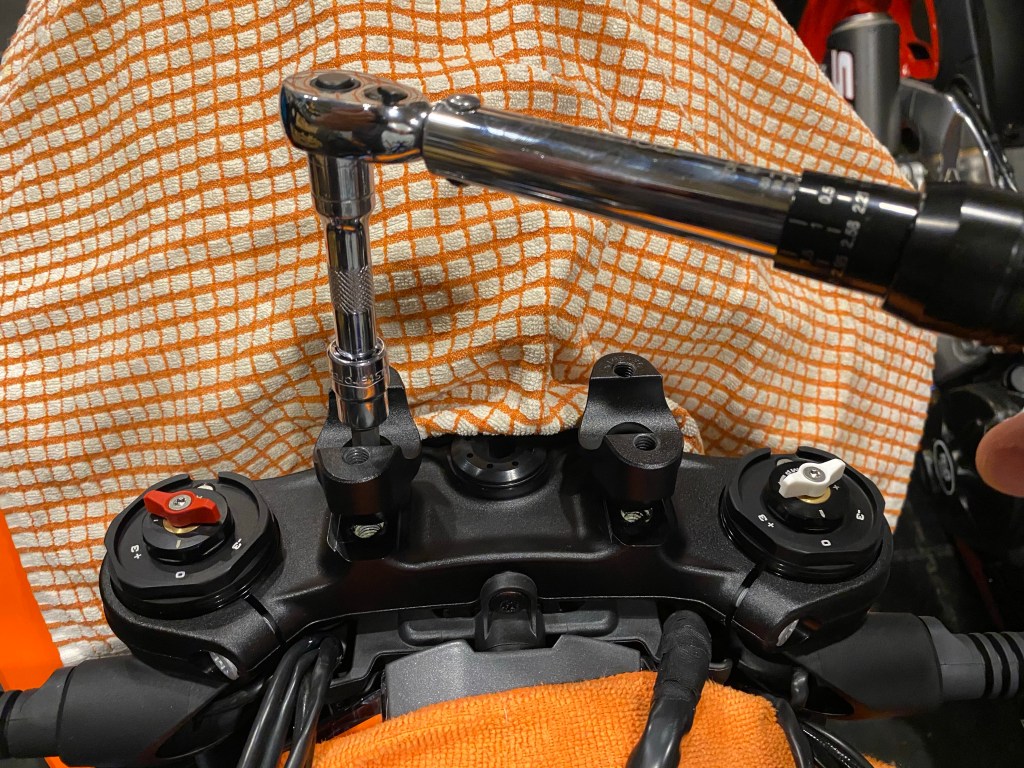
Step 7: Remove lower handlebar mounts (2 x T45 Torx).
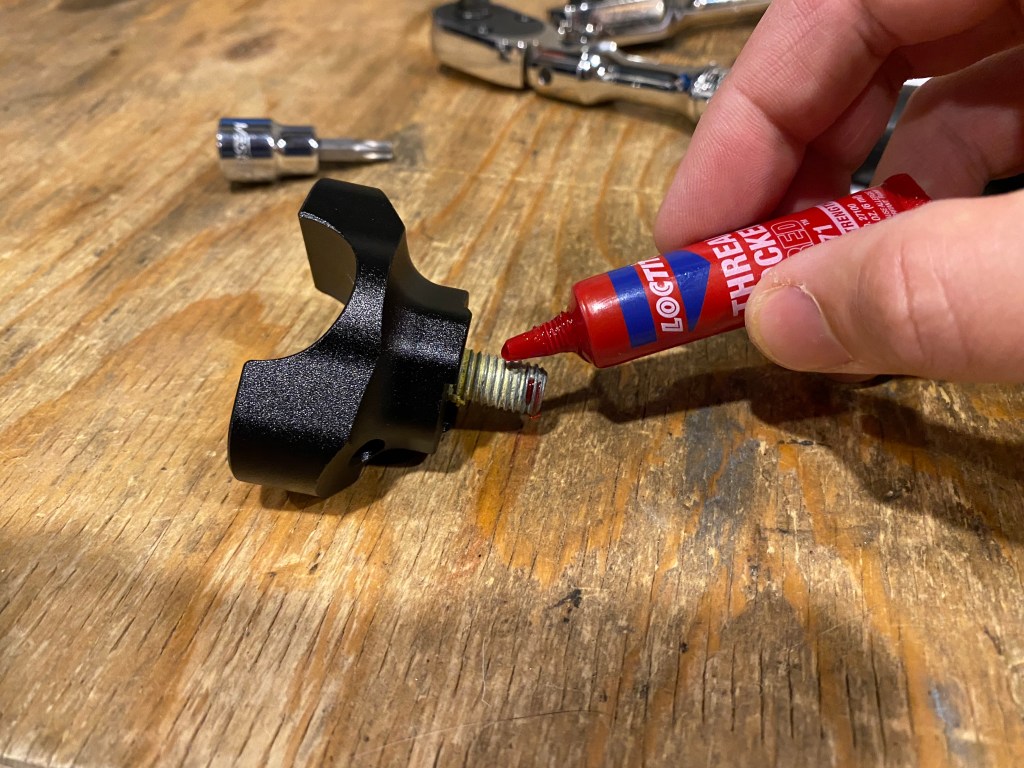
Step 8: Apply a small amount thread locker to lower handlebar mount bolts.
Step 9: Re-install lower handlebar mount bolts in desired position.
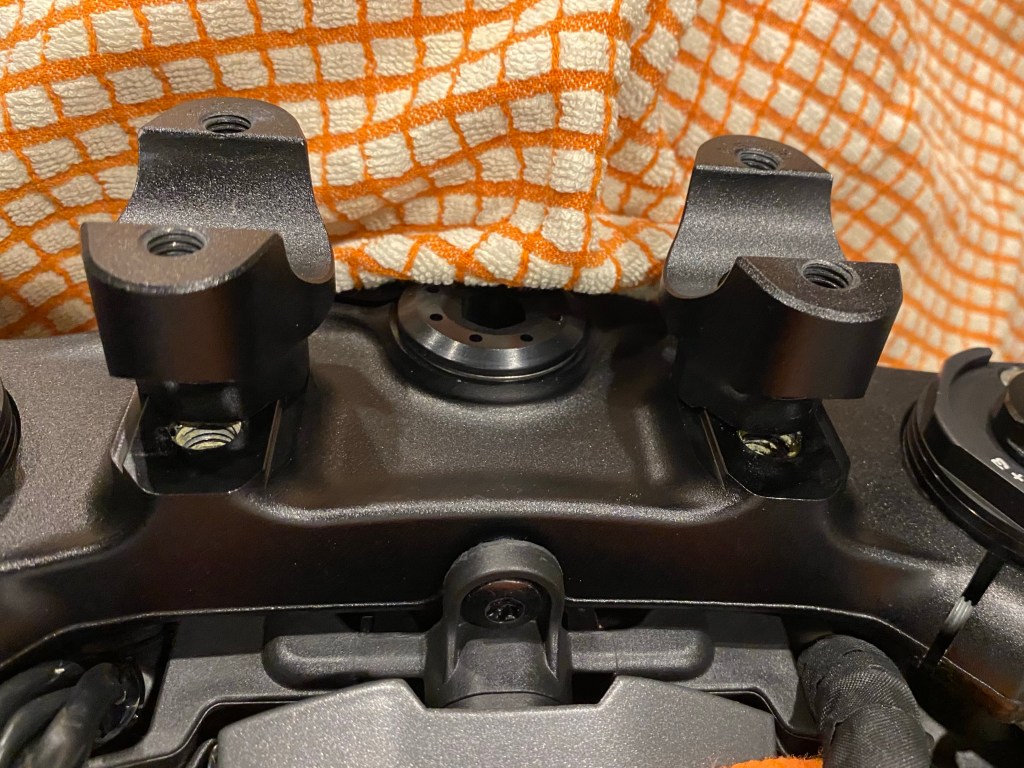
Step 10: Torque lower handlebar mounts to 40Nm (29.5 lbf ft).
Step 11: Re-install handlebars and top clamps (paying particular attention to orientation – flat part pointing towards front of bike)
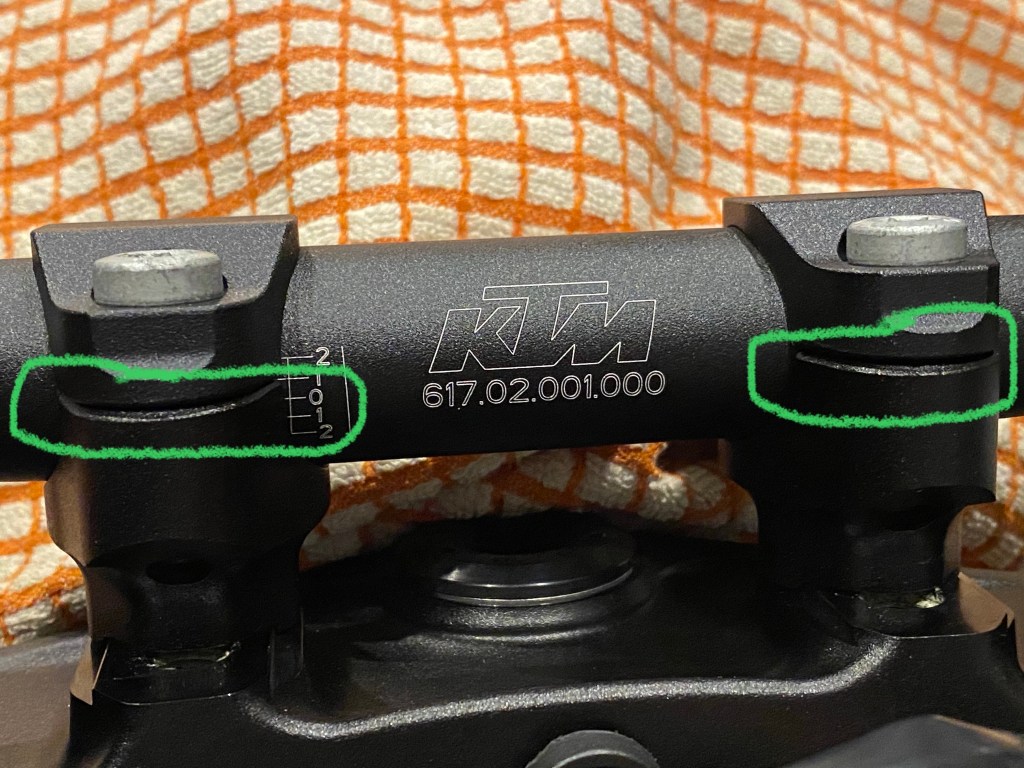
When tightening handlebar clamps, make sure spacing is even on each side of the clamp and that the bars are centered. Sit on the bike and position the bars to your liking before tightening the clamps.
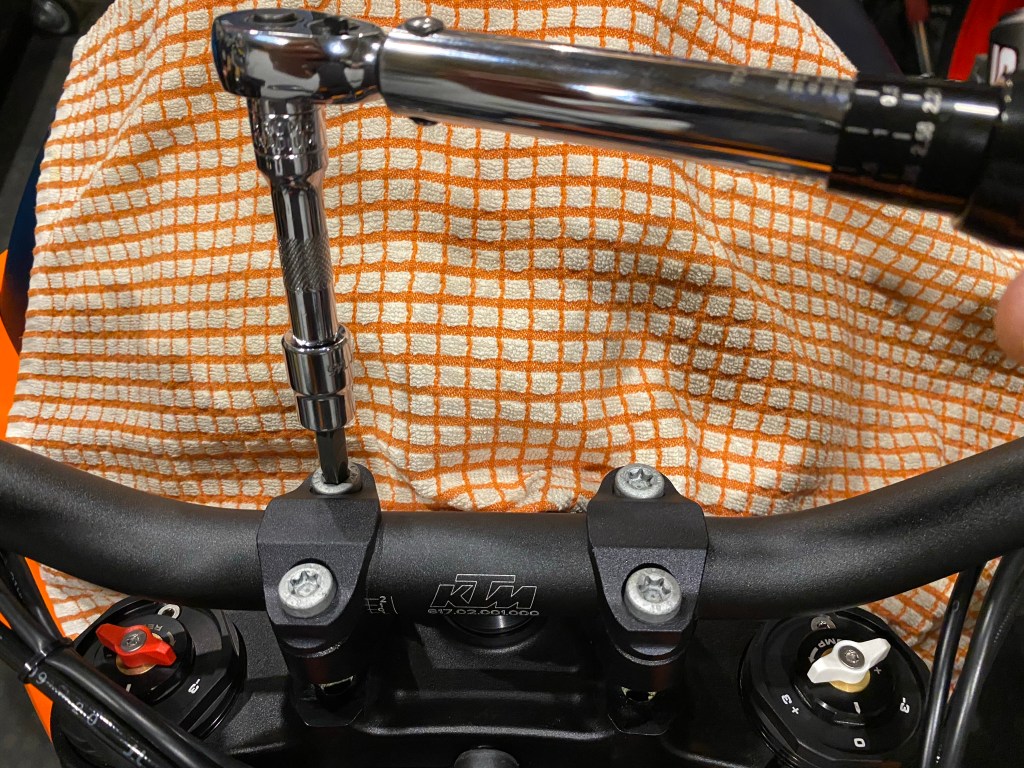
Step 12: Torque handlebar clamps to 20Nm (14.8 lbf ft).
Step 13: Re-mount gauge cluster / display. Note that the mount has 2 interlocking halves that must be assembled prior to tightening the bolt (1 x T30 Torx).
Step 14: Re-connect the display harness / cable. It should click to confirm it is correctly connected. Turn the bike on to ensure display is functioning correctly.
Step 15: Re-install plastic bracket cover (2 x T30 Torx).
Step 16: Take the bike for a test ride and see how everything feels, then re-adjust bar angle if necessary.

Leave a comment