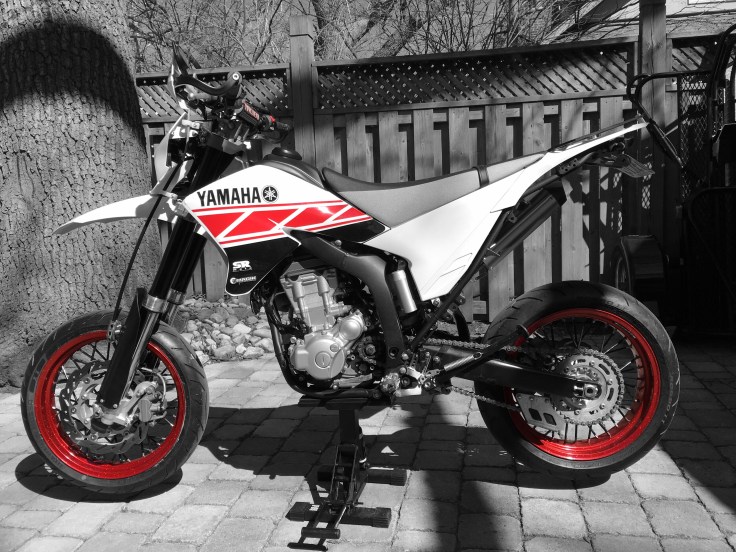
They say more isn’t always better and that’s definitely the case when it comes to small displacement Supermotos. The WR250X is a bike that Yamaha produced for just a few years and Canada didn’t get many of them during that time (2008-2010). As a result, good used examples are hard to come by and that’s how this Chance Moto build project started.

We sourced a low mileage bike (9,000 kms) from Alma, Quebec that was in good overall mechanical condition but had been neglected cosmetically and hadn’t been well maintained.
Before starting the build, we designed the bike, using inspiration images from the web, and combining elements from the street, dirt and SuperMoto factions to come up with a design that’s clean, unique and exudes quality.
We started by removing damaged and un-necessary parts that had been added by previous owners over the years:
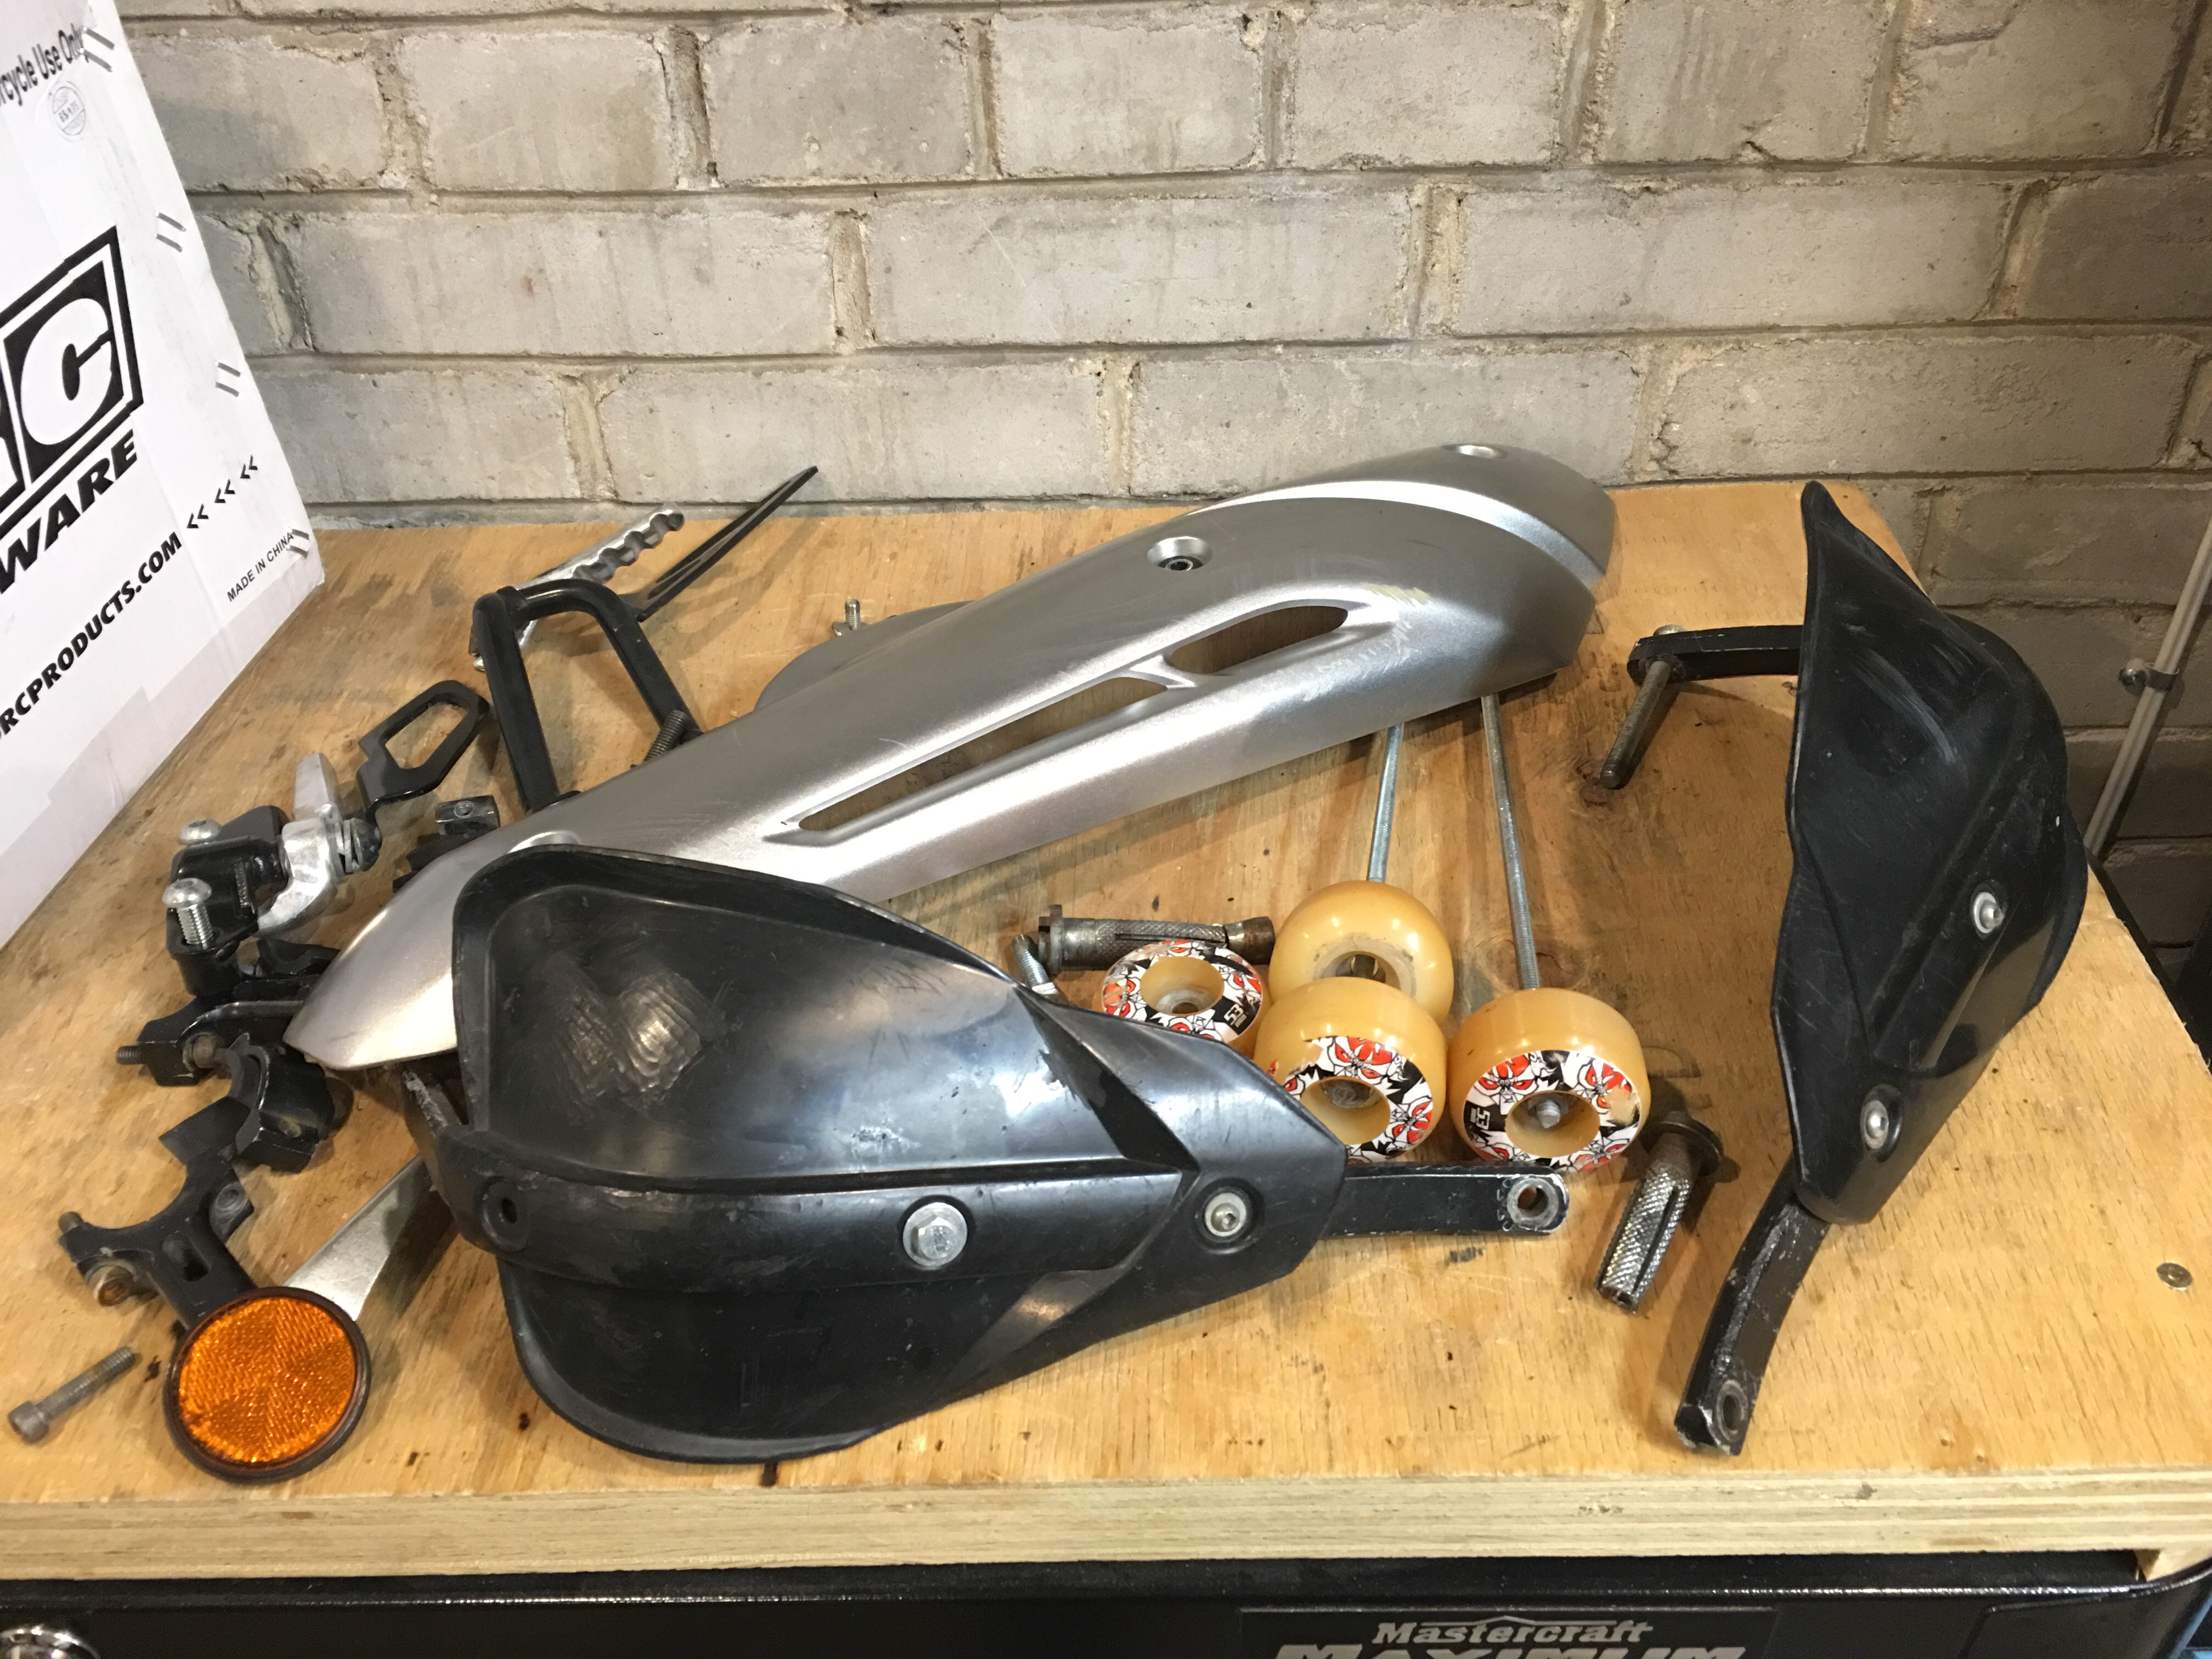
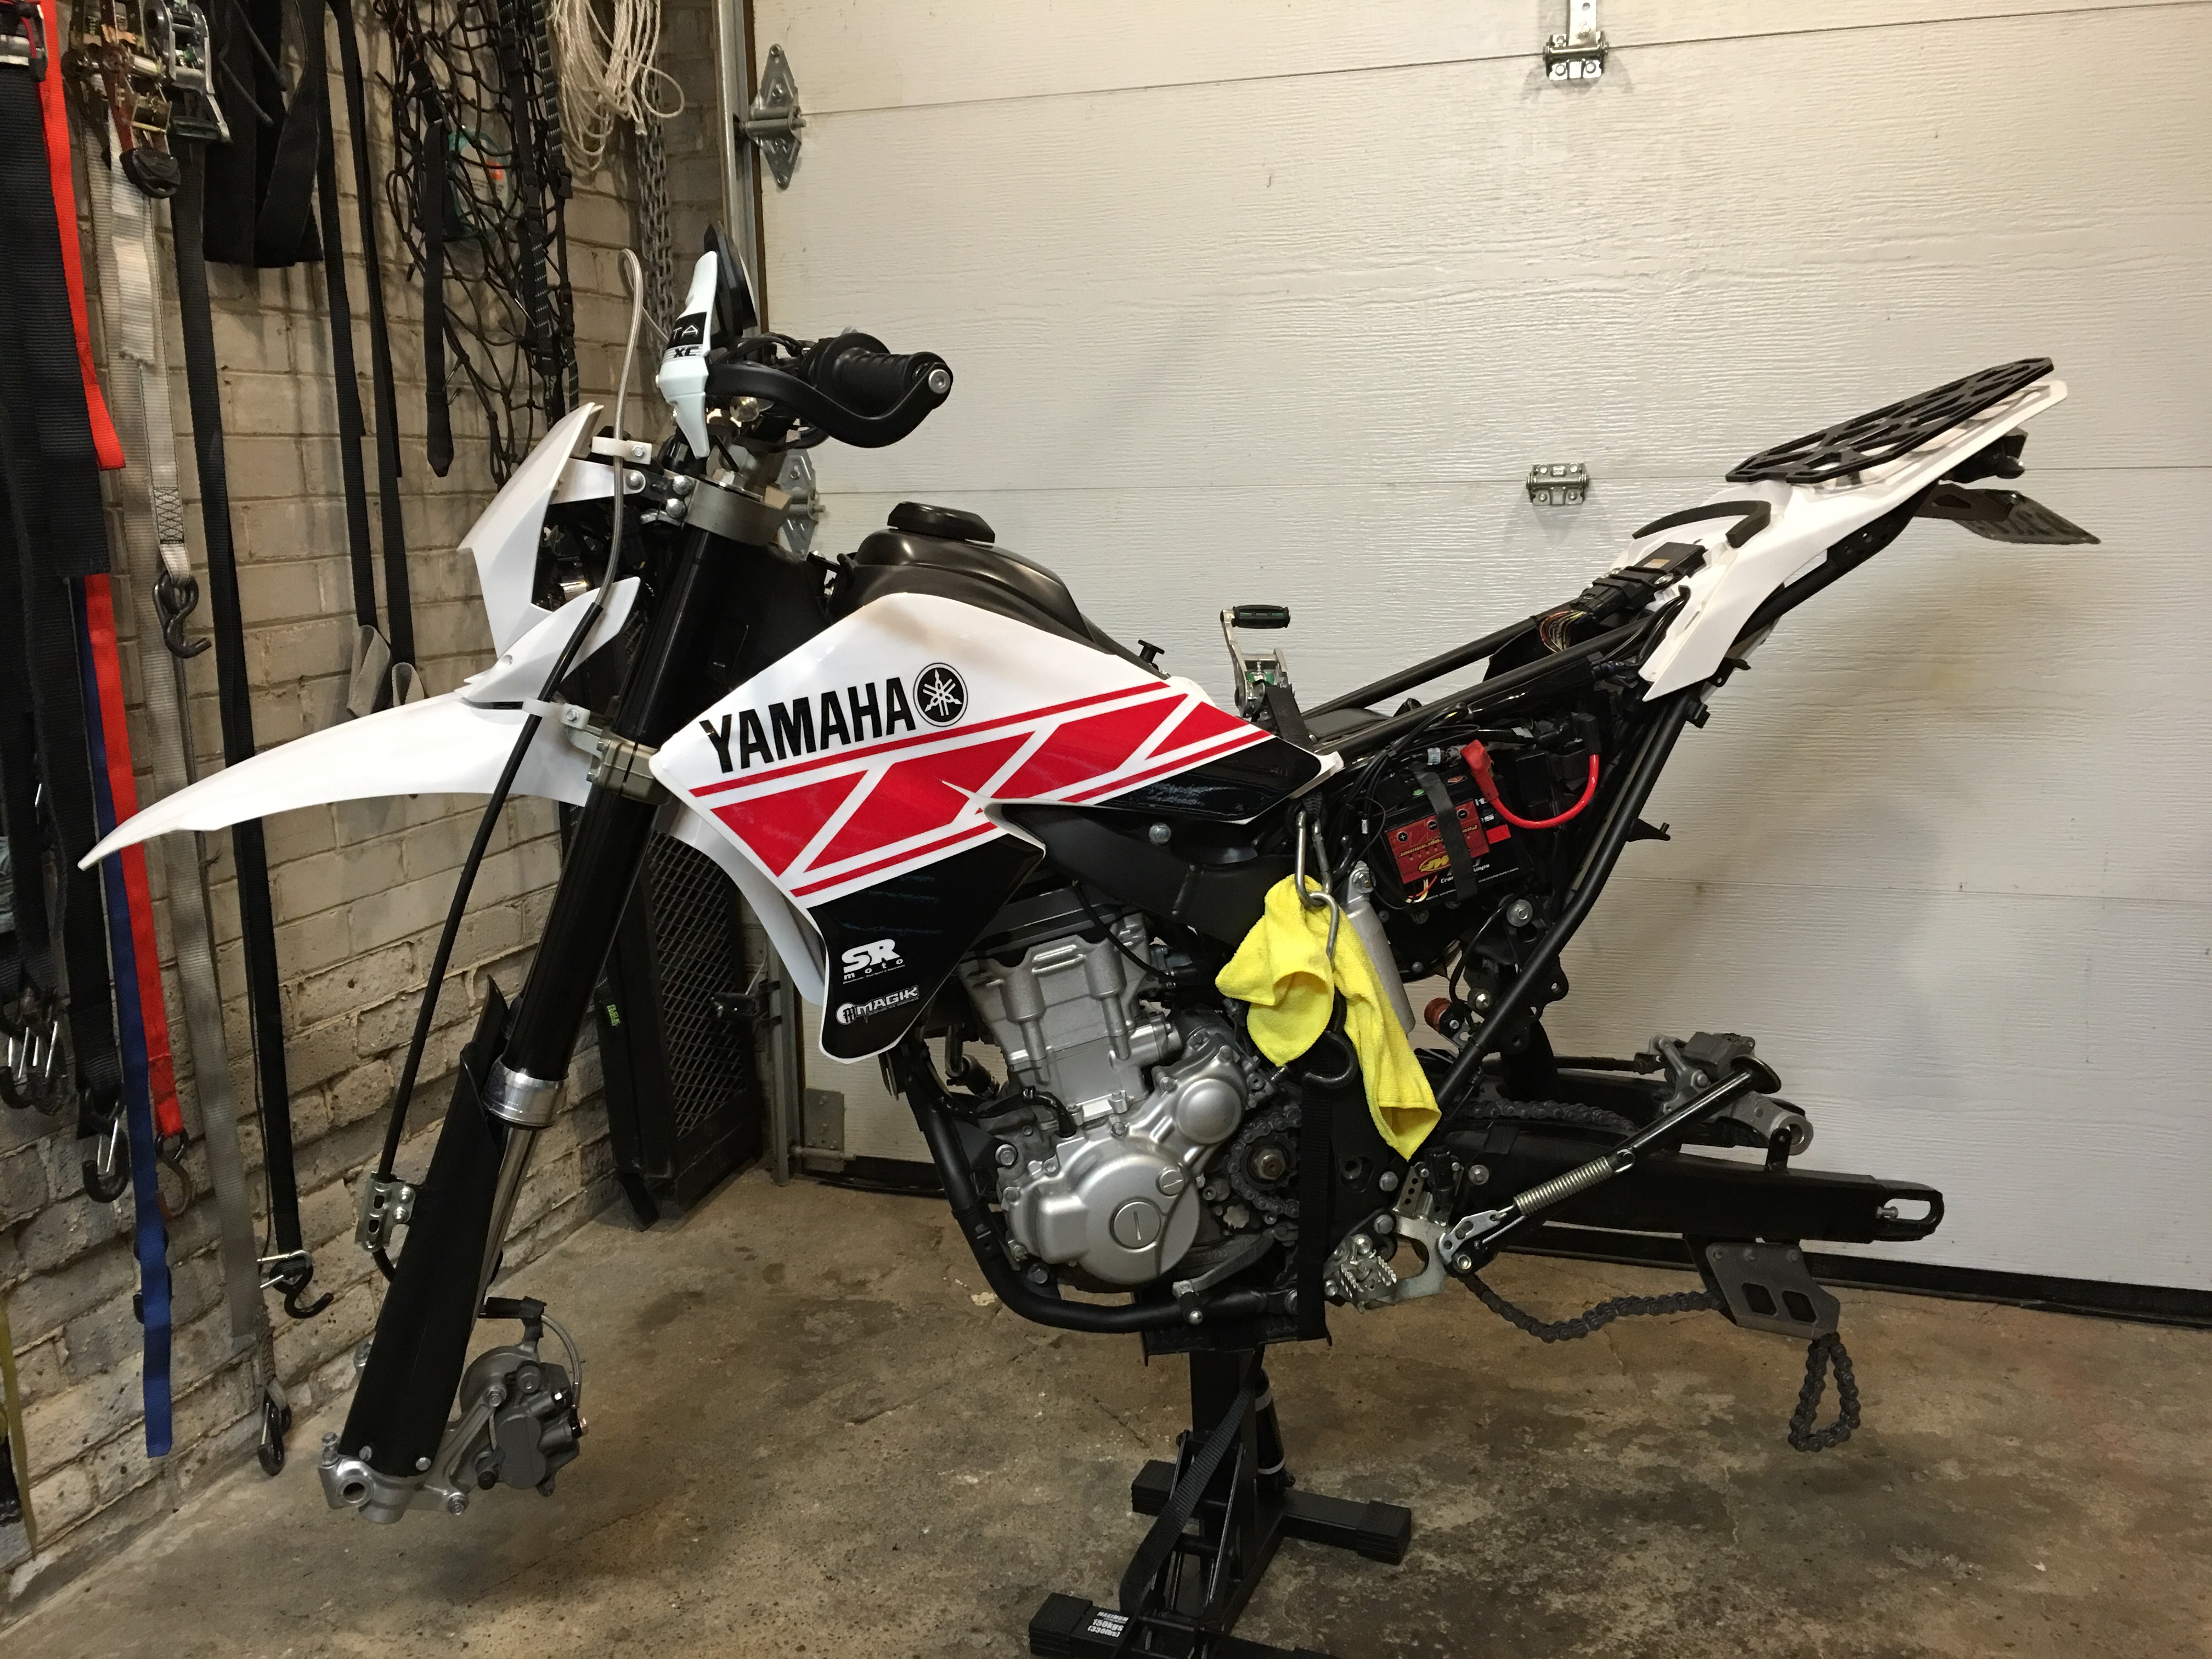
By the time we removed all the parts that needed to be cleaned, serviced, repaired or replaced, there wasn’t much left:

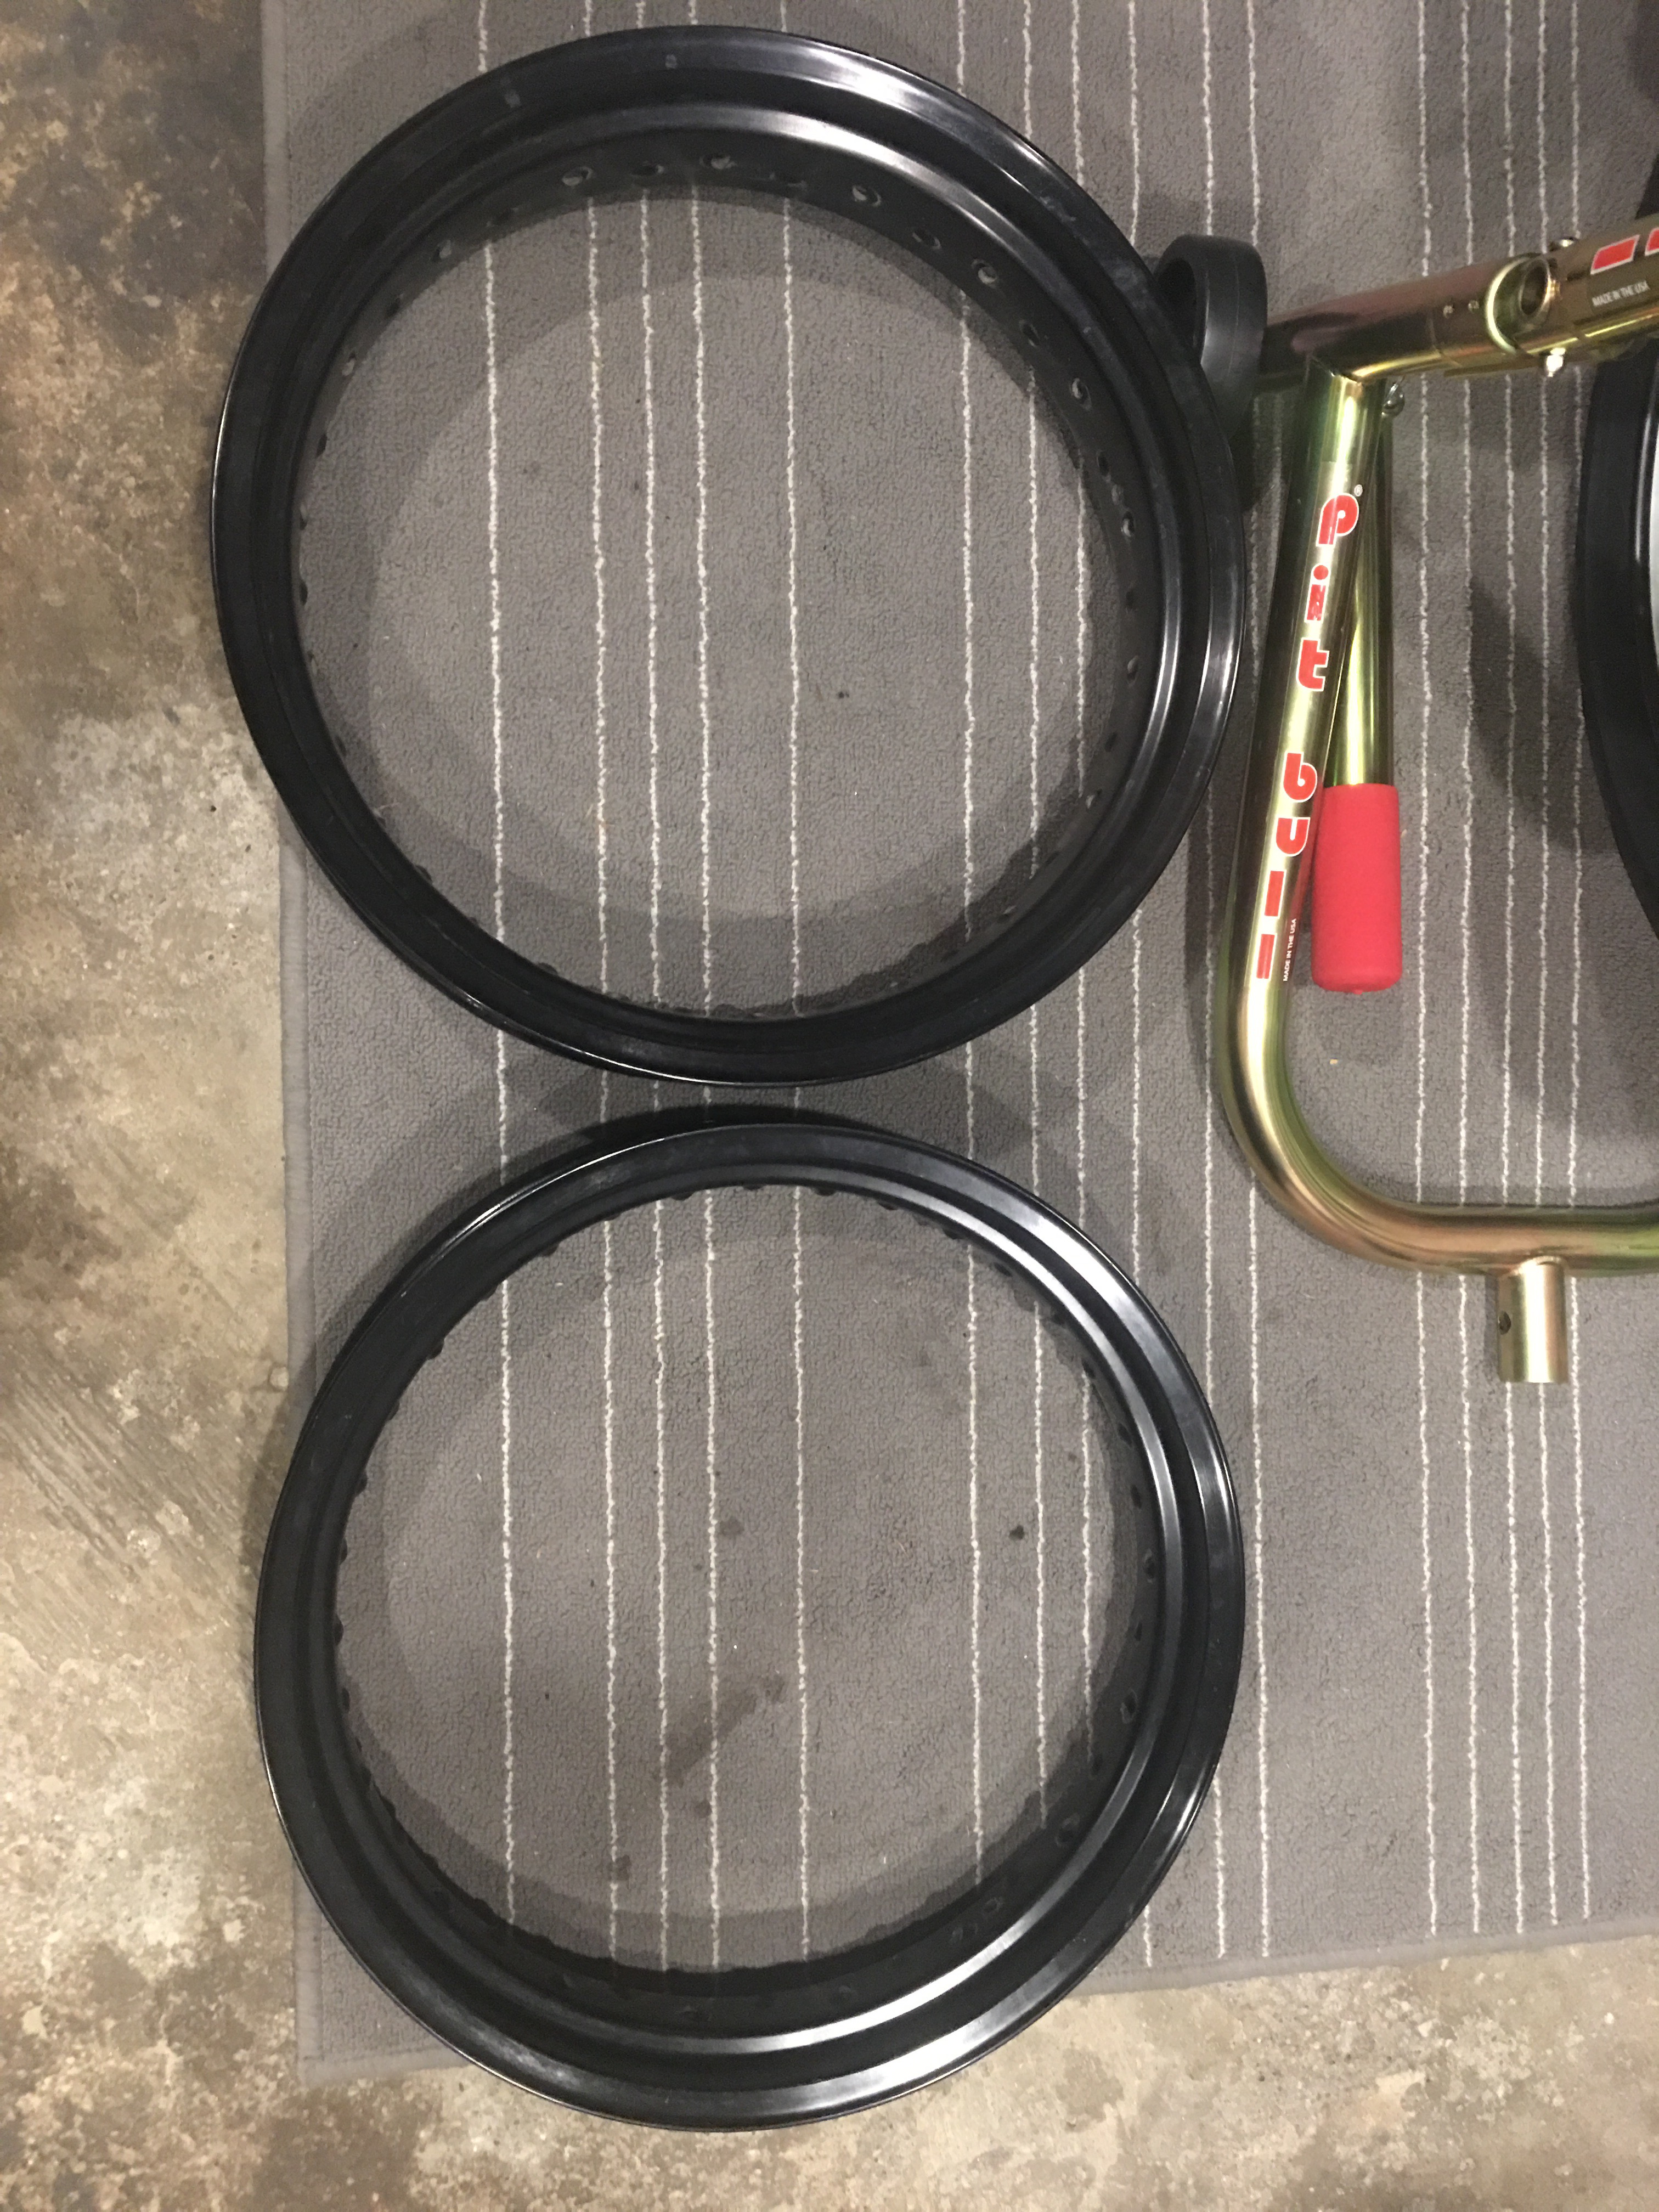
The rims had dents and scratches in them and the spokes were rusting so we pulled them apart and sent the rims out for powder coating.
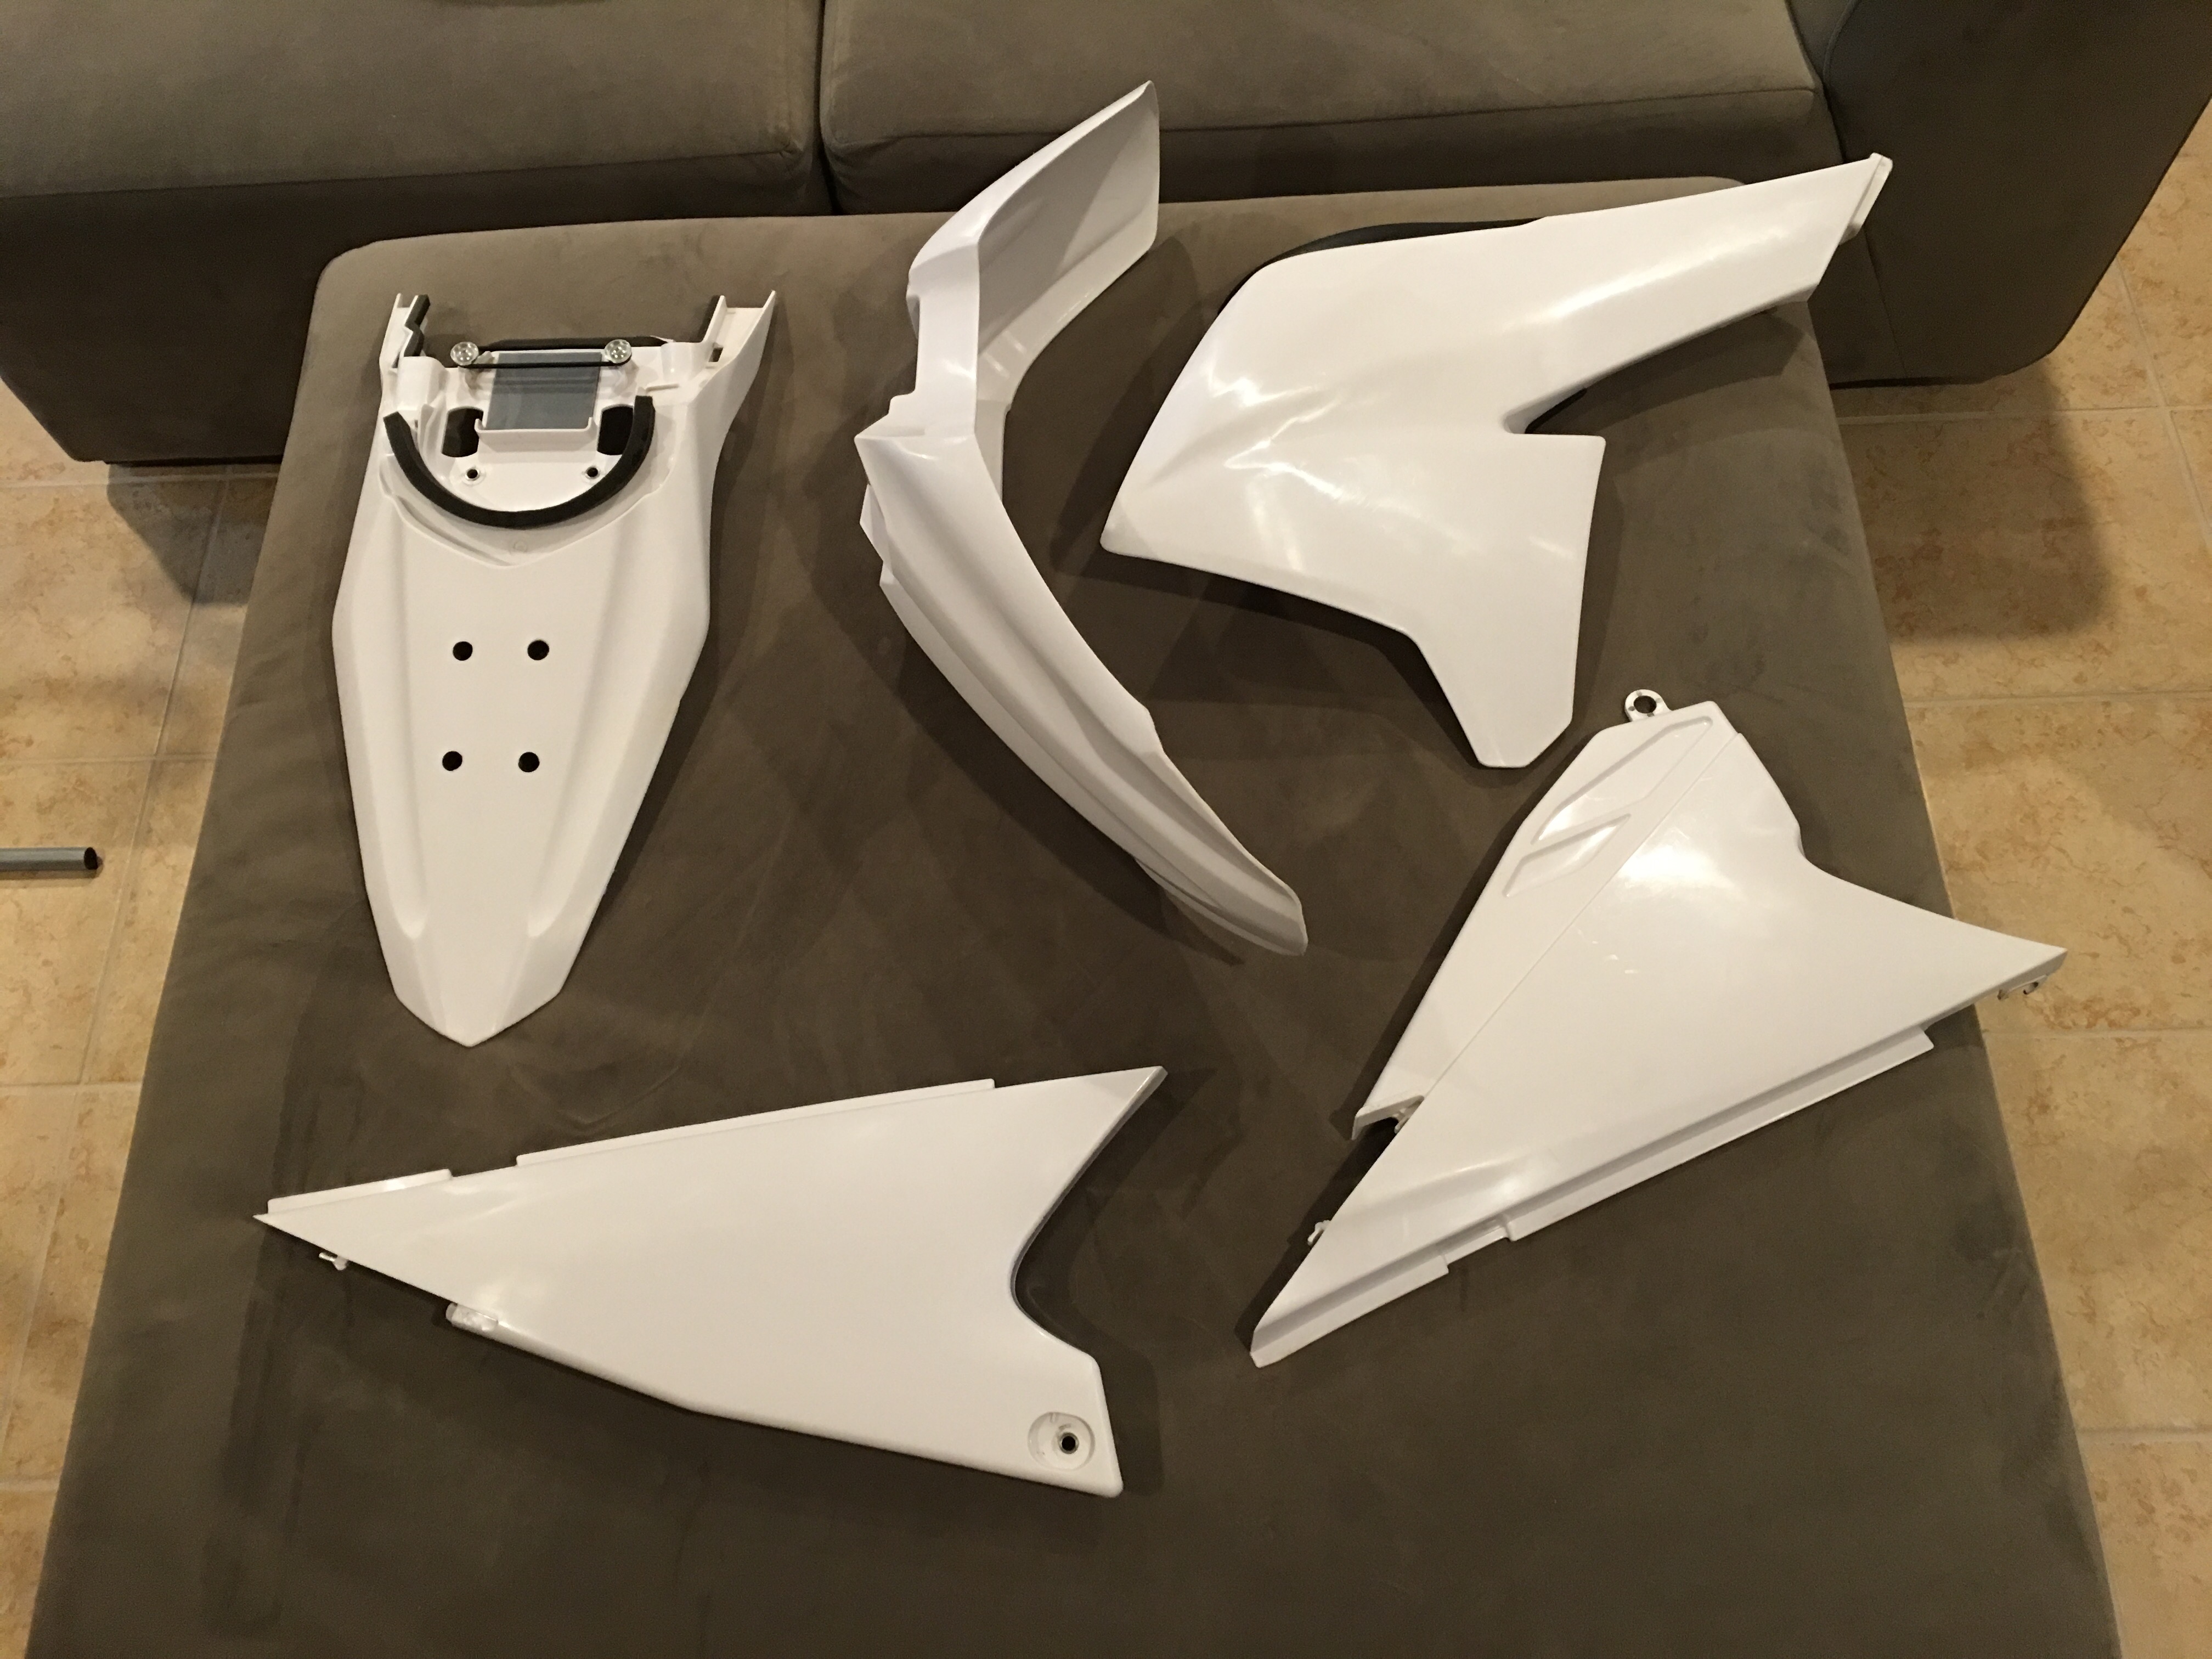
White plastics were all scuffed so we took the secret weapon to them: Mr Clean Magic Eraser. Works wonders on restoring this type of motorcycle plastics:
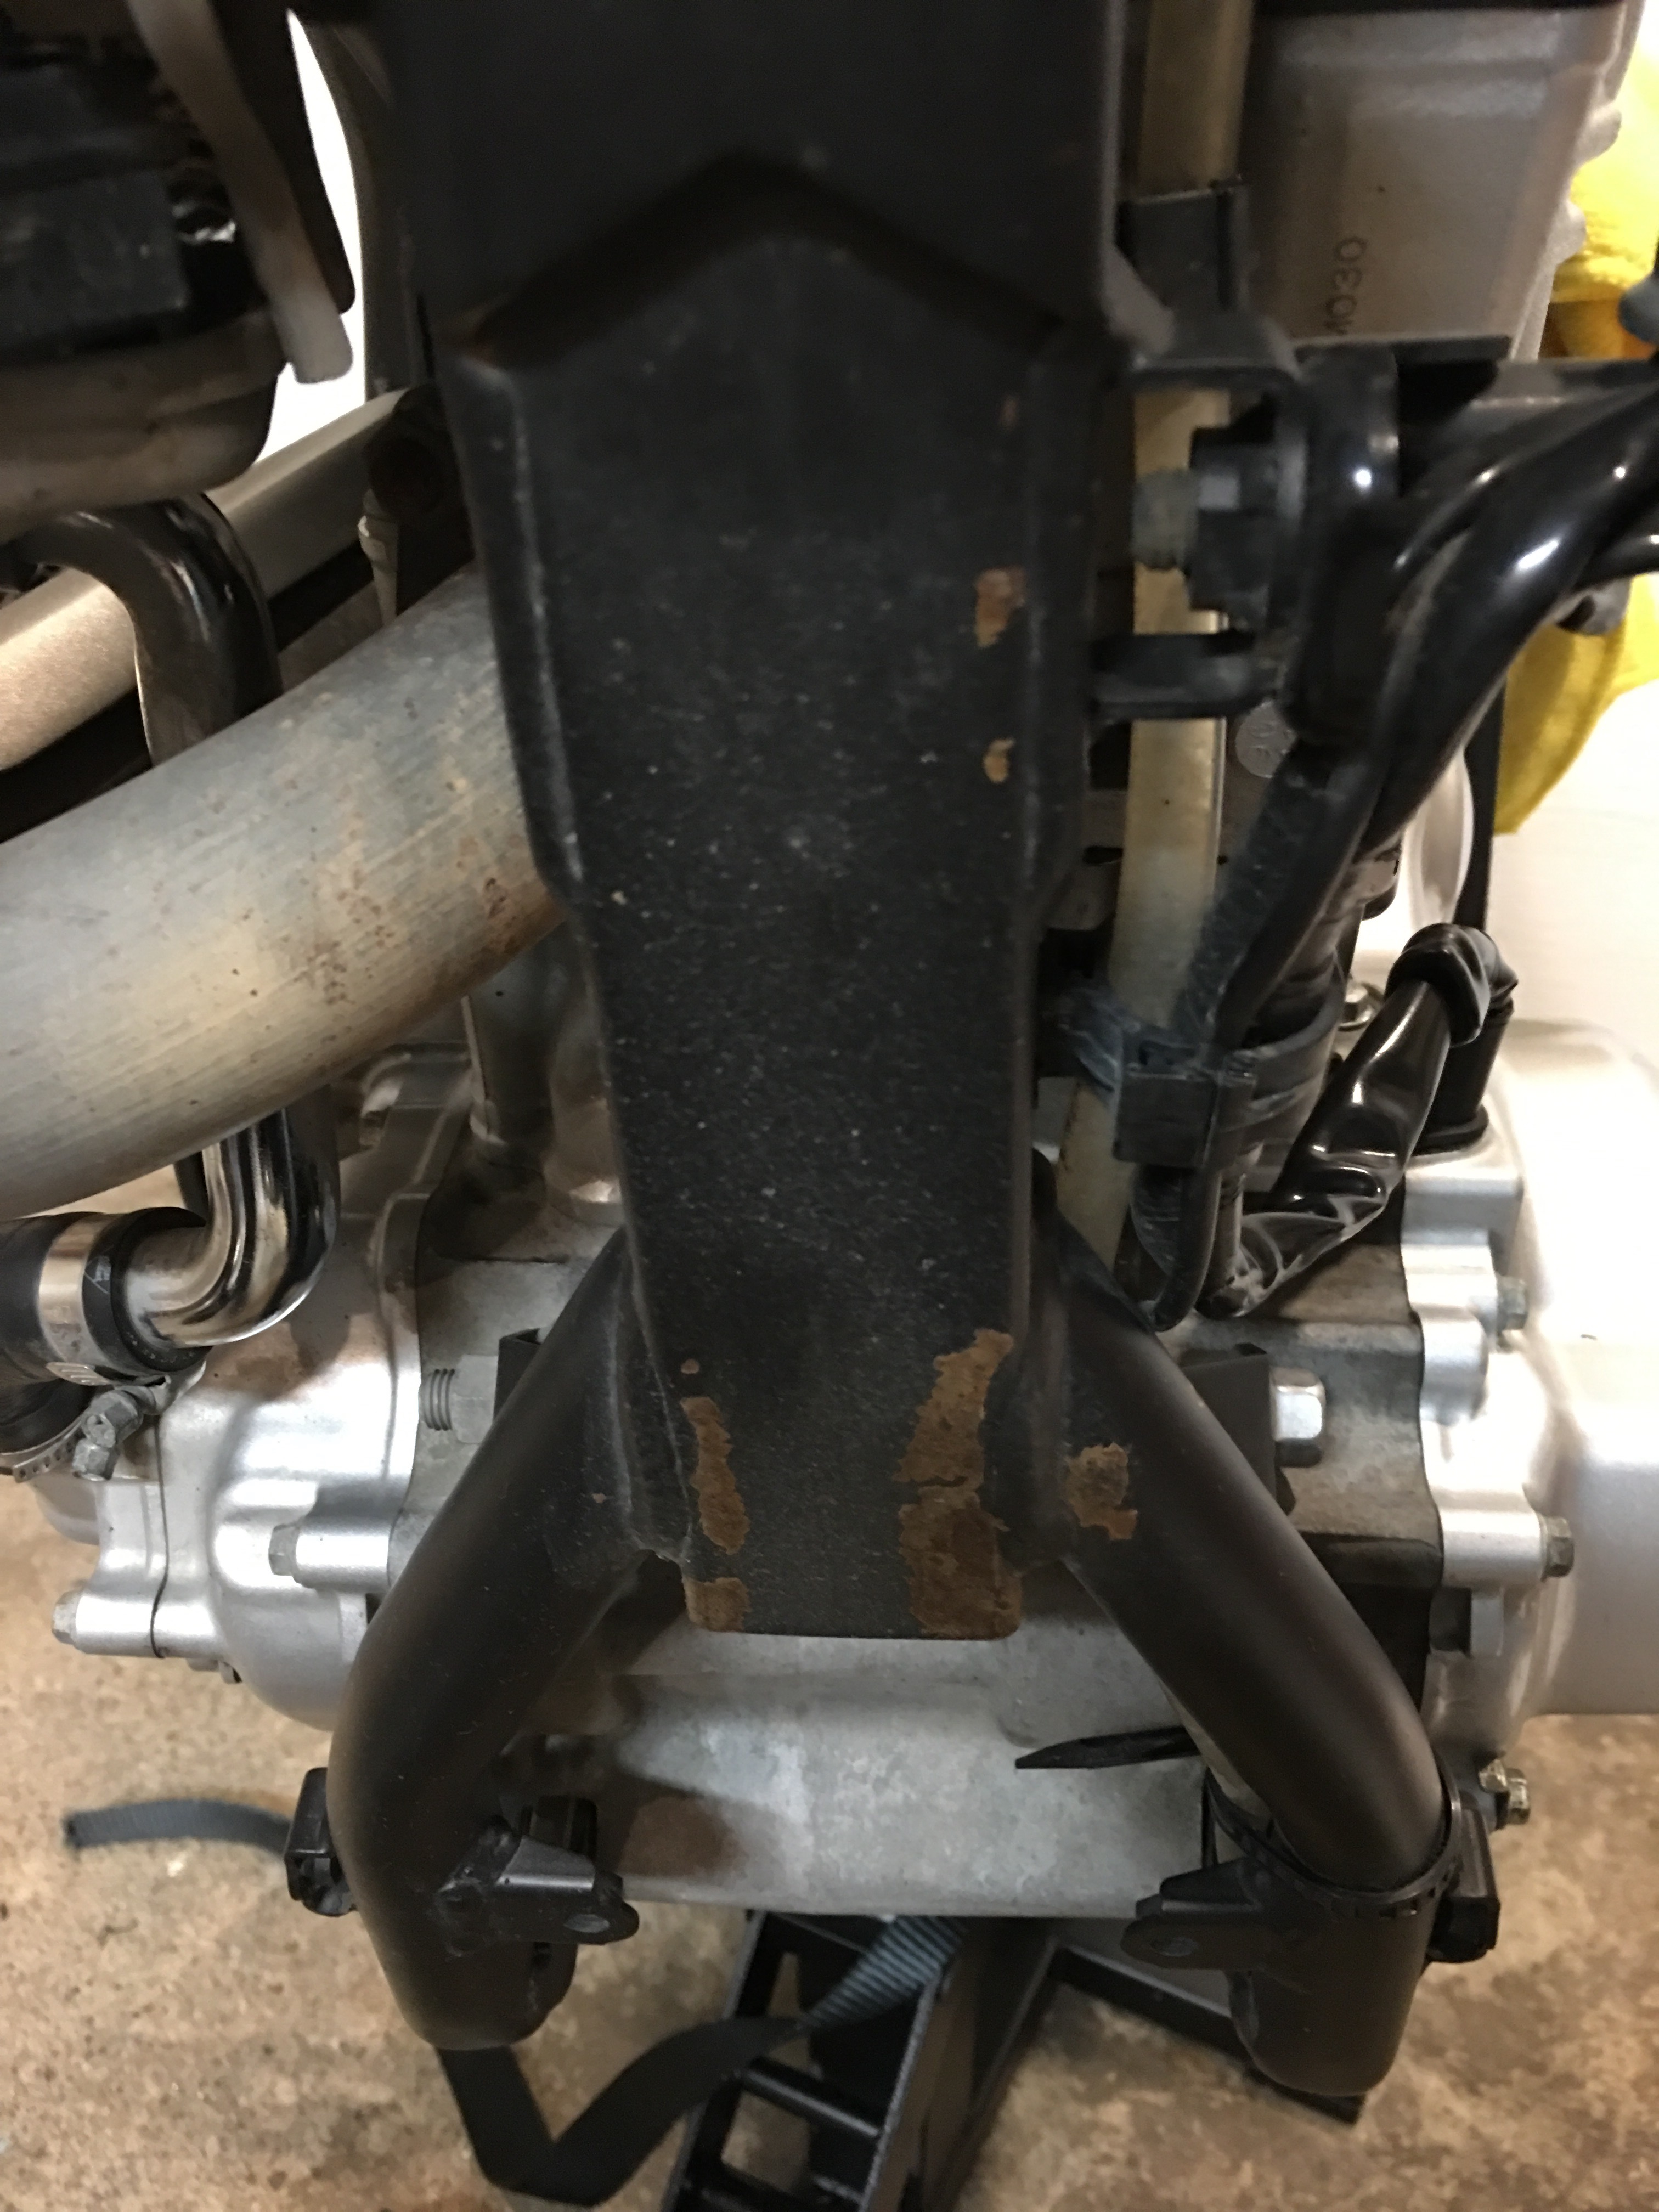
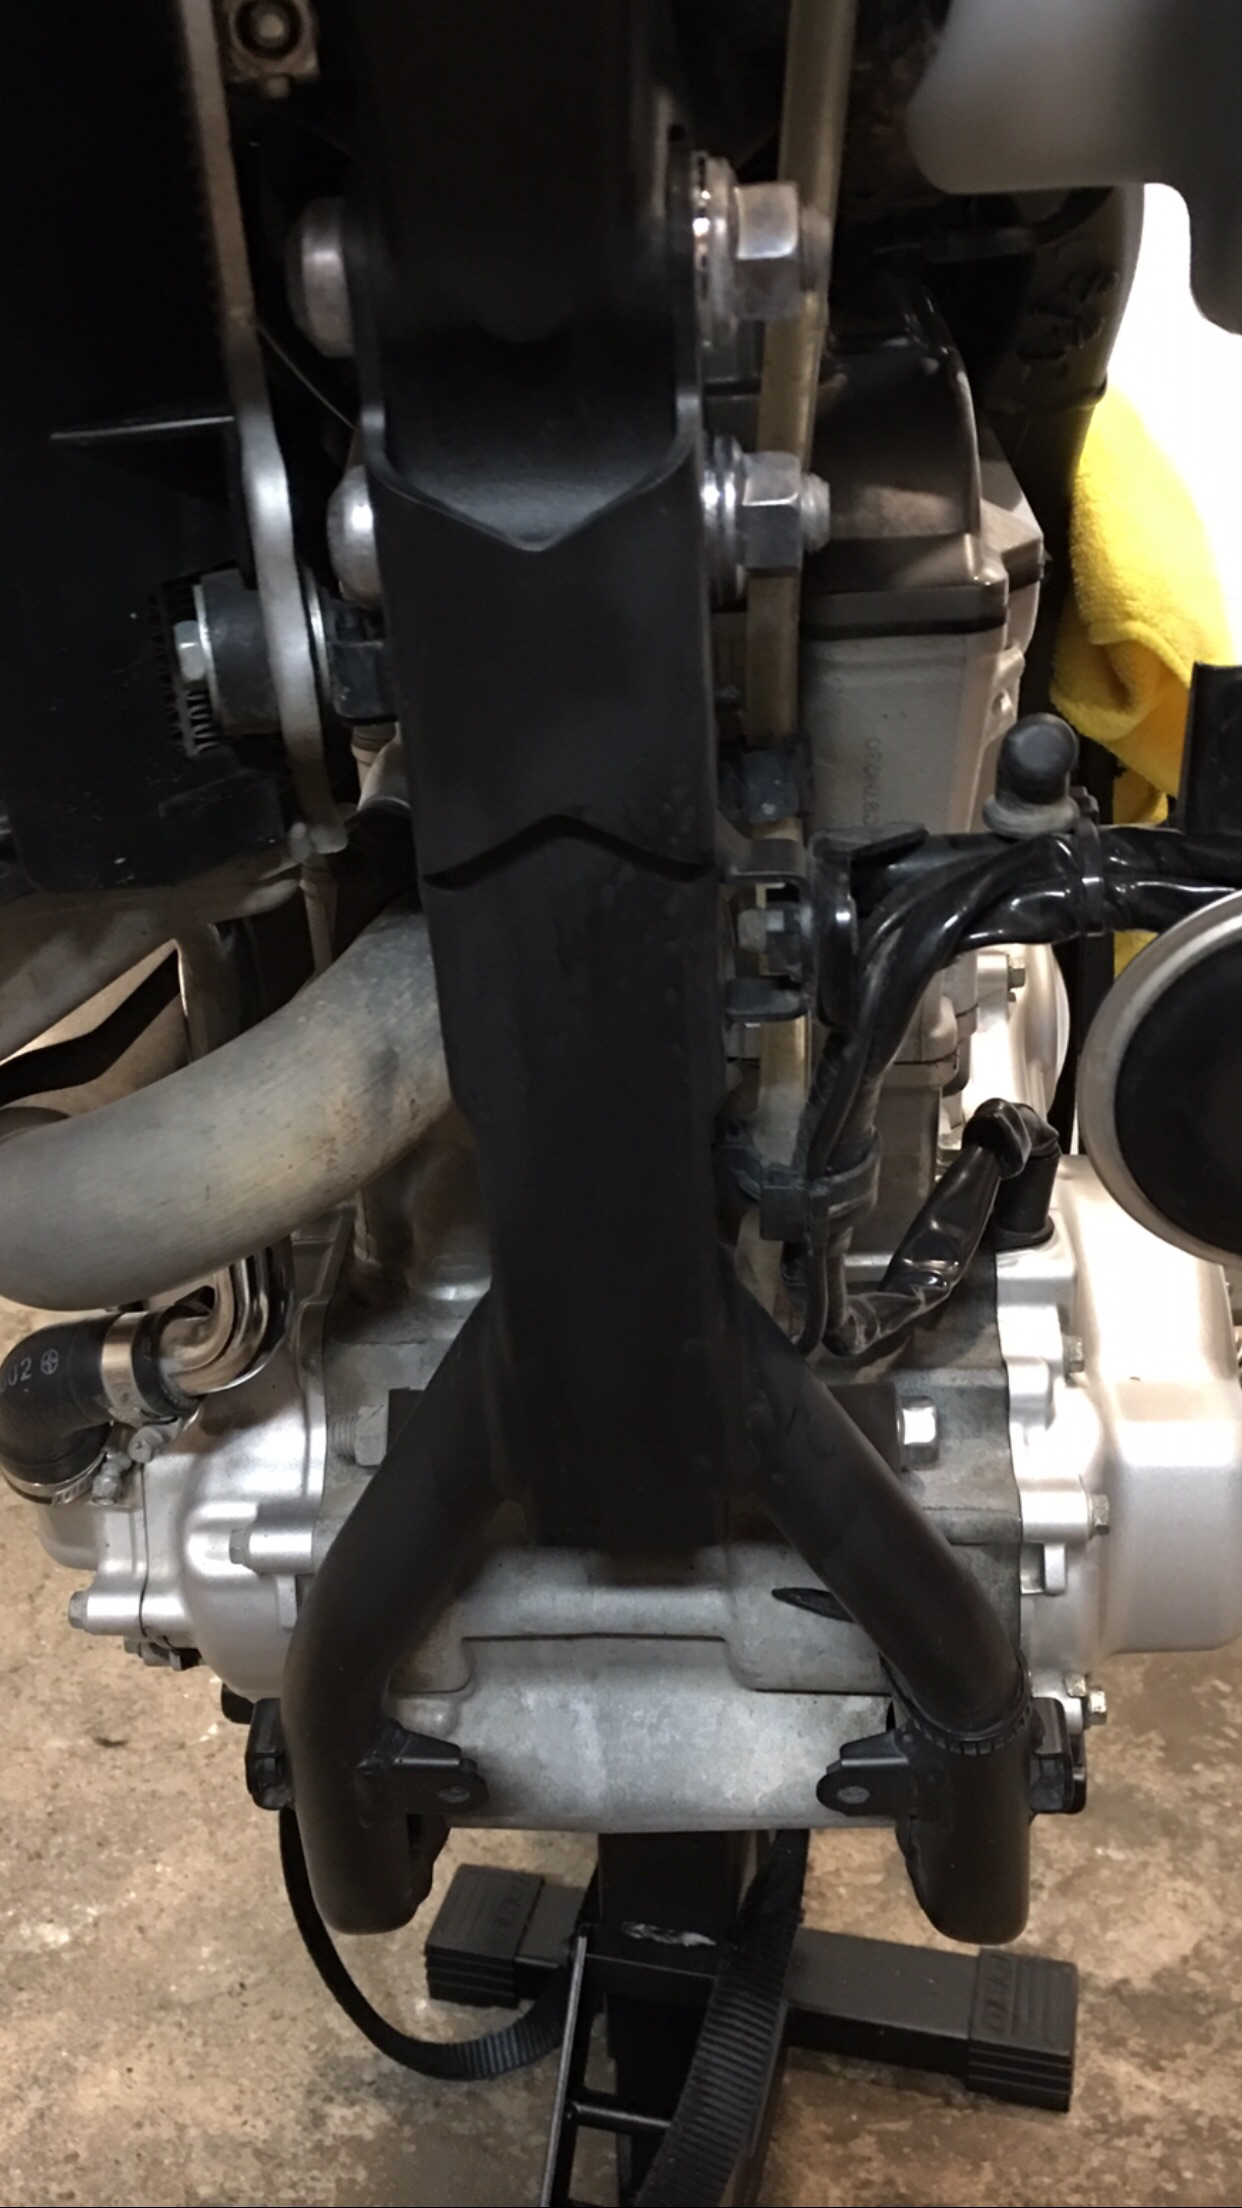
The bike’s frame had developed rust from stone chips and from being dropped so we sanded and re-painted different sections to get it back to stock.
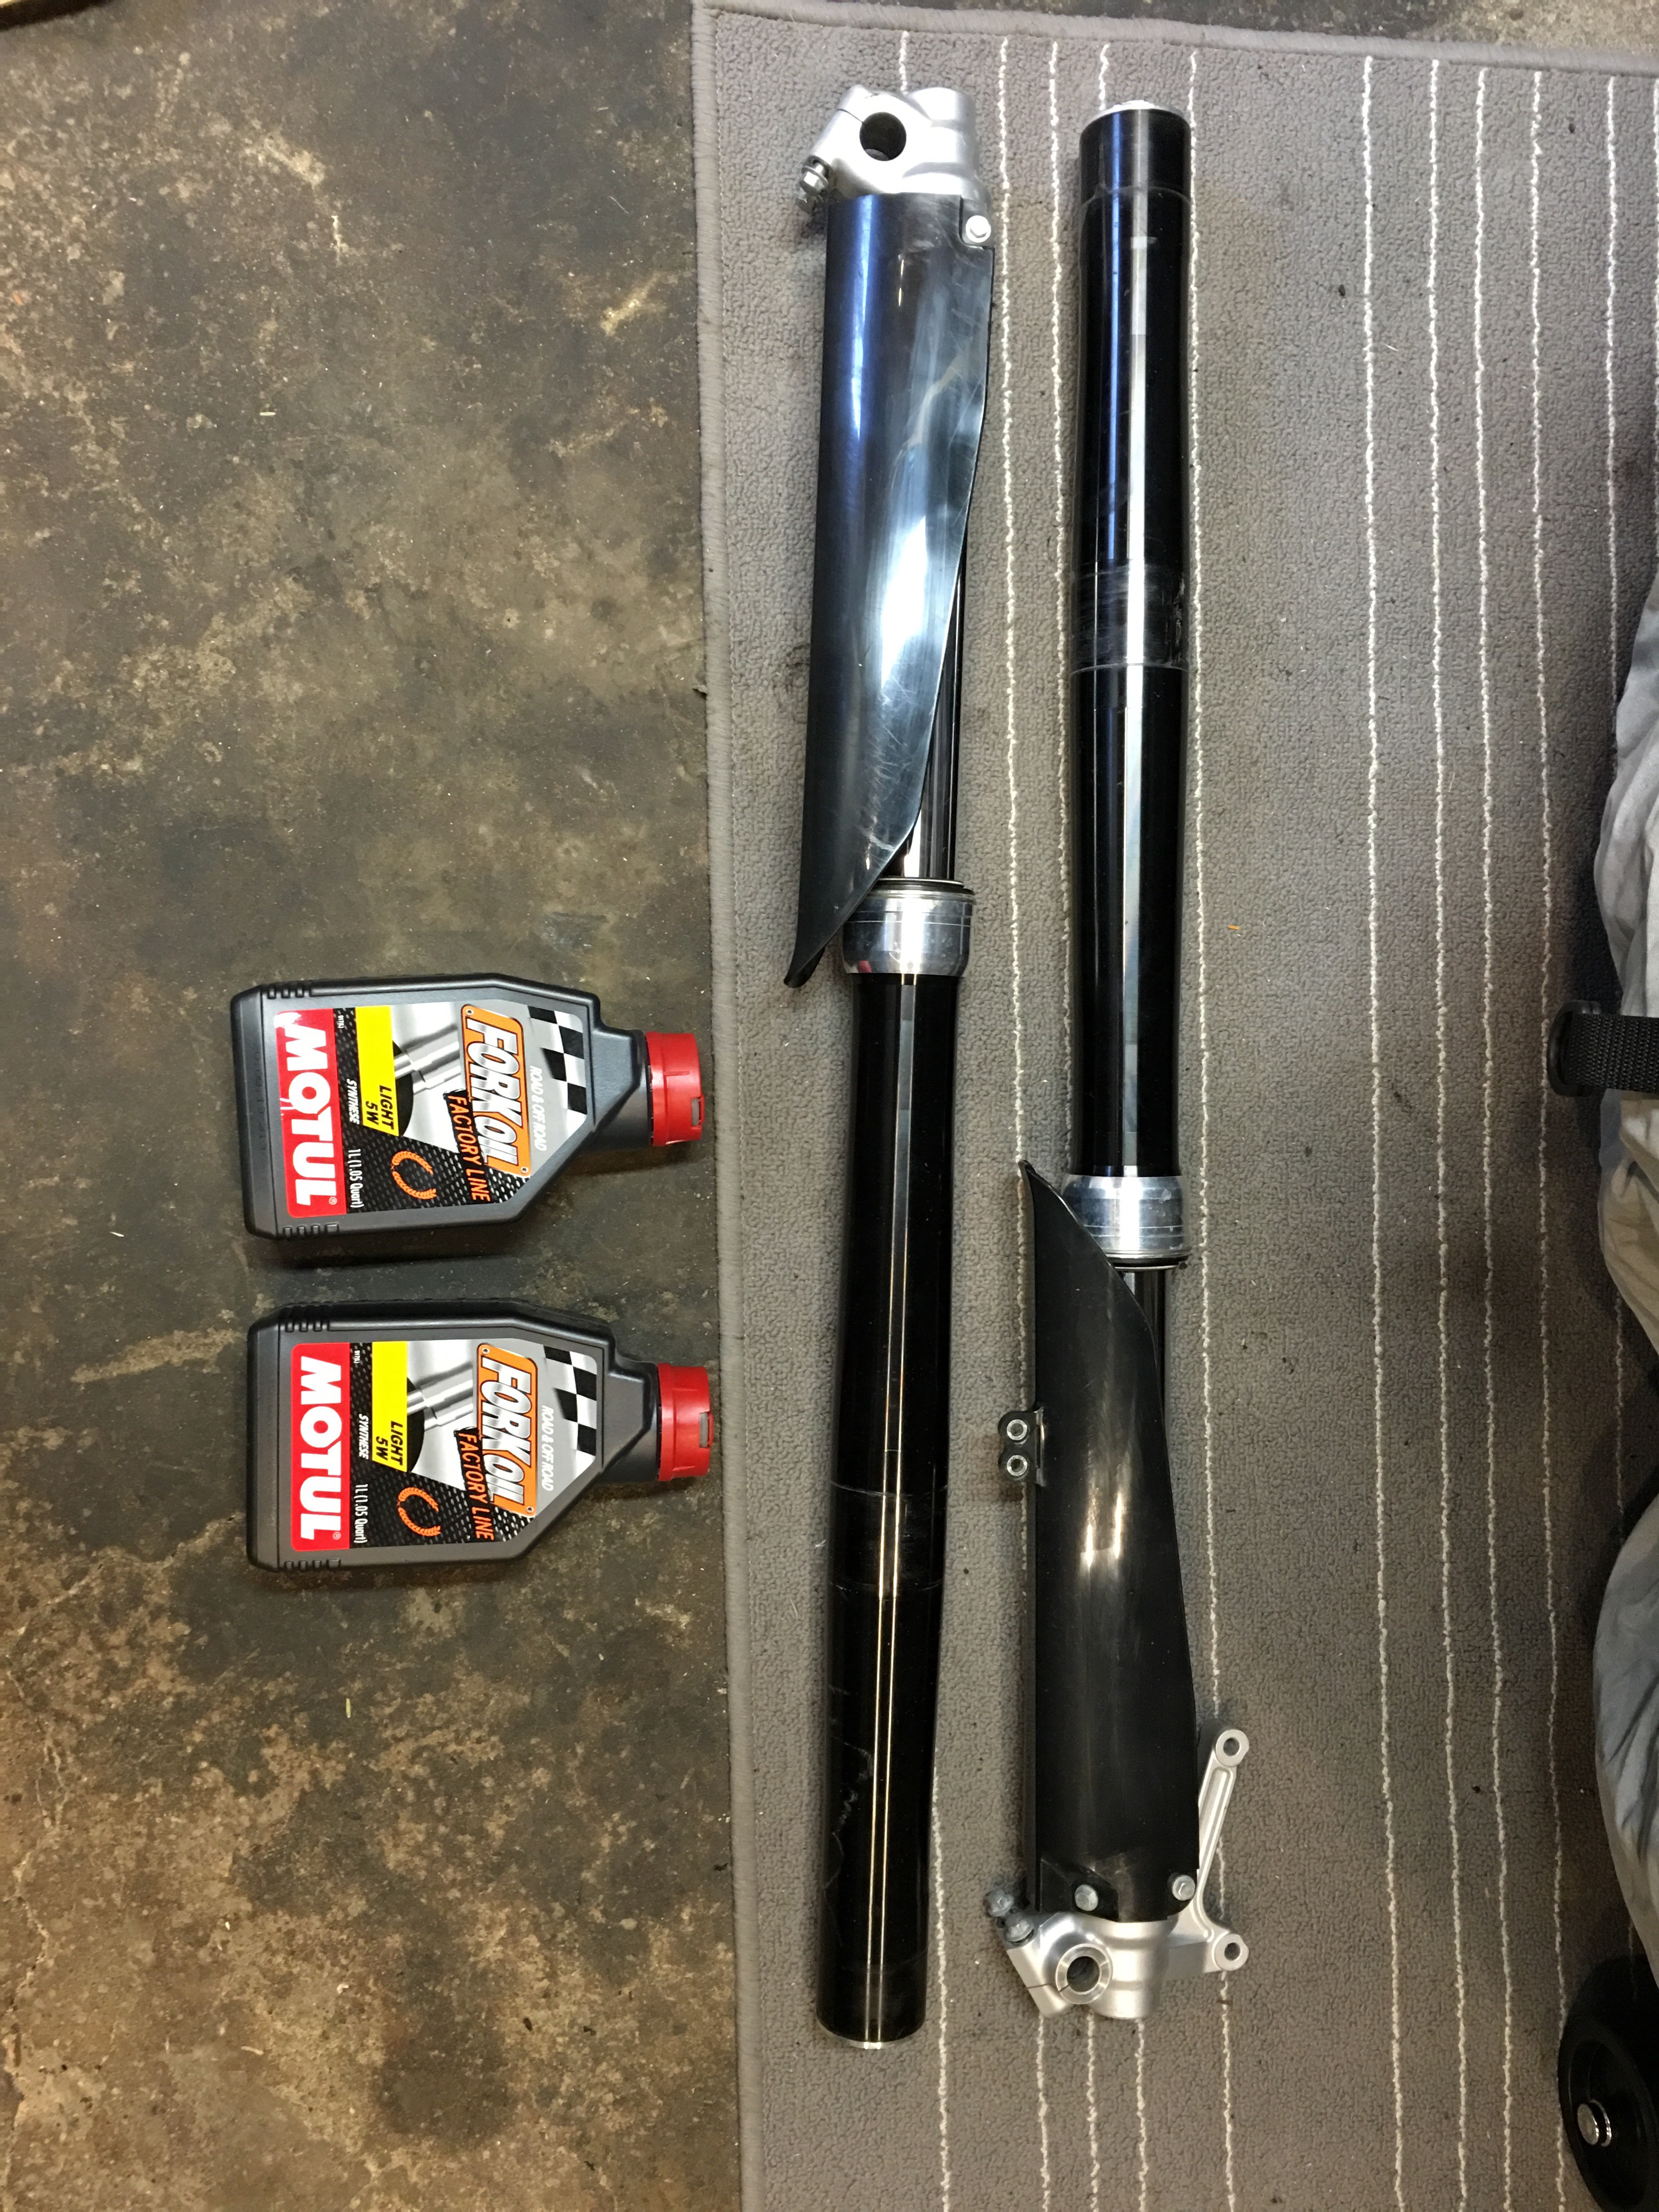
Fork oil was 6 years old and was overdue for service so we removed the front end and took apart the fork:
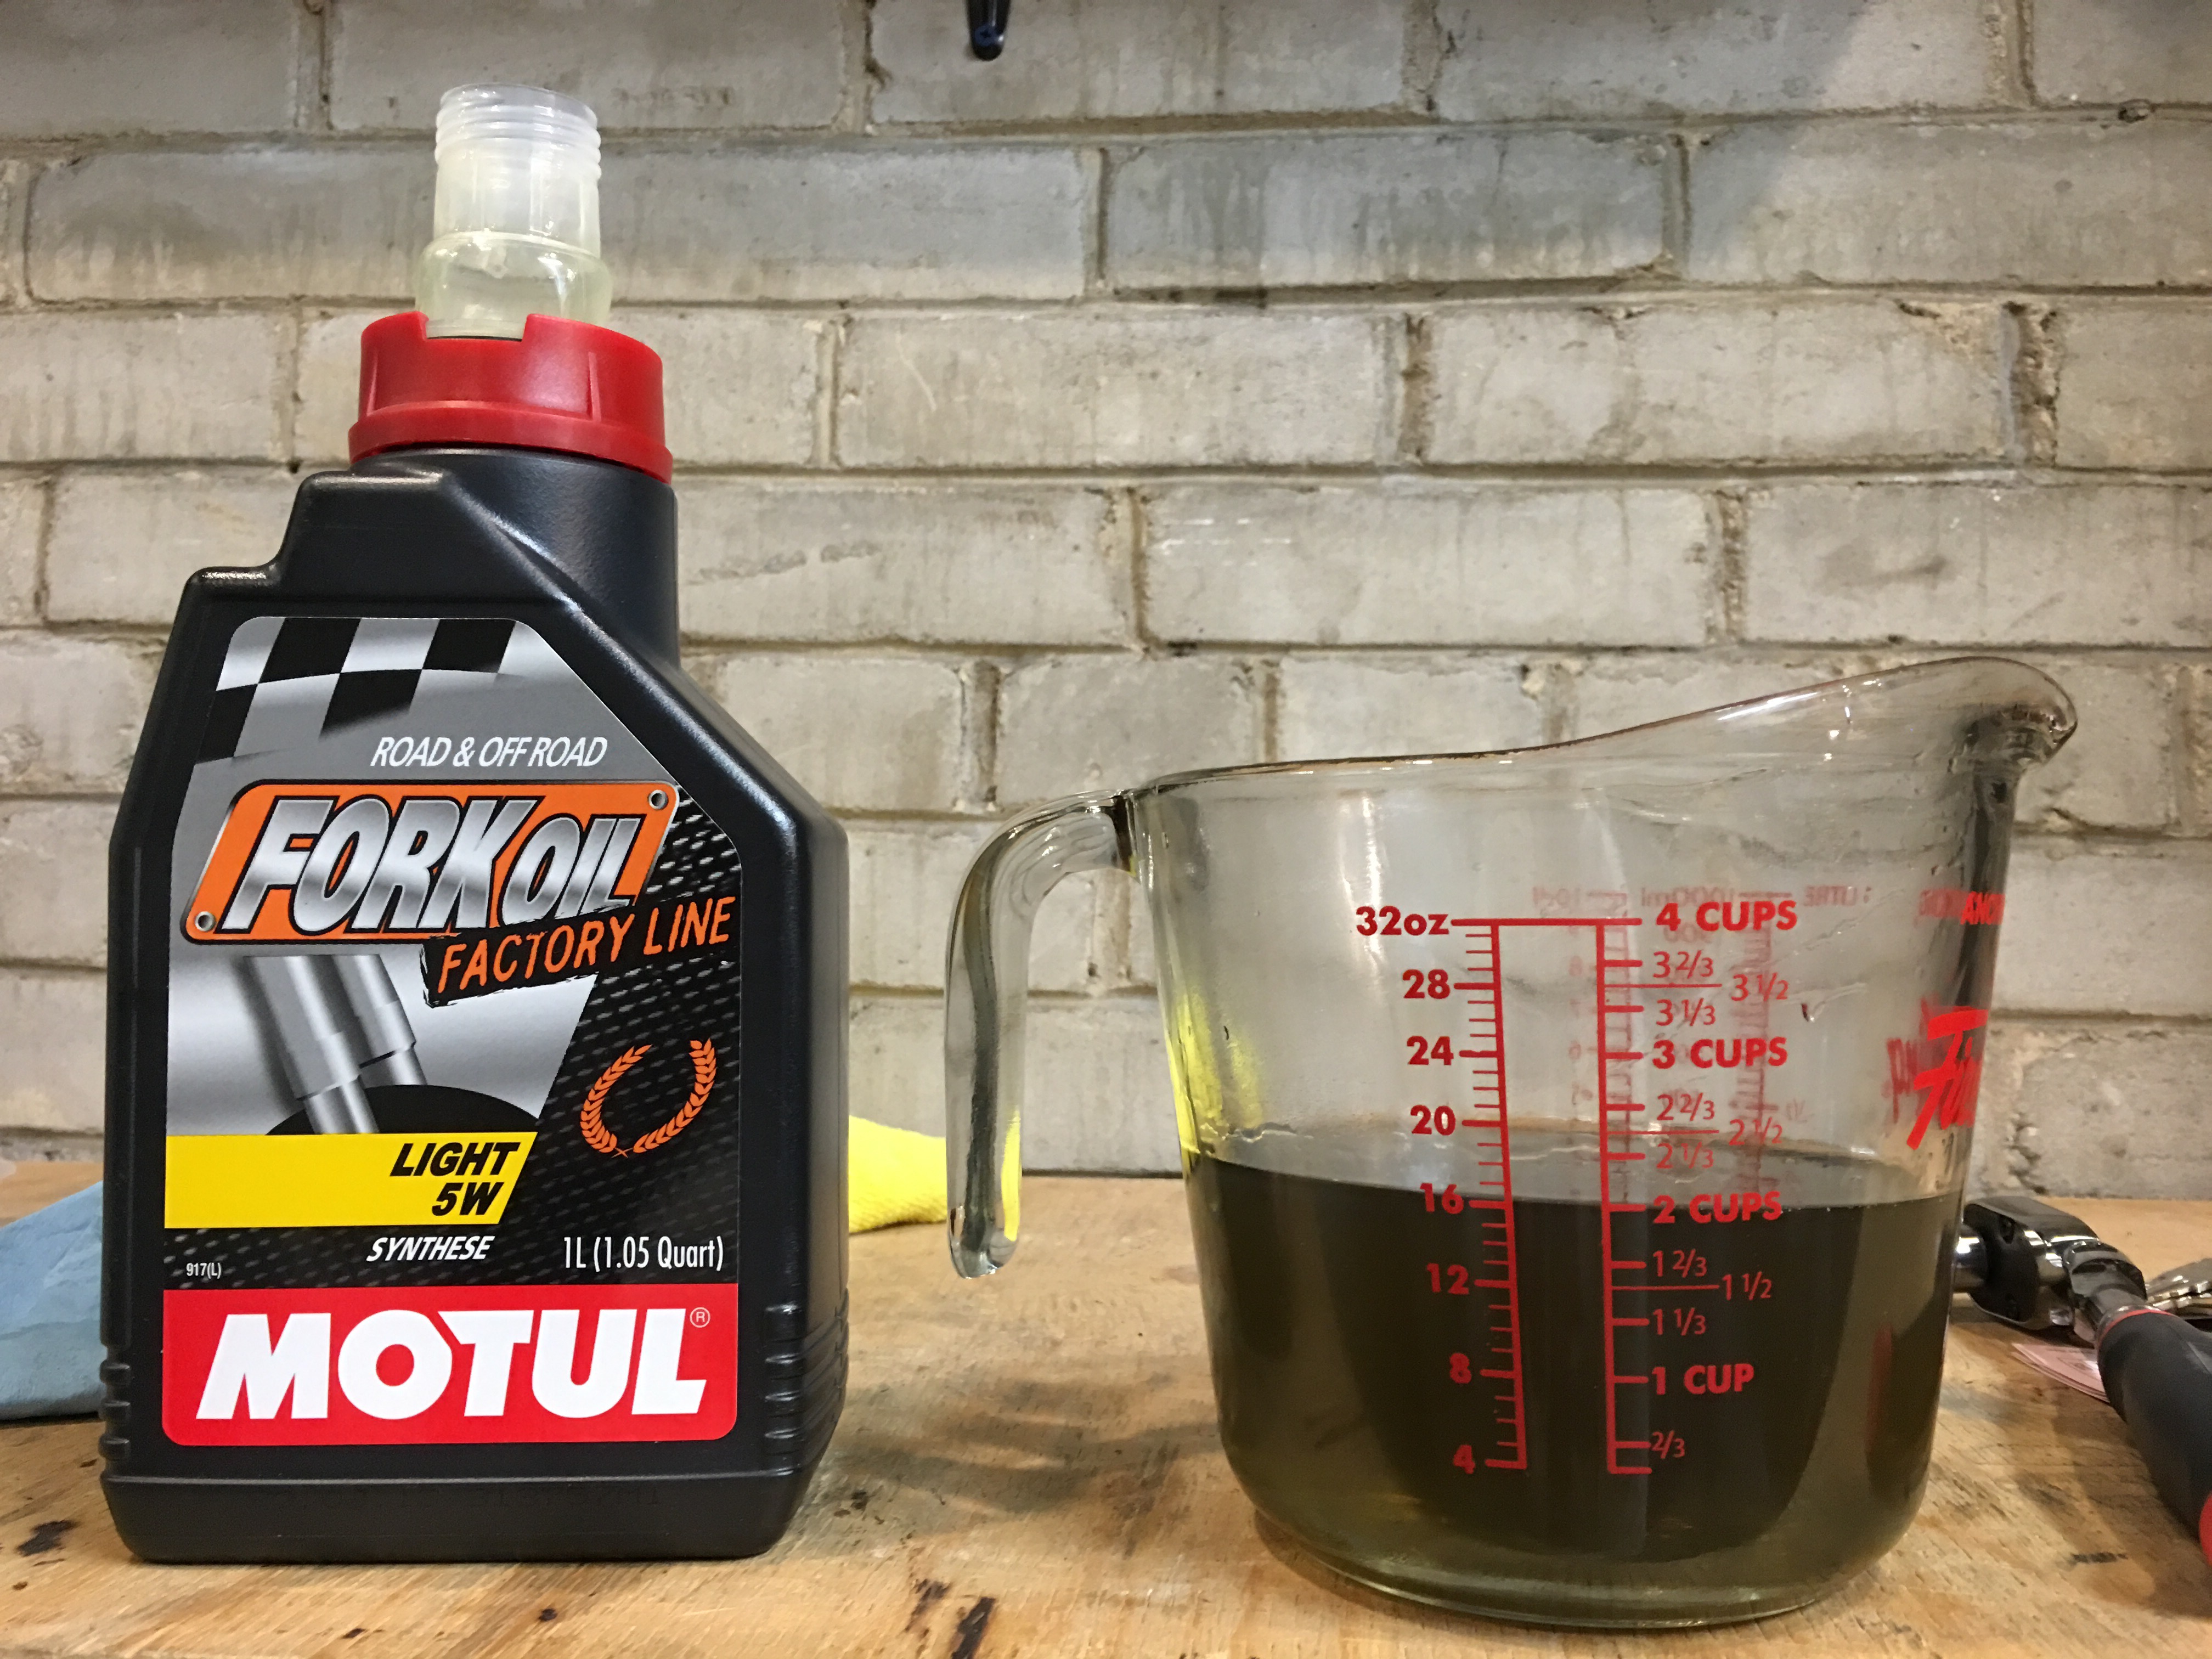
Aside from being old and likely not having much of its viscosity/lubrication properties, fork oil was very dirty:
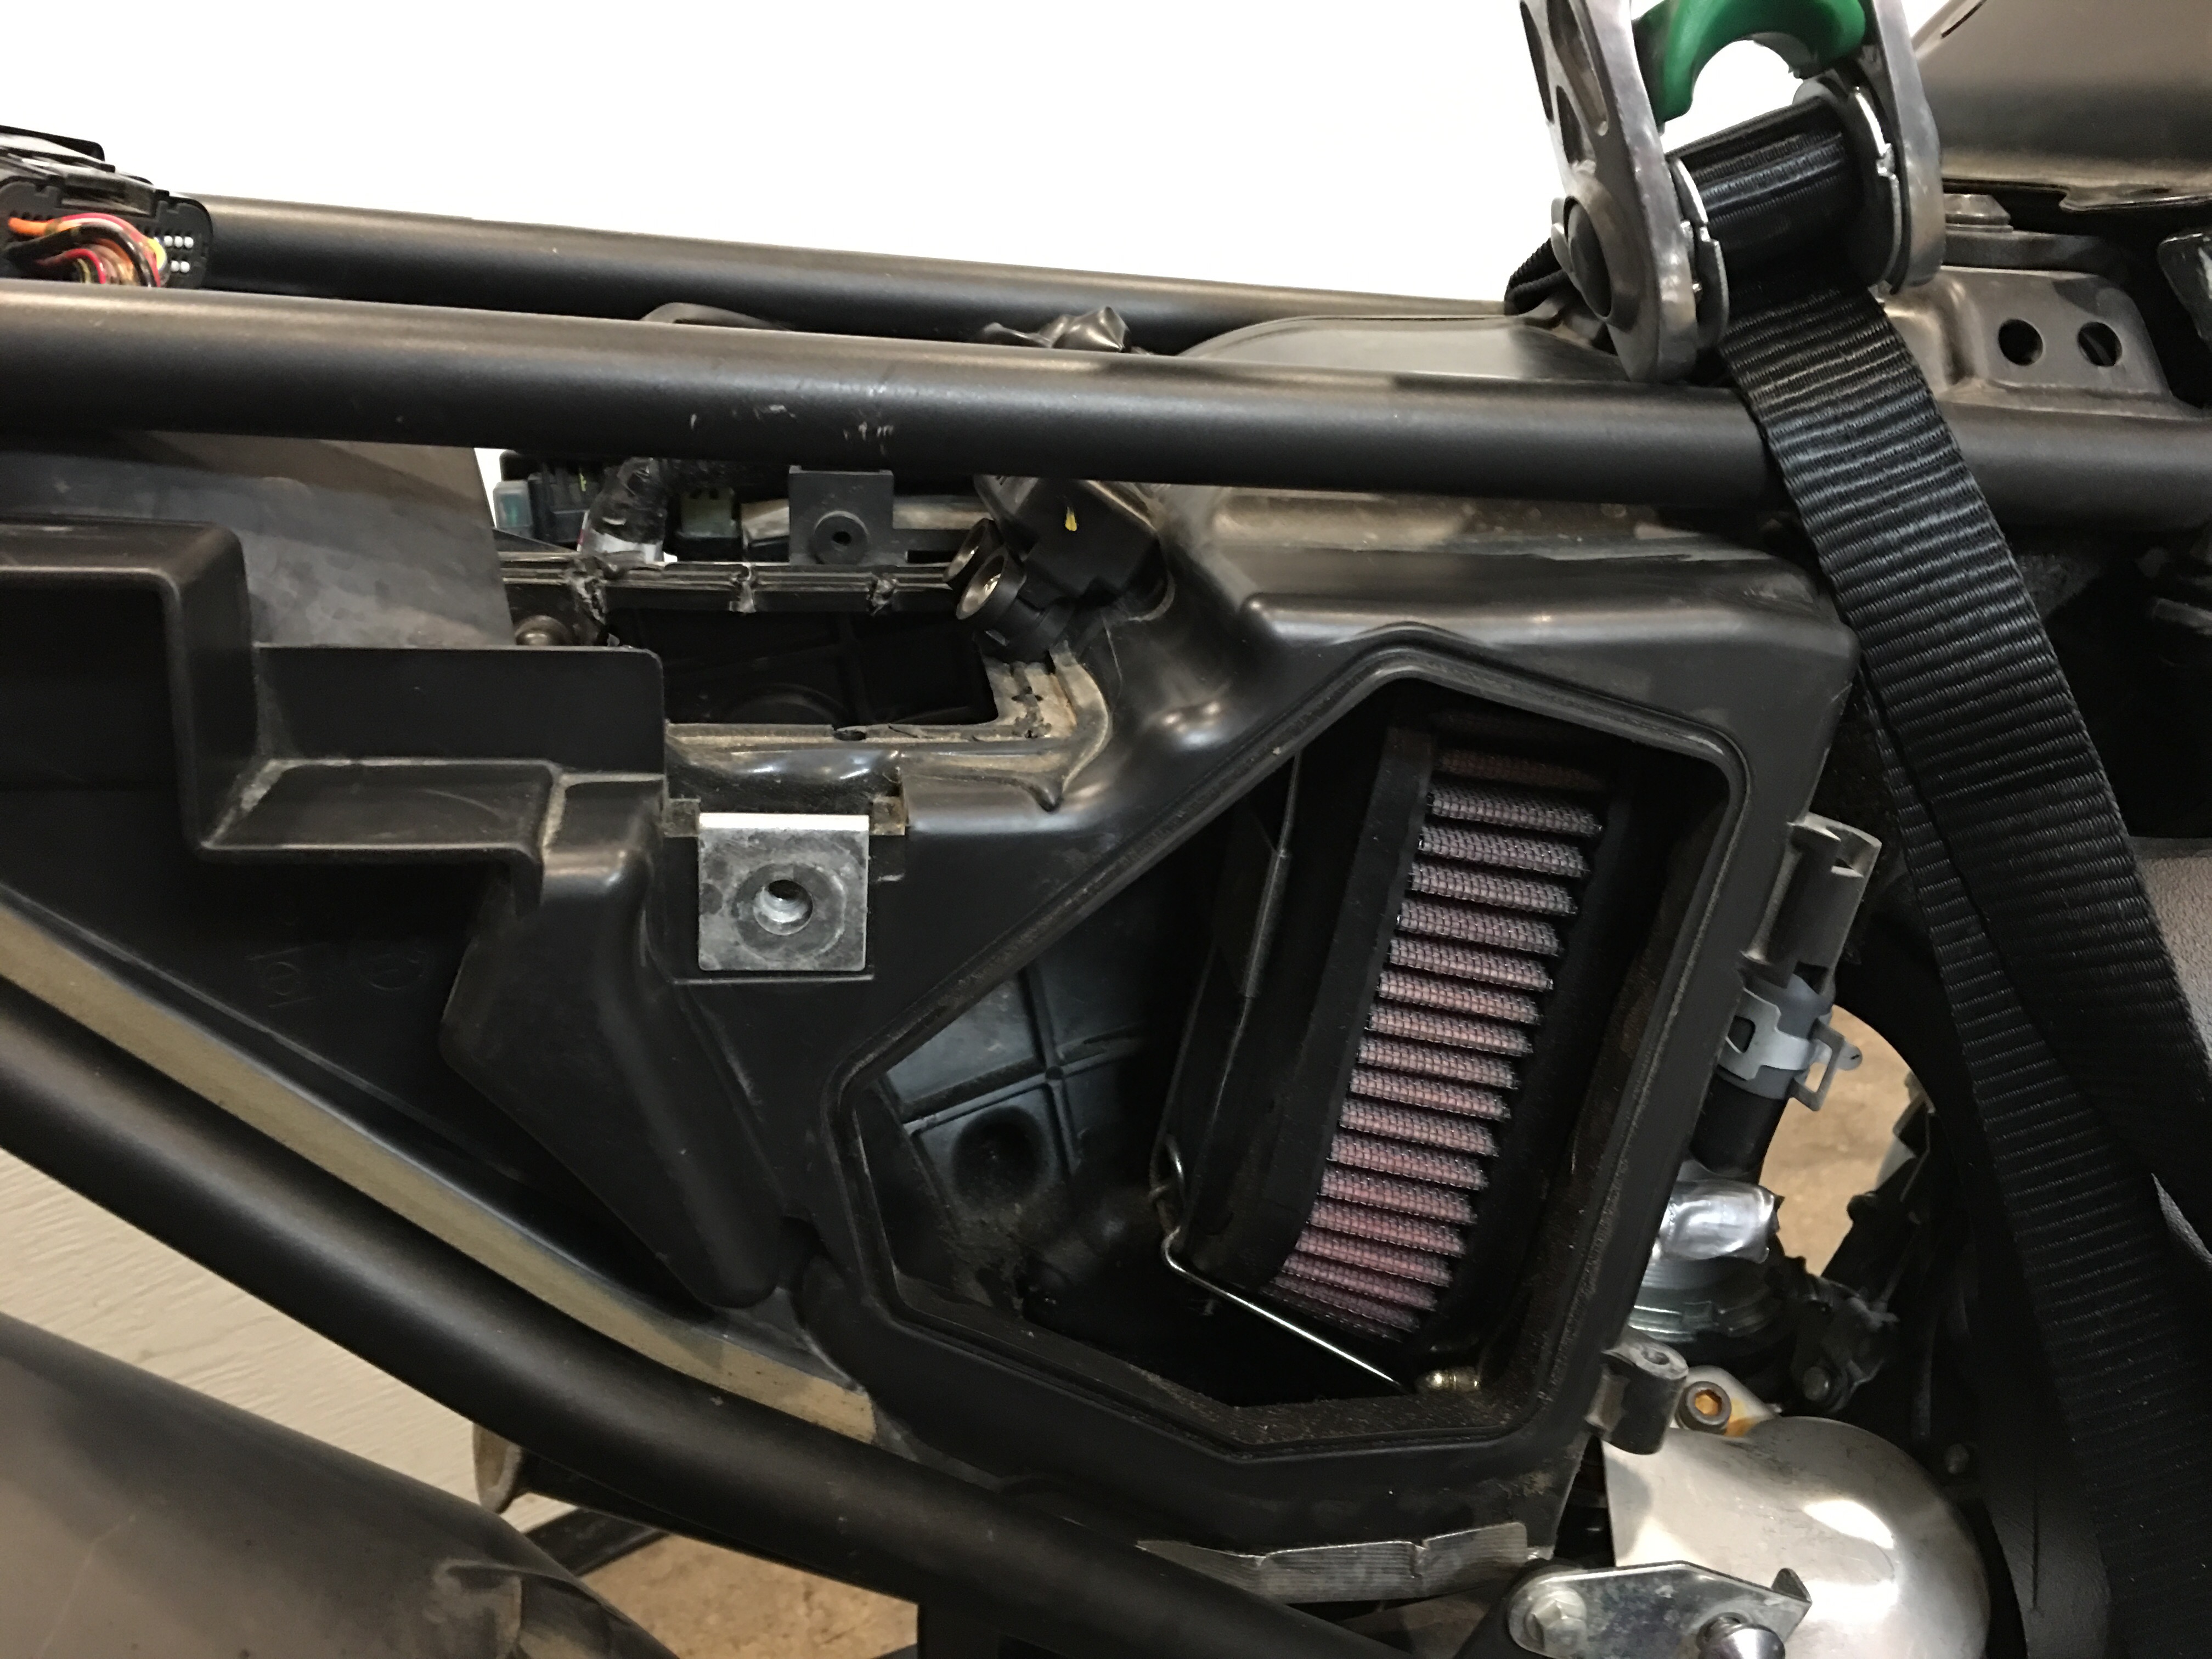
Airbox was filthy so gave it a good cleaning and oiled up a new K&N air filter:
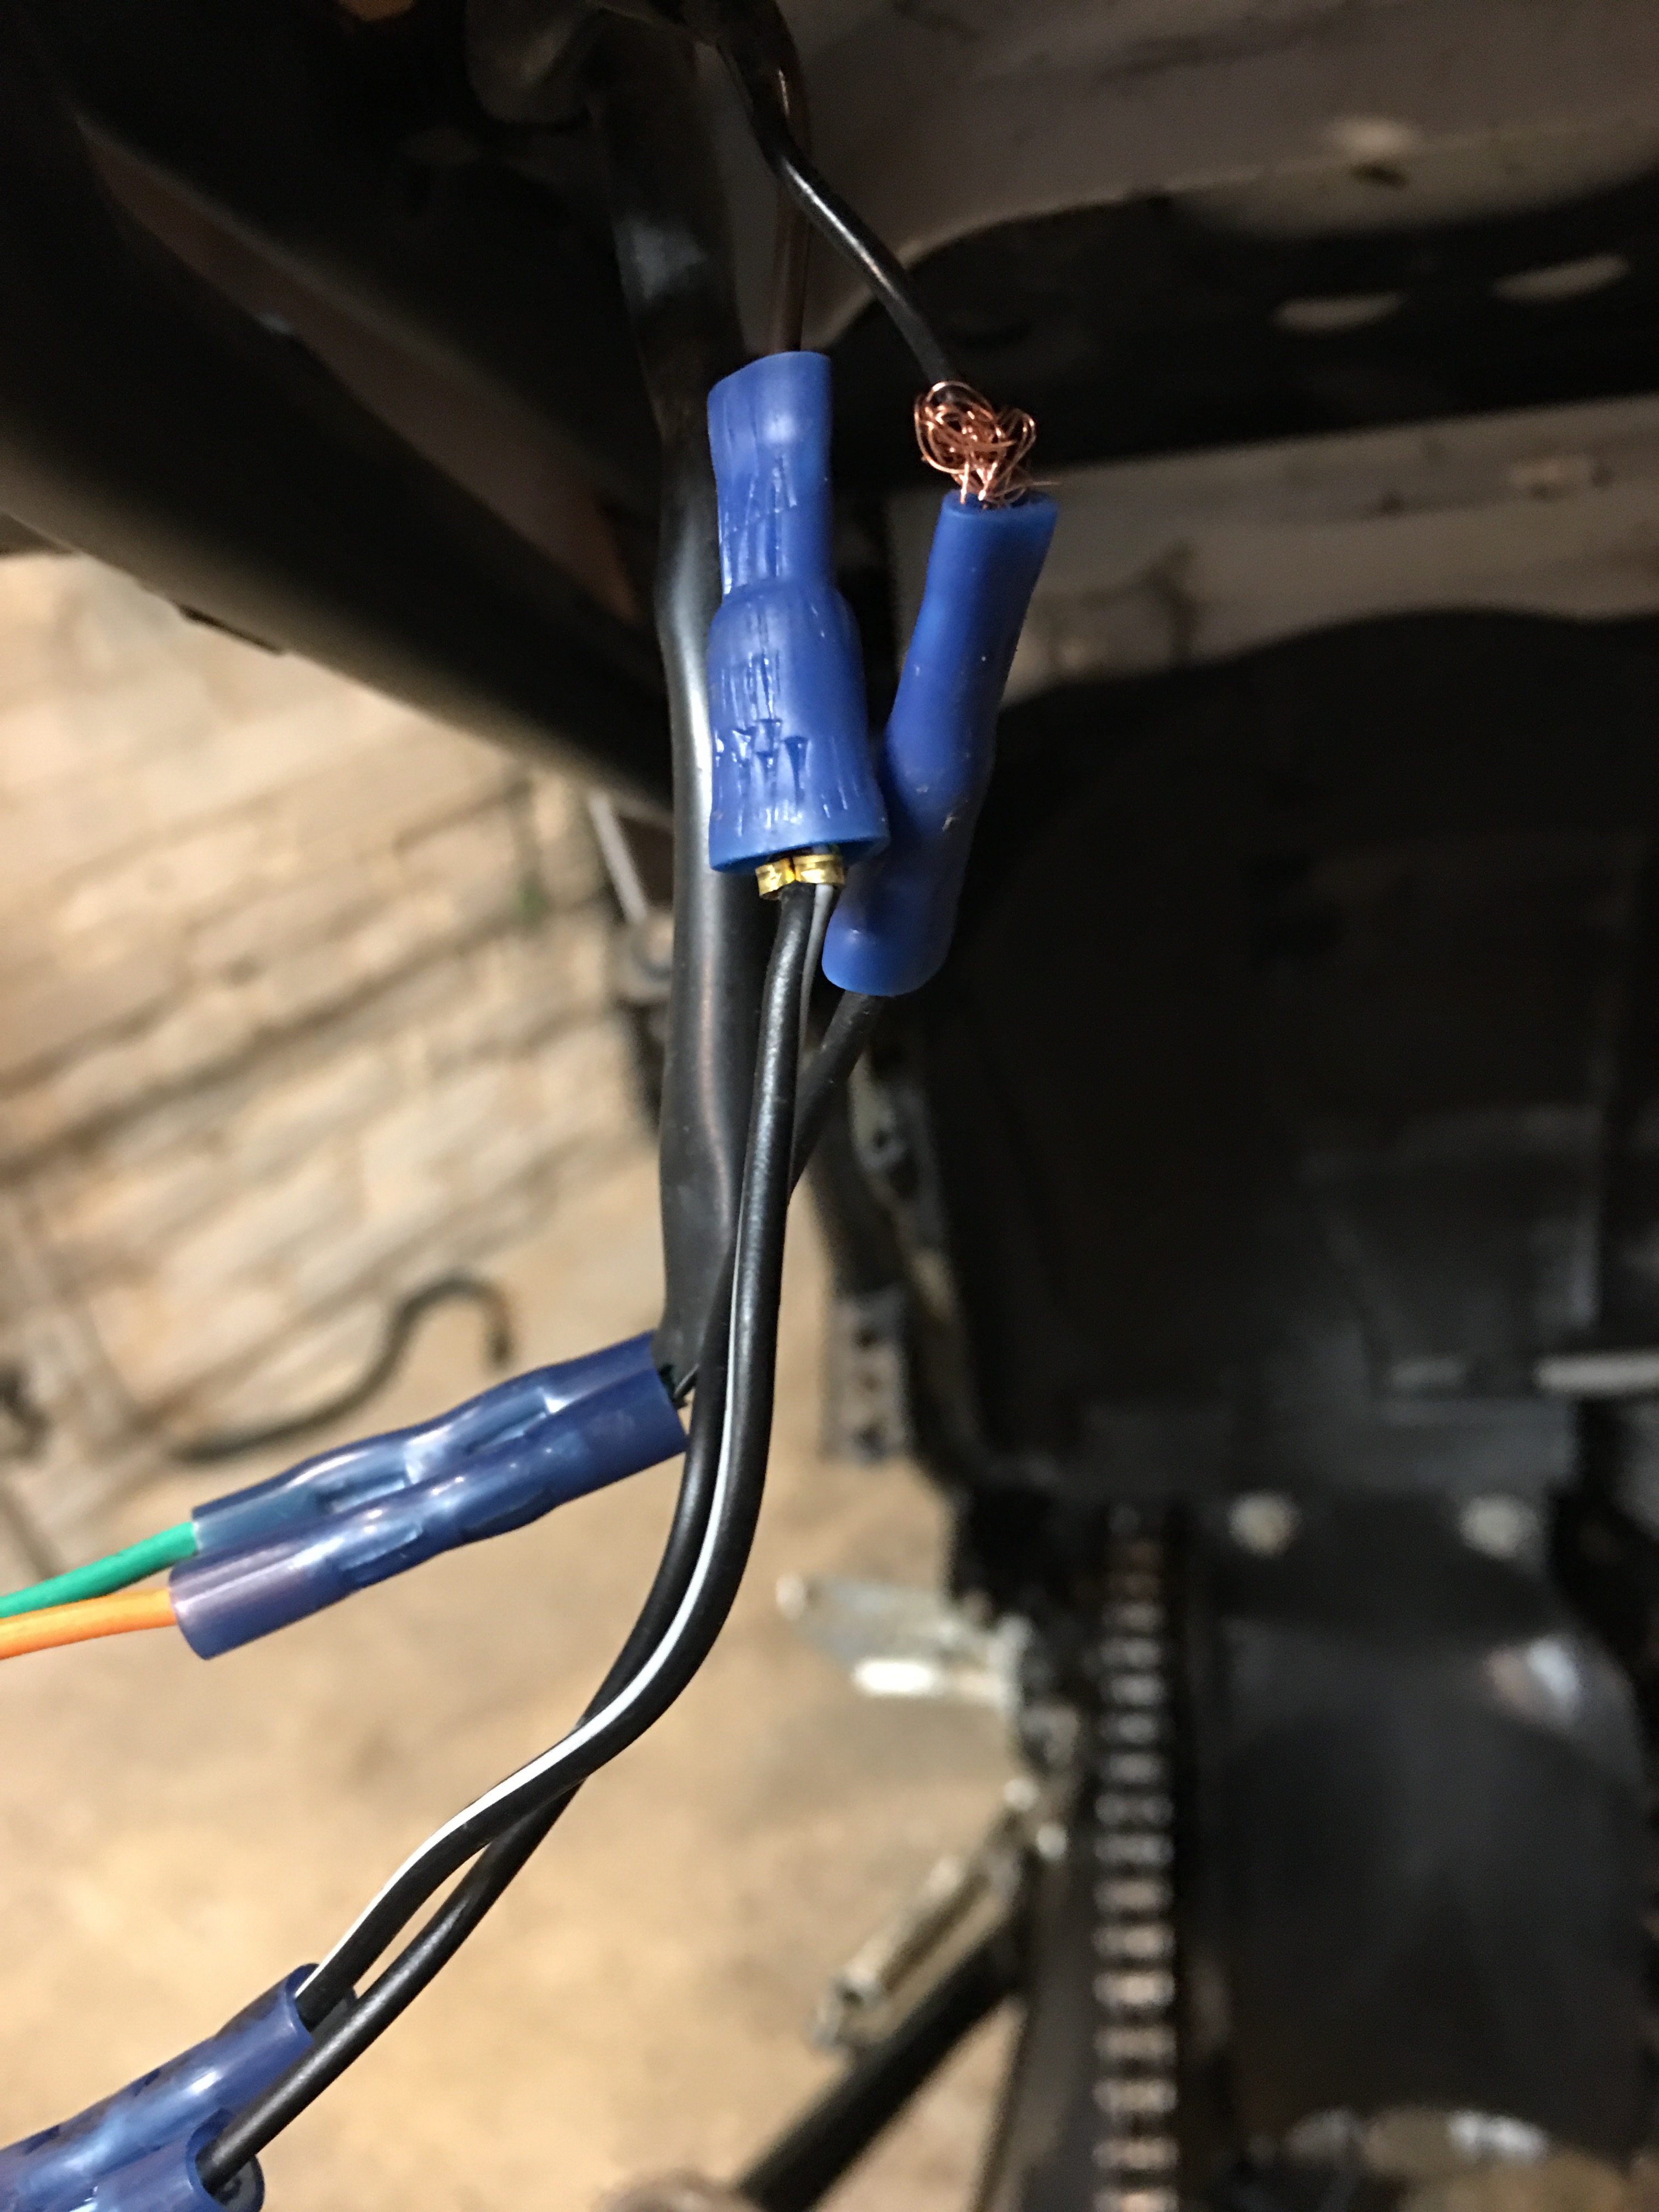
A lot of the wiring on the bike was suspect so we cut and replaced several connectors.
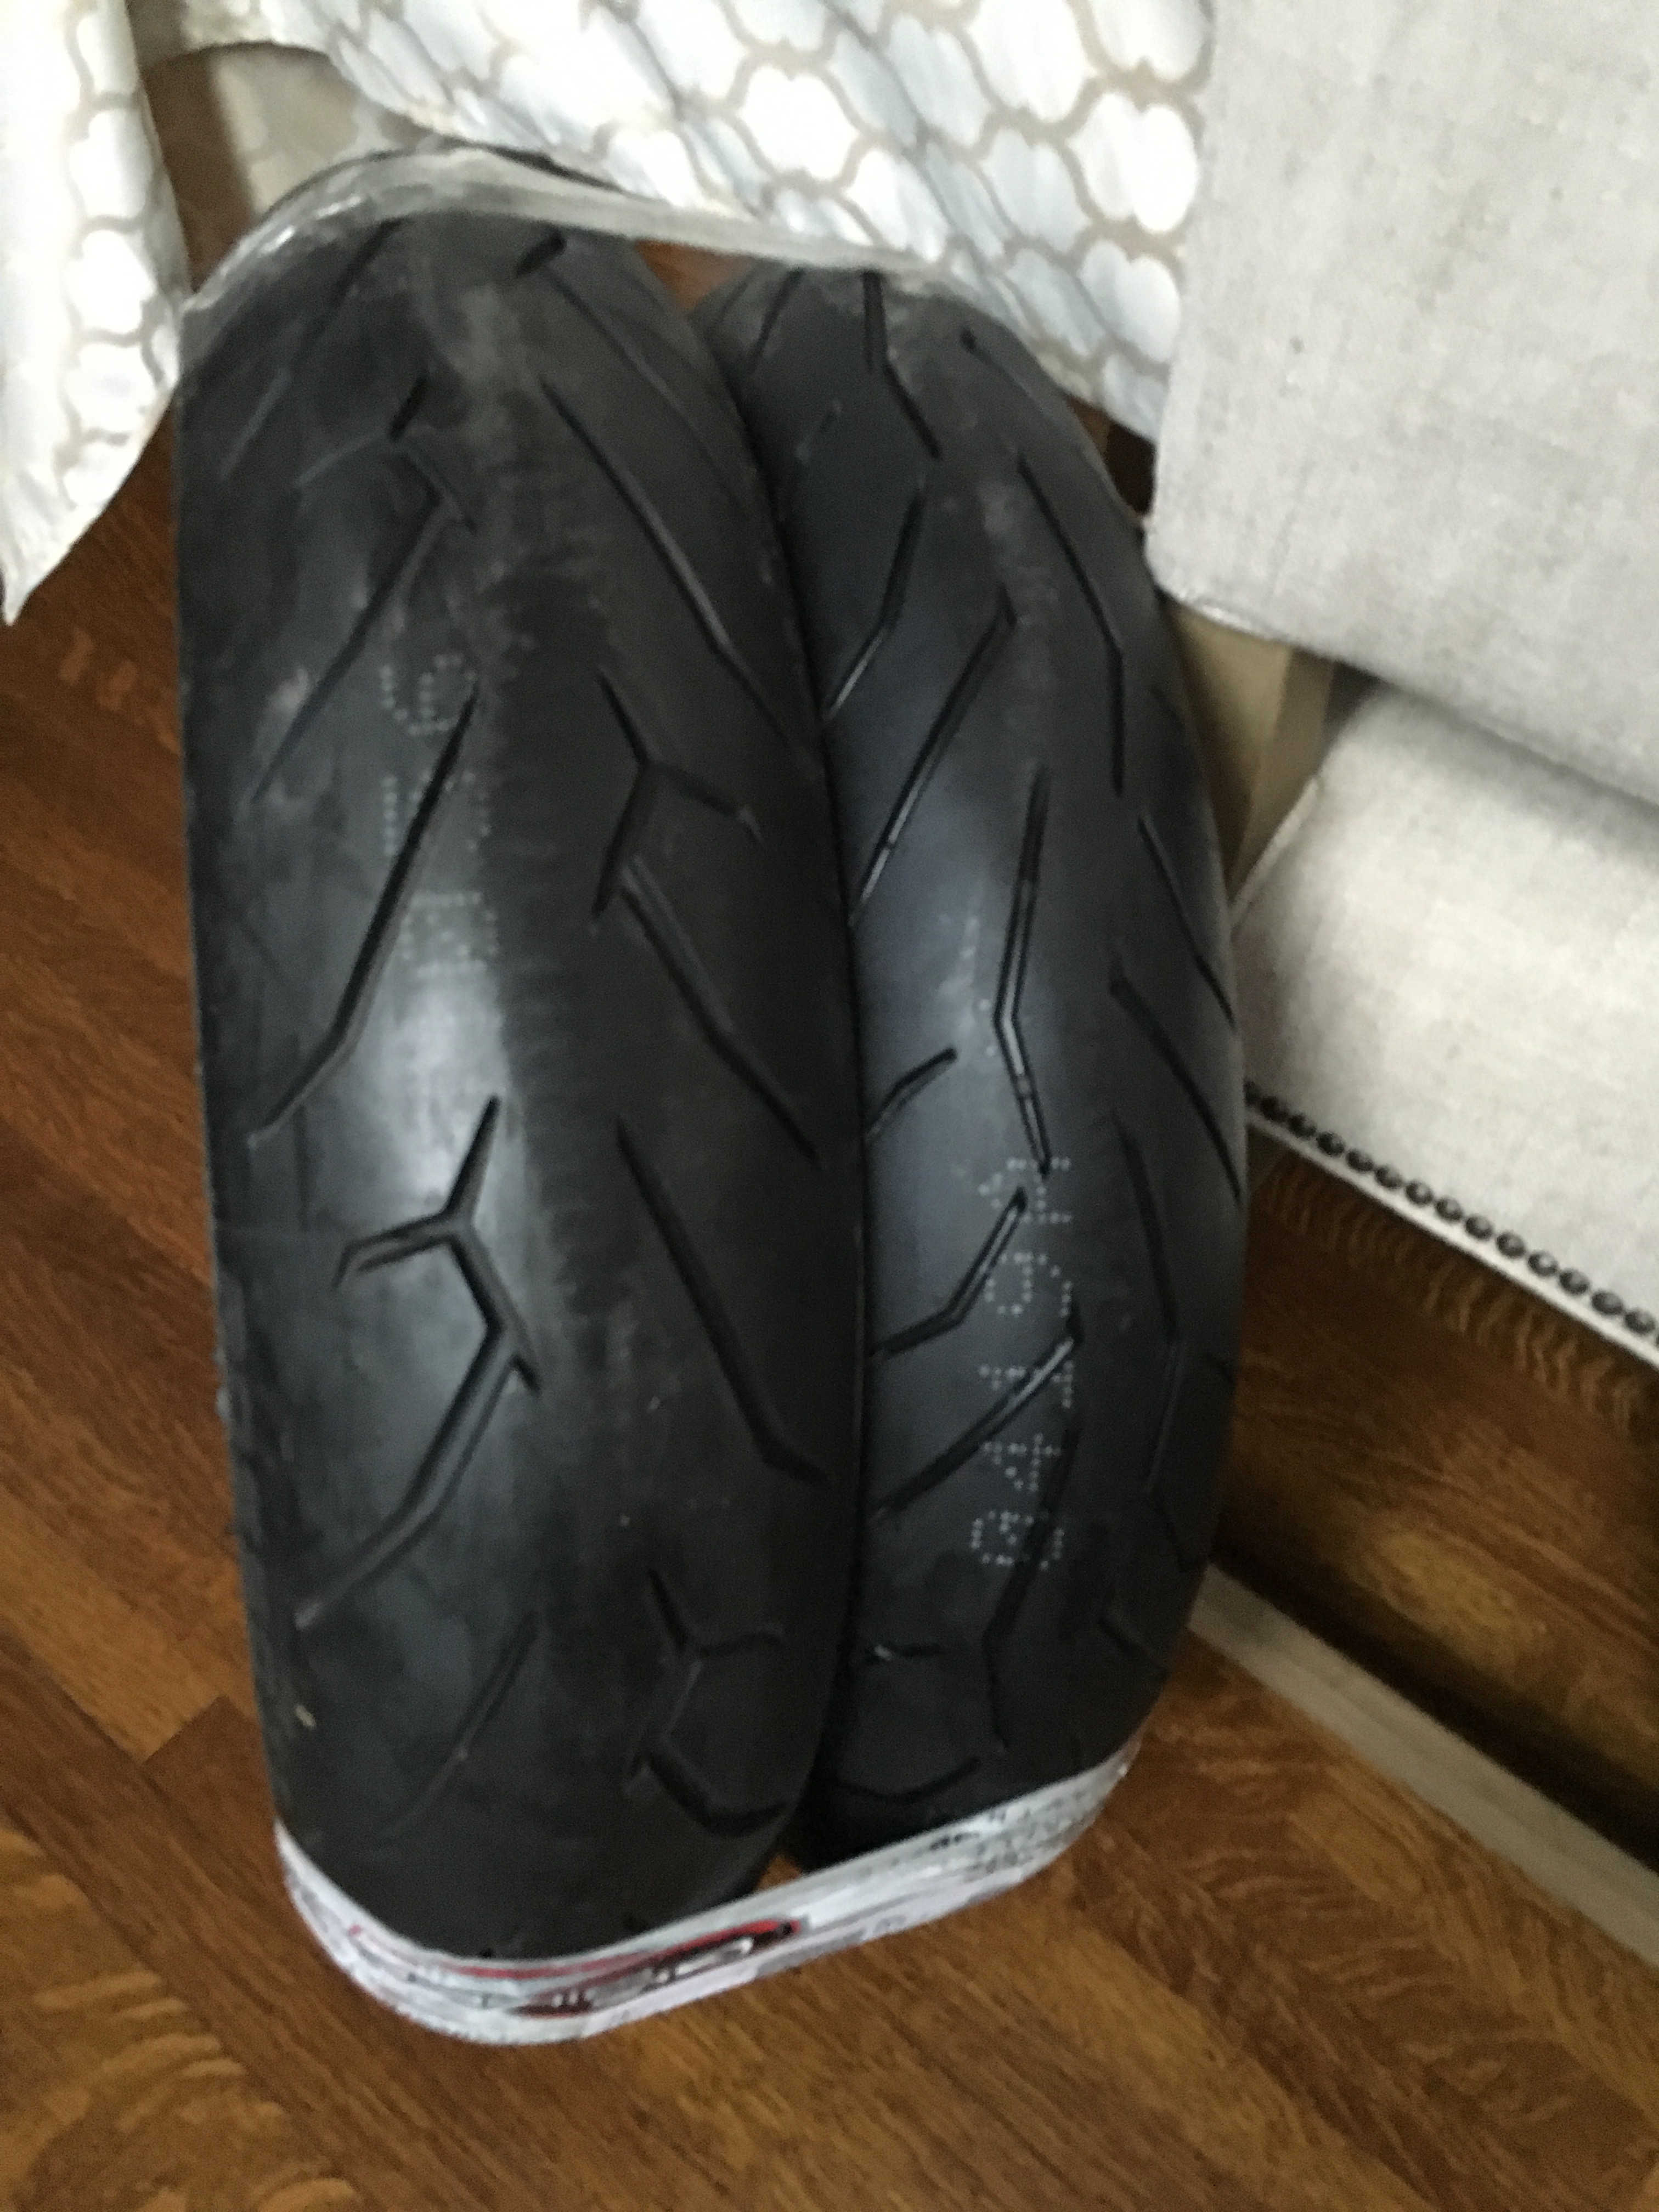
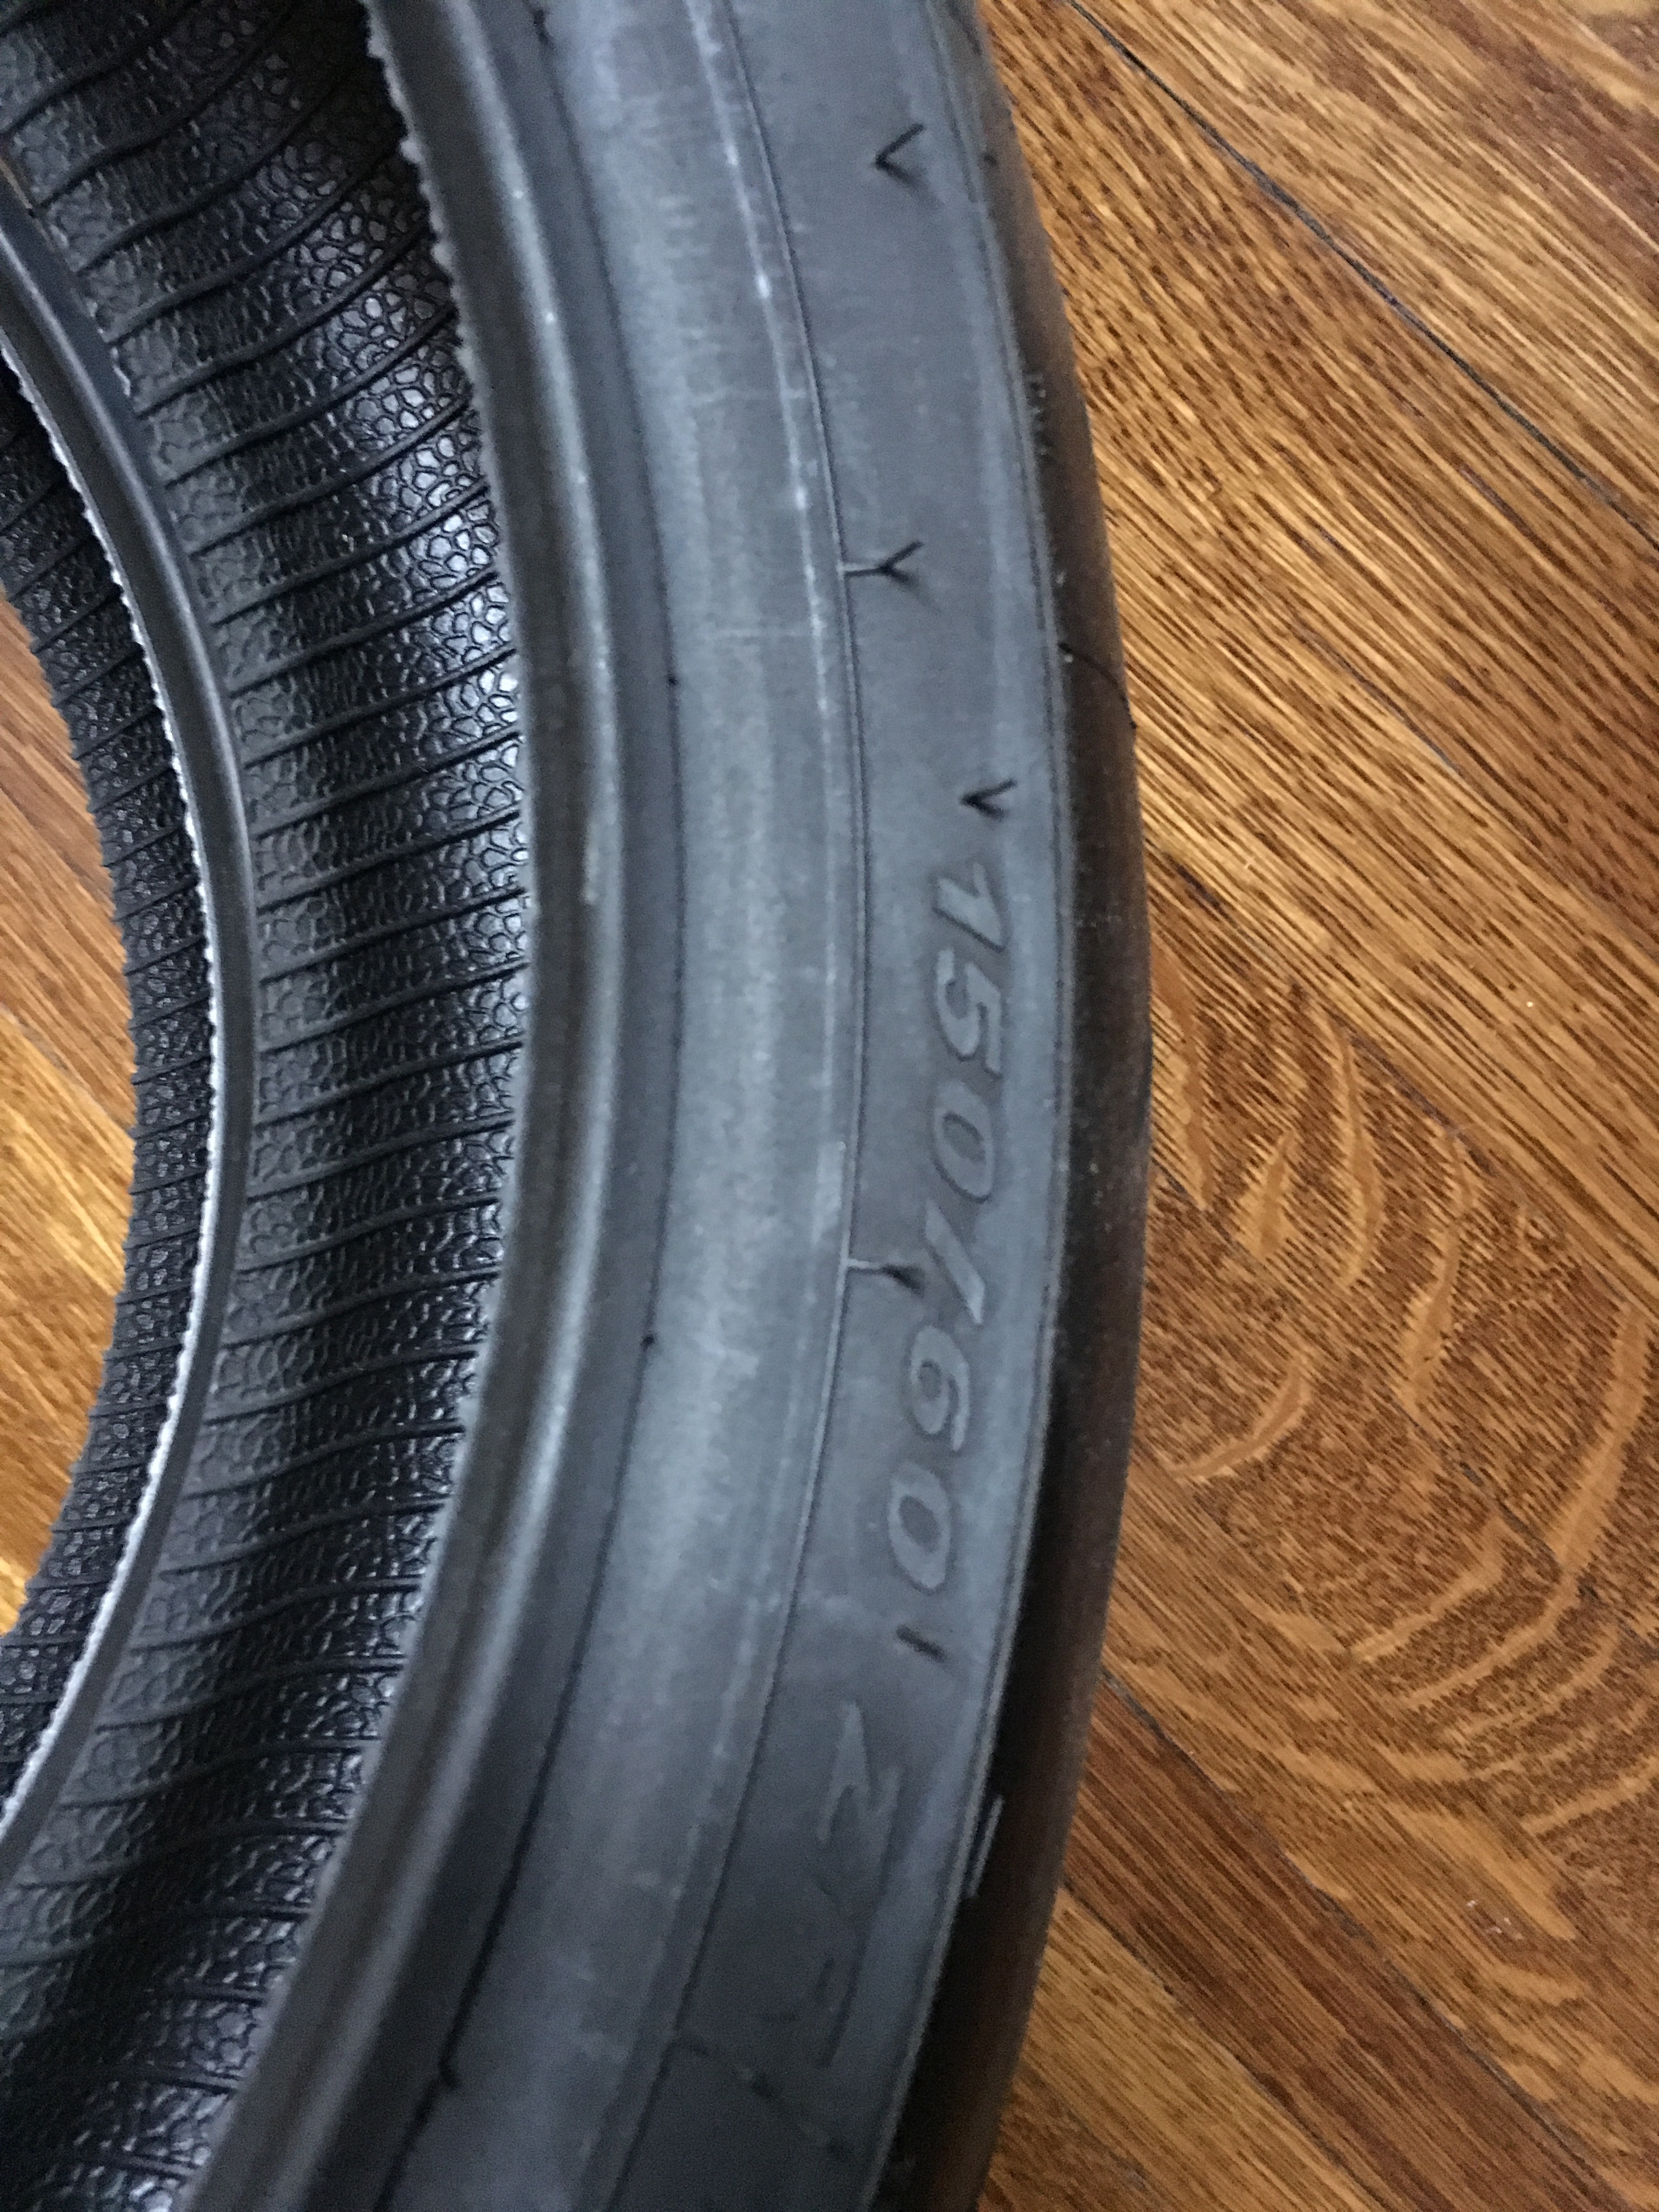
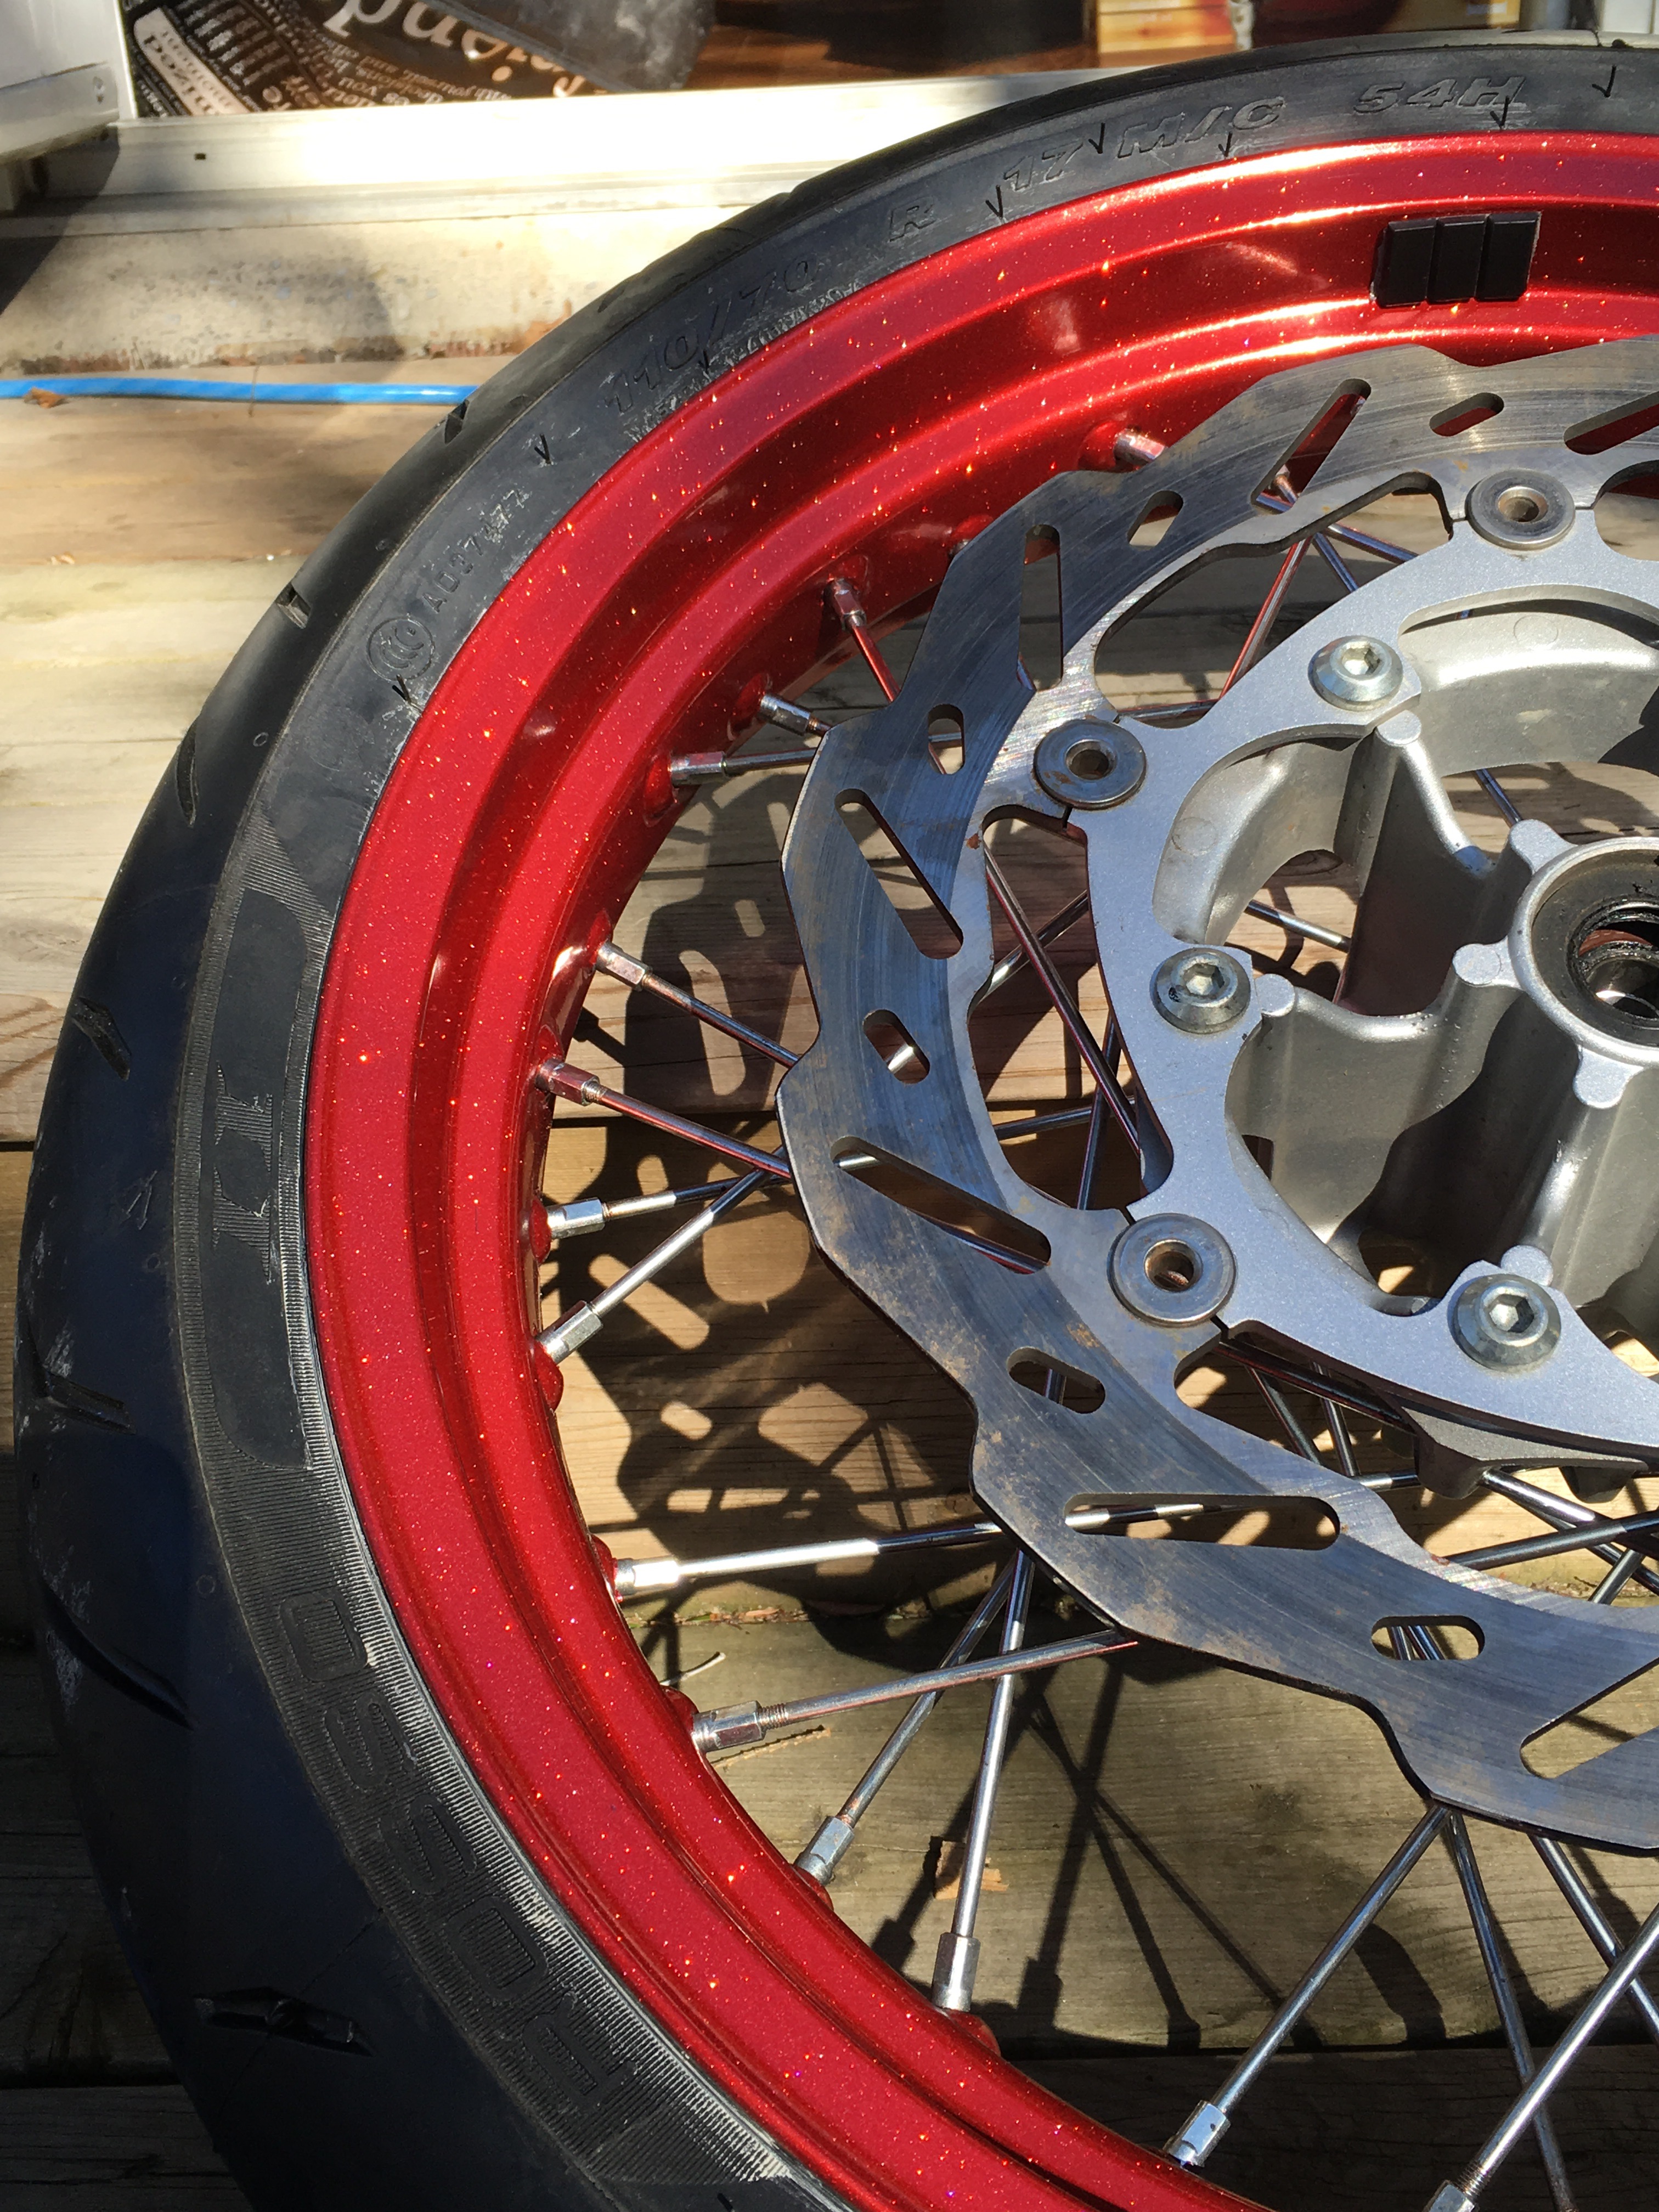
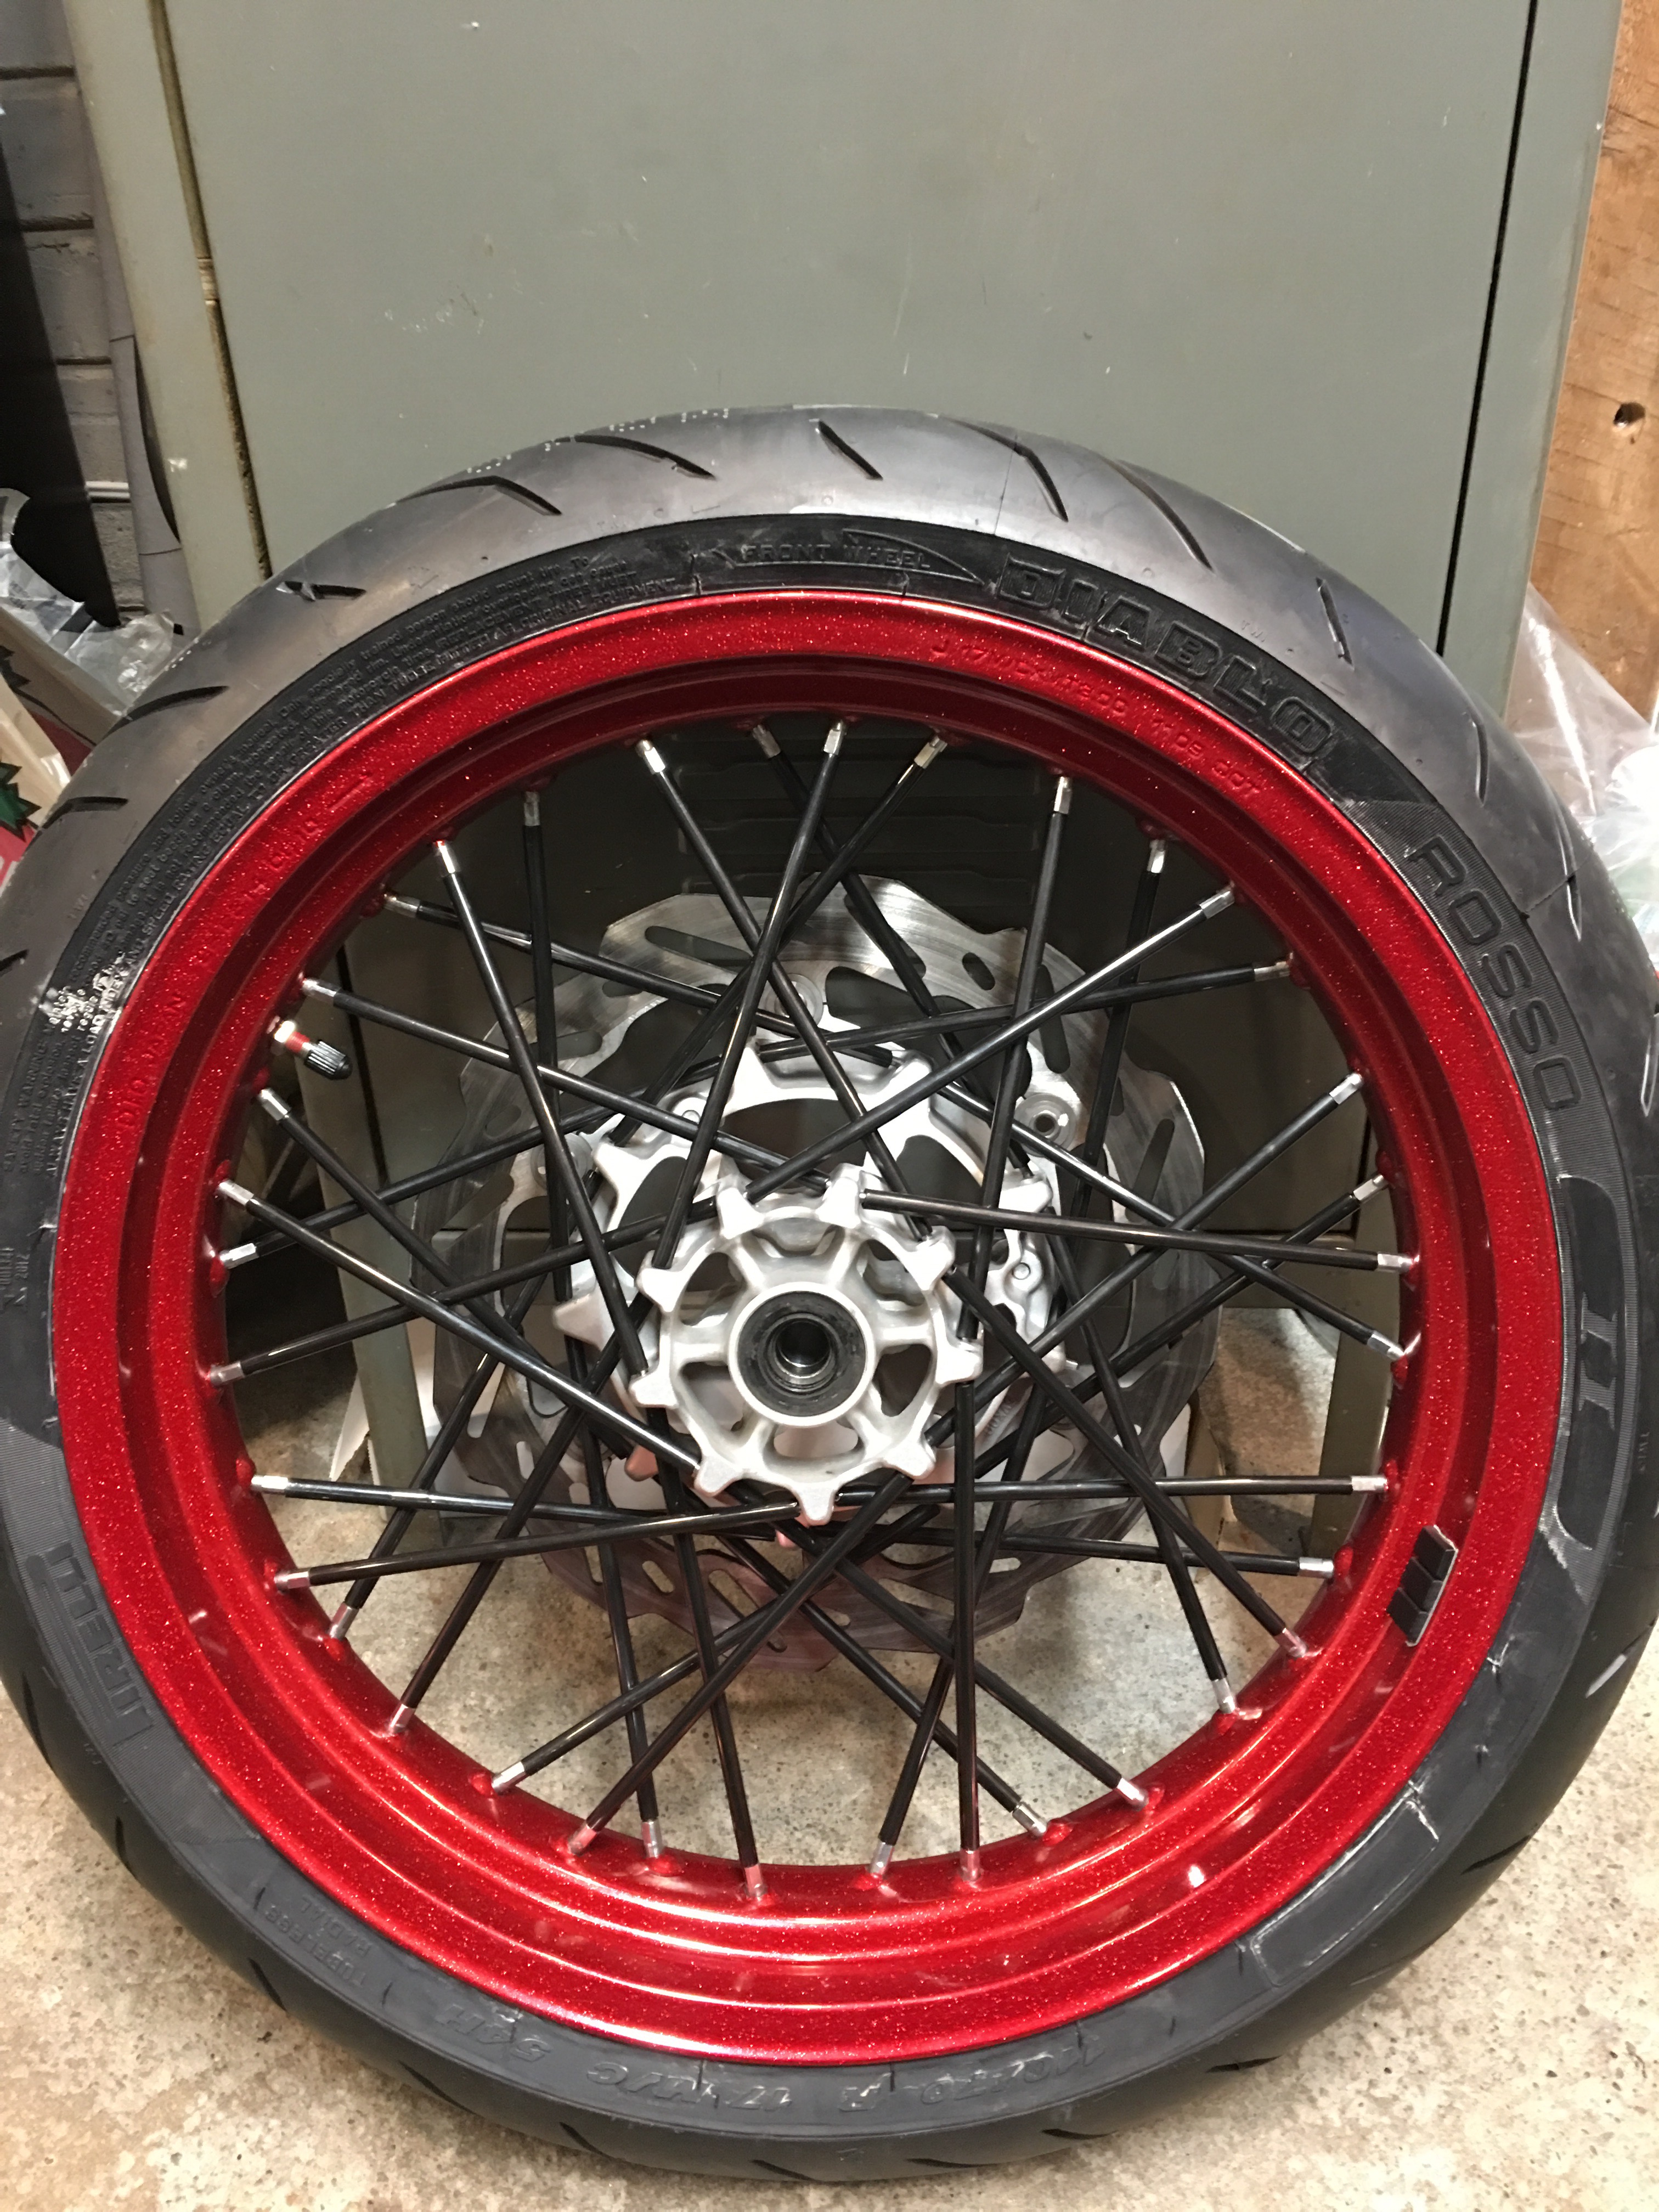
Since this is a street and performance oriented build, we wanted some sticky tires and decided on the Pirelli Diablo Rosso II’s as they were available in the unconventional sizes this build requires. We have run the Rosso II’s on a variety of bikes in the past and they are solid.
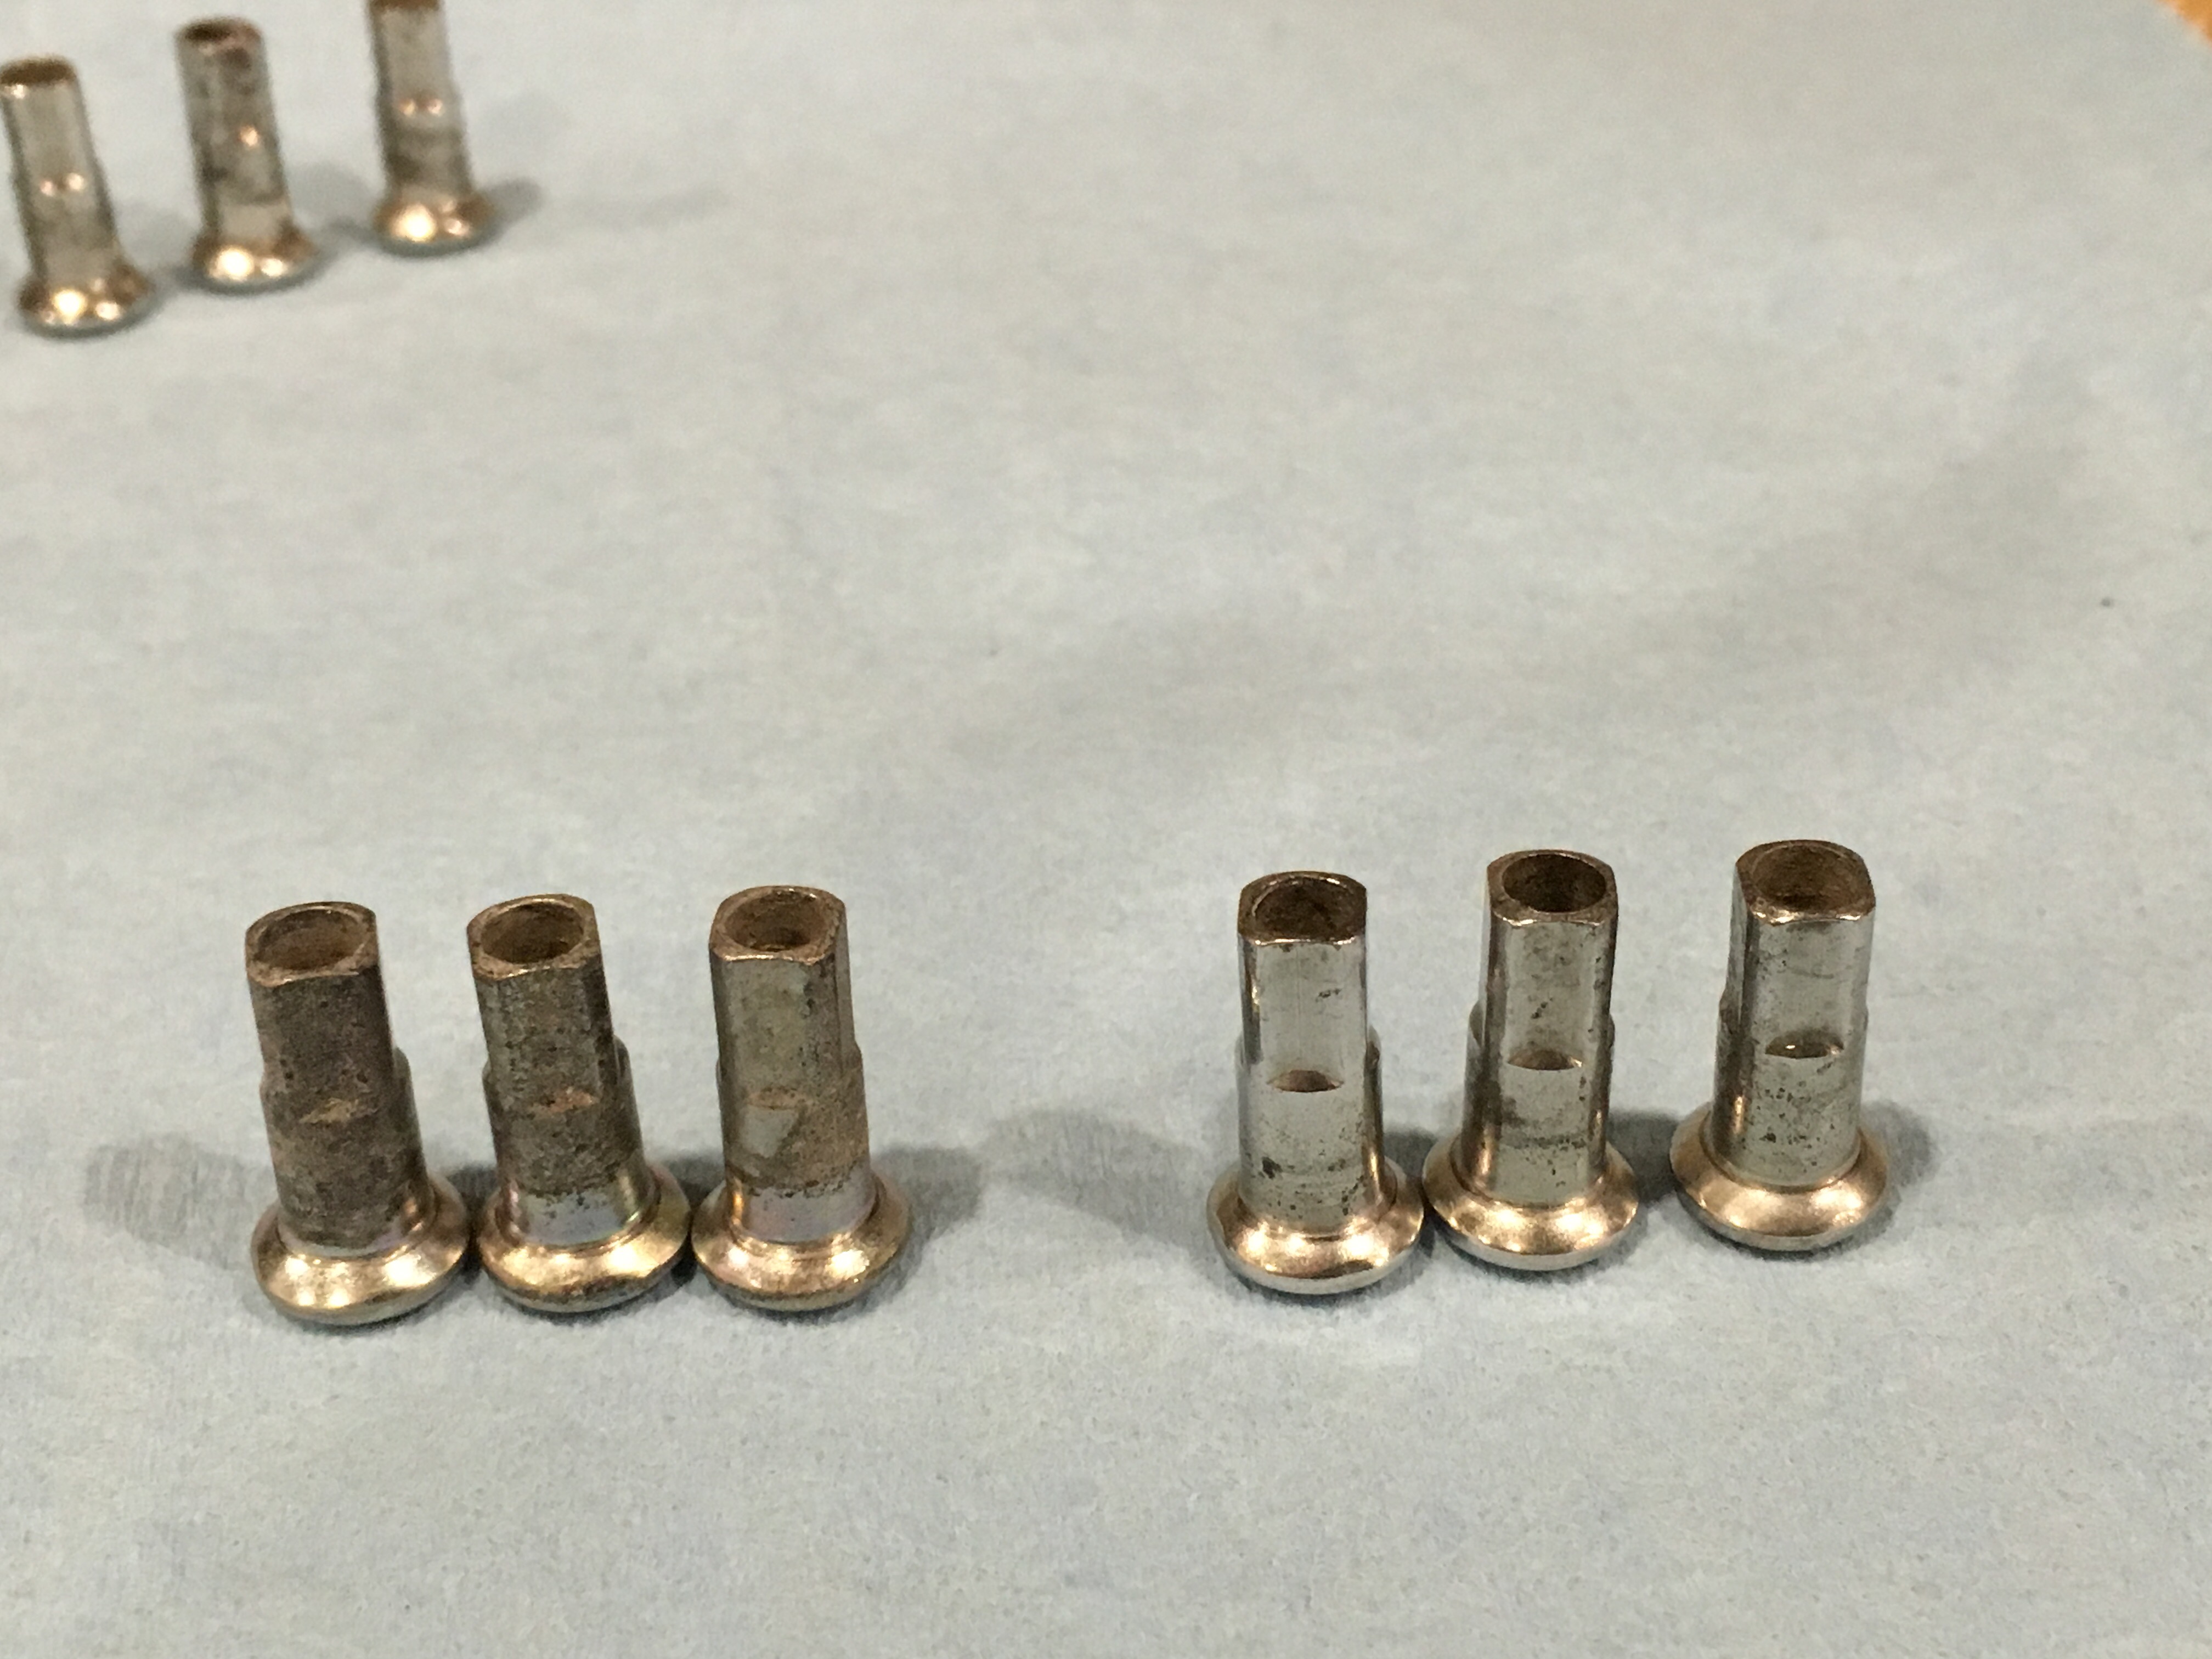
Before lacing the wheels, we took a good look at the spokes and spoke nipples -they were in rough shape. We broke out the California Purple Polish and put some elbow grease into them with good results.
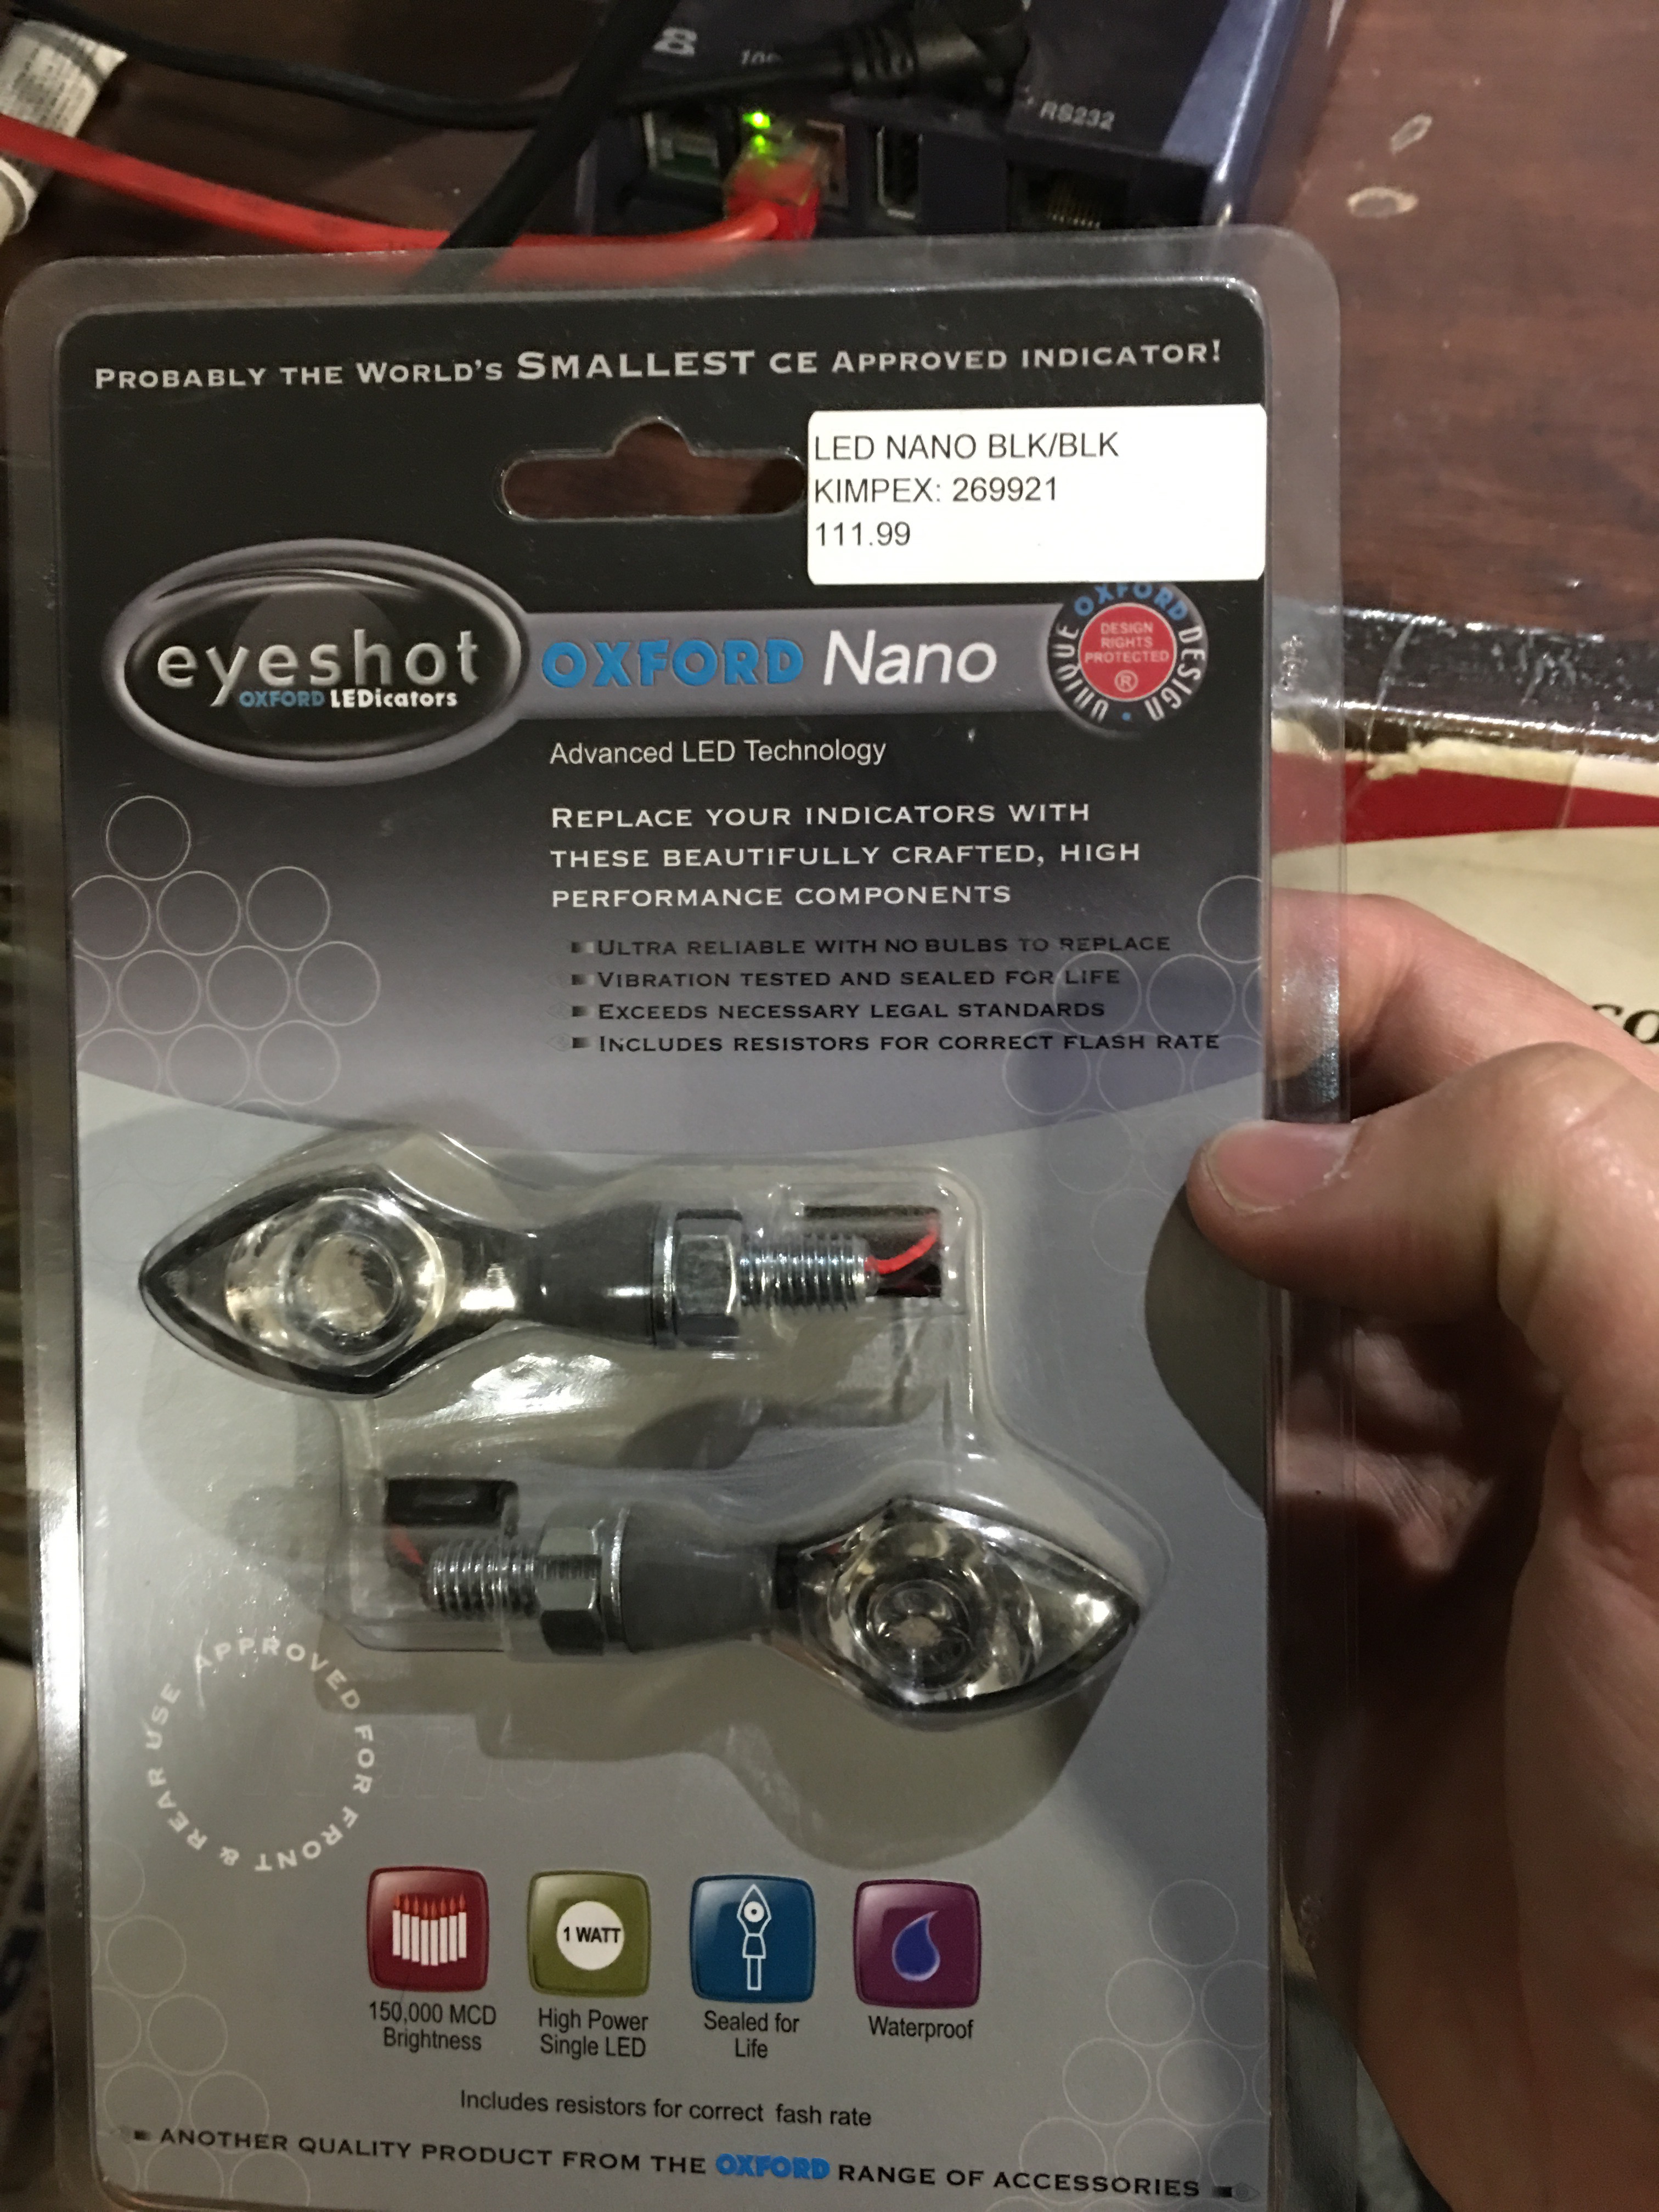
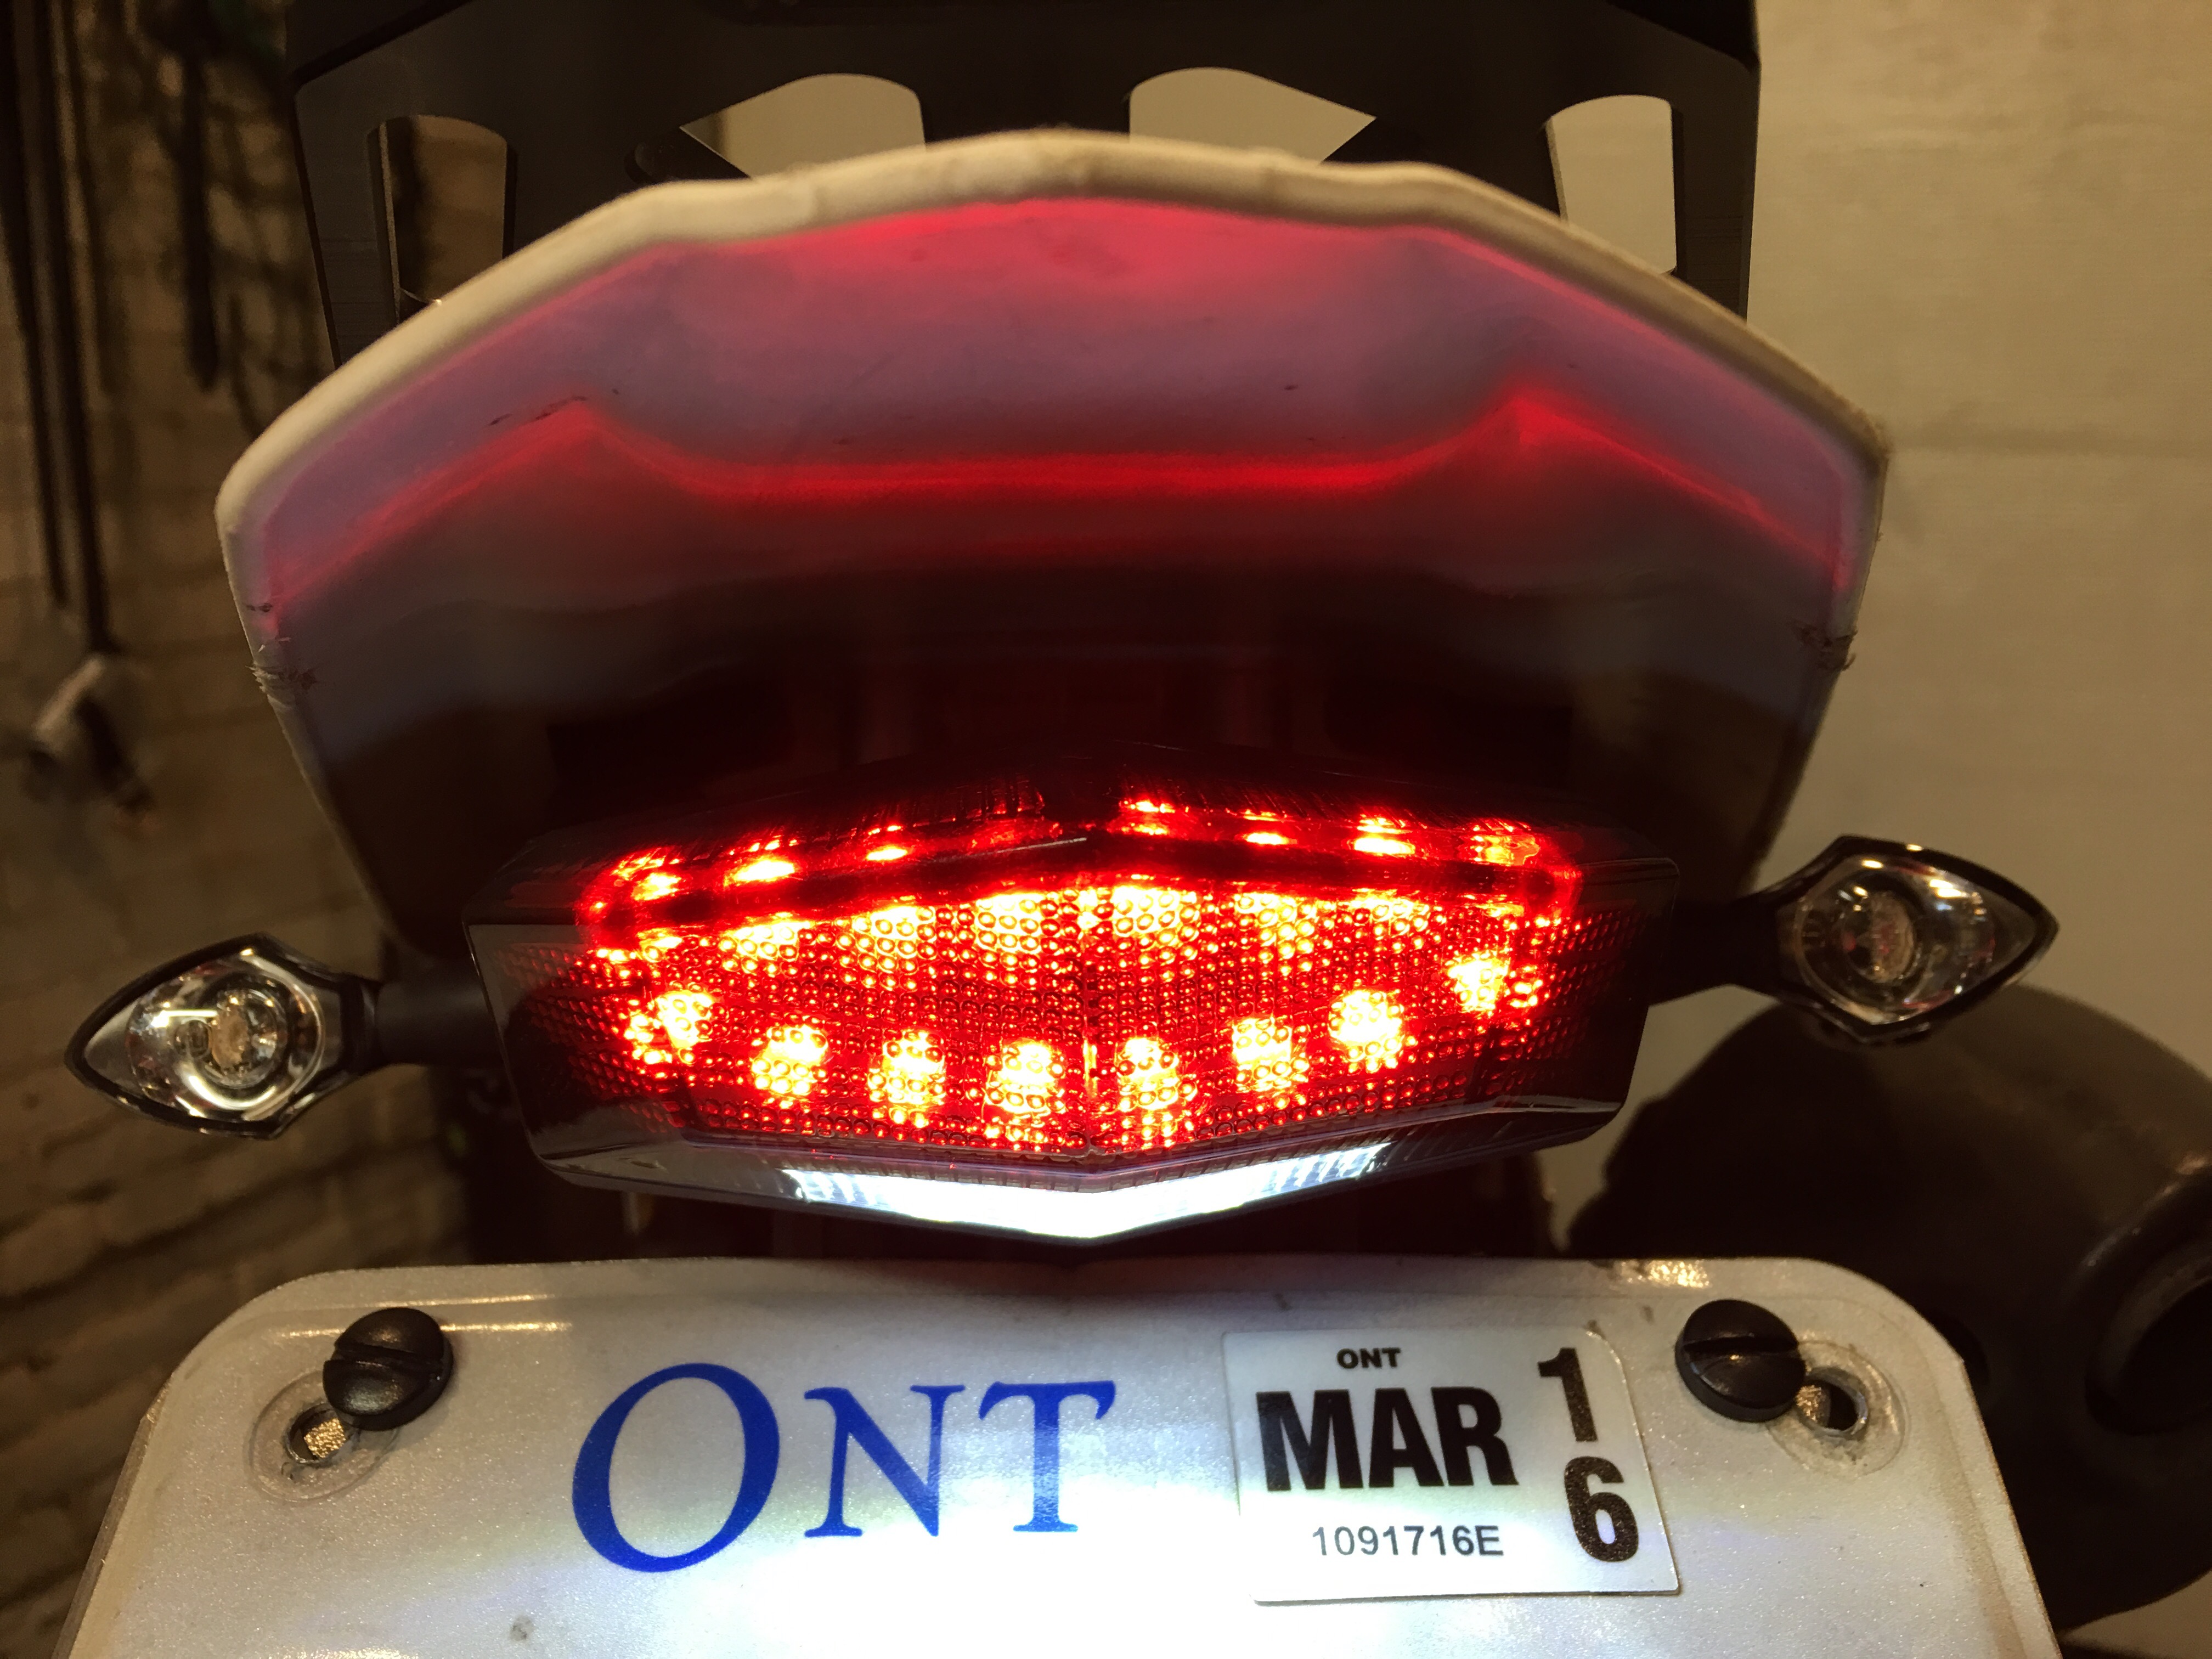
Next up: cleaning up the tail. We replaced the stock tail light unit and license plate holder with the DRC Edge2 smoked tail light and a set of Oxford Nano LED turn signals.
With the new tail light and signals installed, the result is clean line that tucks nicely under the tail fender.
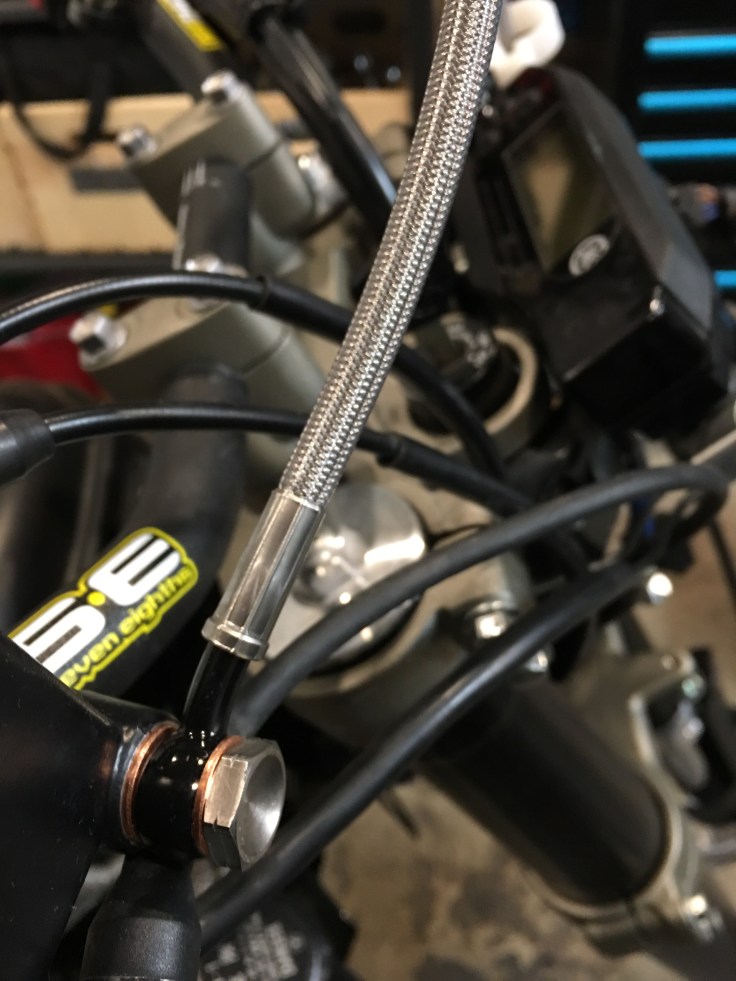
For better brake feel at the lever, we upgraded the front brake line to braided stainless and changed the brake fluid (DOT4). For the new brake line, we chose a kit from HEL that was a direct replacement. New banjo (also known as union) bolts were also used.

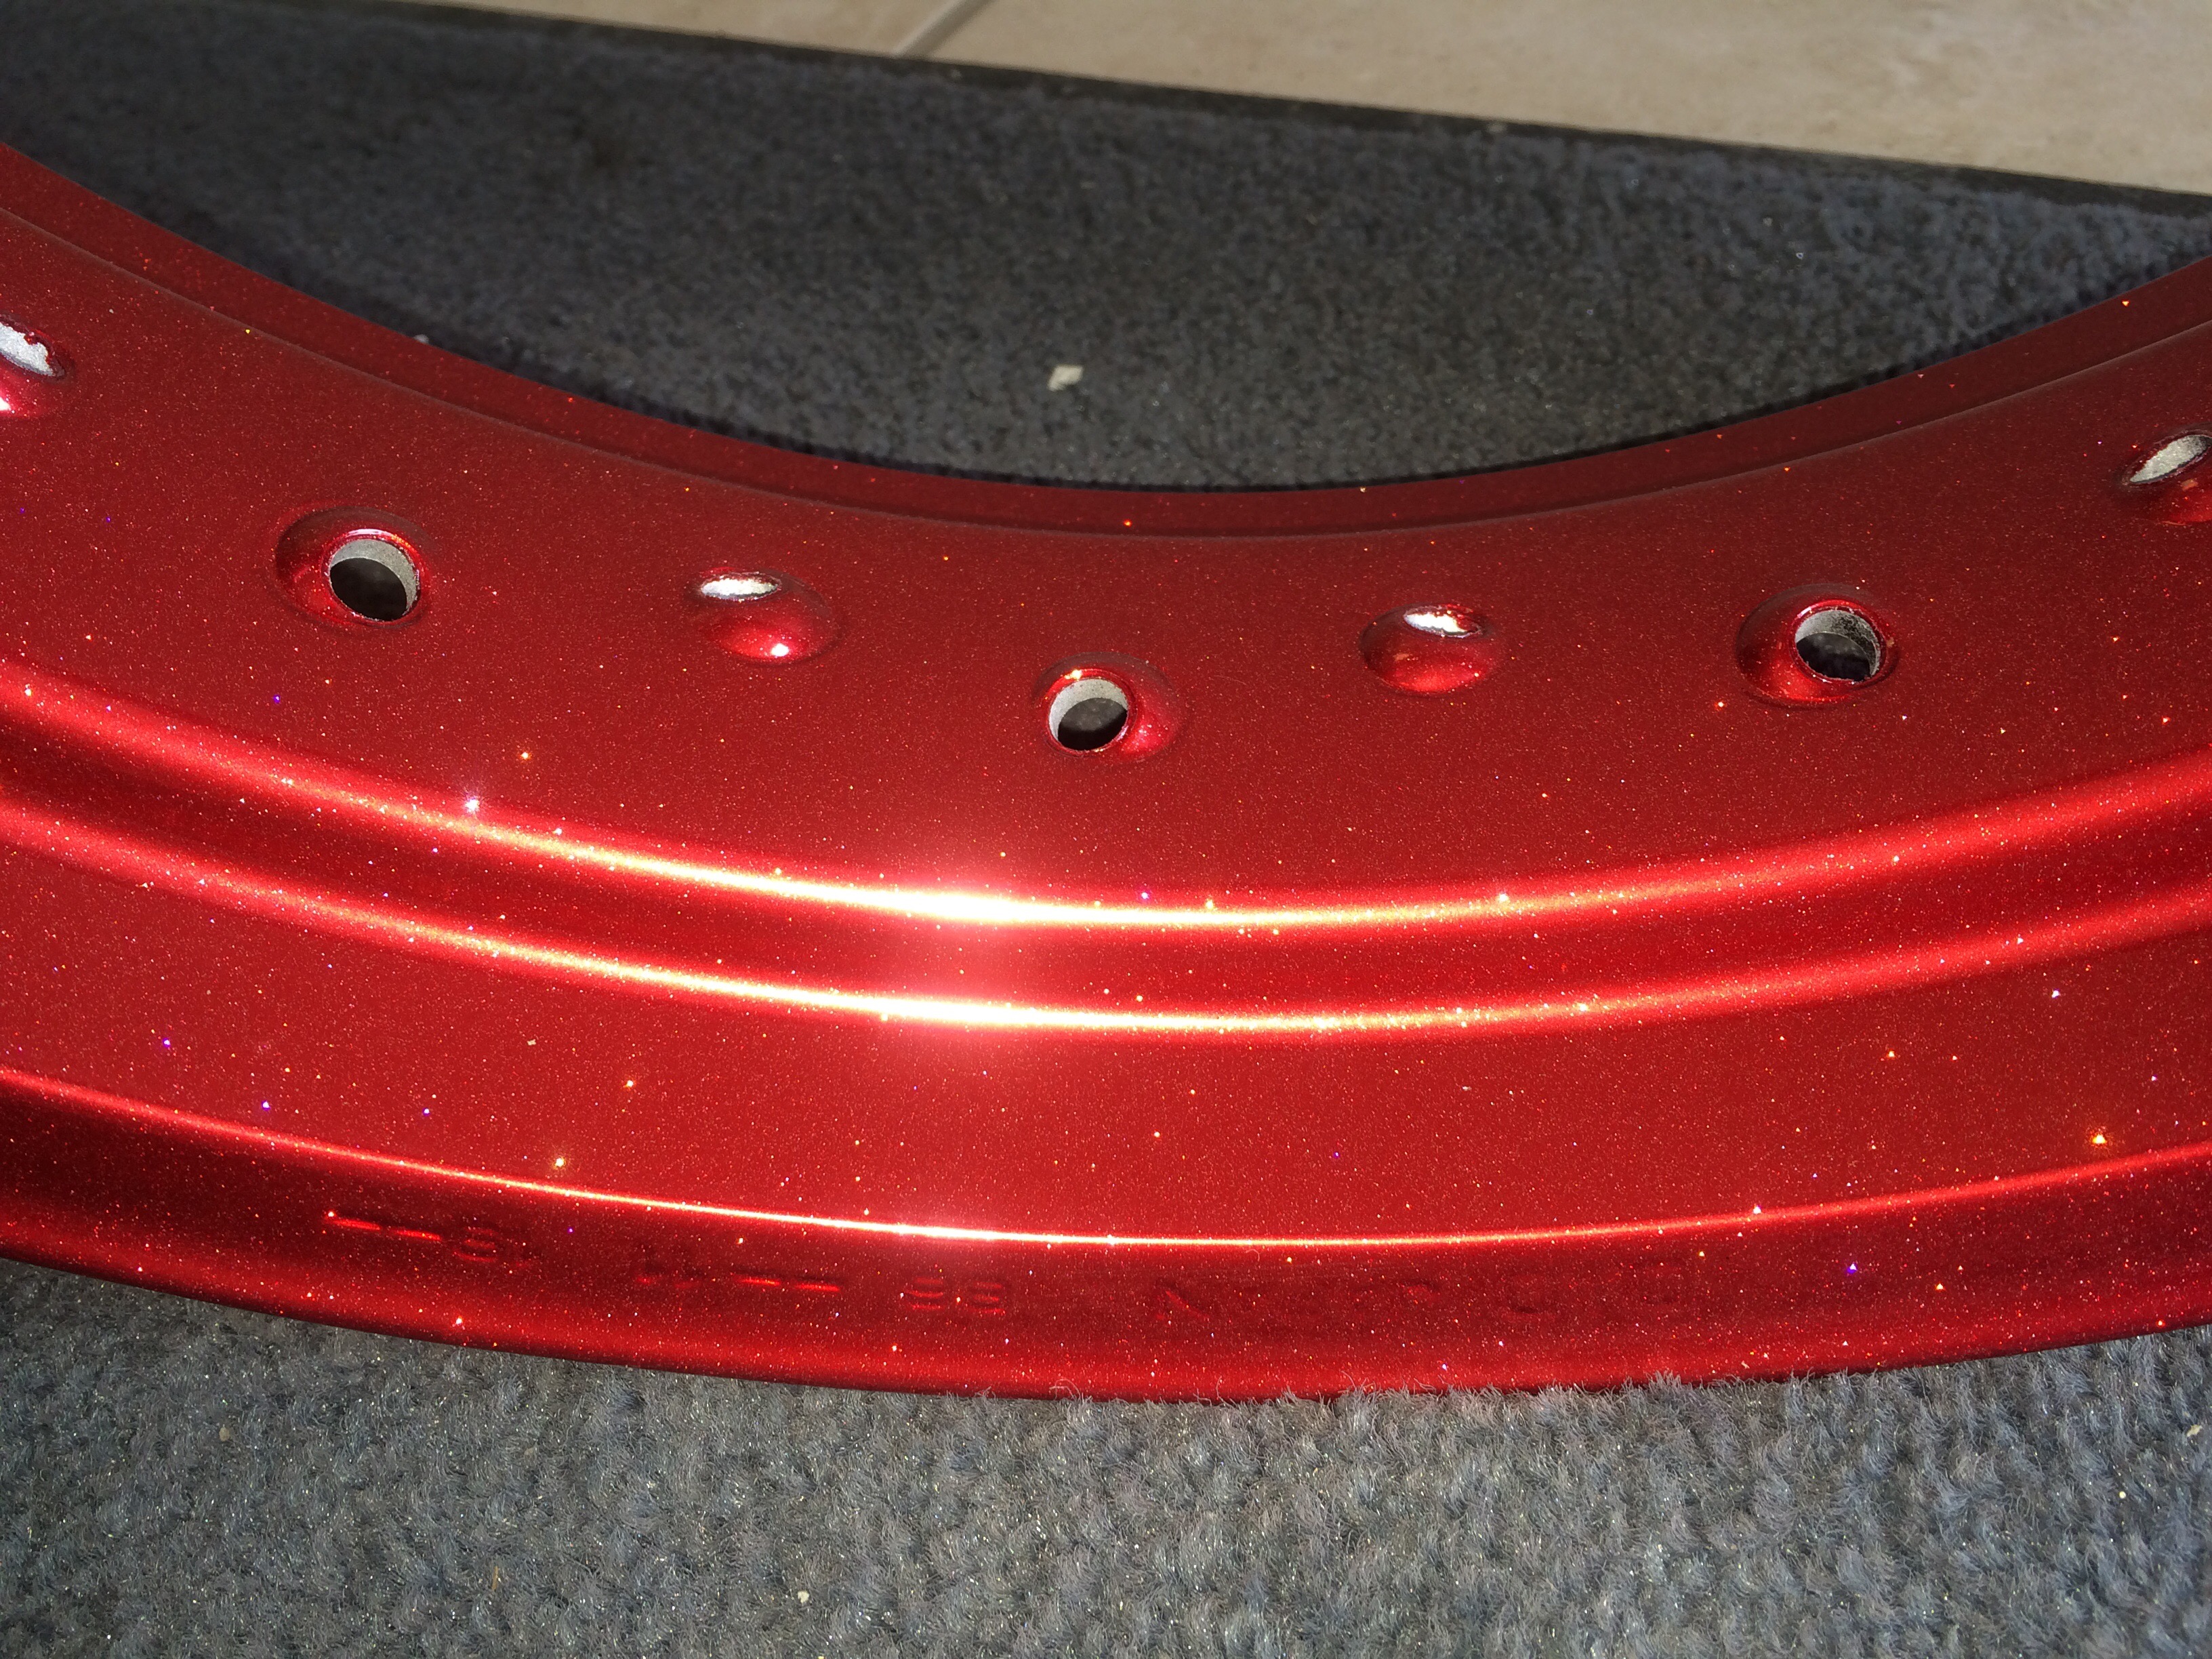
The rims came back from Union Rim in North York, Ontario and turned out better than we could have hoped. The colour we spec’d was a deep red metallic with a metal flake in them. Pics really don’t do them justice.
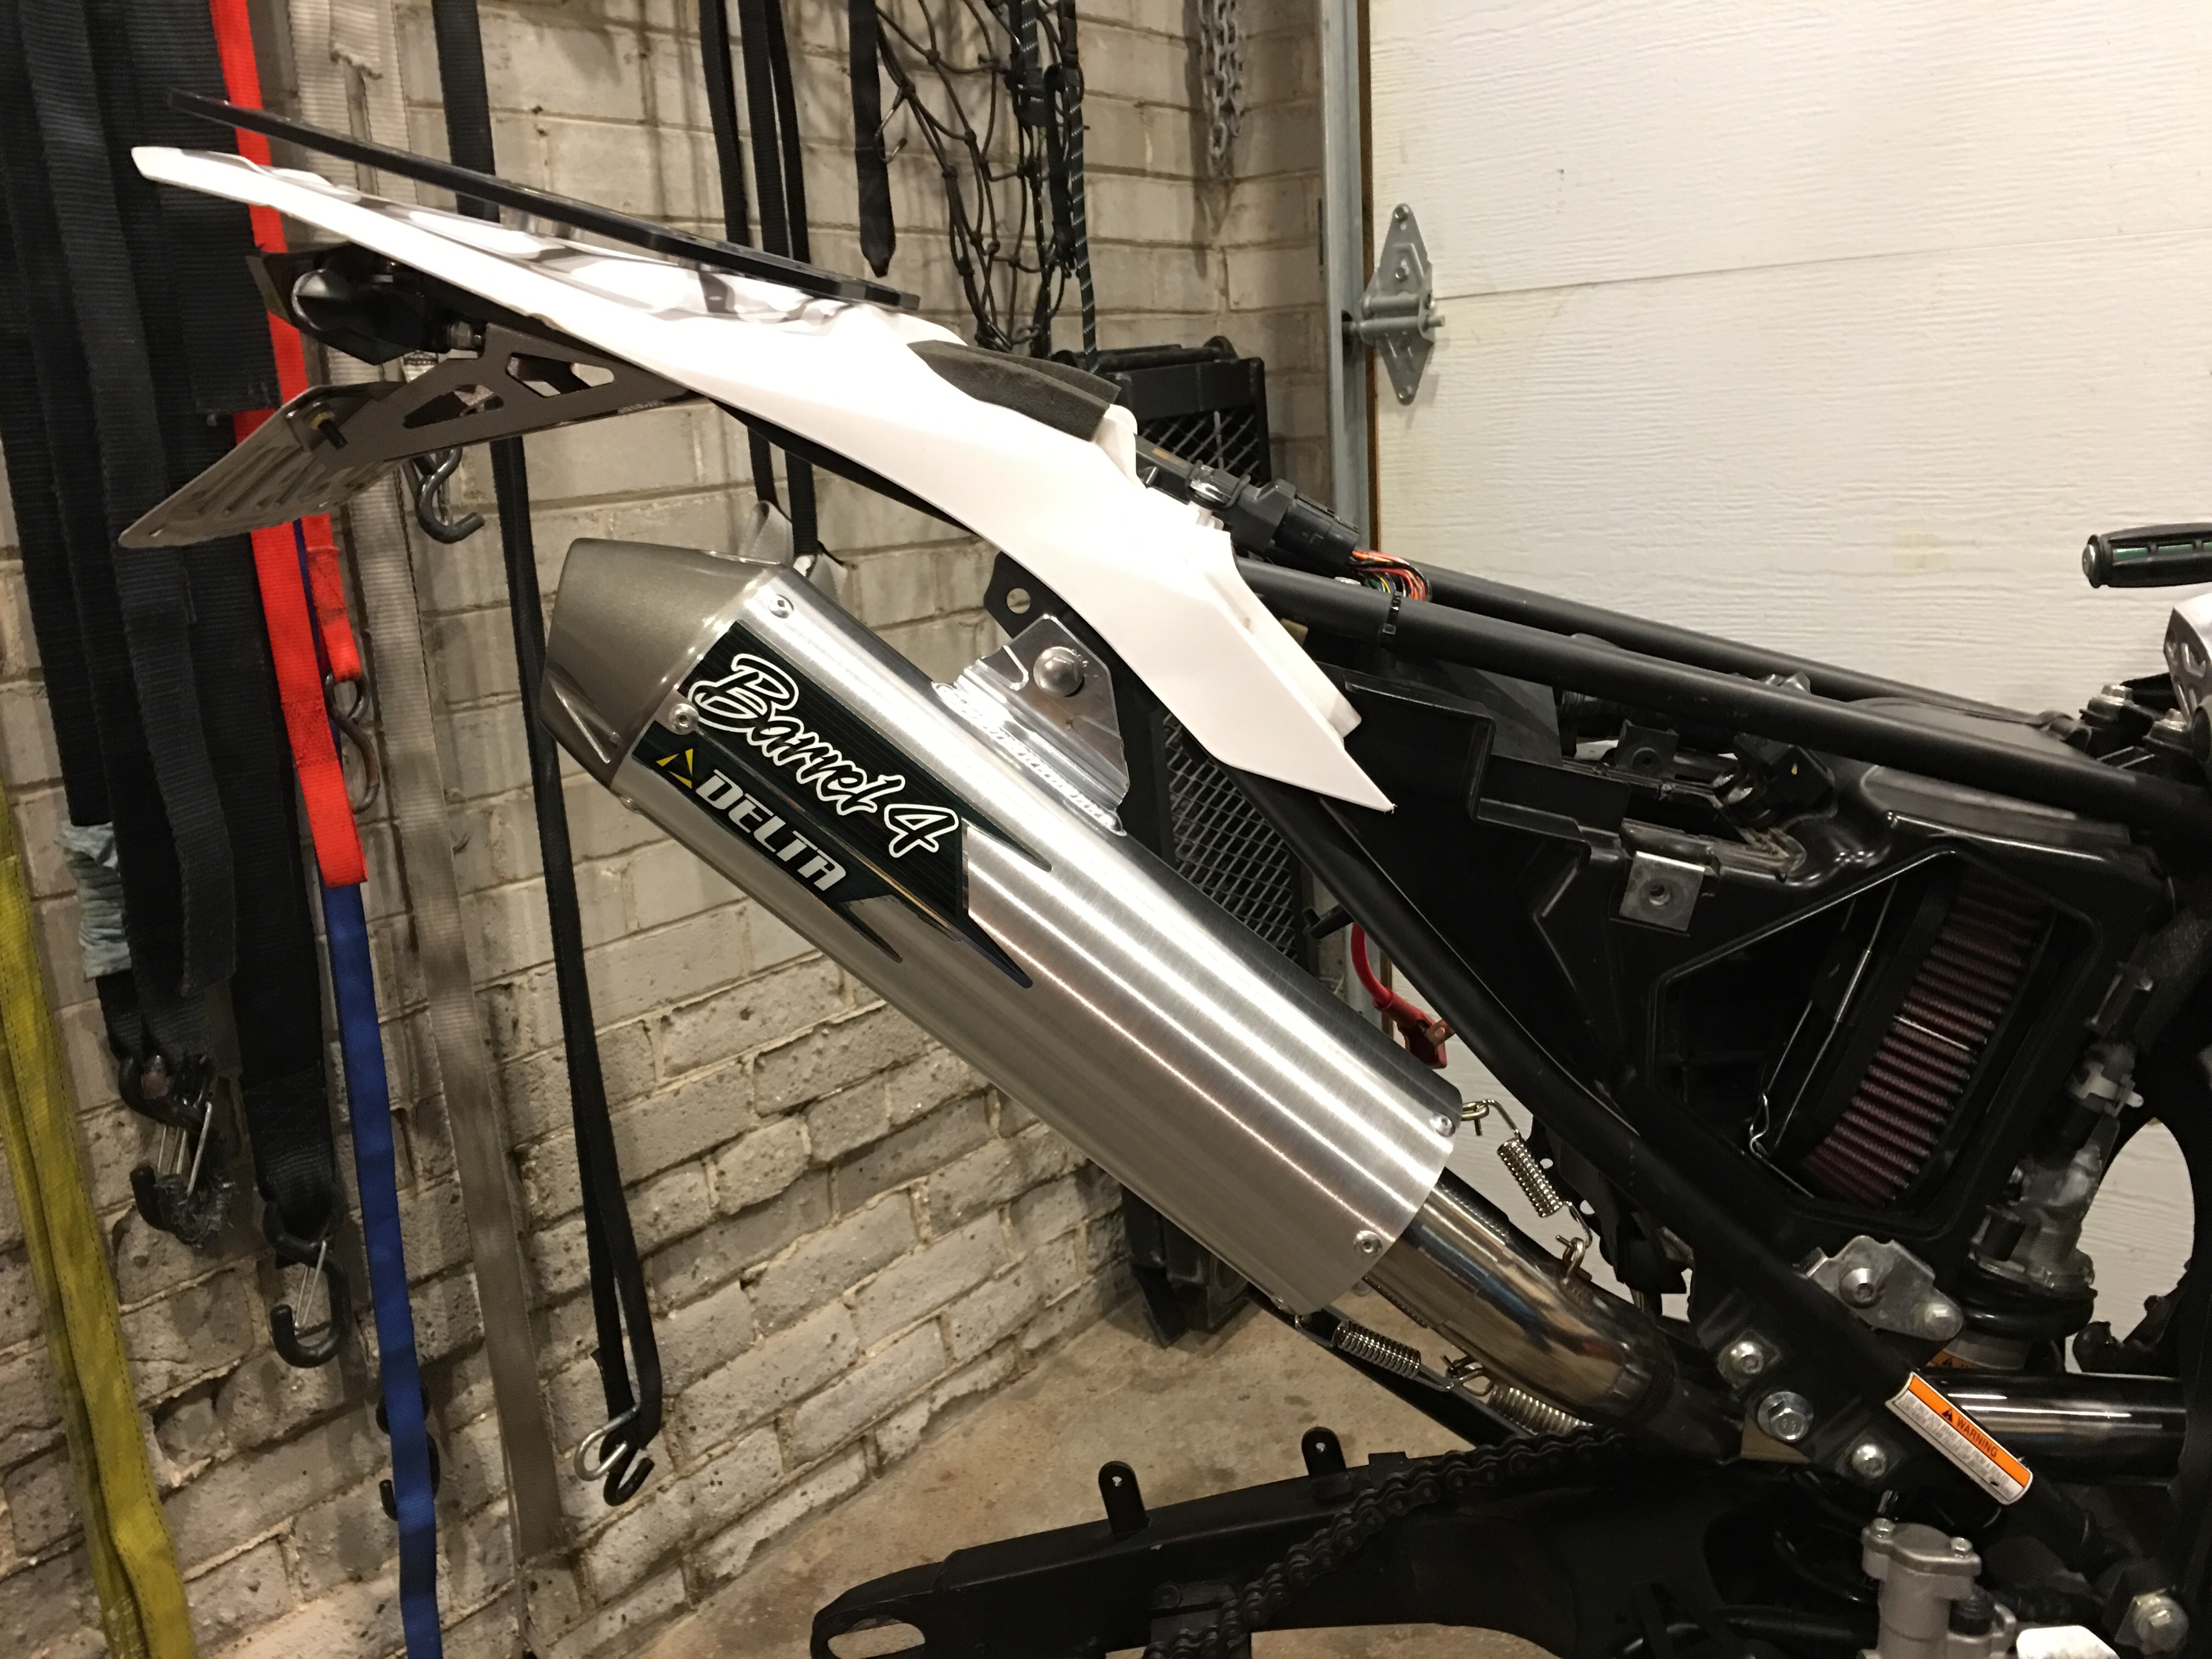
Moving on to a few mechanical items: we took off the old exhaust and replaced it with the much lighter, shorter and sexier Delta Barrel 4 unit.
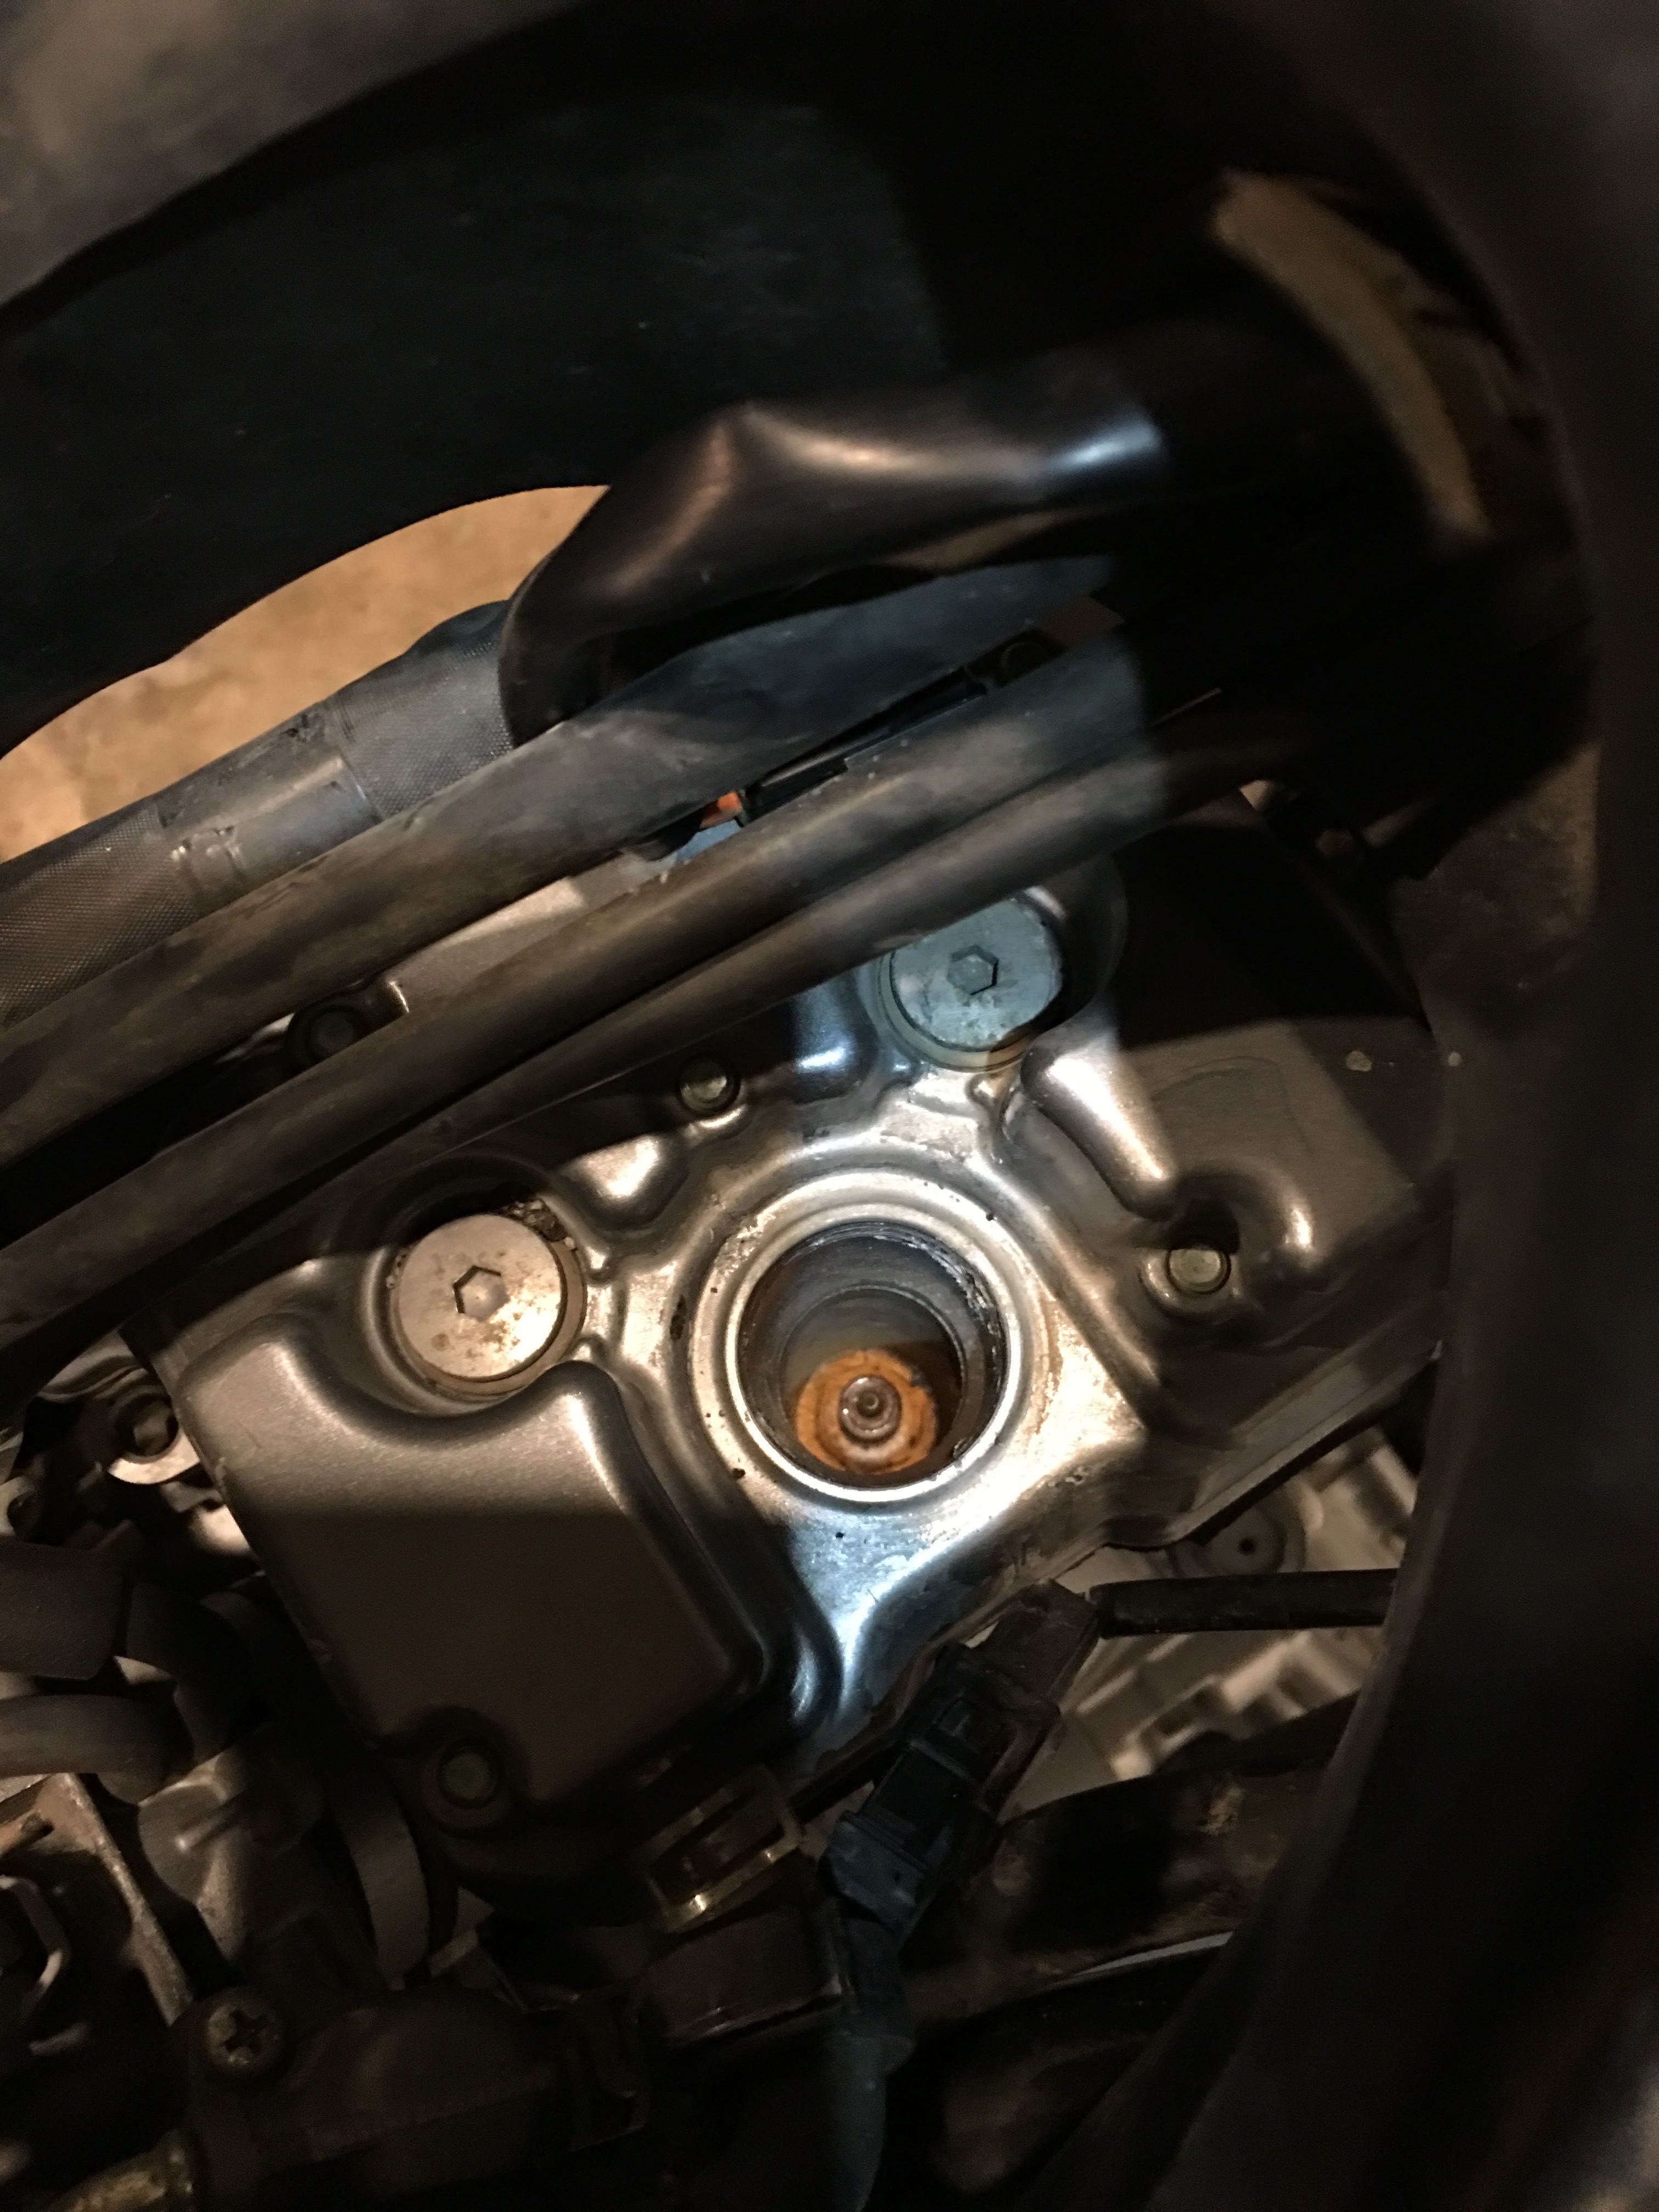
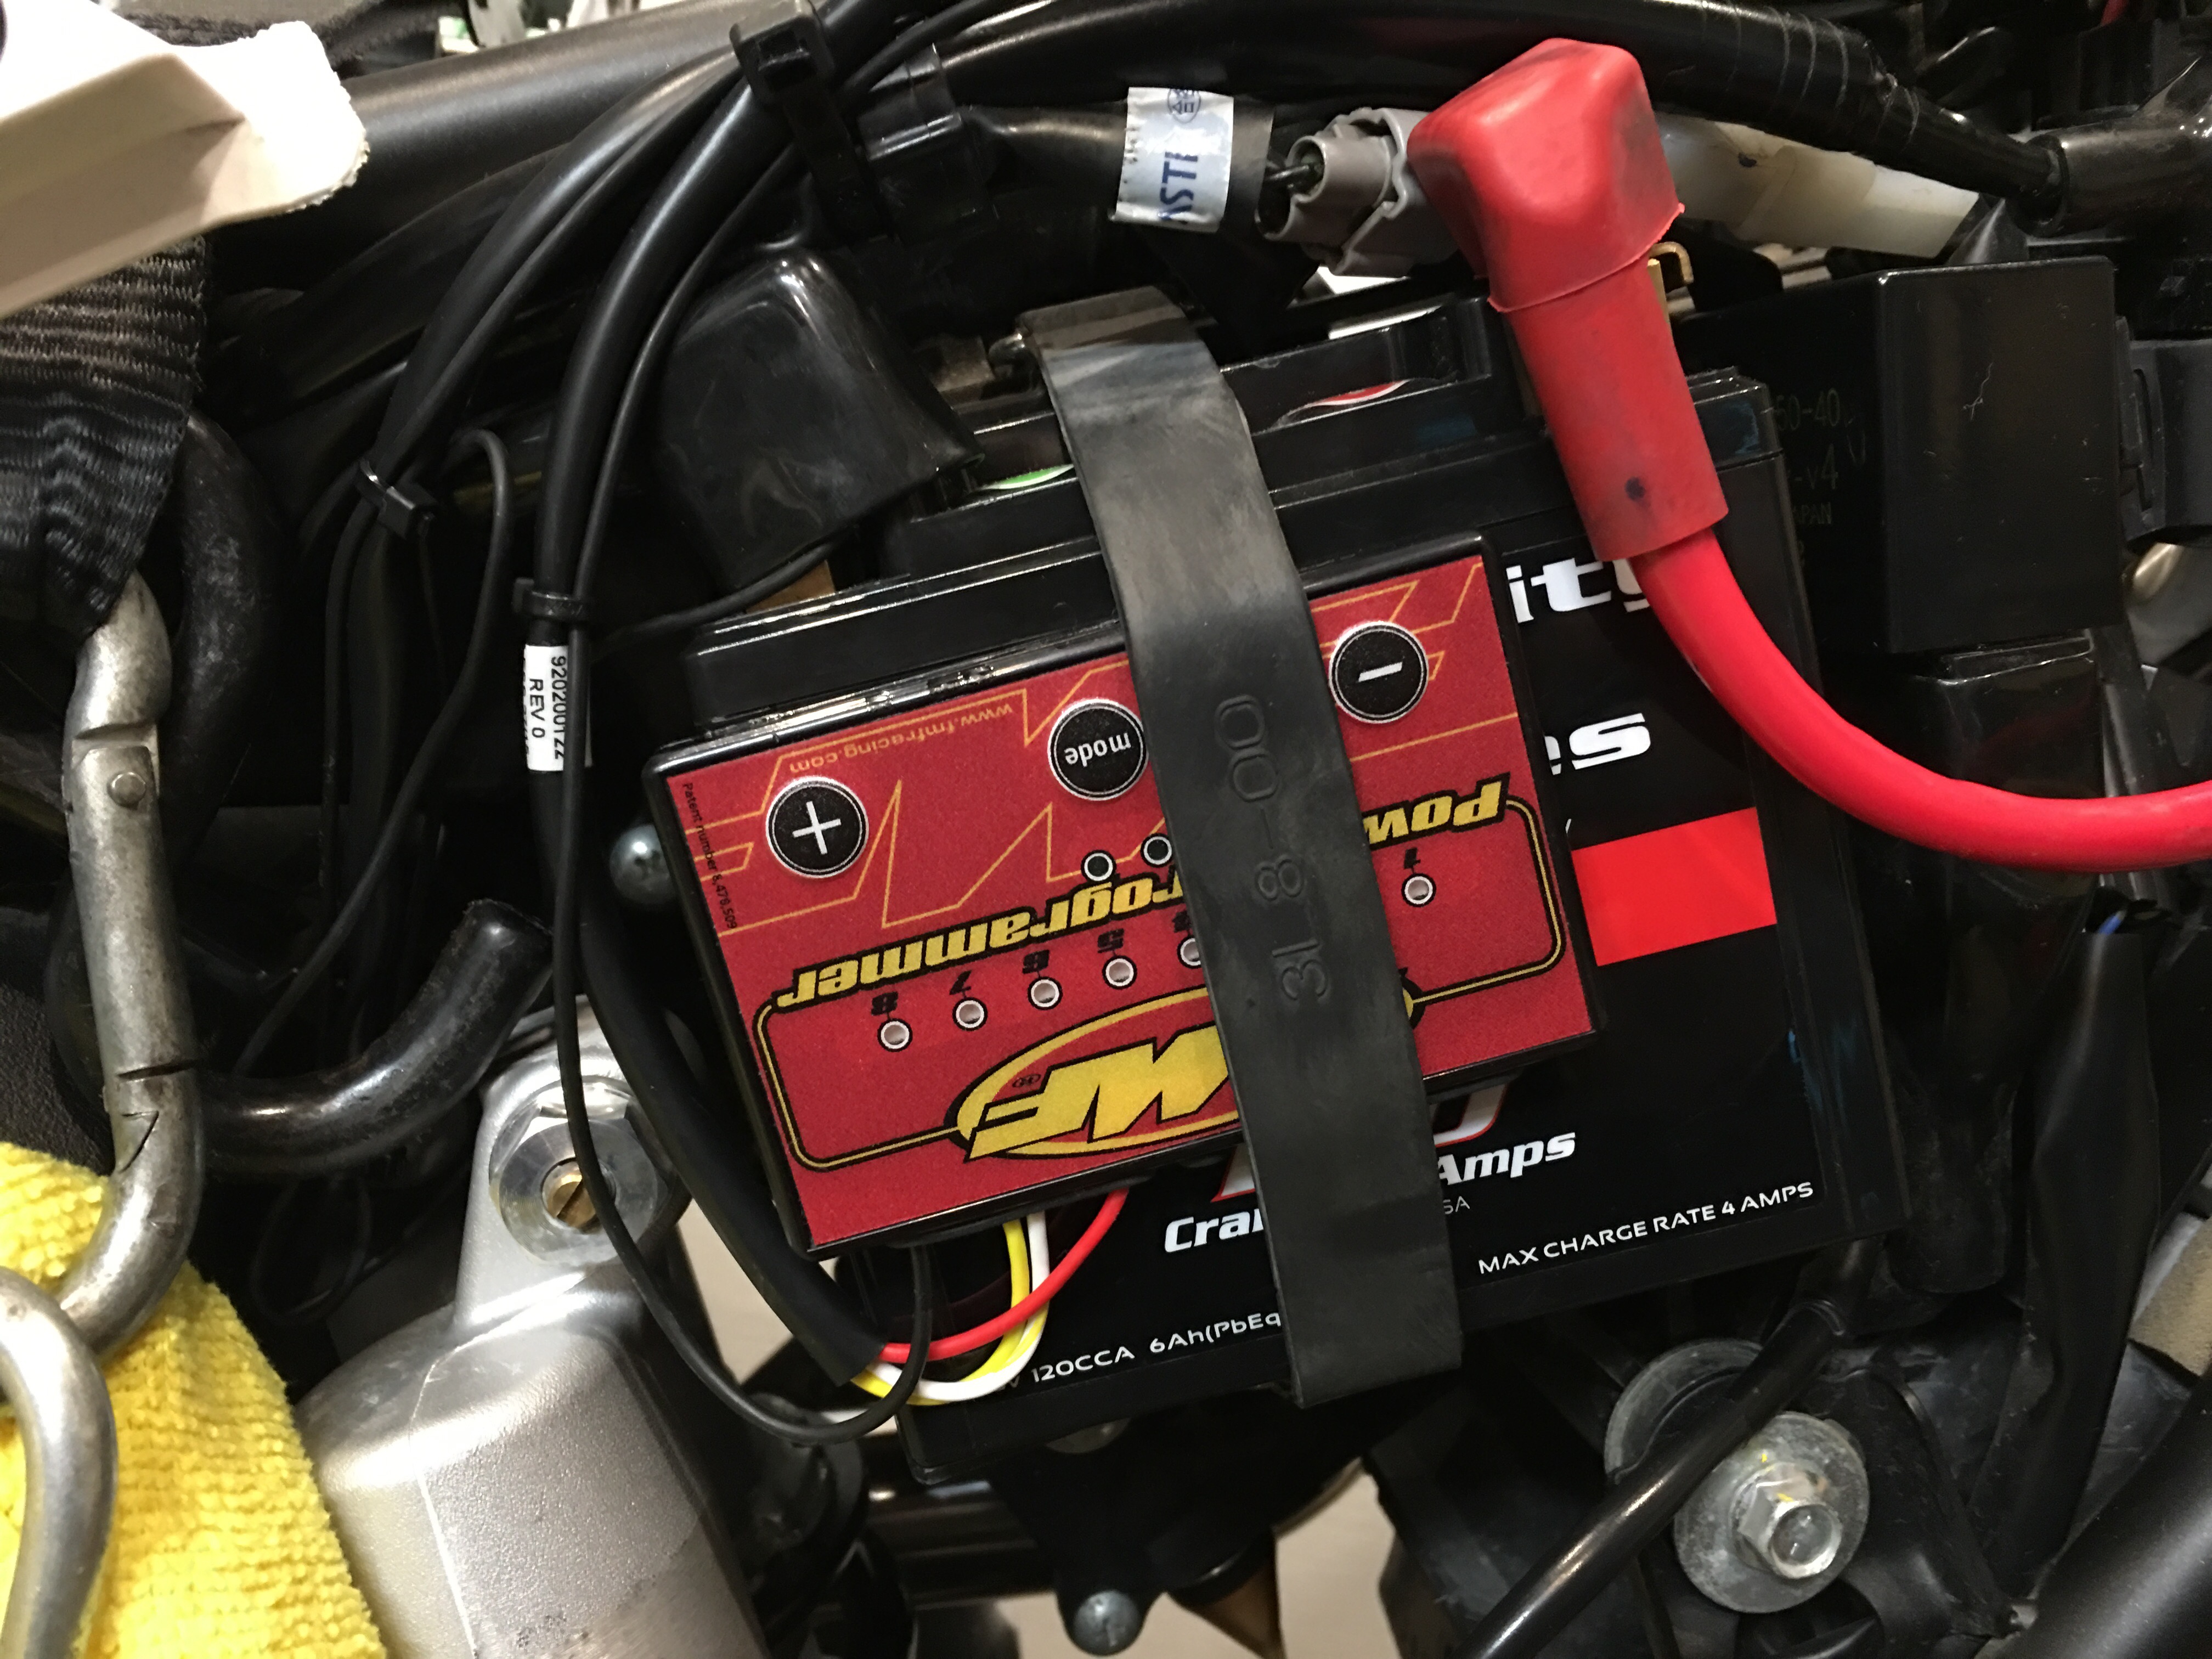
We removed the tank to change the spark plug and wire up the Fuel Programmer. There was some neglect here too, as you can see from this picture of the spark plug hole.
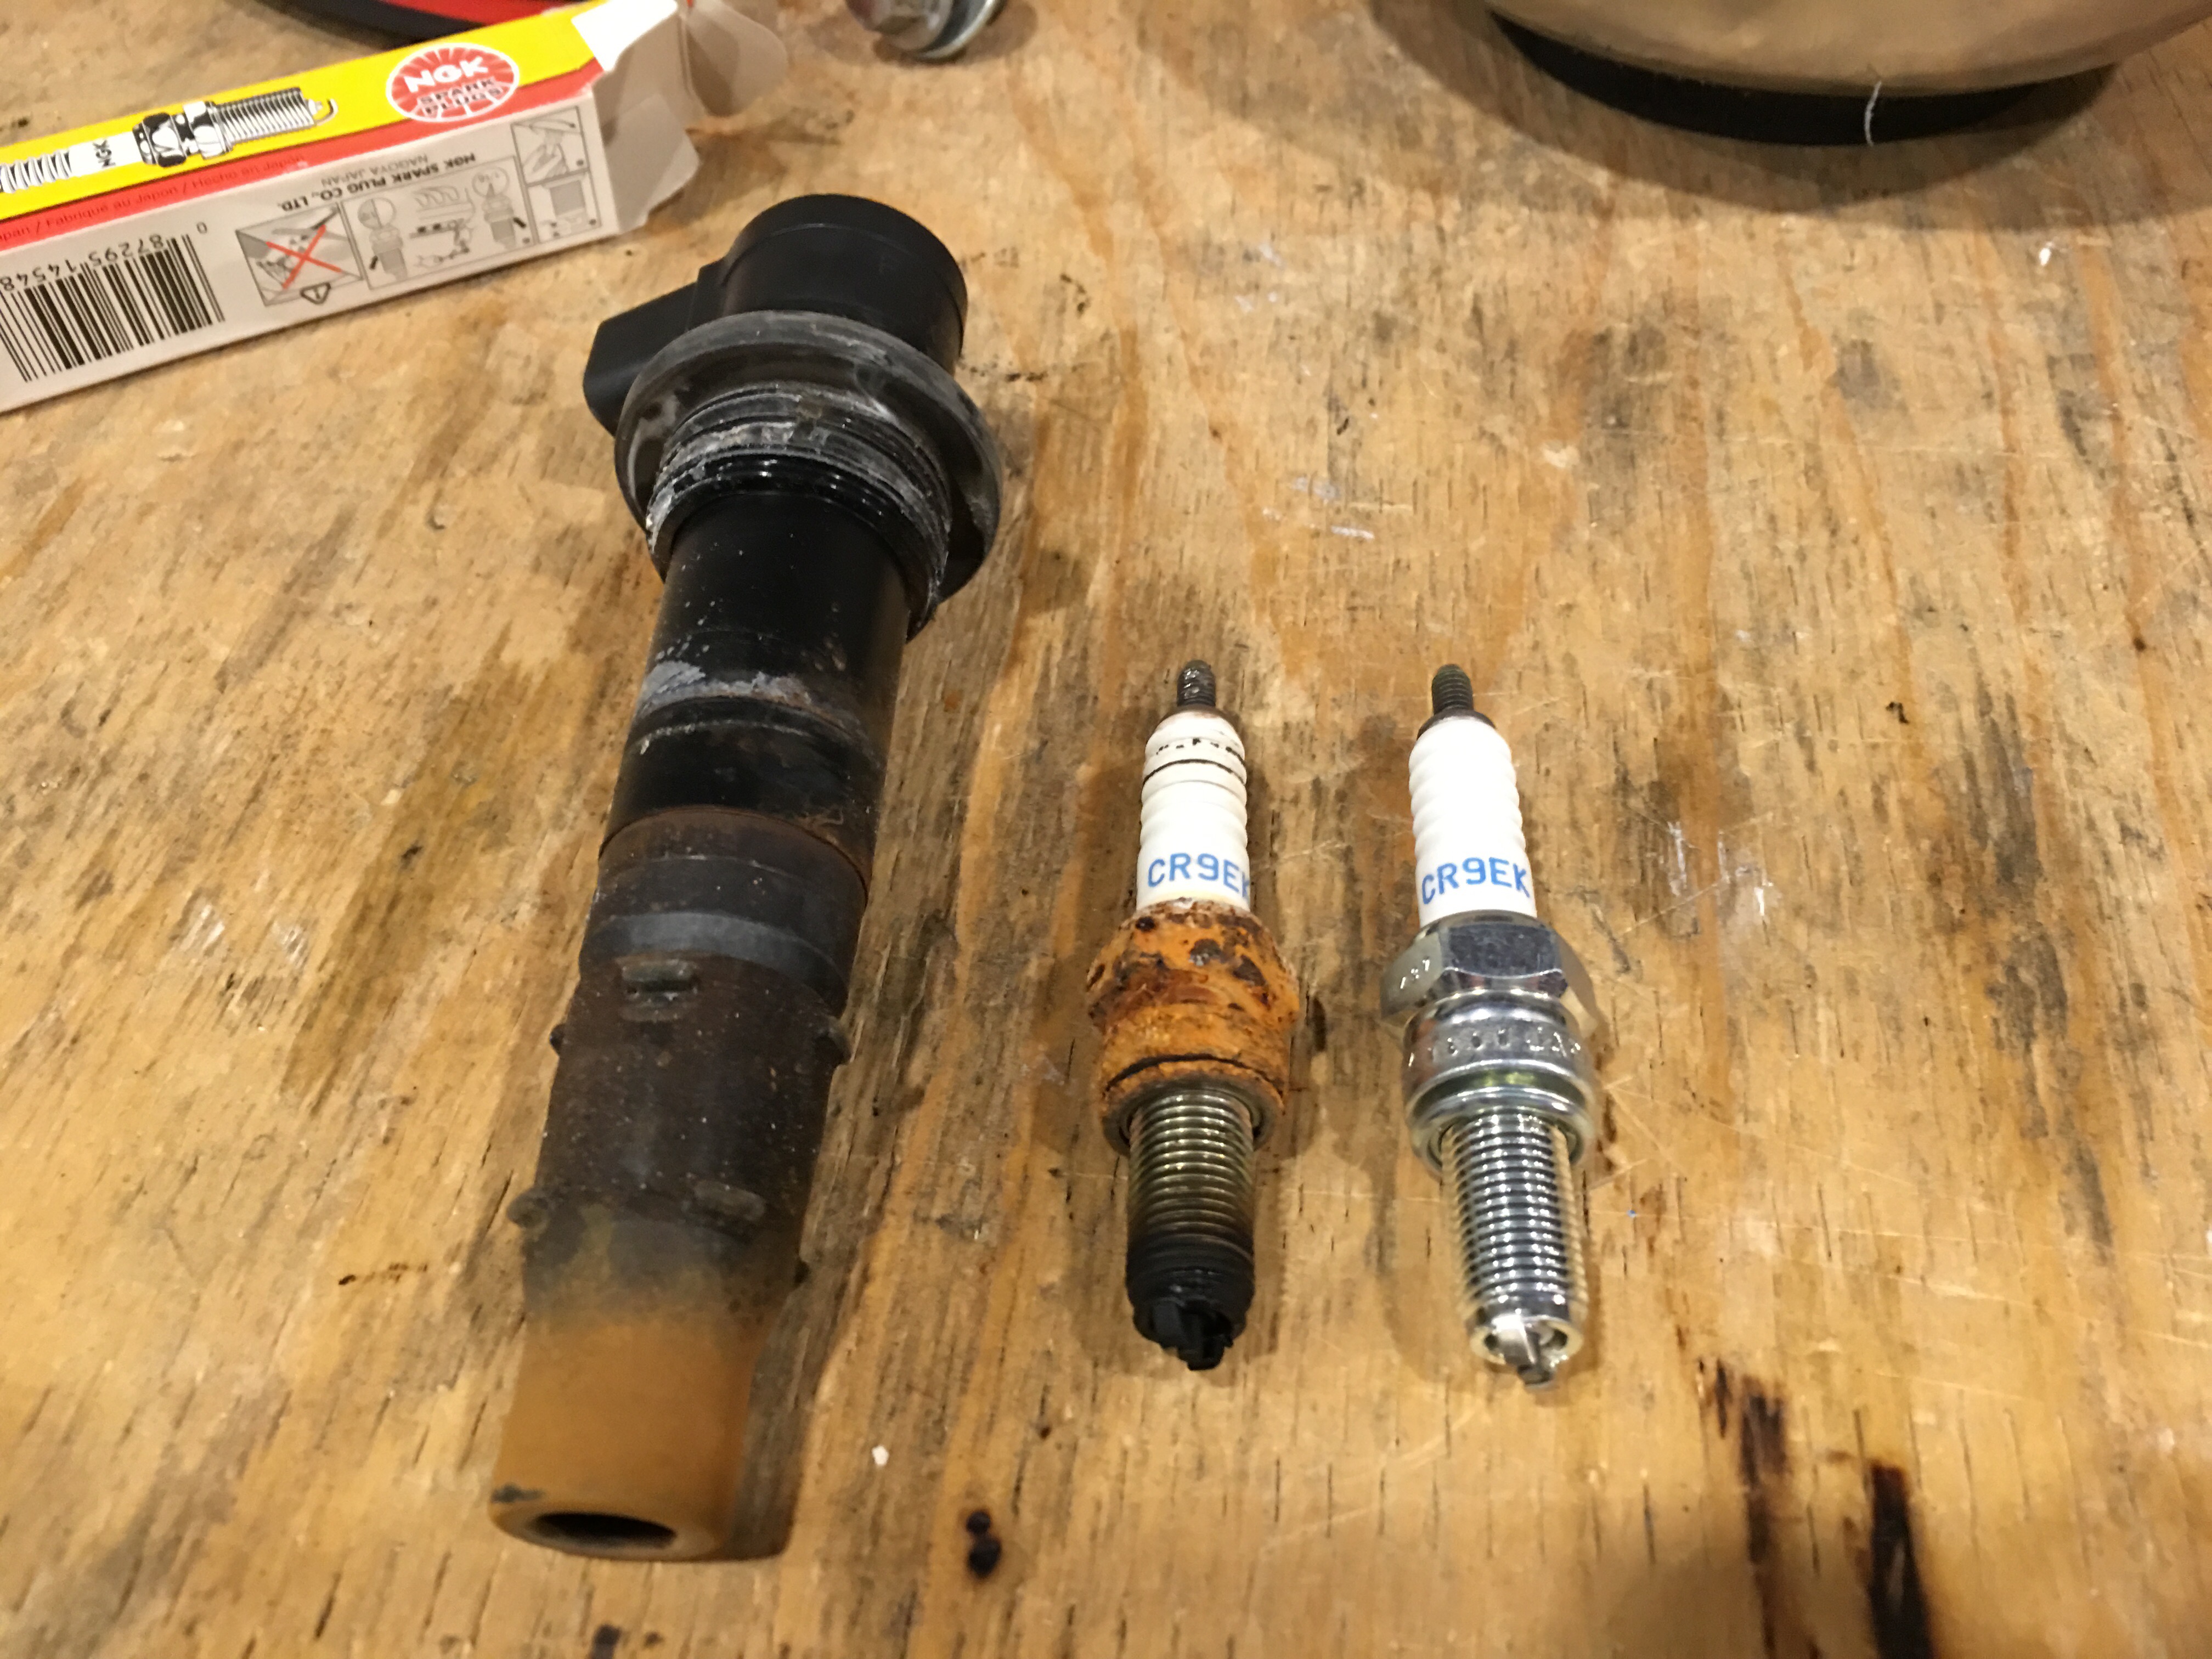
As you can imagine, the spark plug didn’t look any better. Here’s a comparison to old vs new:
Wiring in the fuel programmer was straightforward and we set it up for using a high-flow air filter and aftermarket exhaust.
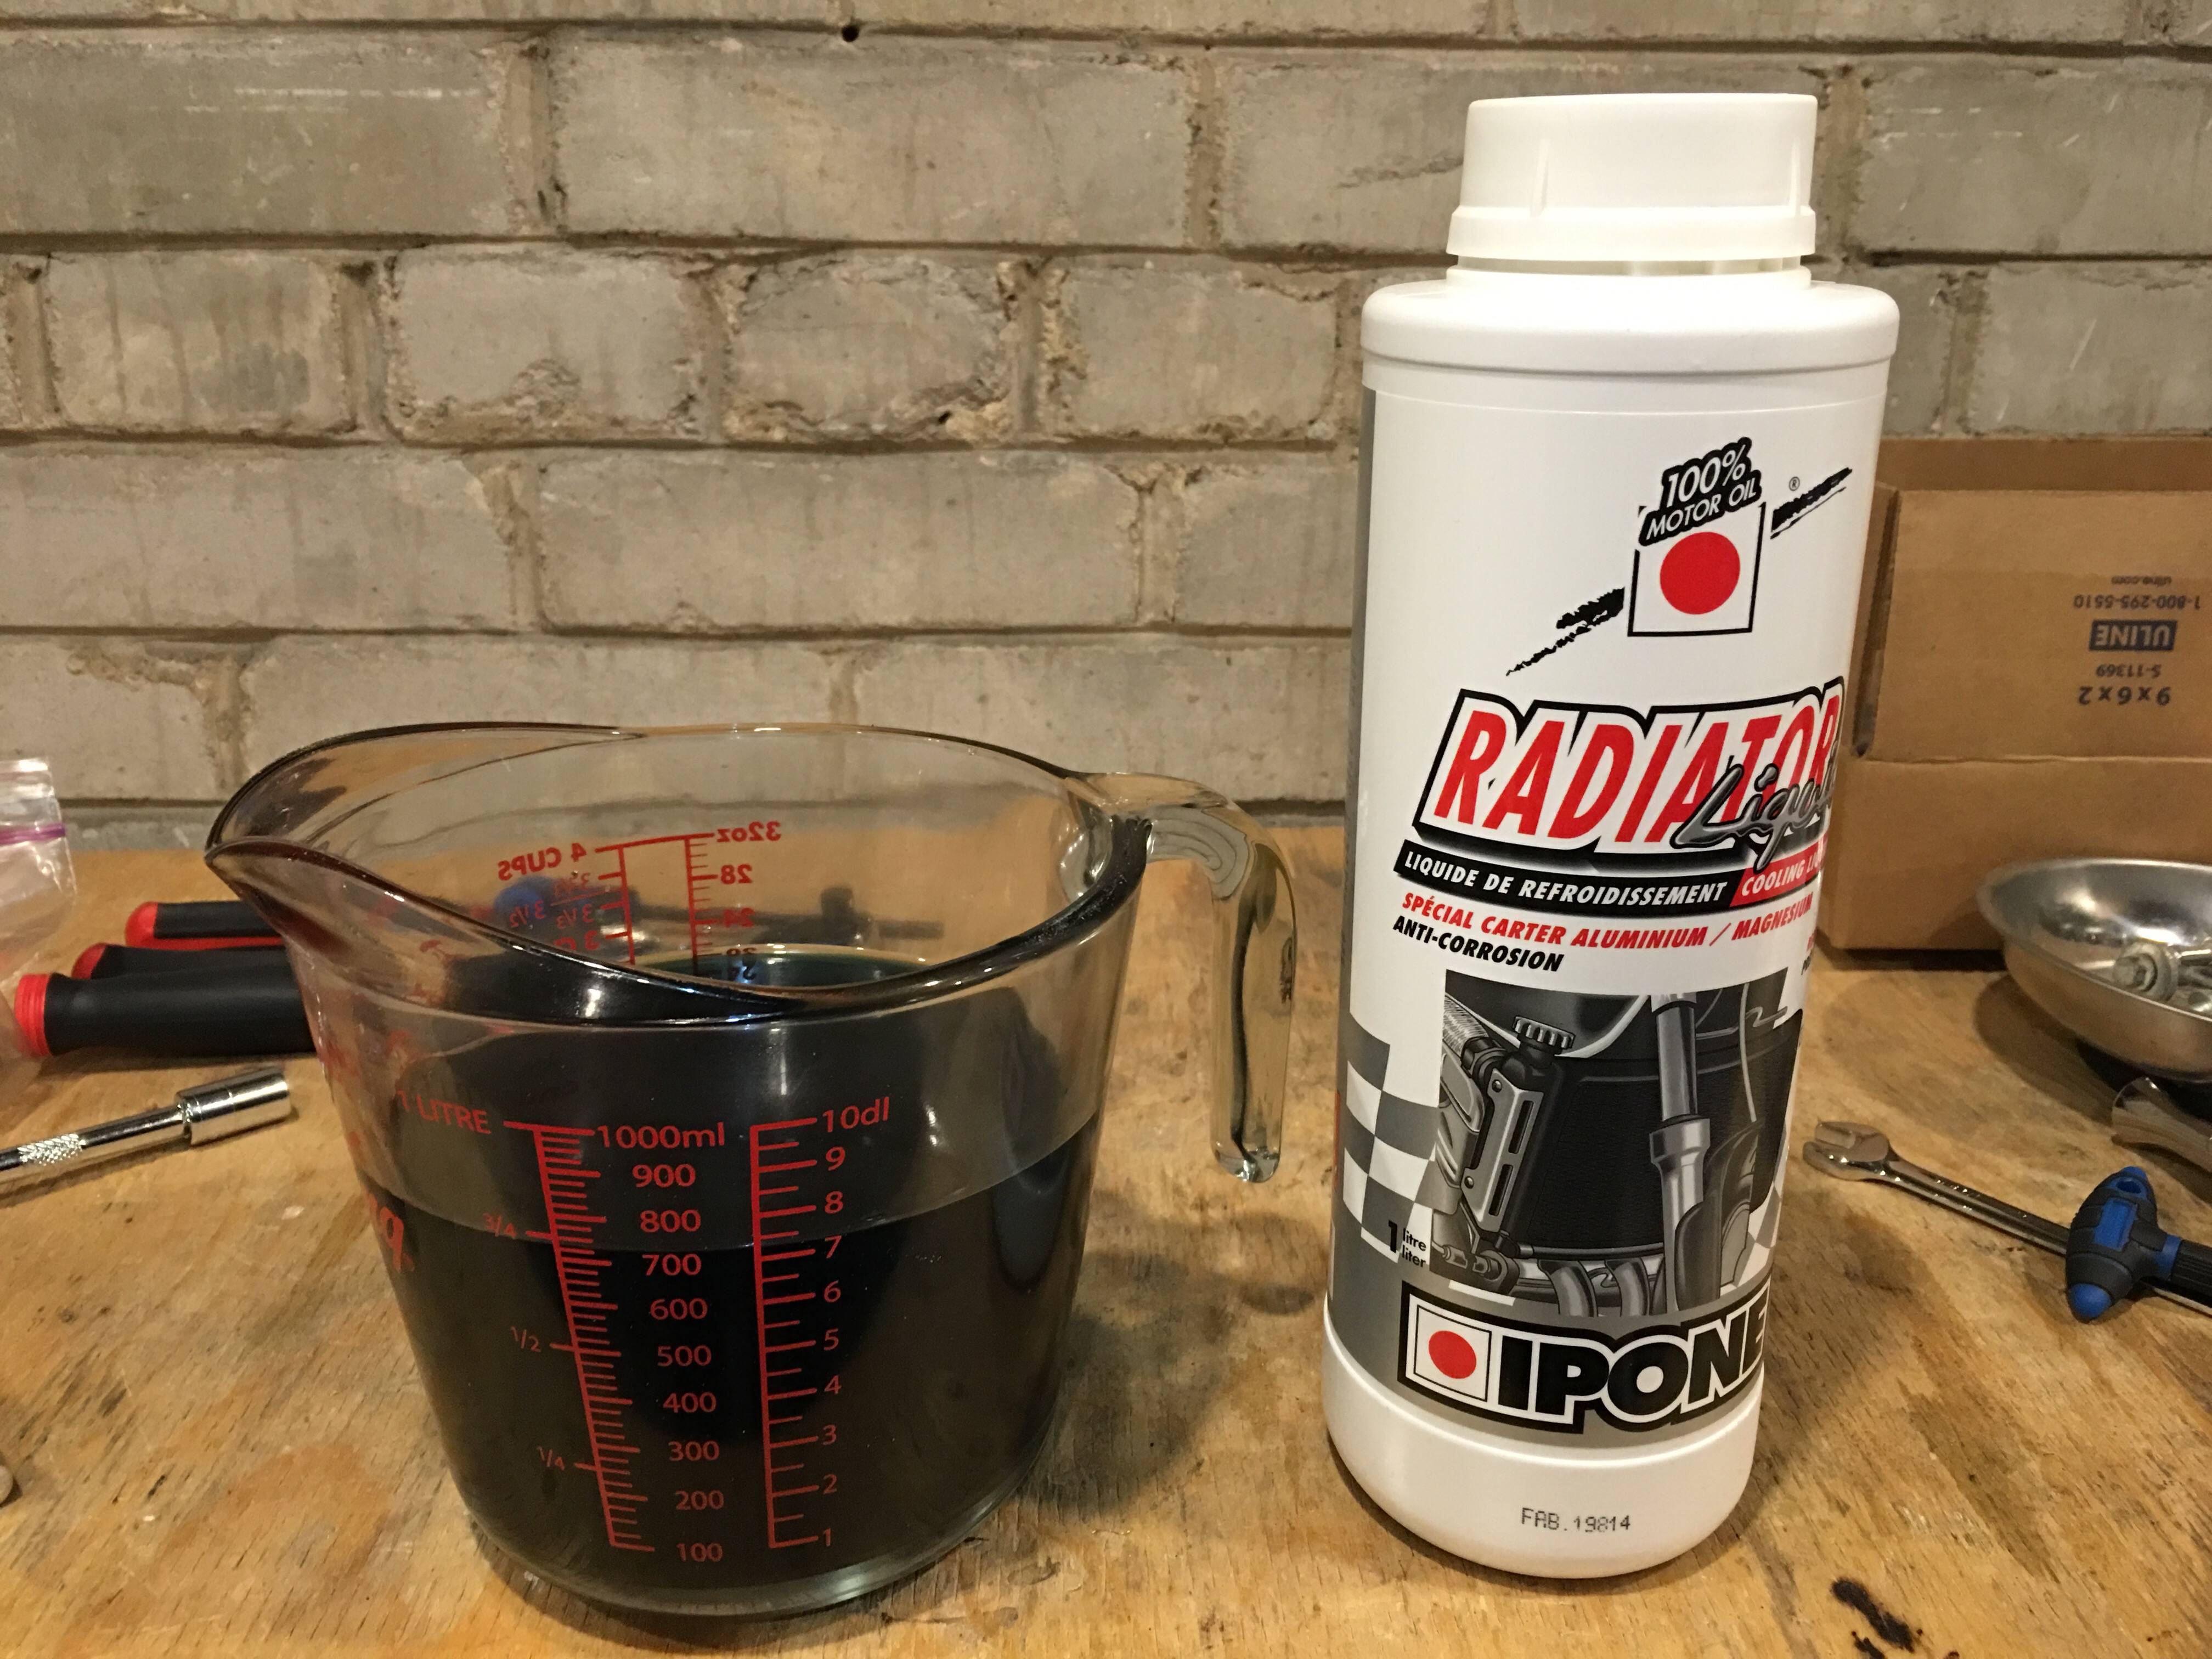
Another serviceable item on our list was to flush and replace the 6 year old coolant.
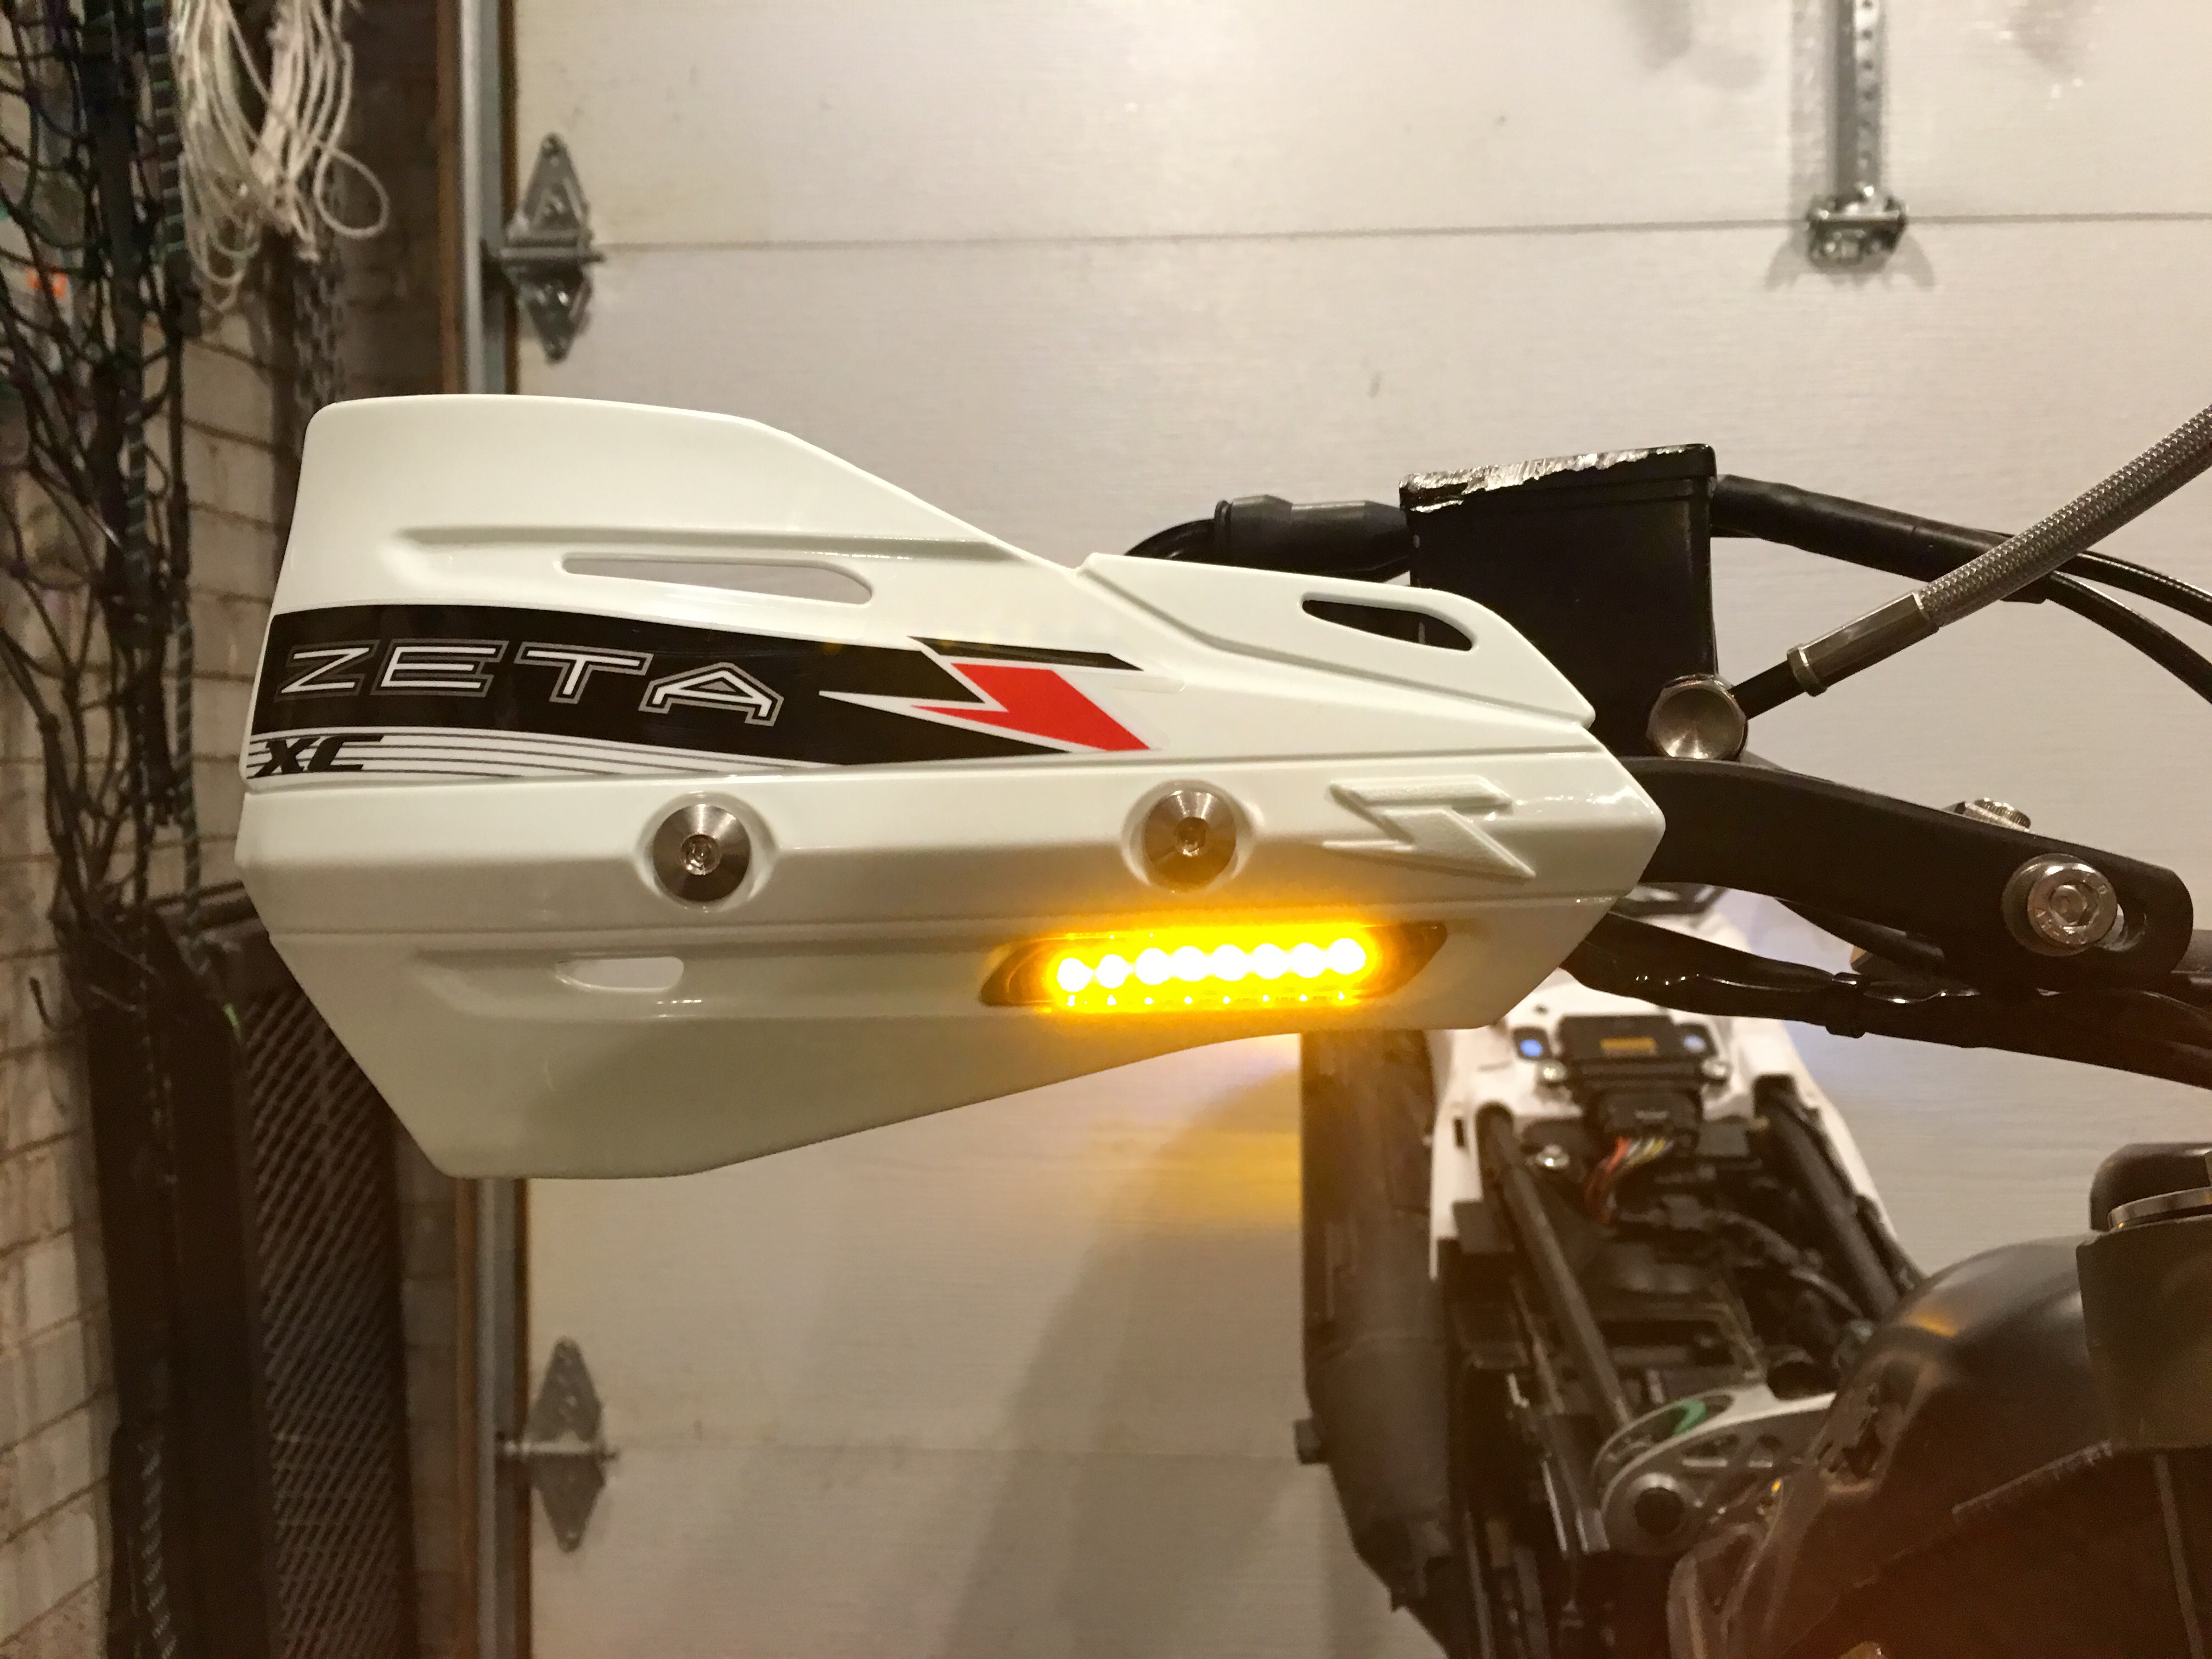
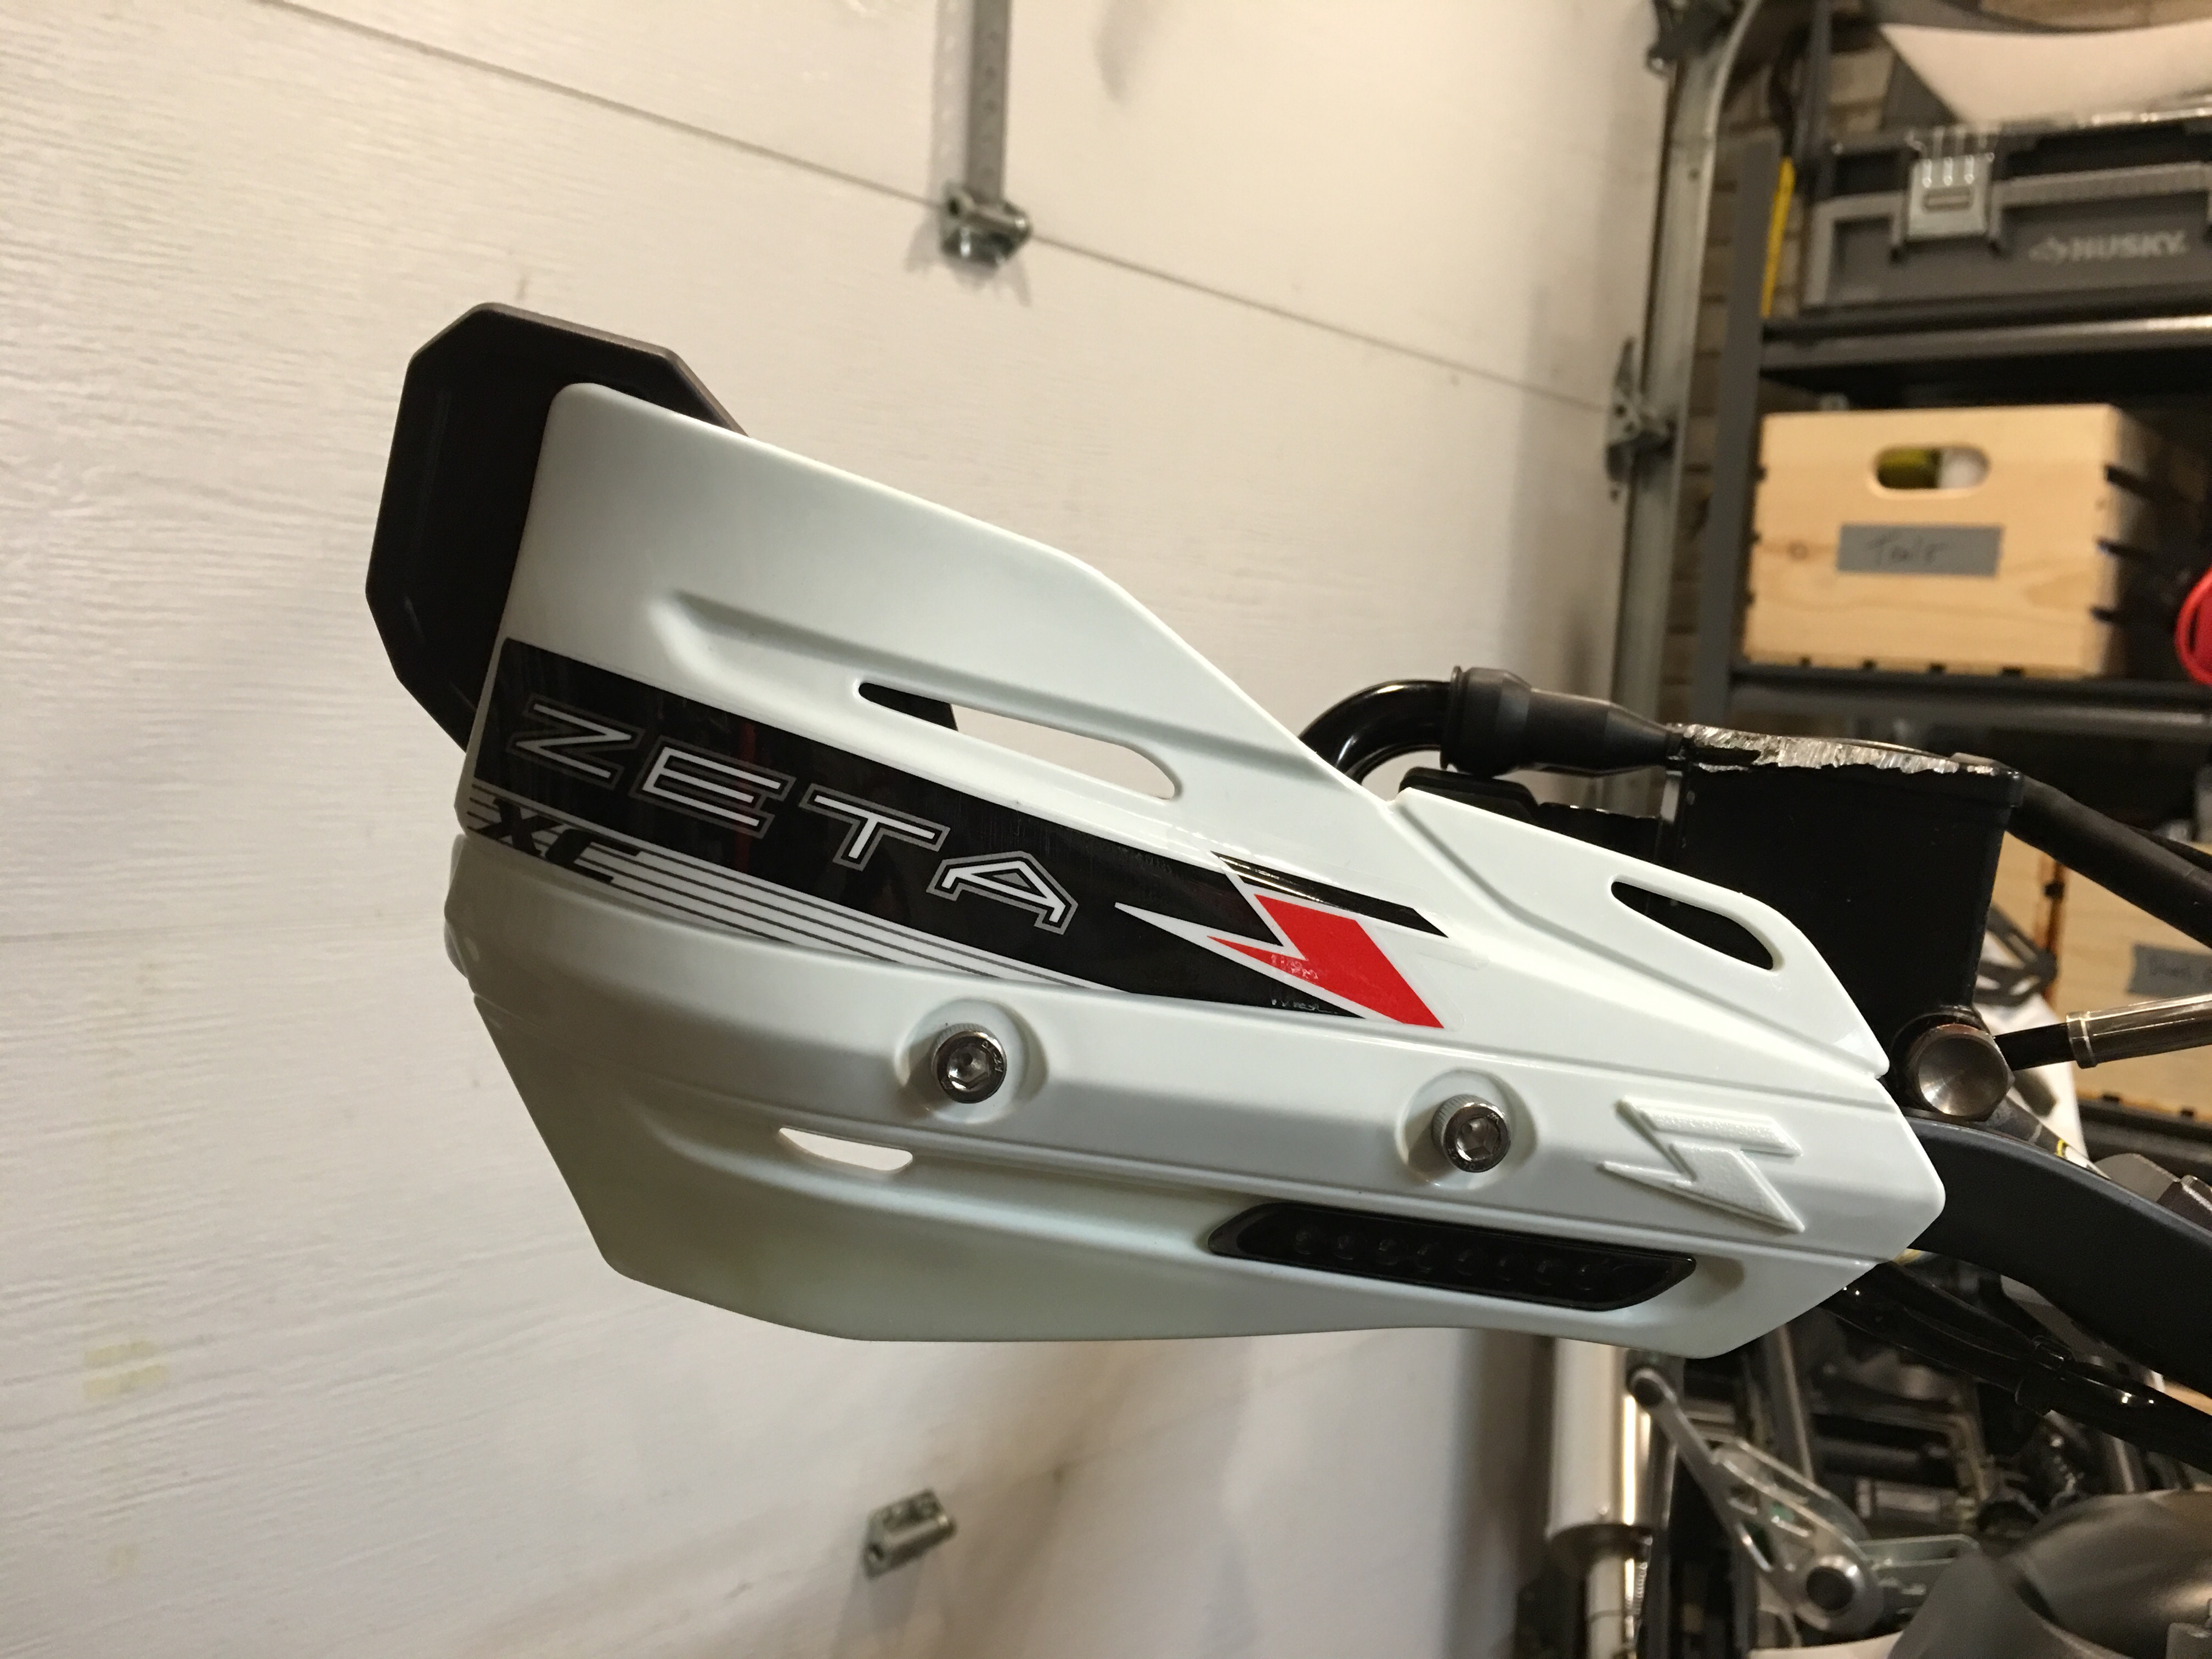
We then turned our attention to the front end. This Zeta Handguard kit with integrated turn signals allowed us to shave the front turn signals and keep a more streamlined look:

We added some resistors to keep the flash rate down so it’s close to the stock indicators.
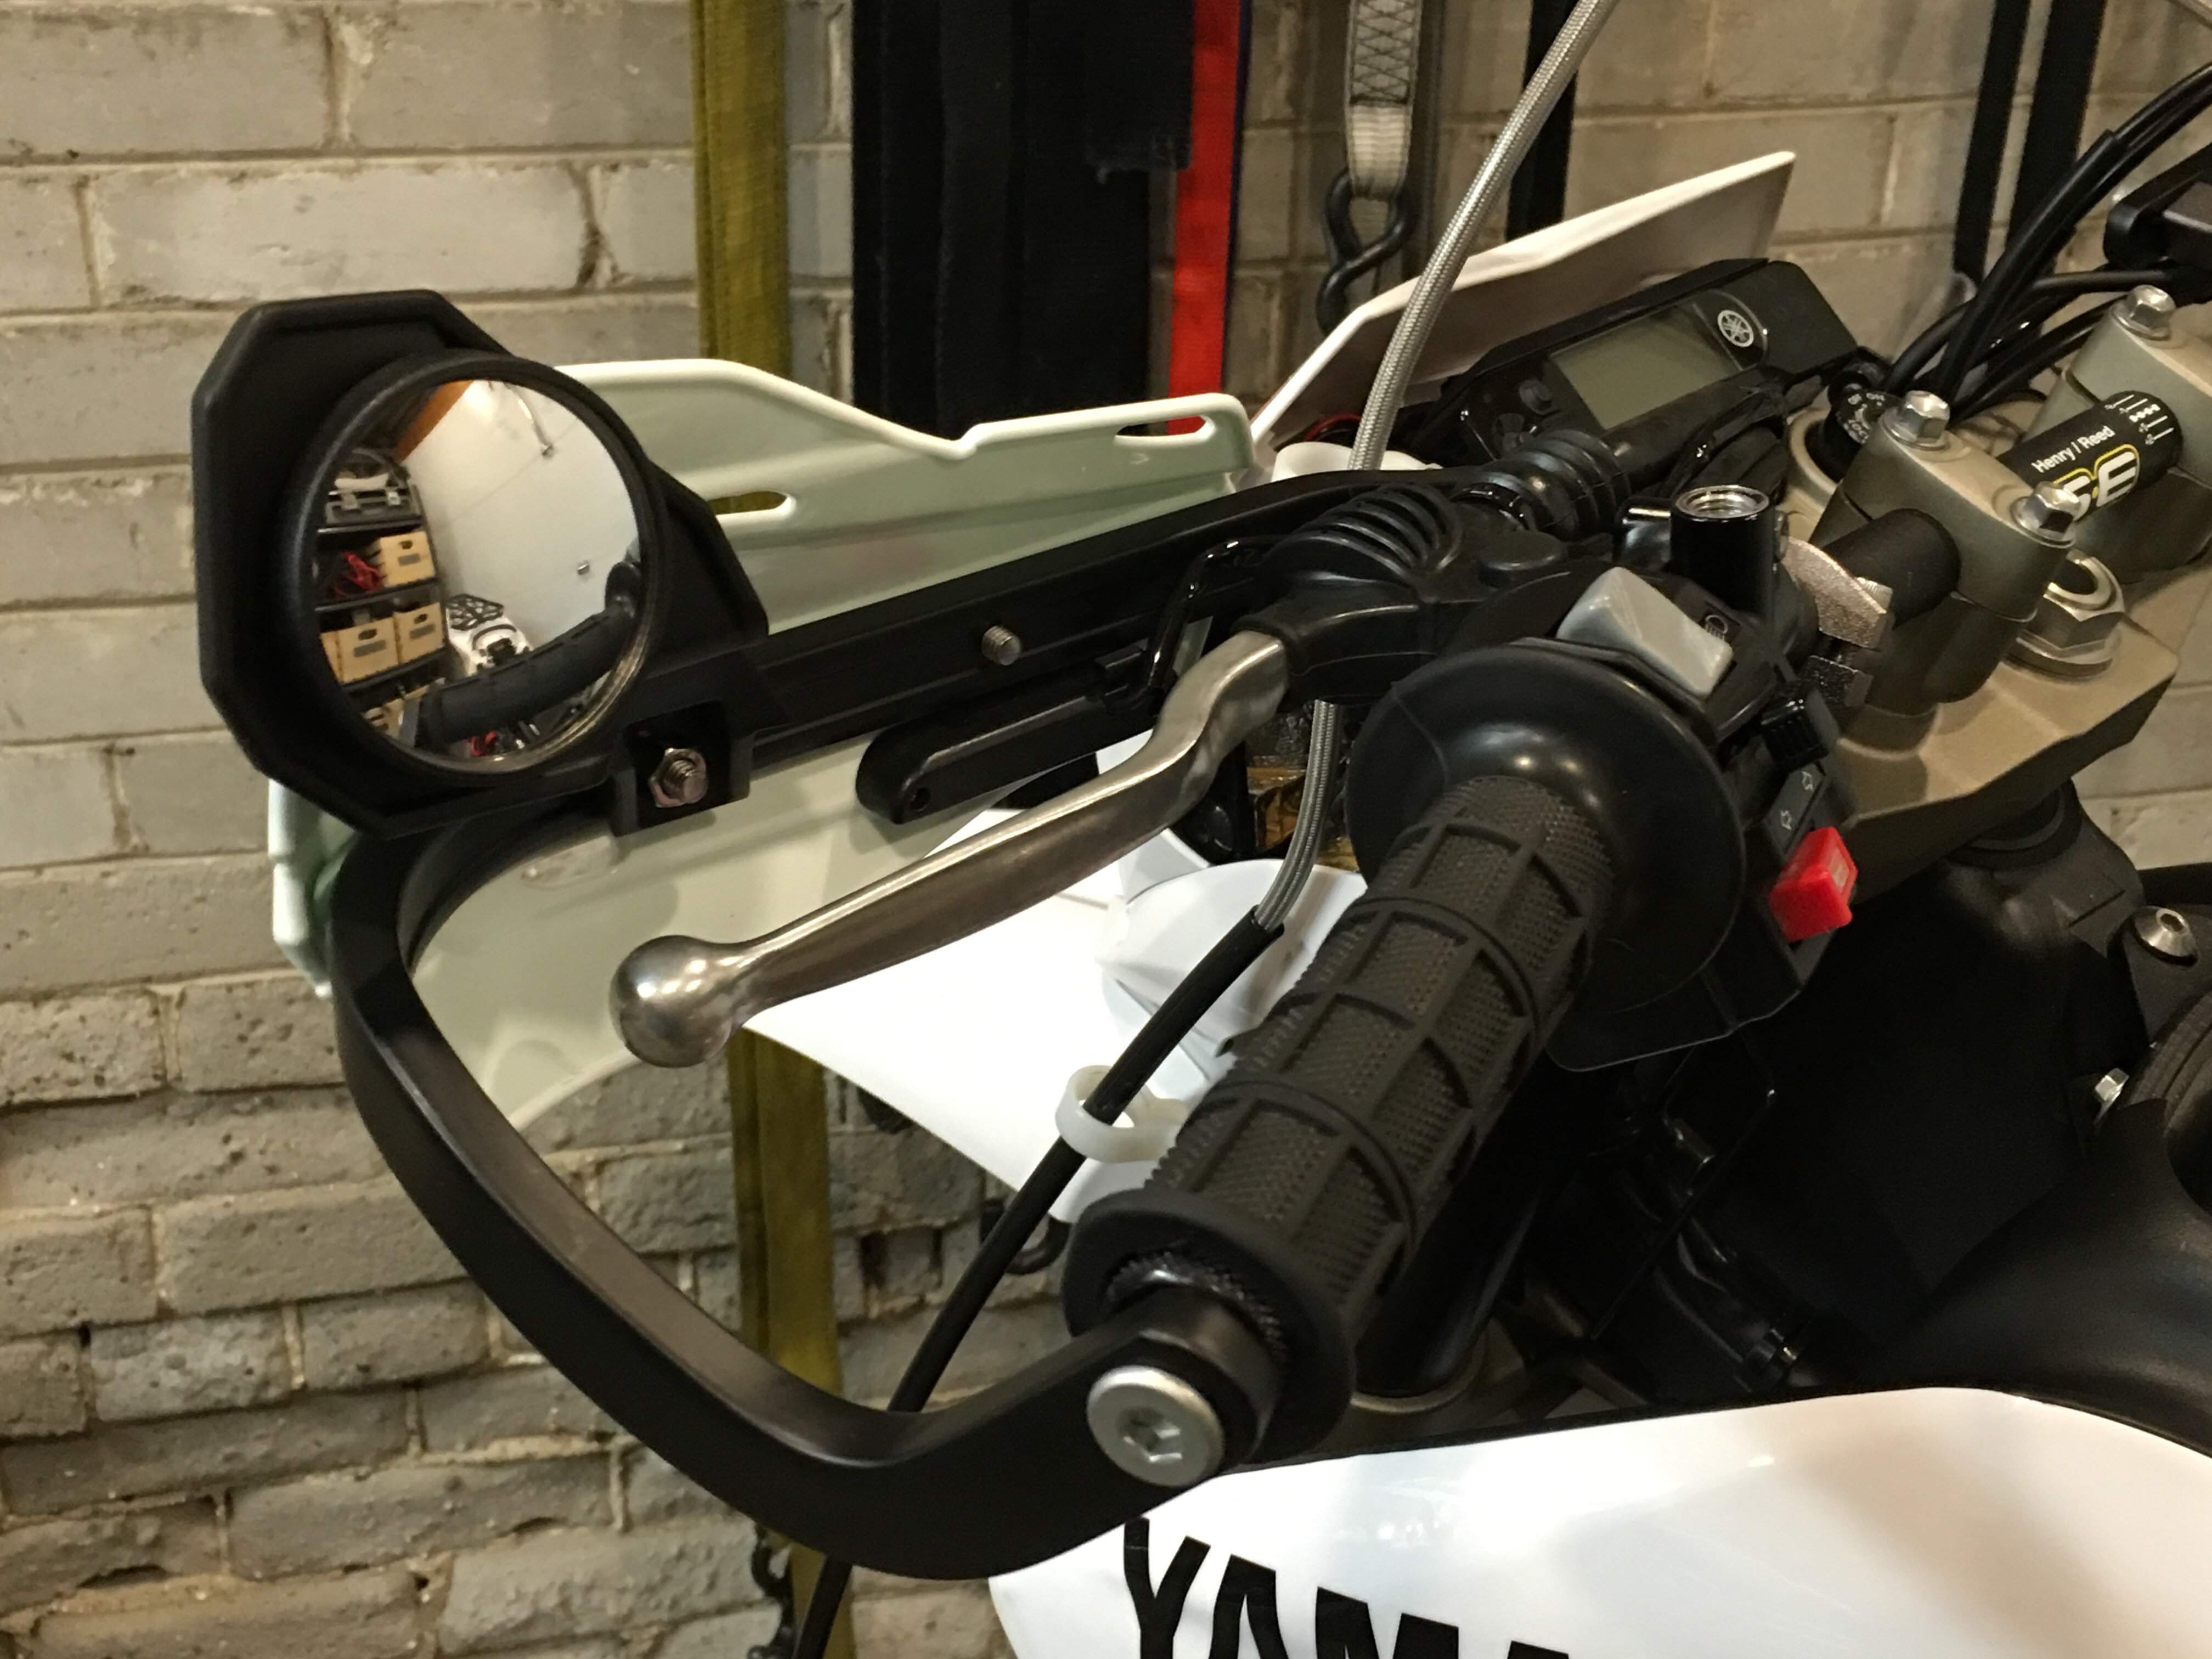
To keep the low-profile look we were after, we sourced and installed a set of convex mirrors inside the hand guards. They are low to the bars and pushed out far enough that they provide a decent view of what’s behind the rider.
We are big fans of night riding so we replaced the OEM headlight bulb with a brighter, superwhite equivalent in the stock headlight housing.
The last cosmetic step was to apply new decals. We chose these clean aftermarket pieces from Soloracer.
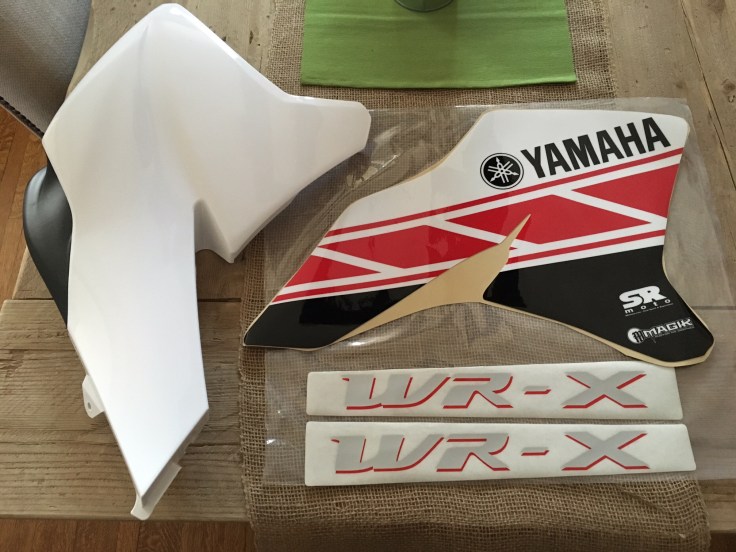
Applying the decal was tricky but a bit of patience got it on just right and we are big fans of the look.
We then got the re-finished wheels laced and trued and re-mounted the sprocket and brake disc.
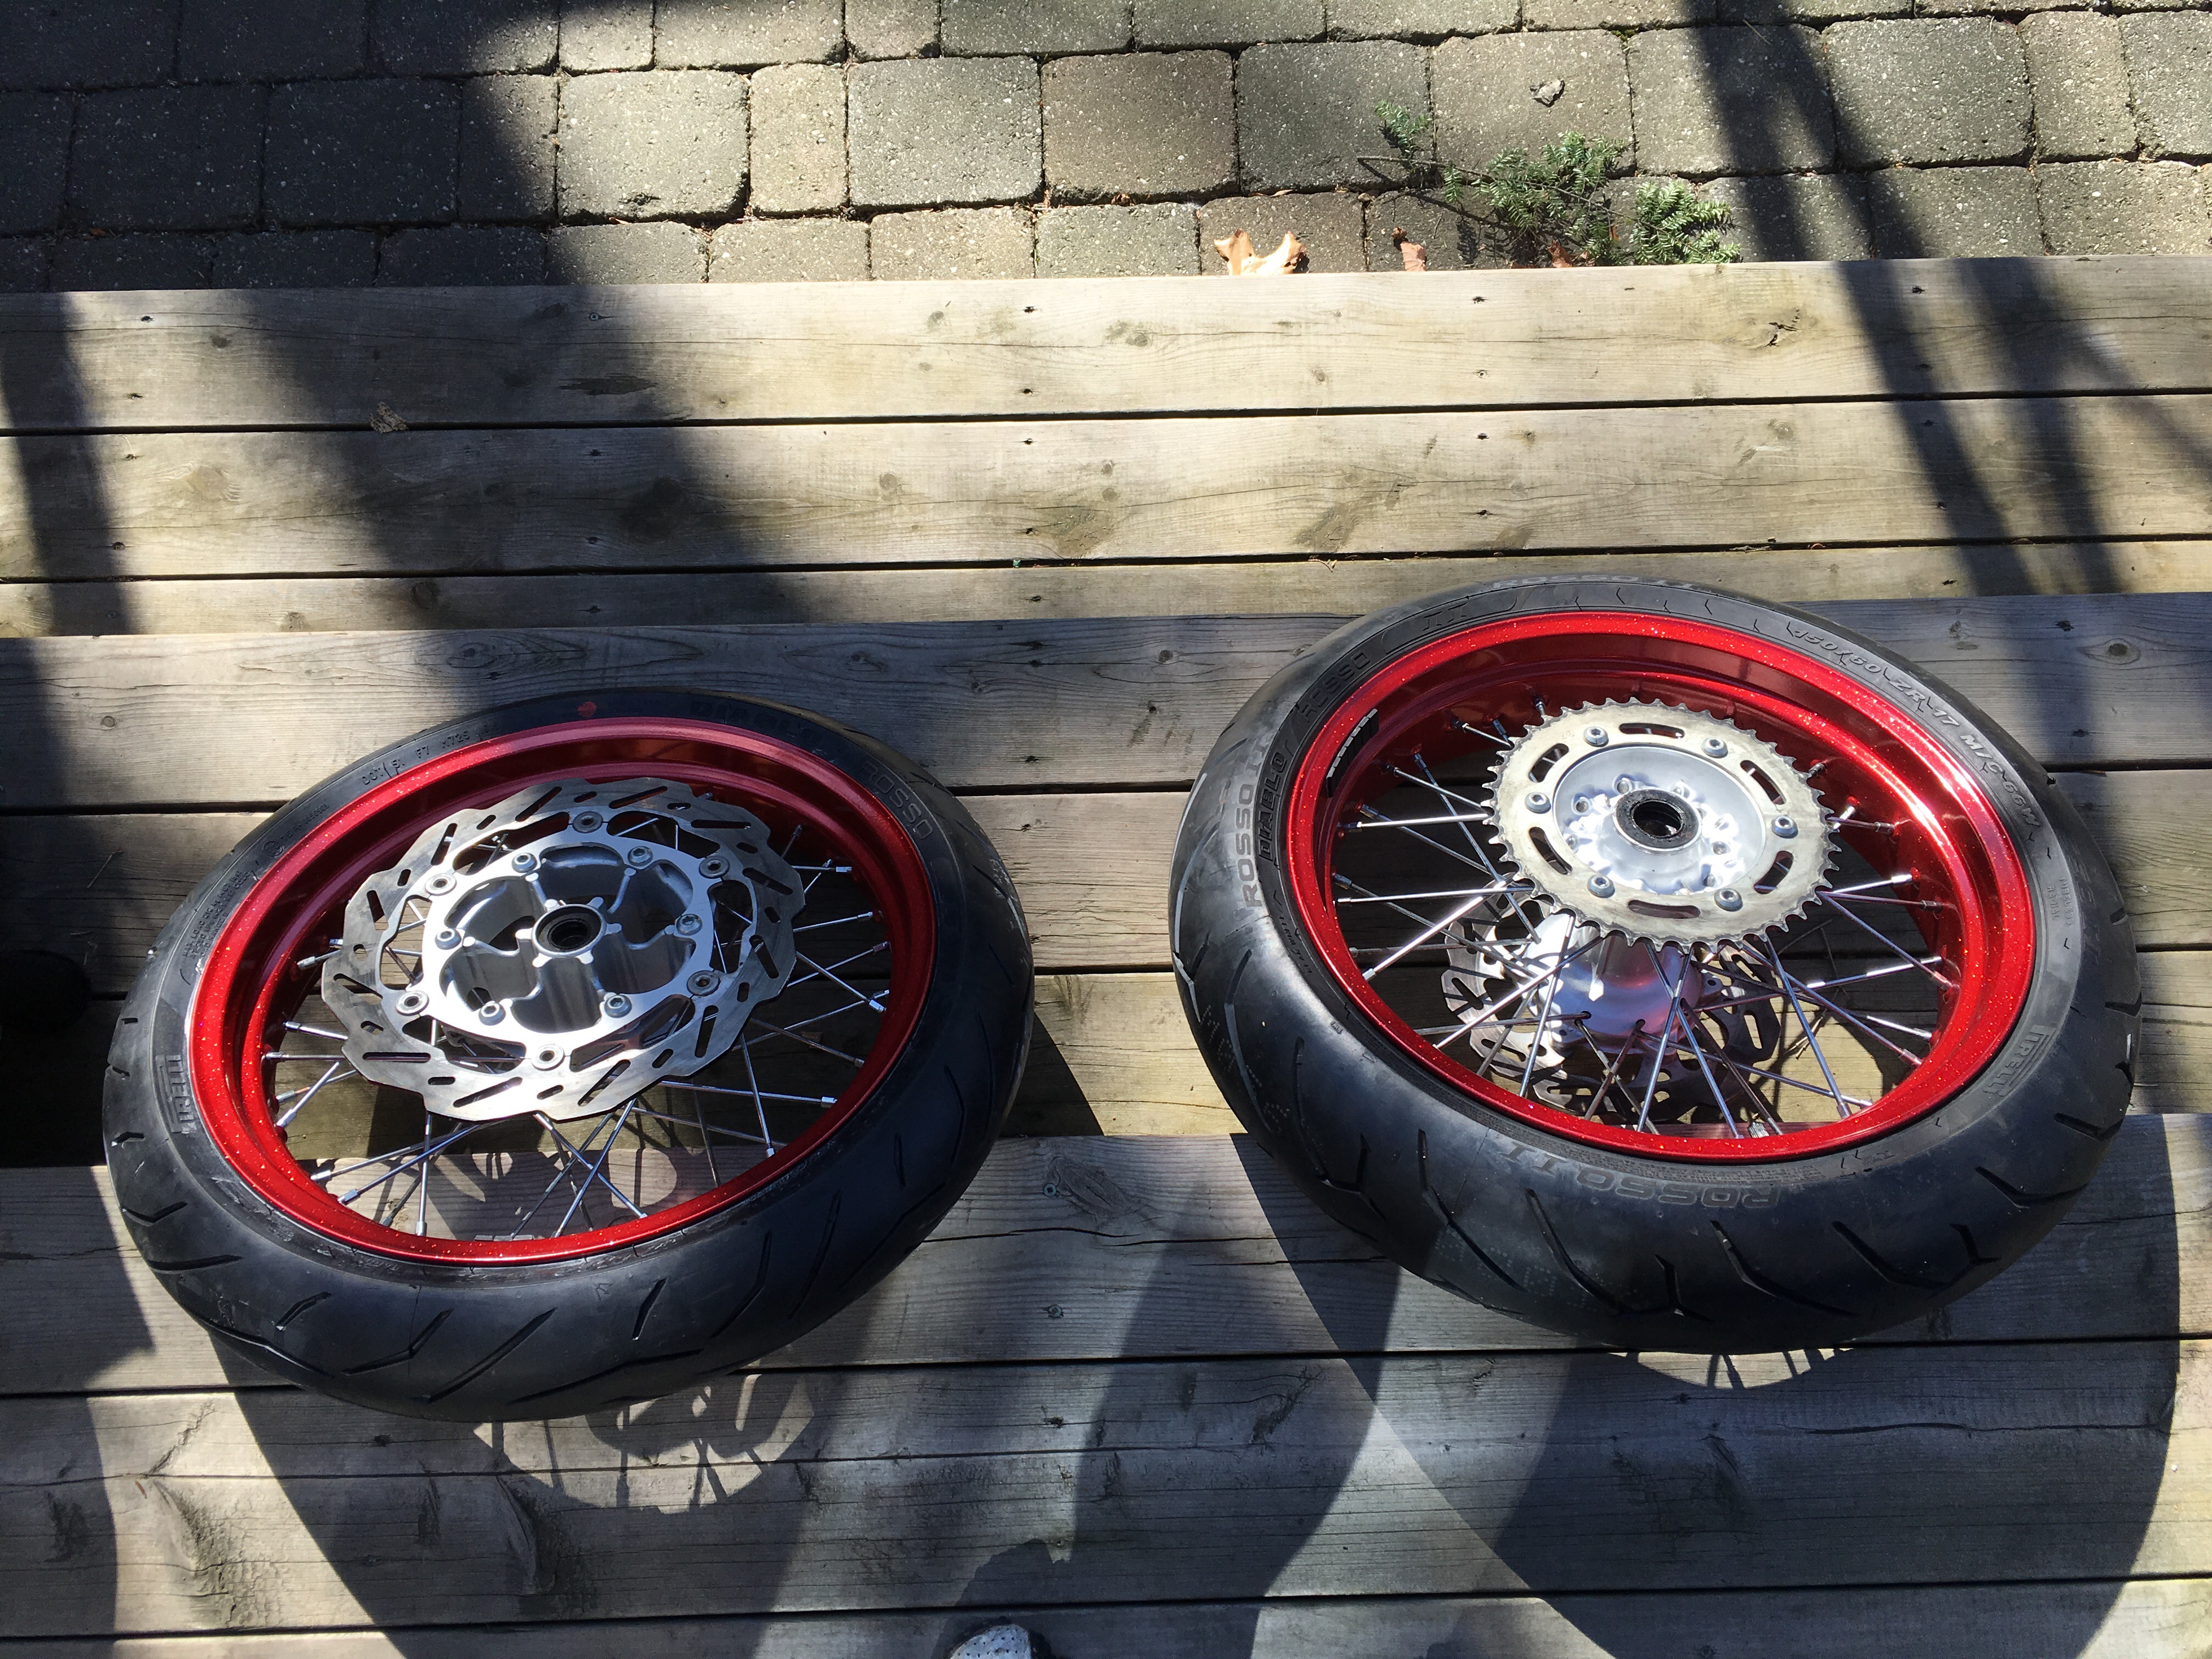
The metal flakes in the powder coat are much more visible in the sun that in our shop:
As much we liked the wheels with just the bare metal spokes, we wanted to see what they would look like in black so we got a spoke wrap kit from Bykas and slid the heavy-duty plastic over each spoke.
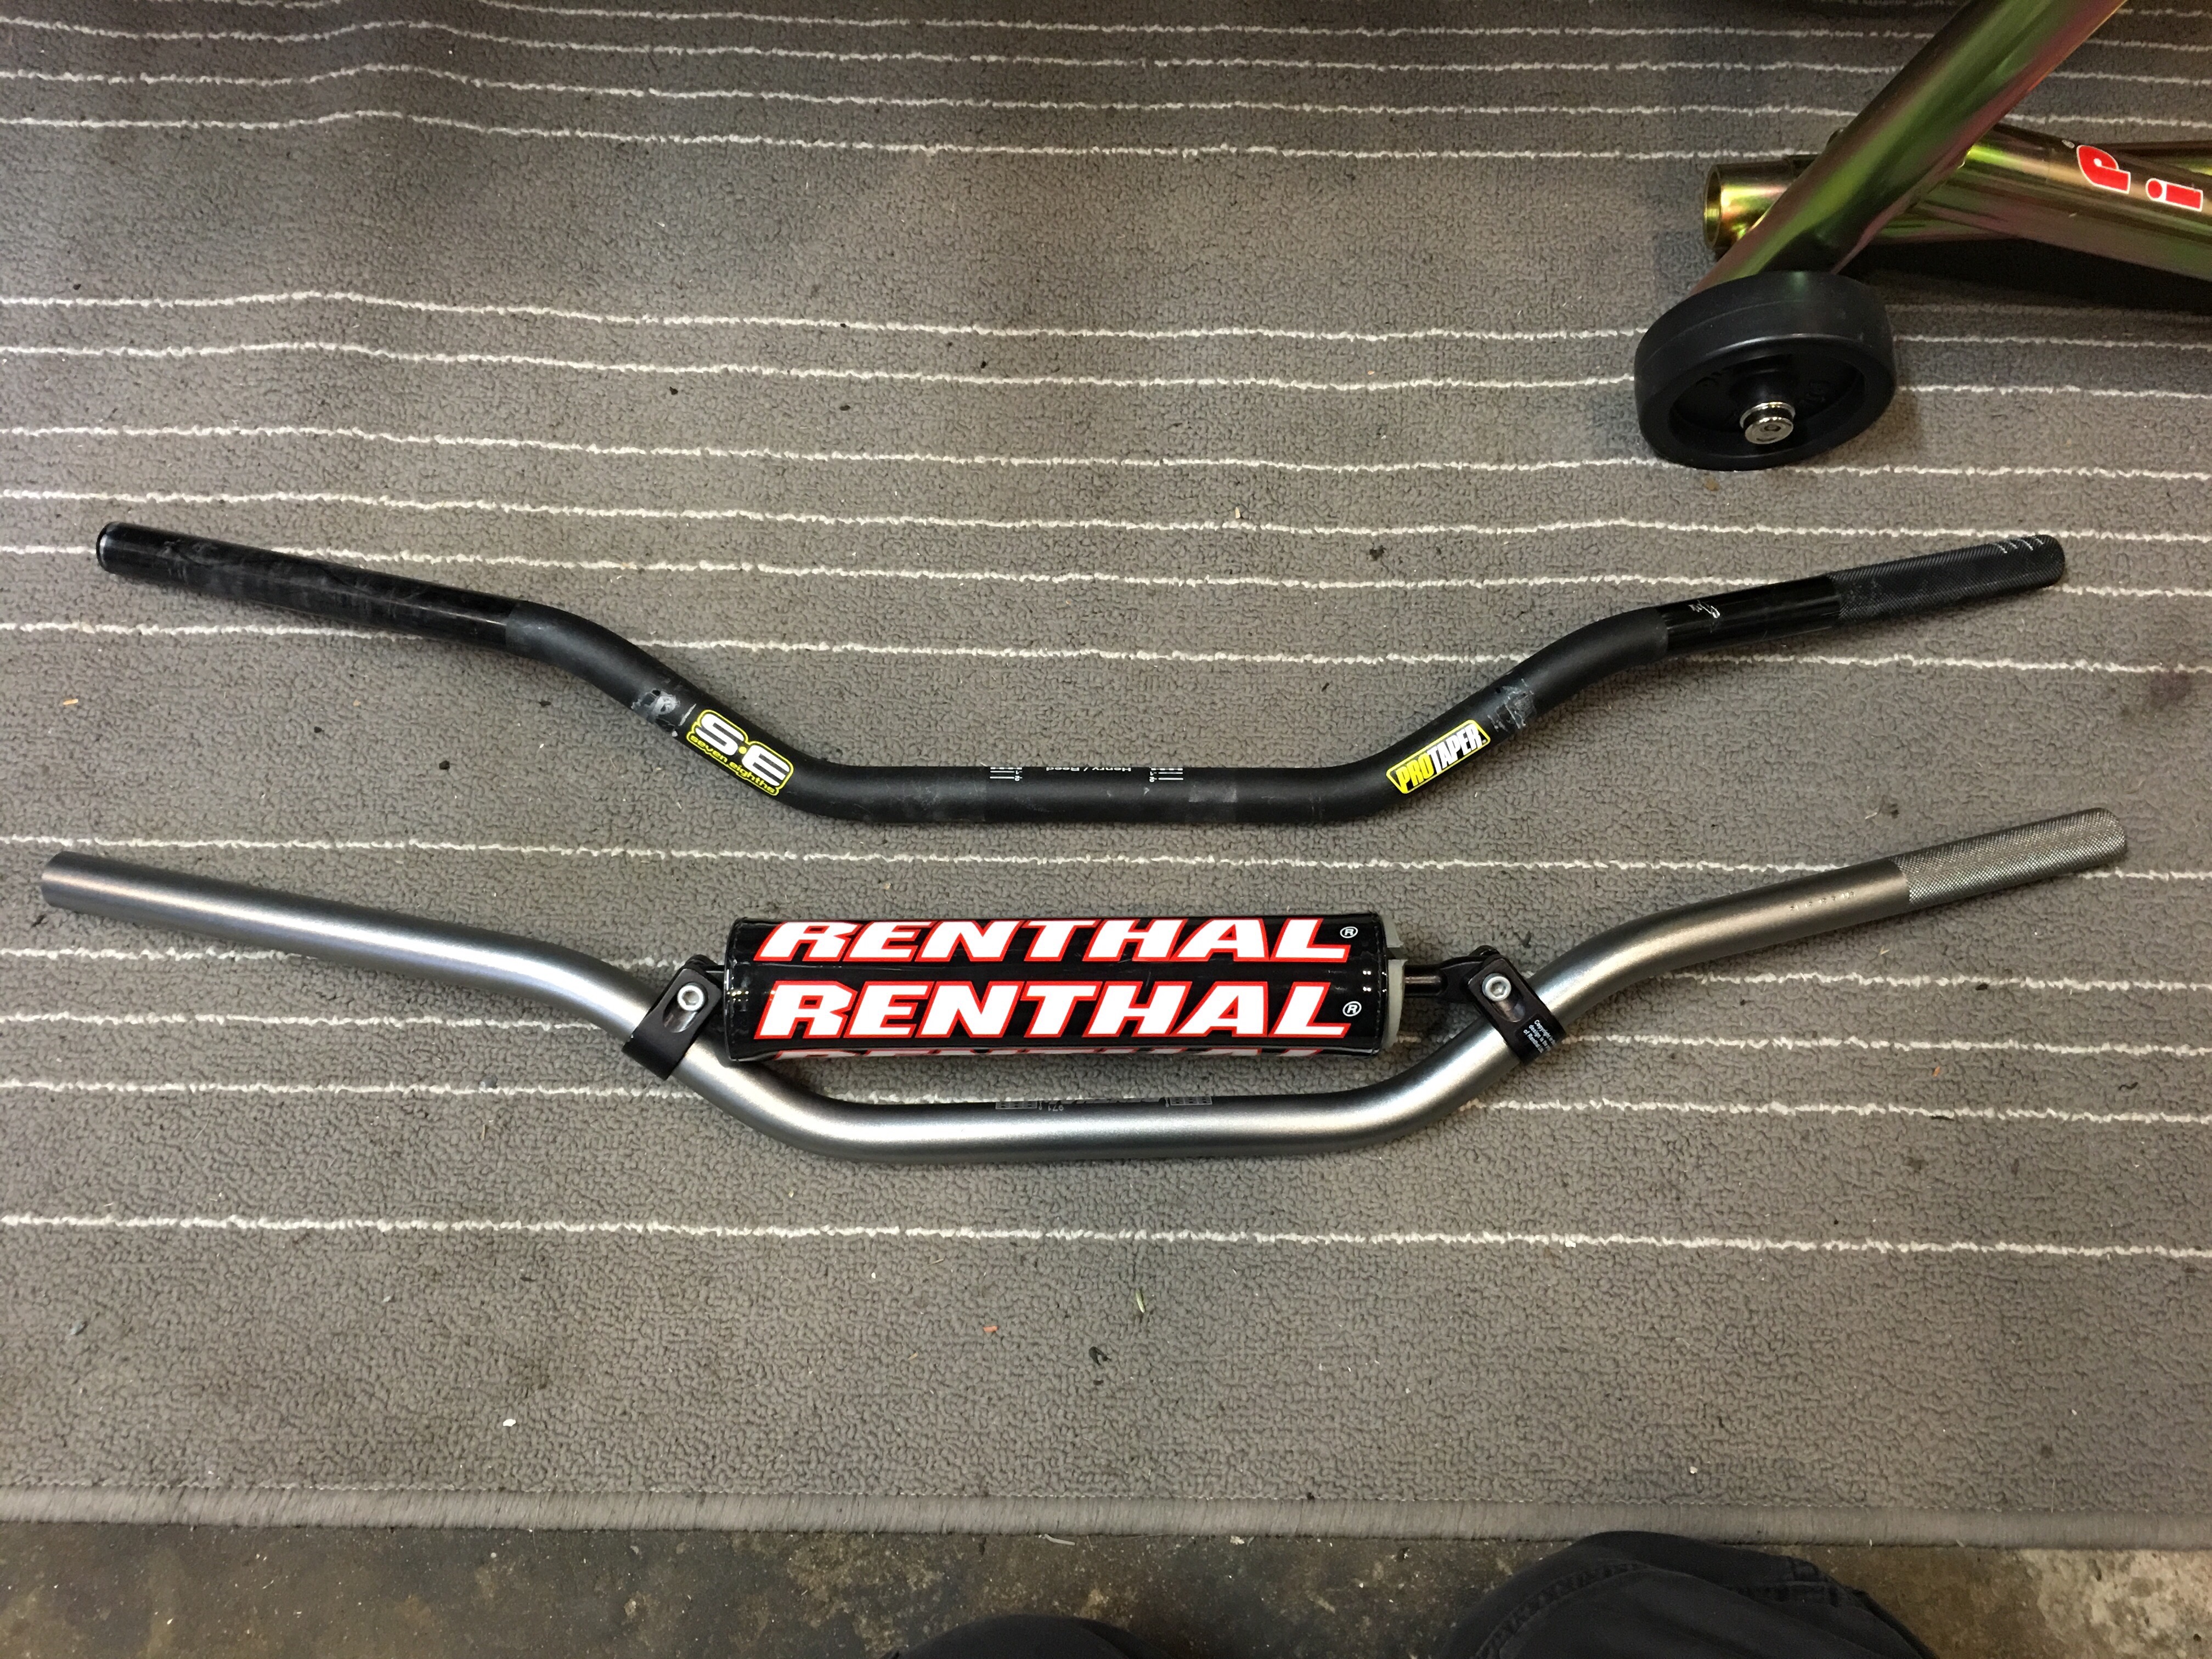
We also swapped in a new Renthal bar because the old one was busted up and we wanted something clean to look at from the cockpit:
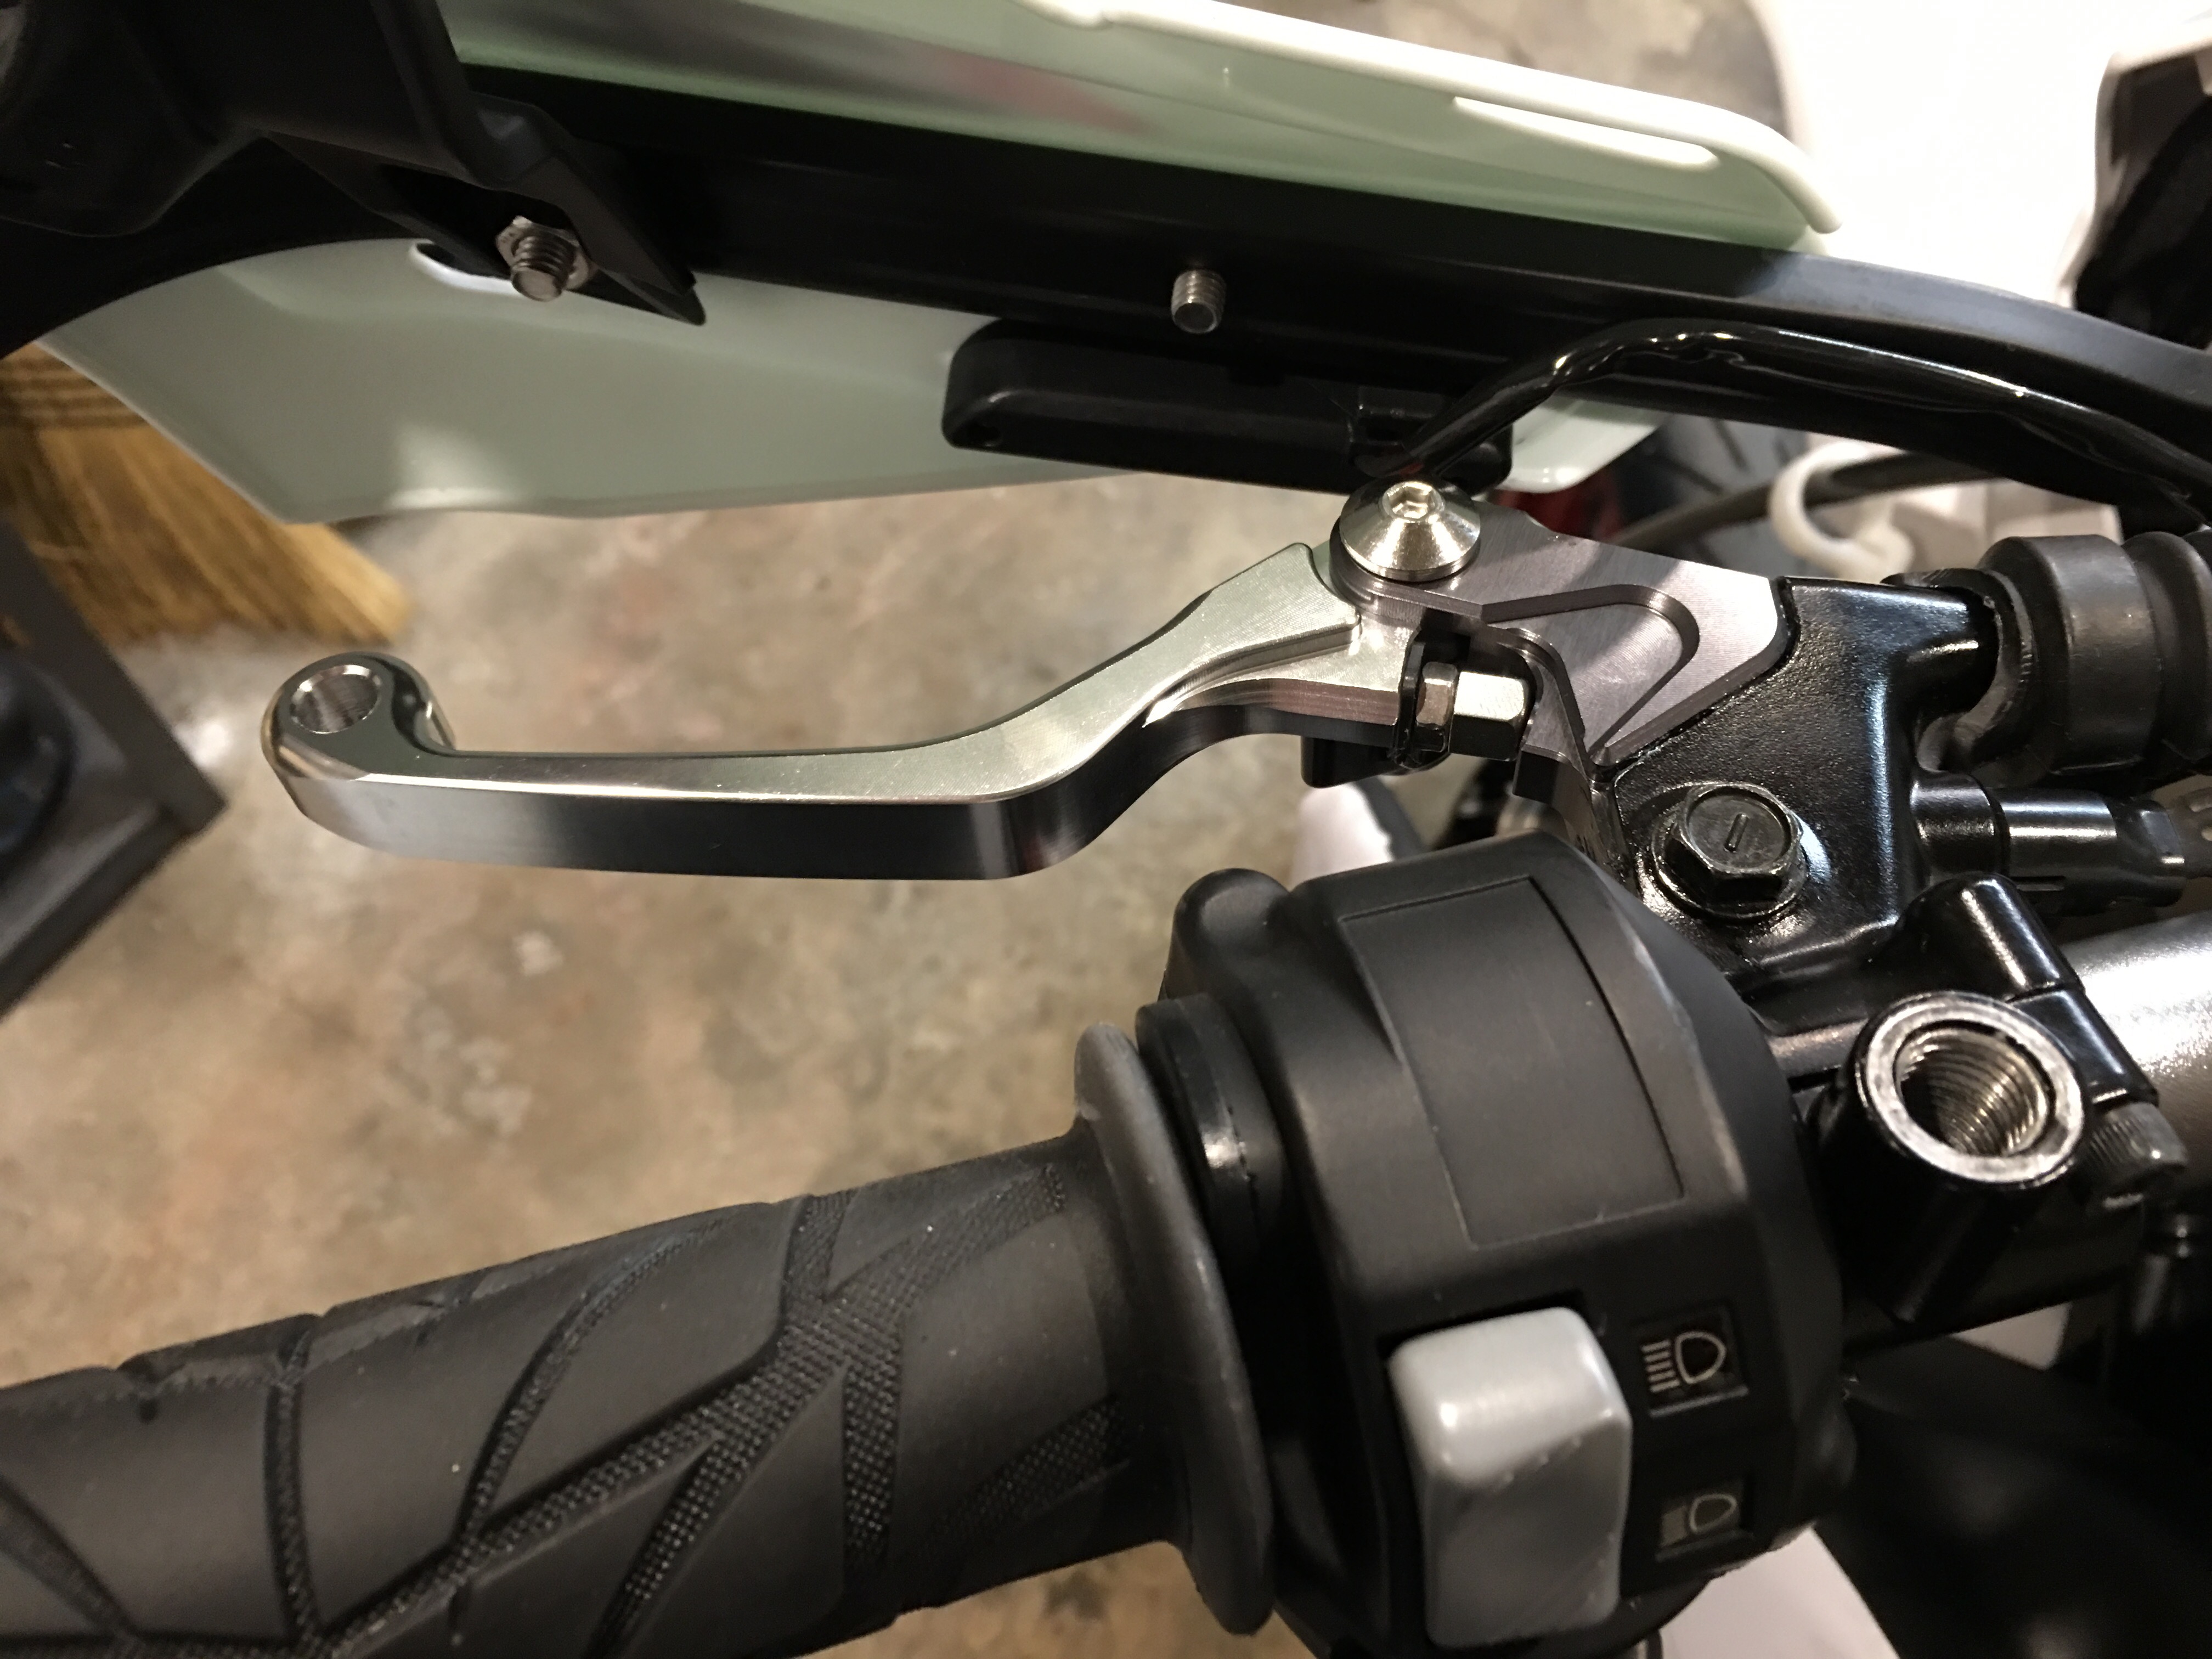
New, shorty levers were also sourced and installed to tighten things up from the saddle.
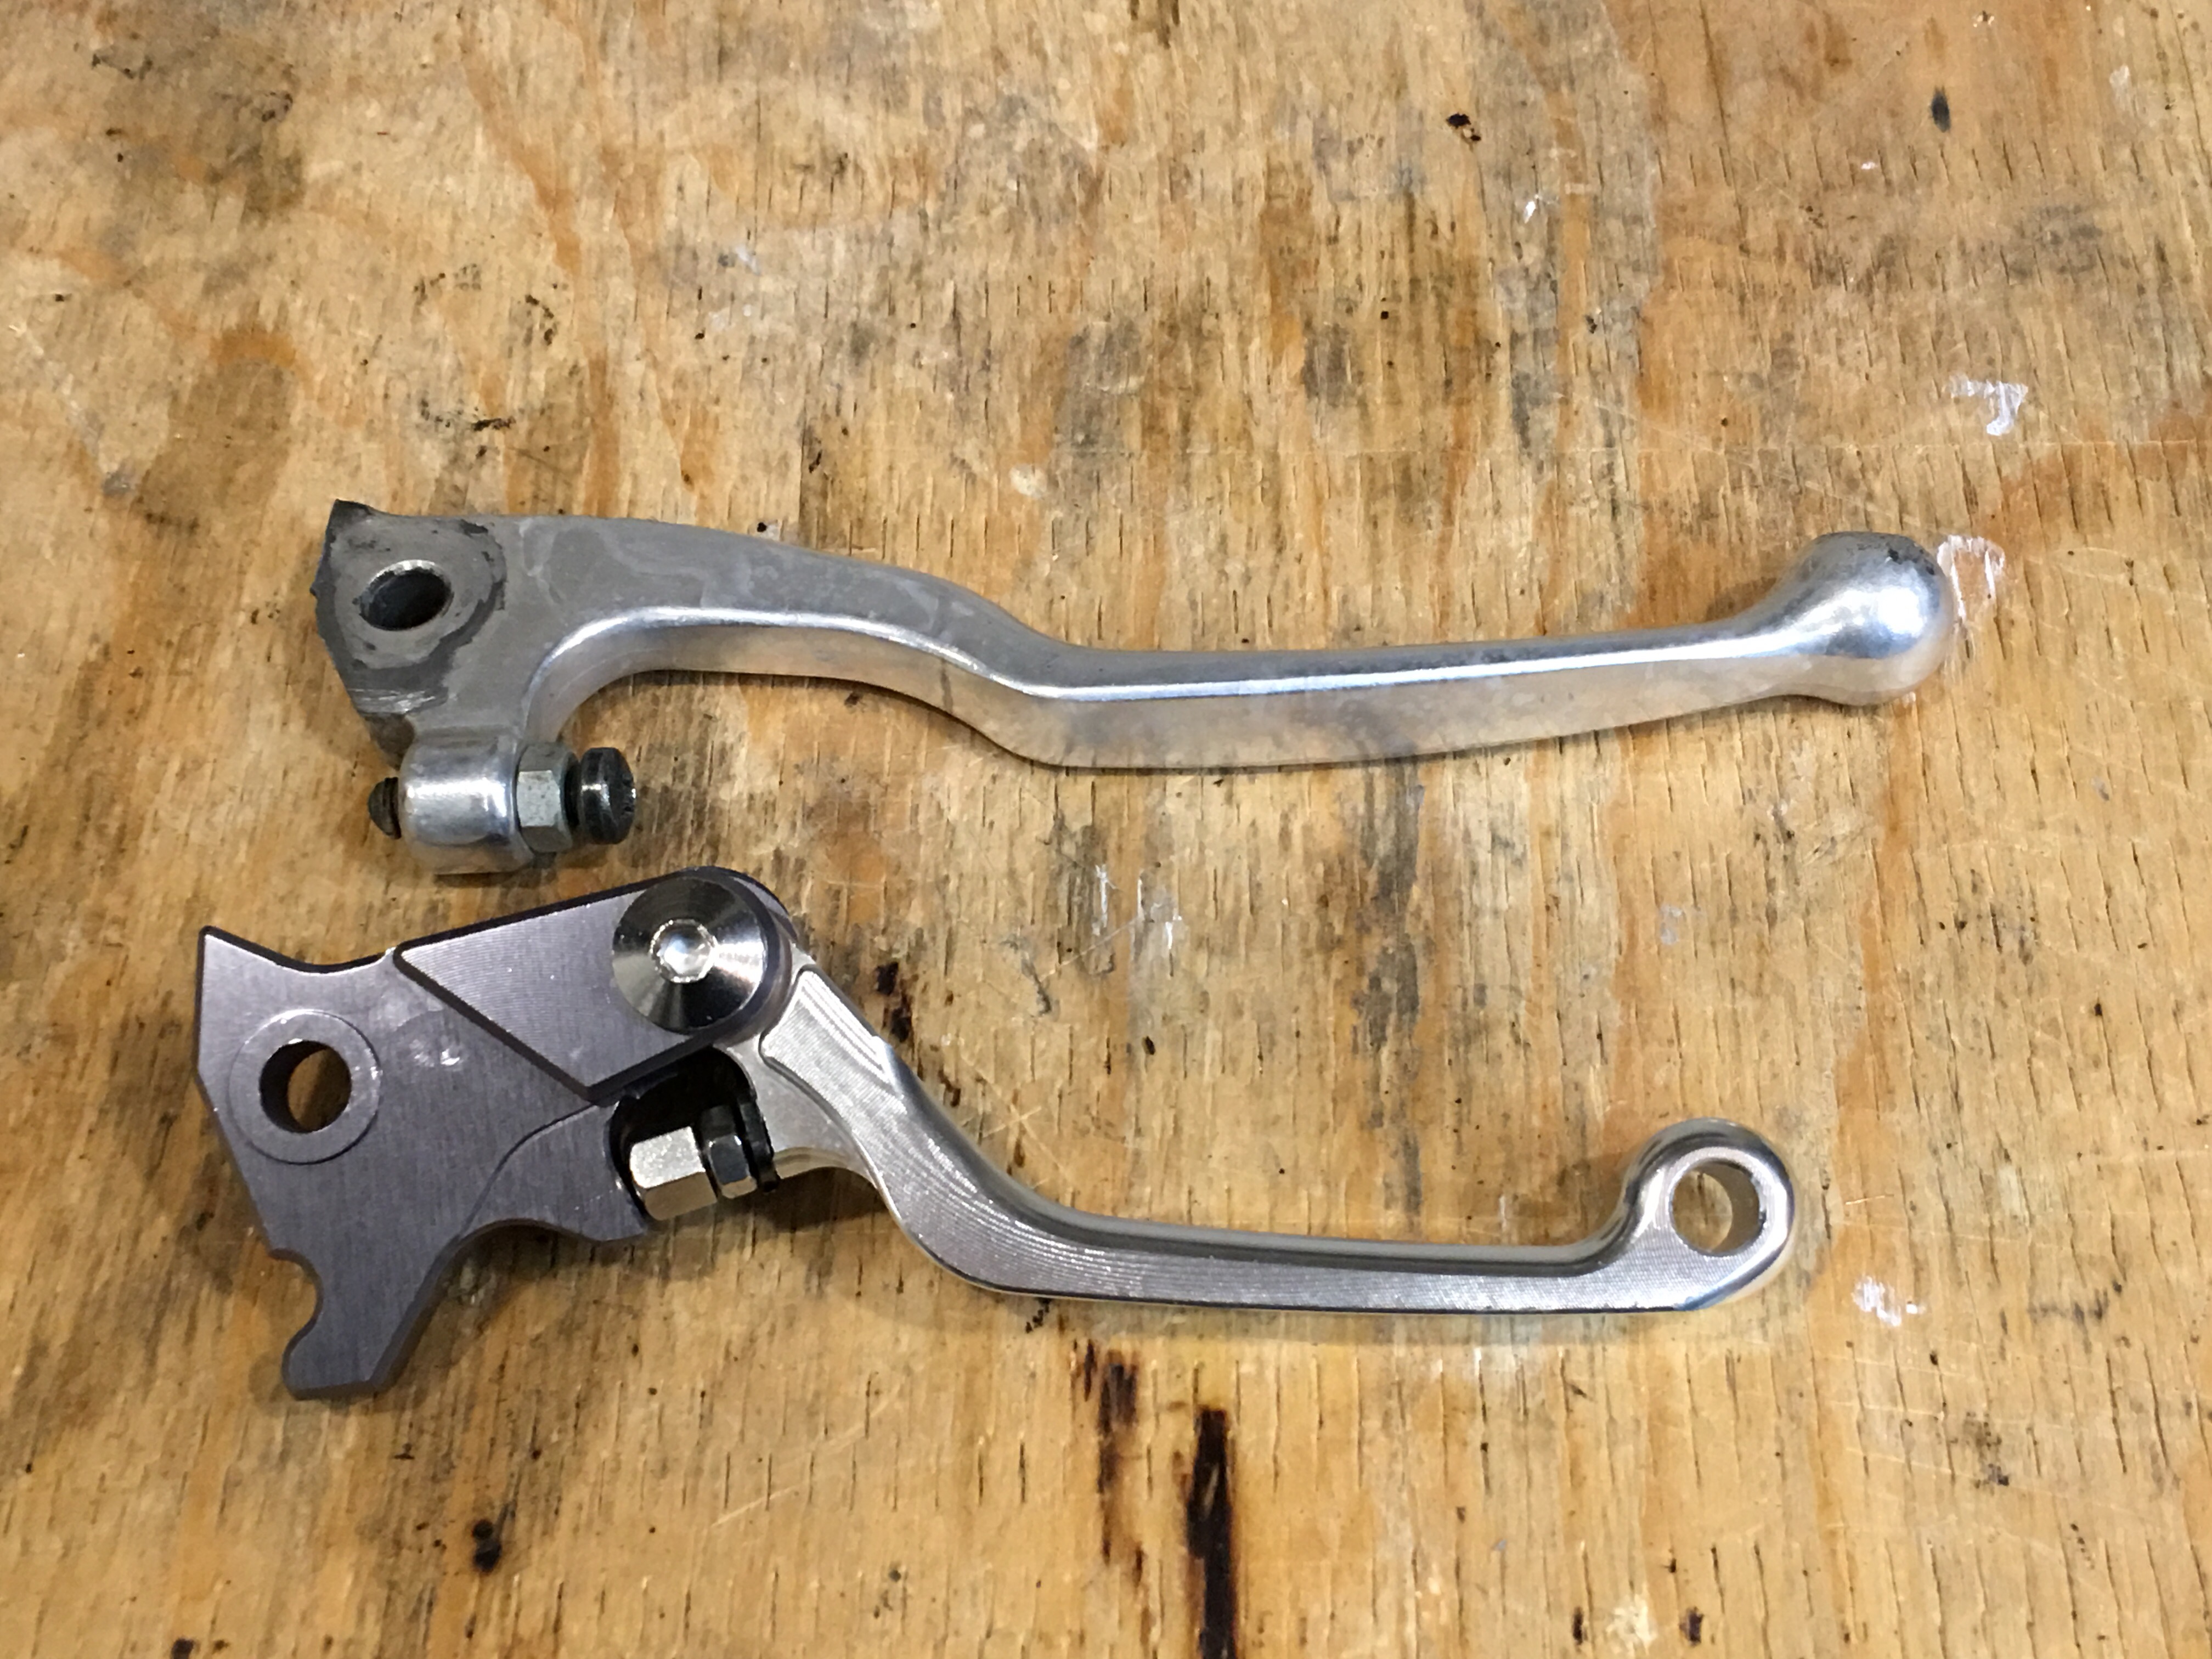
Here’s how they look on the bike, along with new Spider Peak hand grips:
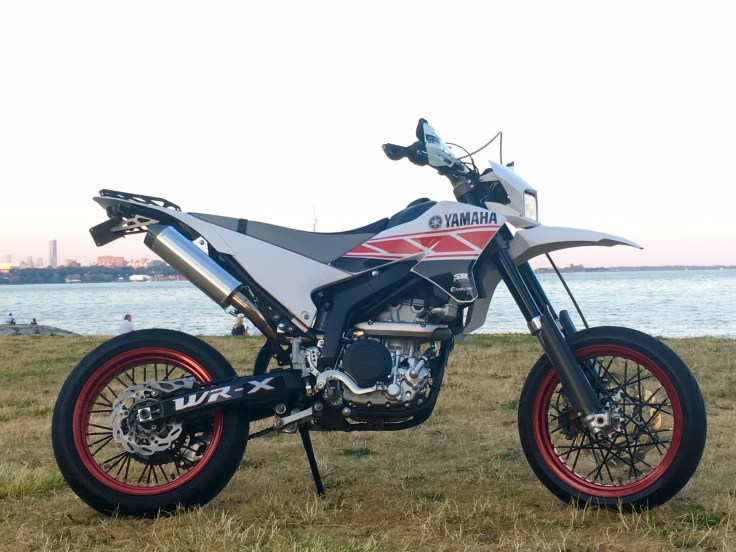
The finished project. Total build time: 4 weeks. The bike rides better than new and its owner was thrilled with the result.
Stay up to date with our most recent news by following our blog (below) or find us on Facebook.
