Changing a motorcycle’s oil is the most important procedure to stay on top of when it comes to bike maintenance. It’s a relatively simple job but requires attention and an understanding of your bike to avoid mistakes that could be costly.
During regular use, manufacturers typically recommend an oil change every 6,000-10,000 kms or yearly, whichever comes first. Racing applications, 2 stroke motors and other specialized applications may have different requirements and using synthetic oil can sometimes prolong intervals. Either way, it’s always best to check your owner’s manual for your bike’s specific needs. Also worth noting for any new bike owners: A motorcycle’s first oil change is particularly important as the motor’s break-in creates volatile particles that can damage your engine if left in place beyond the initial break-in mileage (typically 1,000 kms on modern bikes).
For this DIY guide, we will use our 2016 Ducati Hypermotard 939 SP project bike. Note that each bike will have subtle differences but that most follow a very similar procedure to our example below.
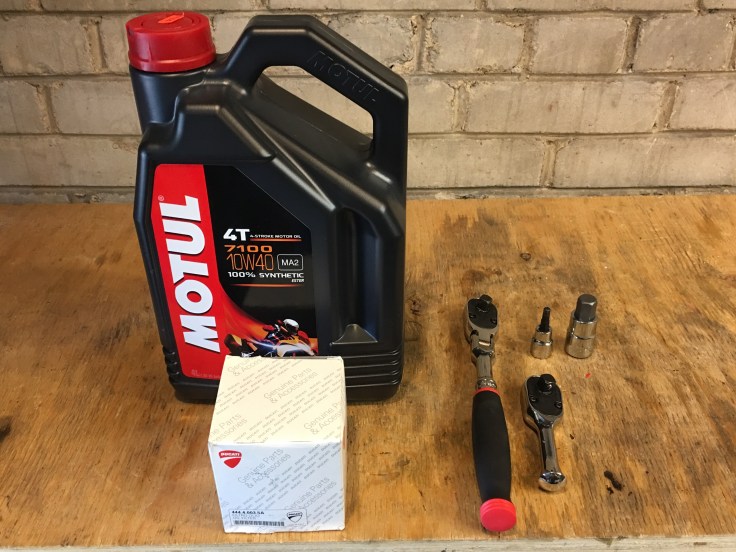
The first thing you’ll need is list of parts and tools. Suggested tools and supplies include:
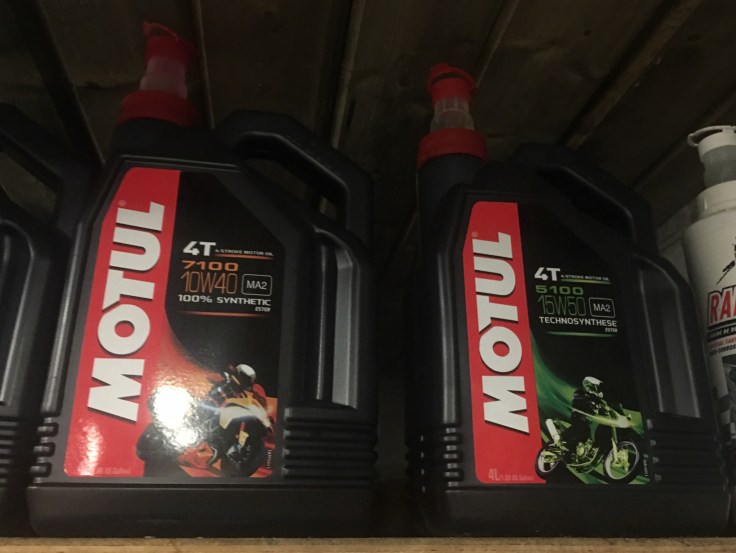
- 1.5 to 4 litres of motorcycle-specific oil (see you user’s manual for your bike’s recommended quantity and viscosity, eg. 10W40). Remember that motorcycles typically have a “wet” clutch which requires special additives not found in regular automotive motor oils so you shouldn’t typically use off-the-shelf automotive brands of motor oil, even if viscocities match.
- A new oil filter (OEM or aftermarket, eg “K&N”)
- A new copper crush washer for the oil drain bolt
- A ratchet
- A torque wrench (optional, but recommended)
- Allen or hex sockets for the oil drain bolt (and possibly the oil filter and filter gallery)
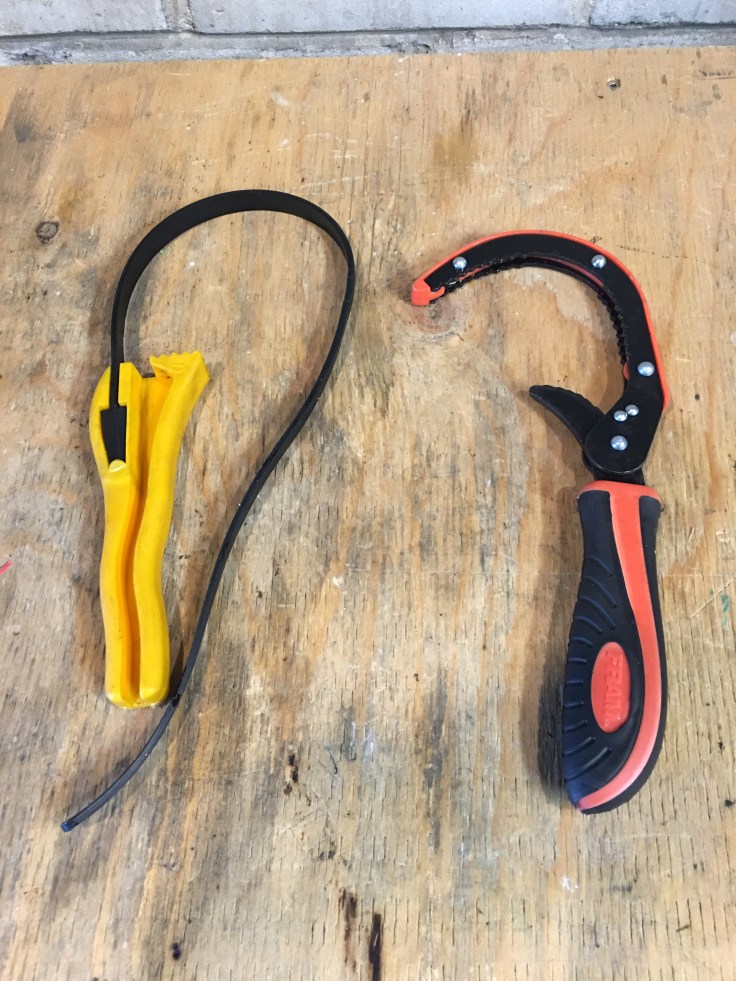
- An oil filter wrench (or a really strong hand) if your bike uses the screw-on type filter
- An oil drain pan
- A funnel
- An empty container for the used oil
- Disposable gloves (latex or similar – unless you are going for the greasy fingernails look)
- A drop cloth or pig mat (old garbage bag works well too)
- Shop towels or rags
- A can of WD-40 (optional)
- A shop manual or user’s manual for your bike (optional, but a handy resource for things like torque values and intricacies specific to your motorcycle model -in the event you don’t have this, some google searching for the required stats should be performed beforehand)
1) The first thing you’ll want to do is run your bike or take it for a ride to get the oil up to operating temperature. Oil’s viscosity changes with temperature and having the motor warm will allow the oil to drain much more easily than if it’s cold. A few minutes of idling or riding should be enough.
2) Set your bike up in a location where you have enough free space to do the job. Depending on the location of your oil drain bolt, filter and oil filler cap, you may need to access both sides of the bike as well as its underbelly. The bike’s side stand is usually adequate for oil changes but you can also use a centre stand or track stand, depending on your specific bike model.
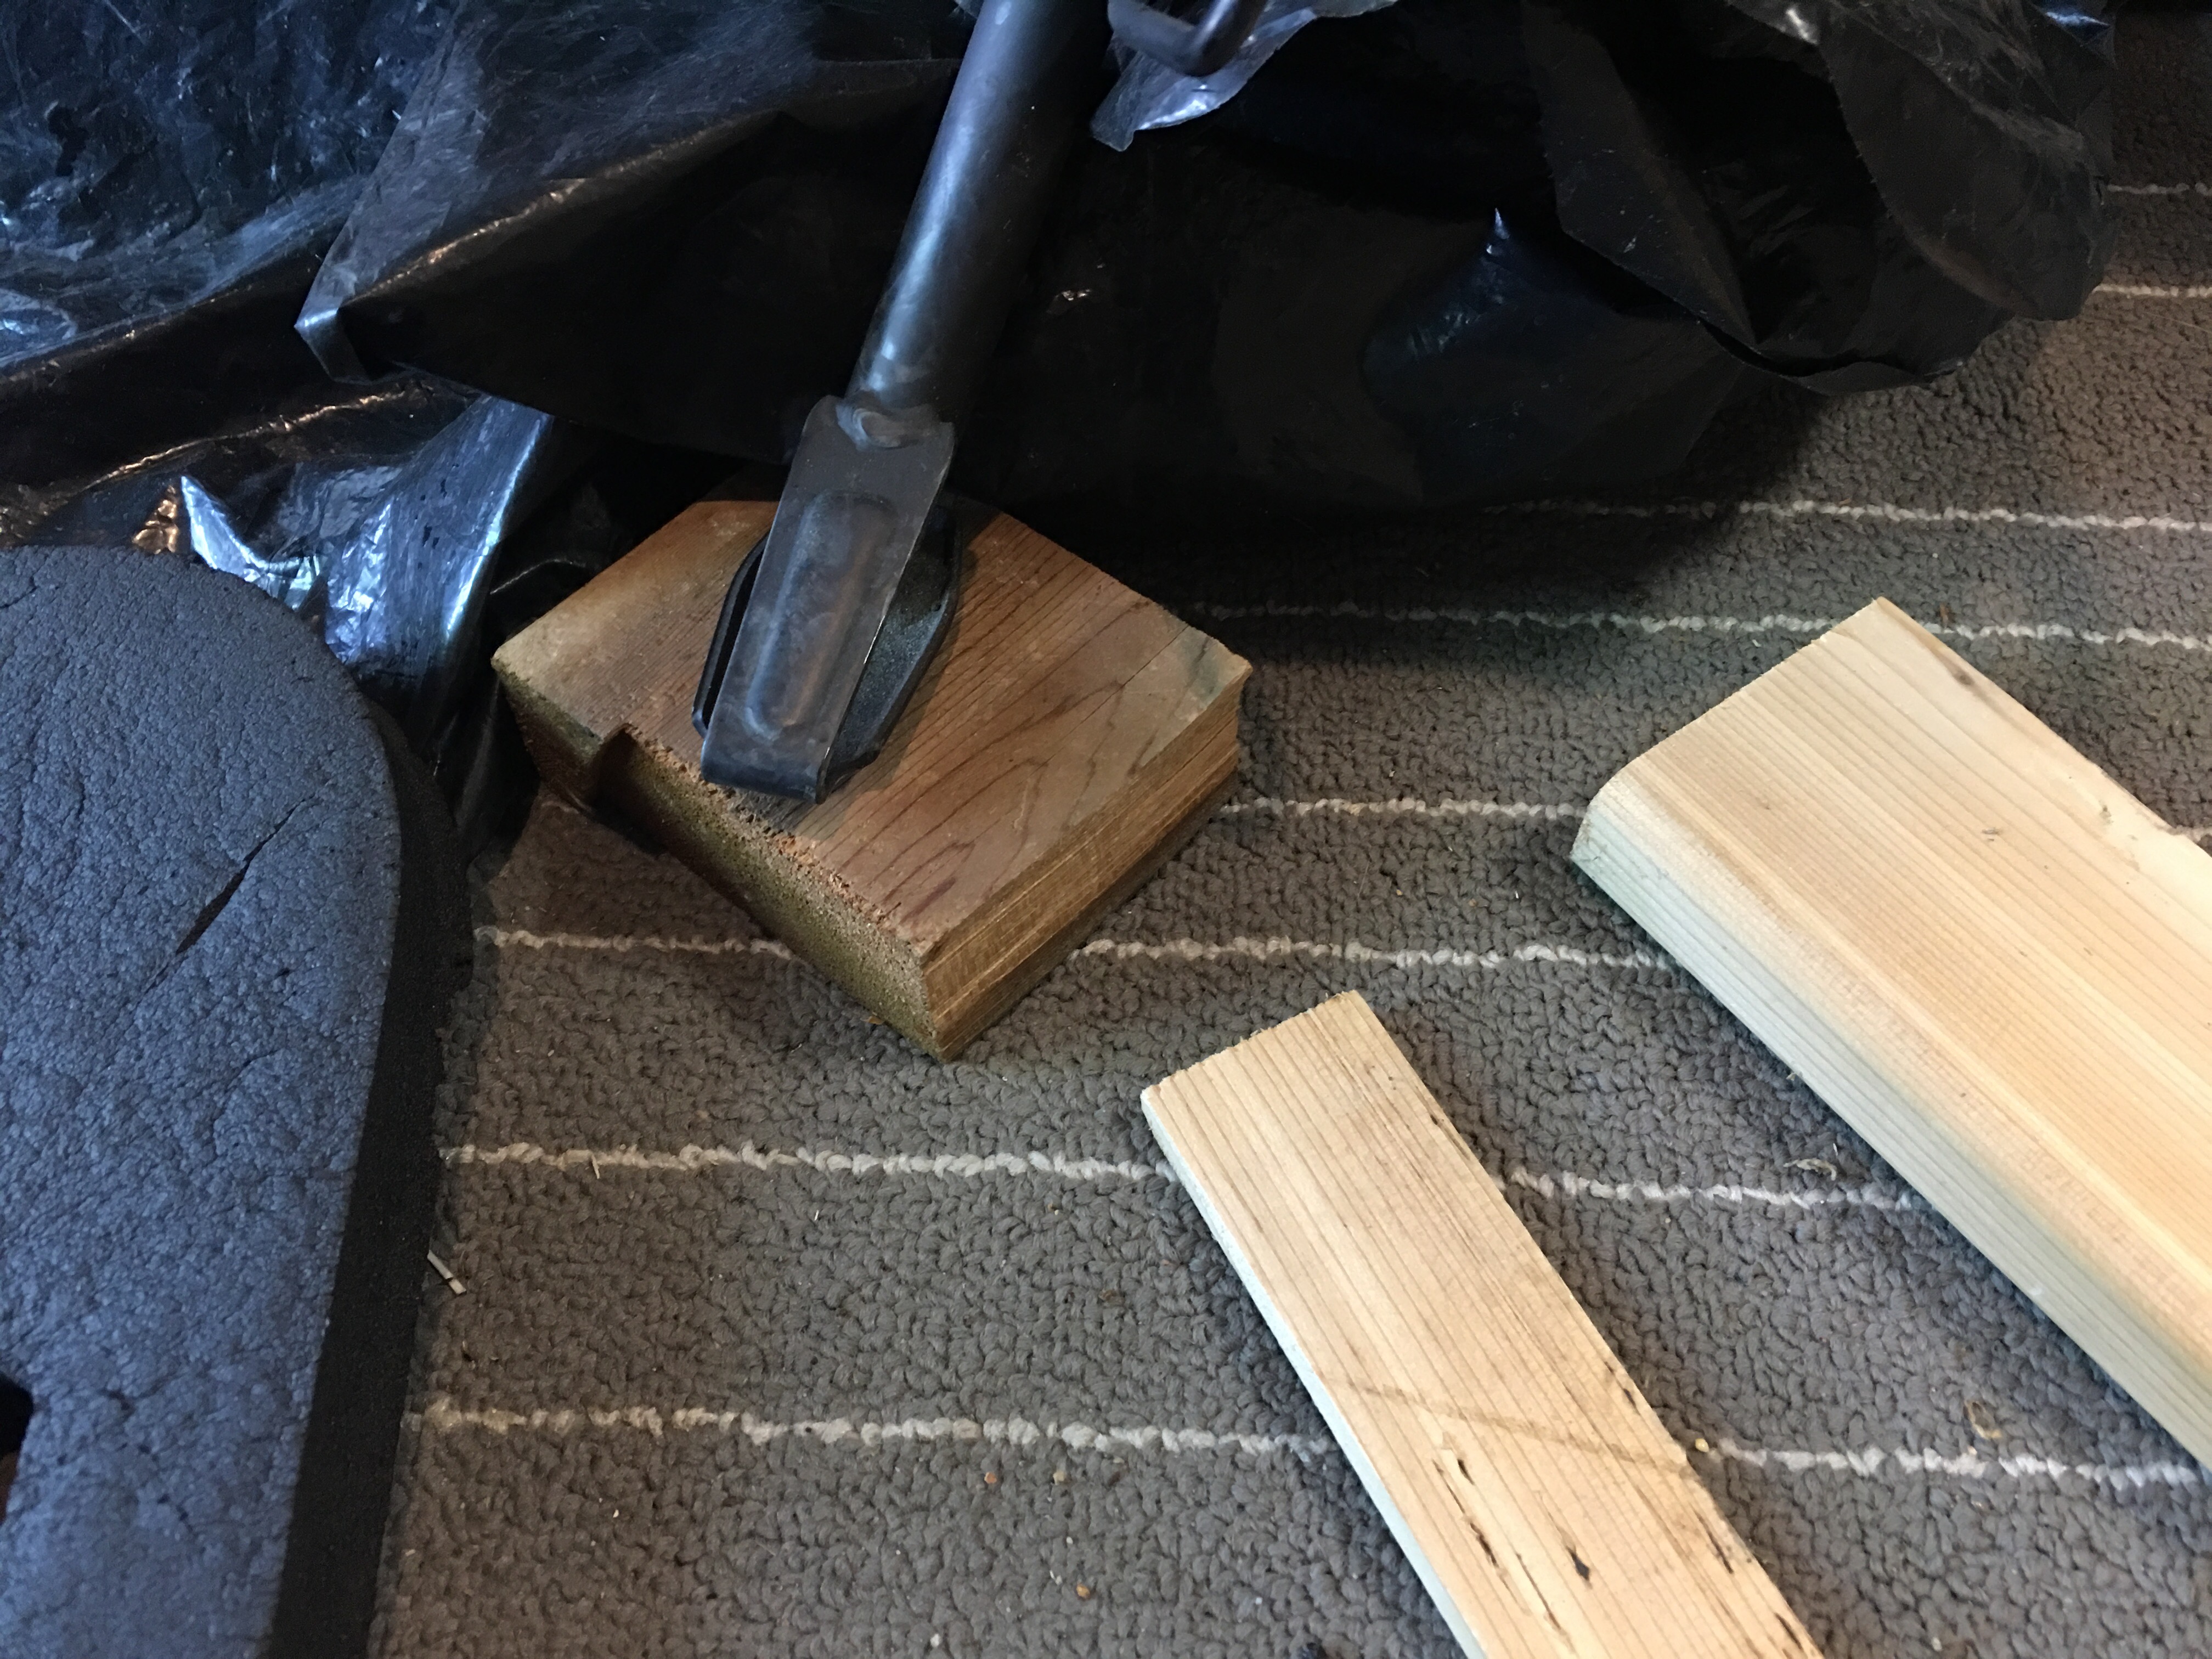
If you don’t have a stand, you can use some common household items such as a brick or some wood blocks and place them under the side stand to bring the bike closer to being level. On some bikes, this will help later on when you are draining the oil and checking the level when refilling.
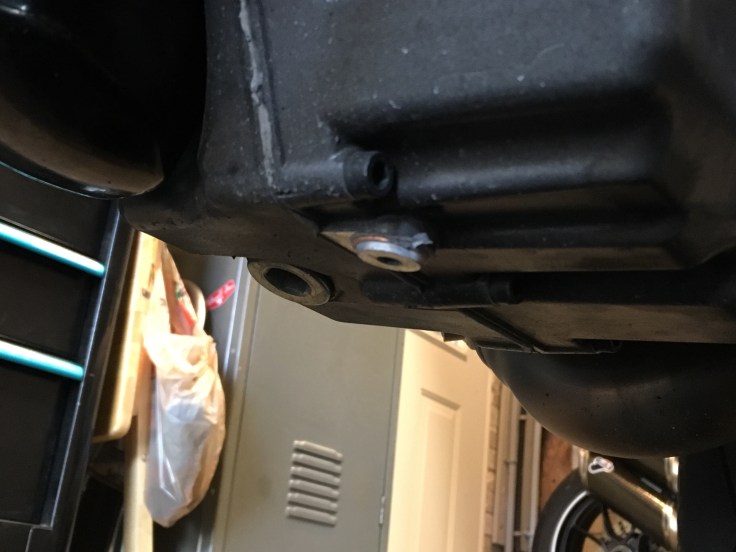
3) Locate the oil drain bolt. If your bike has fairings or a skid plate, these may have to be removed so you can access the filter and drain bolt. If you can’t locate the oil drain bolt or aren’t sure which bolt to pull (as there can be several), your user’s manual should have a diagram. Lost the manual or your (used) bike didn’t come with one? Try searching for “nameofyourbike manual PDF” and you can likely find it online.
4) Lay down your pig mat or garbage bag where oil might spill and place the oil drain pan under the oil drain bolt and filter. Use a ratchet and socket to loosen the oil drain bolt until you can turn it by hand for final removal. You’ll see oil beginning to dip and that’s a good sign that the bolt is about to give. Be careful as the oil may be hot (depends how long you ran the bike in step 1).

5) After a few minutes, the flow of oil should slow to a drip and this is a good time to unscrew the oil filler cap and remove the oil filter. Removing the filter can be done in a variety of ways, depending on which filter your bike has and its orientation.
Once you’ve removed the filter, it will be filled with dirty oil so you will want to drain it before disposing of it. Oil should continue draining out of both cavities on the bike and you can experiment with leaning the bike in different directions to get as much of the dirty oil out as possible.
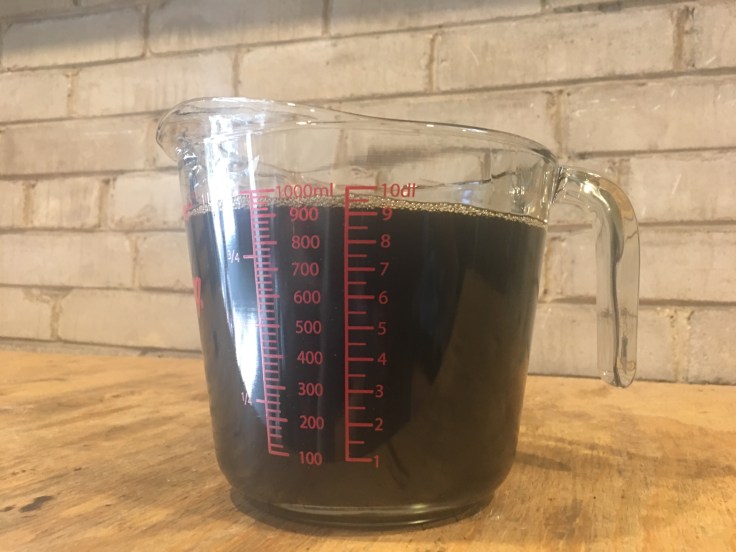
6) If you like, you can measure the amount of oil that drained from the bike so that you can replace it with exactly the same volume. Note that this method may not be advisable if someone else did the previous oil change as they may not have filled it to the correct level.
7) Certain bikes have a pre-filter screen that catches larger contaminants in the oil. This screen is typically accessed from the side of the sump behind a large hex cover.

Our project bike has one of these screen filters so we removed it and cleaned it with compressed air and shop towels.

8) By now, all the oil should have drained from the holes we opened up by removing the bolts and filters. If you are particular about getting as much of the oil out of the bike as possible, you can continue tilting the bike side to side until the oil is done draining.
The final step before re-assembling and filling the bike is to clean all relevant surfaces of the motor. Using clean shop towels, wipe away all oil and dirt from around the oil drain hole and oil filter mounting ring, being especially careful to not push any debris into the motor. This step is critical as the new oil drain bolt and filter require a clean surface so they can form a strong mechanical seal when tightened. Many oil leaks are a result of improper cleaning since the underside of the motor is a dirty place to begin with. While you’re at it, if you want to clean and protect the underside of your motor, you can spray a little WD-40 on a cloth and wipe everything down.
This is also a good time to inspect and clean your oil drain bolt. Many modern bikes come standard with magnetic oil drain bolts where a strong magnet is attached to the bolt. This magnet captures ferrous metal particles and keeps them from moving around inside and damaging your motor.

If your bike did not come with a magnetic oil drain bolt, it’s always a good idea to use one and you can find them online from 3rd party vendors in the correct size for your bike, usually for $20 or less. There should be very few metal particles on the oil drain bolt beyond the first oil change after break in. Significant build up of metal particles on the magnet may be a sign of more serious mechanical issues so keep an eye on this as it is a good indicator of engine health.
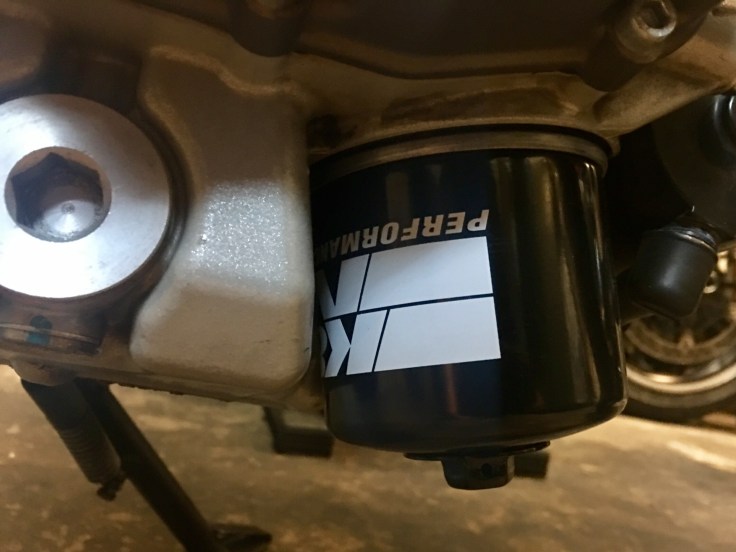
9) You can now begin the re-assembly process. If your bike had a screen filter, replace and torque that to the appropriate spec. Next, get out your new oil filter, pour some fresh oil in it (as the filter can hold a significant amount of oil) and lubricate the rubber gasket on its mating surface with some new oil. Double check to make sure there is no dirt on the motor’s mating surface, then screw the filter back on and hand tighten (assuming you can get a good grip on the filter). If you can’t reach the filter to hand tighten and must use a wrench, a general guideline is to tighten 1/4 turn past when the filter touches the motor and stops spinning freely.
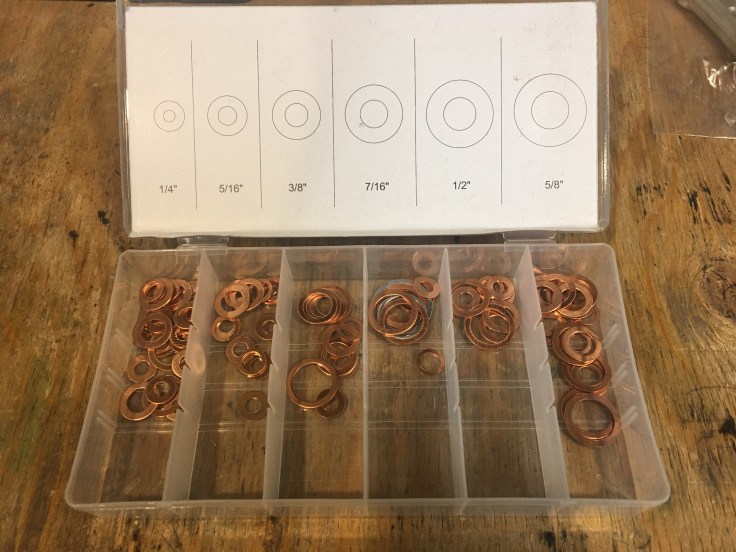
10) Get out a new copper crush washer and hand-thread the oil drain bolt. You may be able to get away with re-using the old copper washer but it’s always preferable to use a new one. The logic behind the copper crush washer is that copper is a soft metal and it acts as a gasket to seal the oil and prevent leakage out of the bike. Make sure you select a size that’s as tight as possible to the drain bolt as a too-large washer will cause oil to leak.
11) Using a torque wrench, tighten the oil drain bolt to the specified value. This is a very important step as over-tightening the bolt can strip the threads on the (often aluminum) sump and cause you major headaches, whereas under-tightening the bolt could result in a leak (and possibly a crash if oil gets on your rear tire). For this reason alone, it’s worth investing in a decent torque wrench.
12) With everything sealed up, you can now refill the motor with fresh oil. It’s important to know how much oil you need to add (again, your manual will specify or you can go with the measurement method if you prefer that route). Use a funnel to avoid making a mess and refill the bike to about 4/5 of the recommended capacity. This is especially important if you didn’t measure the amount of oil that came out of the bike as you don’t want to over fill it.
13) Replace the oil filler cap and run the bike for a minute to get the oil circulating. At this point, you can do a preliminary check on the bike’s oil level, then top up as necessary. Some bikes have a sighting glass built into the engine casing while others use a conventional dipstick. Just make sure the bike is standing up and level when you check the oil level as most bikes will not provide an accurate reading when on the side stand (again, check your manual here). If, for some reason you have over-filled the oil, get your drain pan back out, crack the oil drain bolt loose and let a little oil out, then repeat step #13.

14) Once you have filled the oil to capacity, it’s a good idea to let the bike idle for a few minutes and check for leaks under the motor. If everything looks good, you can replace any fairings or panels you removed and get the bike back together.
15) Lastly, put the dirty oil into a sealed container. Most auto parts stores or garages will accept used fluids for recycling purposes. It goes without saying that you should never dispose of motorcycle (or any other) oil in a landfill or drain.
You’ll want to mark down the mileage (or number of hours) on your bike now that you’ve done the oil change so that you know when you’re due for your next one. We’re big fans of keeping a quick-reference file on a smartphone or tablet to track maintenance and important specs (like oil capacity, torque values etc). Makes subsequent work a breeze and selling your bike that much easier since you can show prospective owners what maintenance you’ve done.

What sizes are the hex/Allen bits ? I have a hyper and need to buy the tools for the job. Thanks!
LikeLike
For the Hypermotard variants, the oil drain bolt should be a 6mm allen. The oil prefilter bolt (the one on the side of the engine casing) is a much larger 14mm hex and you’ll use that same hex to extract the oil prefilter behind the bolt. General advice when buying these types of tools: buy a full metric set that spans as large a range as possible. Good luck!
LikeLike