
Changing the oil in the Panigale series’ Superquadro motor is a fairly routine procedure but requires a few unconventional steps which we will outline in this quick DIY.

As with any oil change, you’ll need your choice of (preferably) synthetic oil, along with a new oil filter. In terms of oil viscocity, the Panigale range can take anything from 10W40 to 20W50 depending on your climate so best to check your owner’s manual. Also note that the oil filter for the Panigale is an internal filter whereas most other Ducatis use an external (screw-on type) filter. More on that later.
The first thing you’ll want to do is remove the lower left fairing (as that’s where the oil filter is located), then either take the bike for a 5 minute ride or let it idle to heat and circulate the oil. If you don’t perform this step, the oil won’t drain properly as oil is thicker when it’s at ambient temperature (vs at operating temperature). You also want to circulate the oil so that any sediment is brought into suspension so you can get it out.
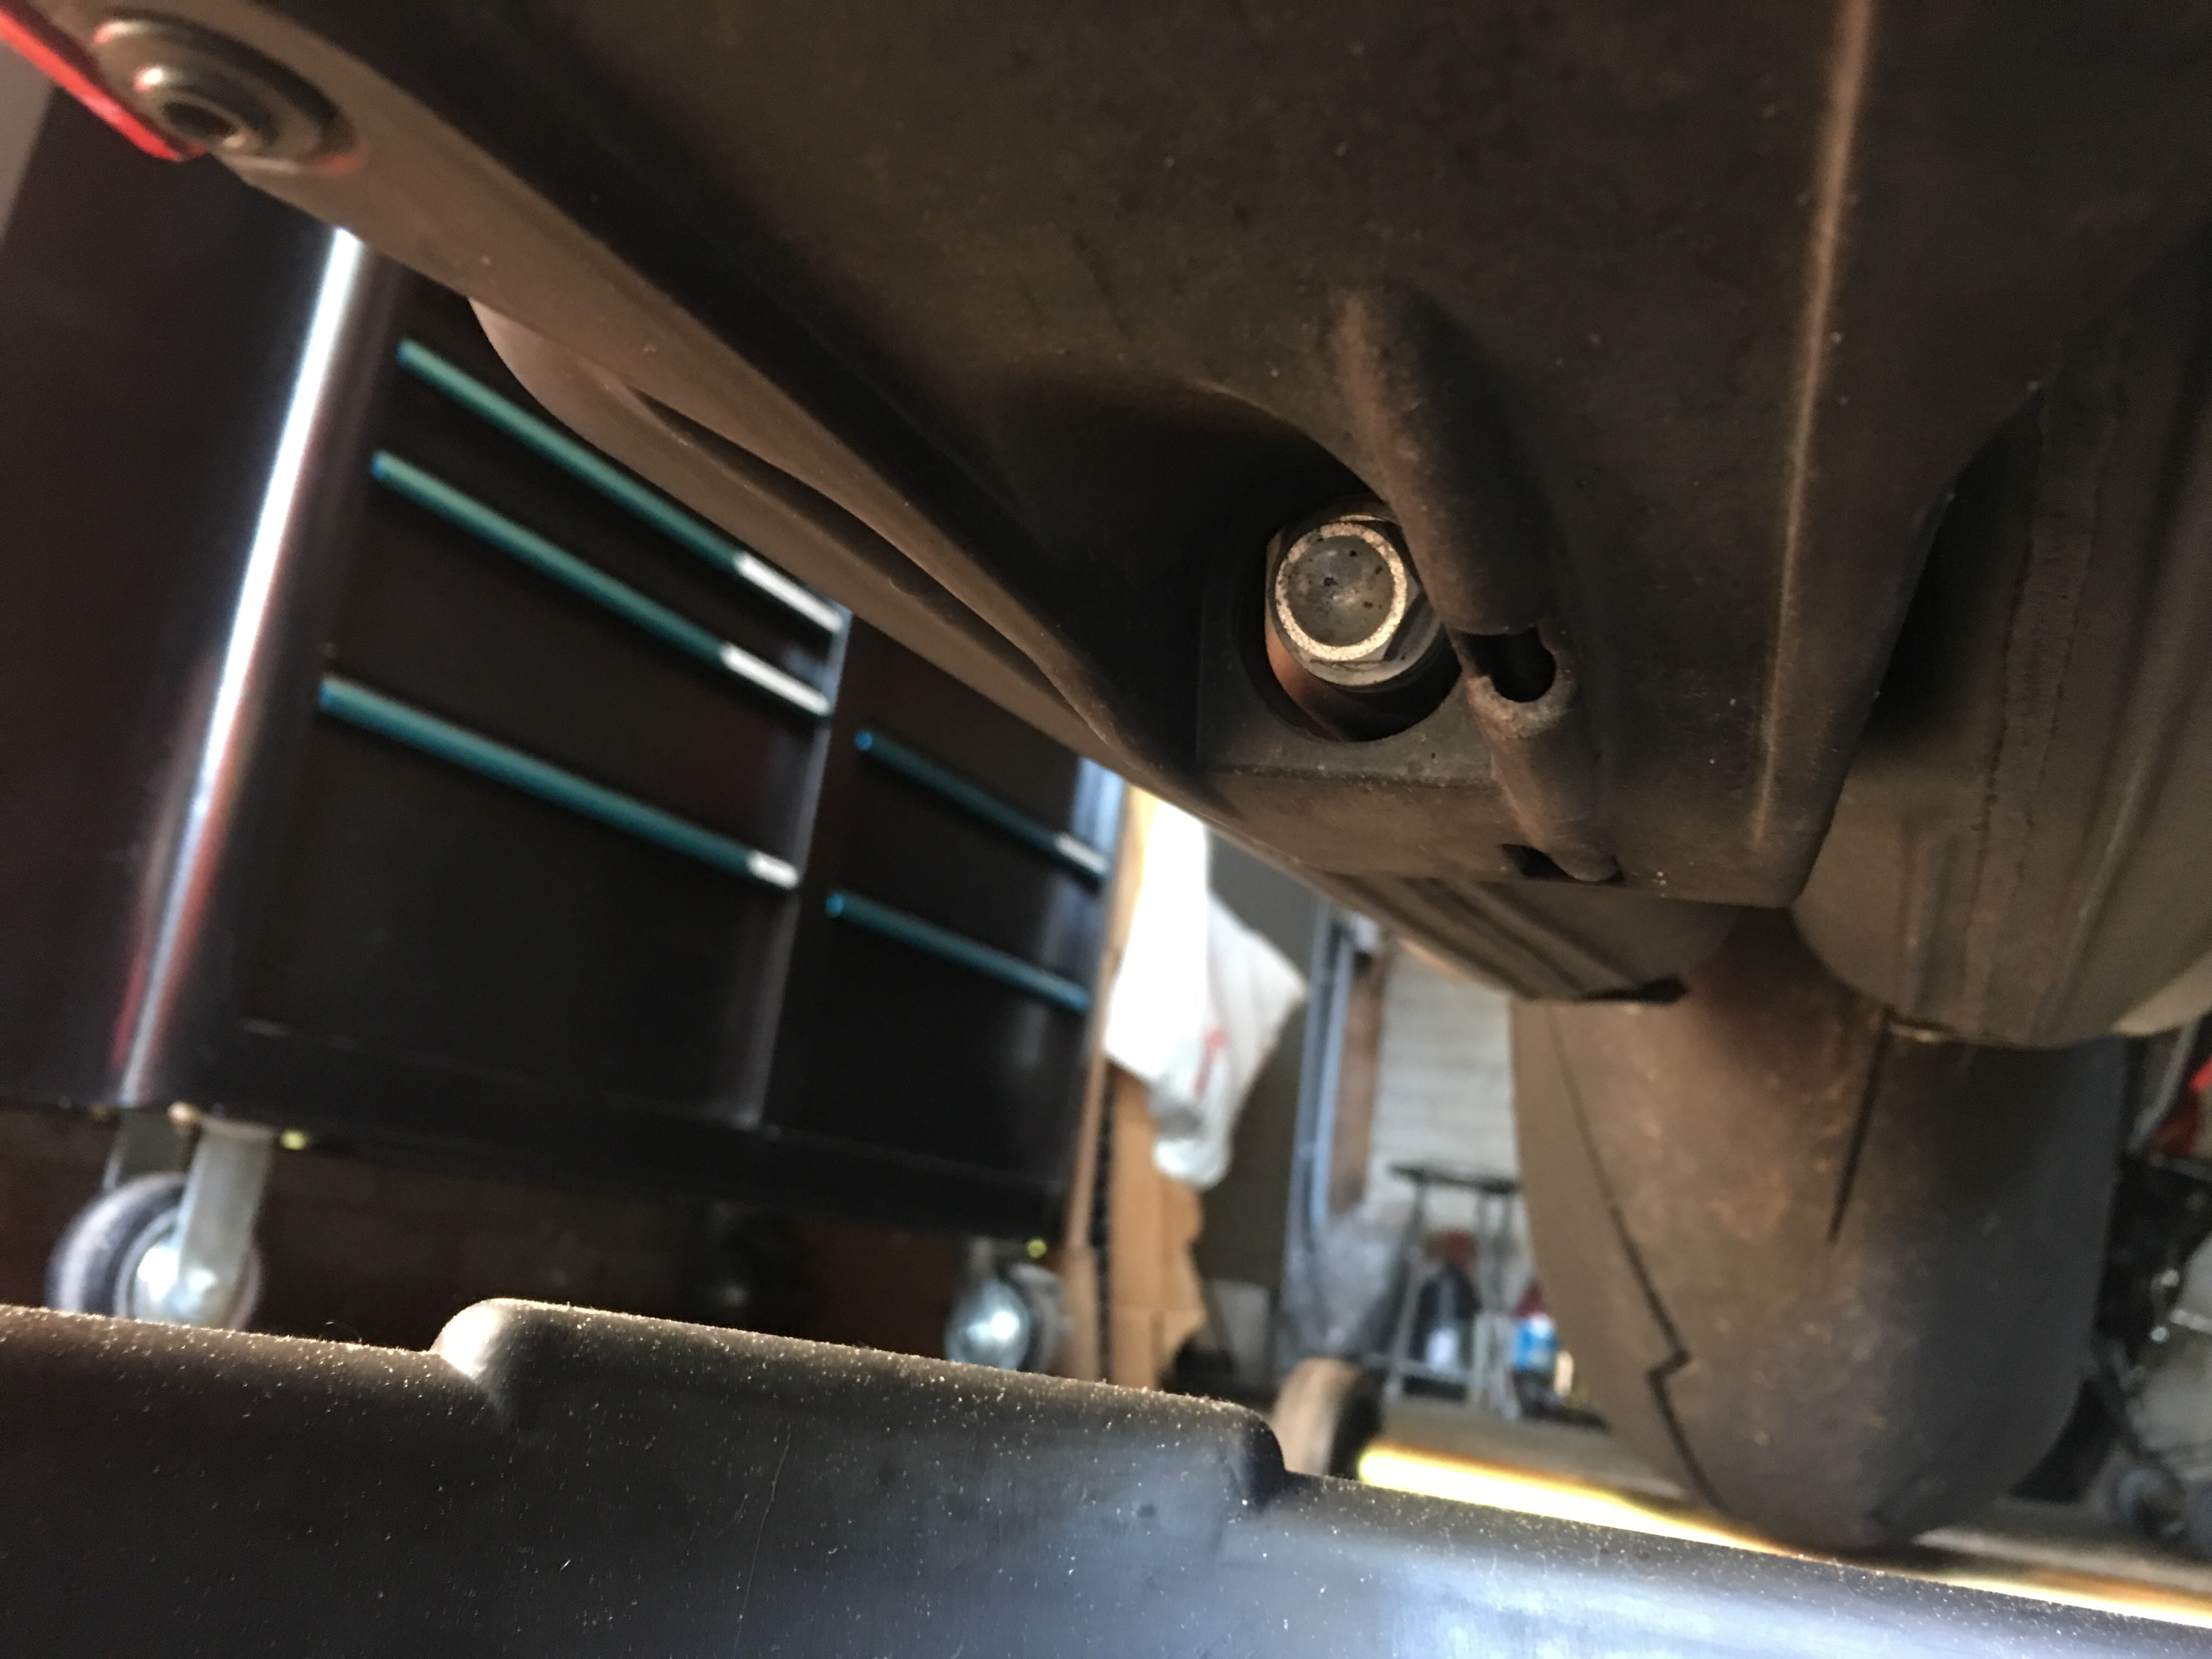
With a drain pan in place, remove the oil filler cap and locate the oil drain bolt which is underneath the bike in the black plastic belly piece that the fairings attach to.

While the oil drains, take a look at the drain bolt and remove any metal debris that may have accumulated on the magnetic tip. There may also be a copper crush washer between the drain plug and the motor so be sure to examine it for wear and replace it if there’s any doubt.

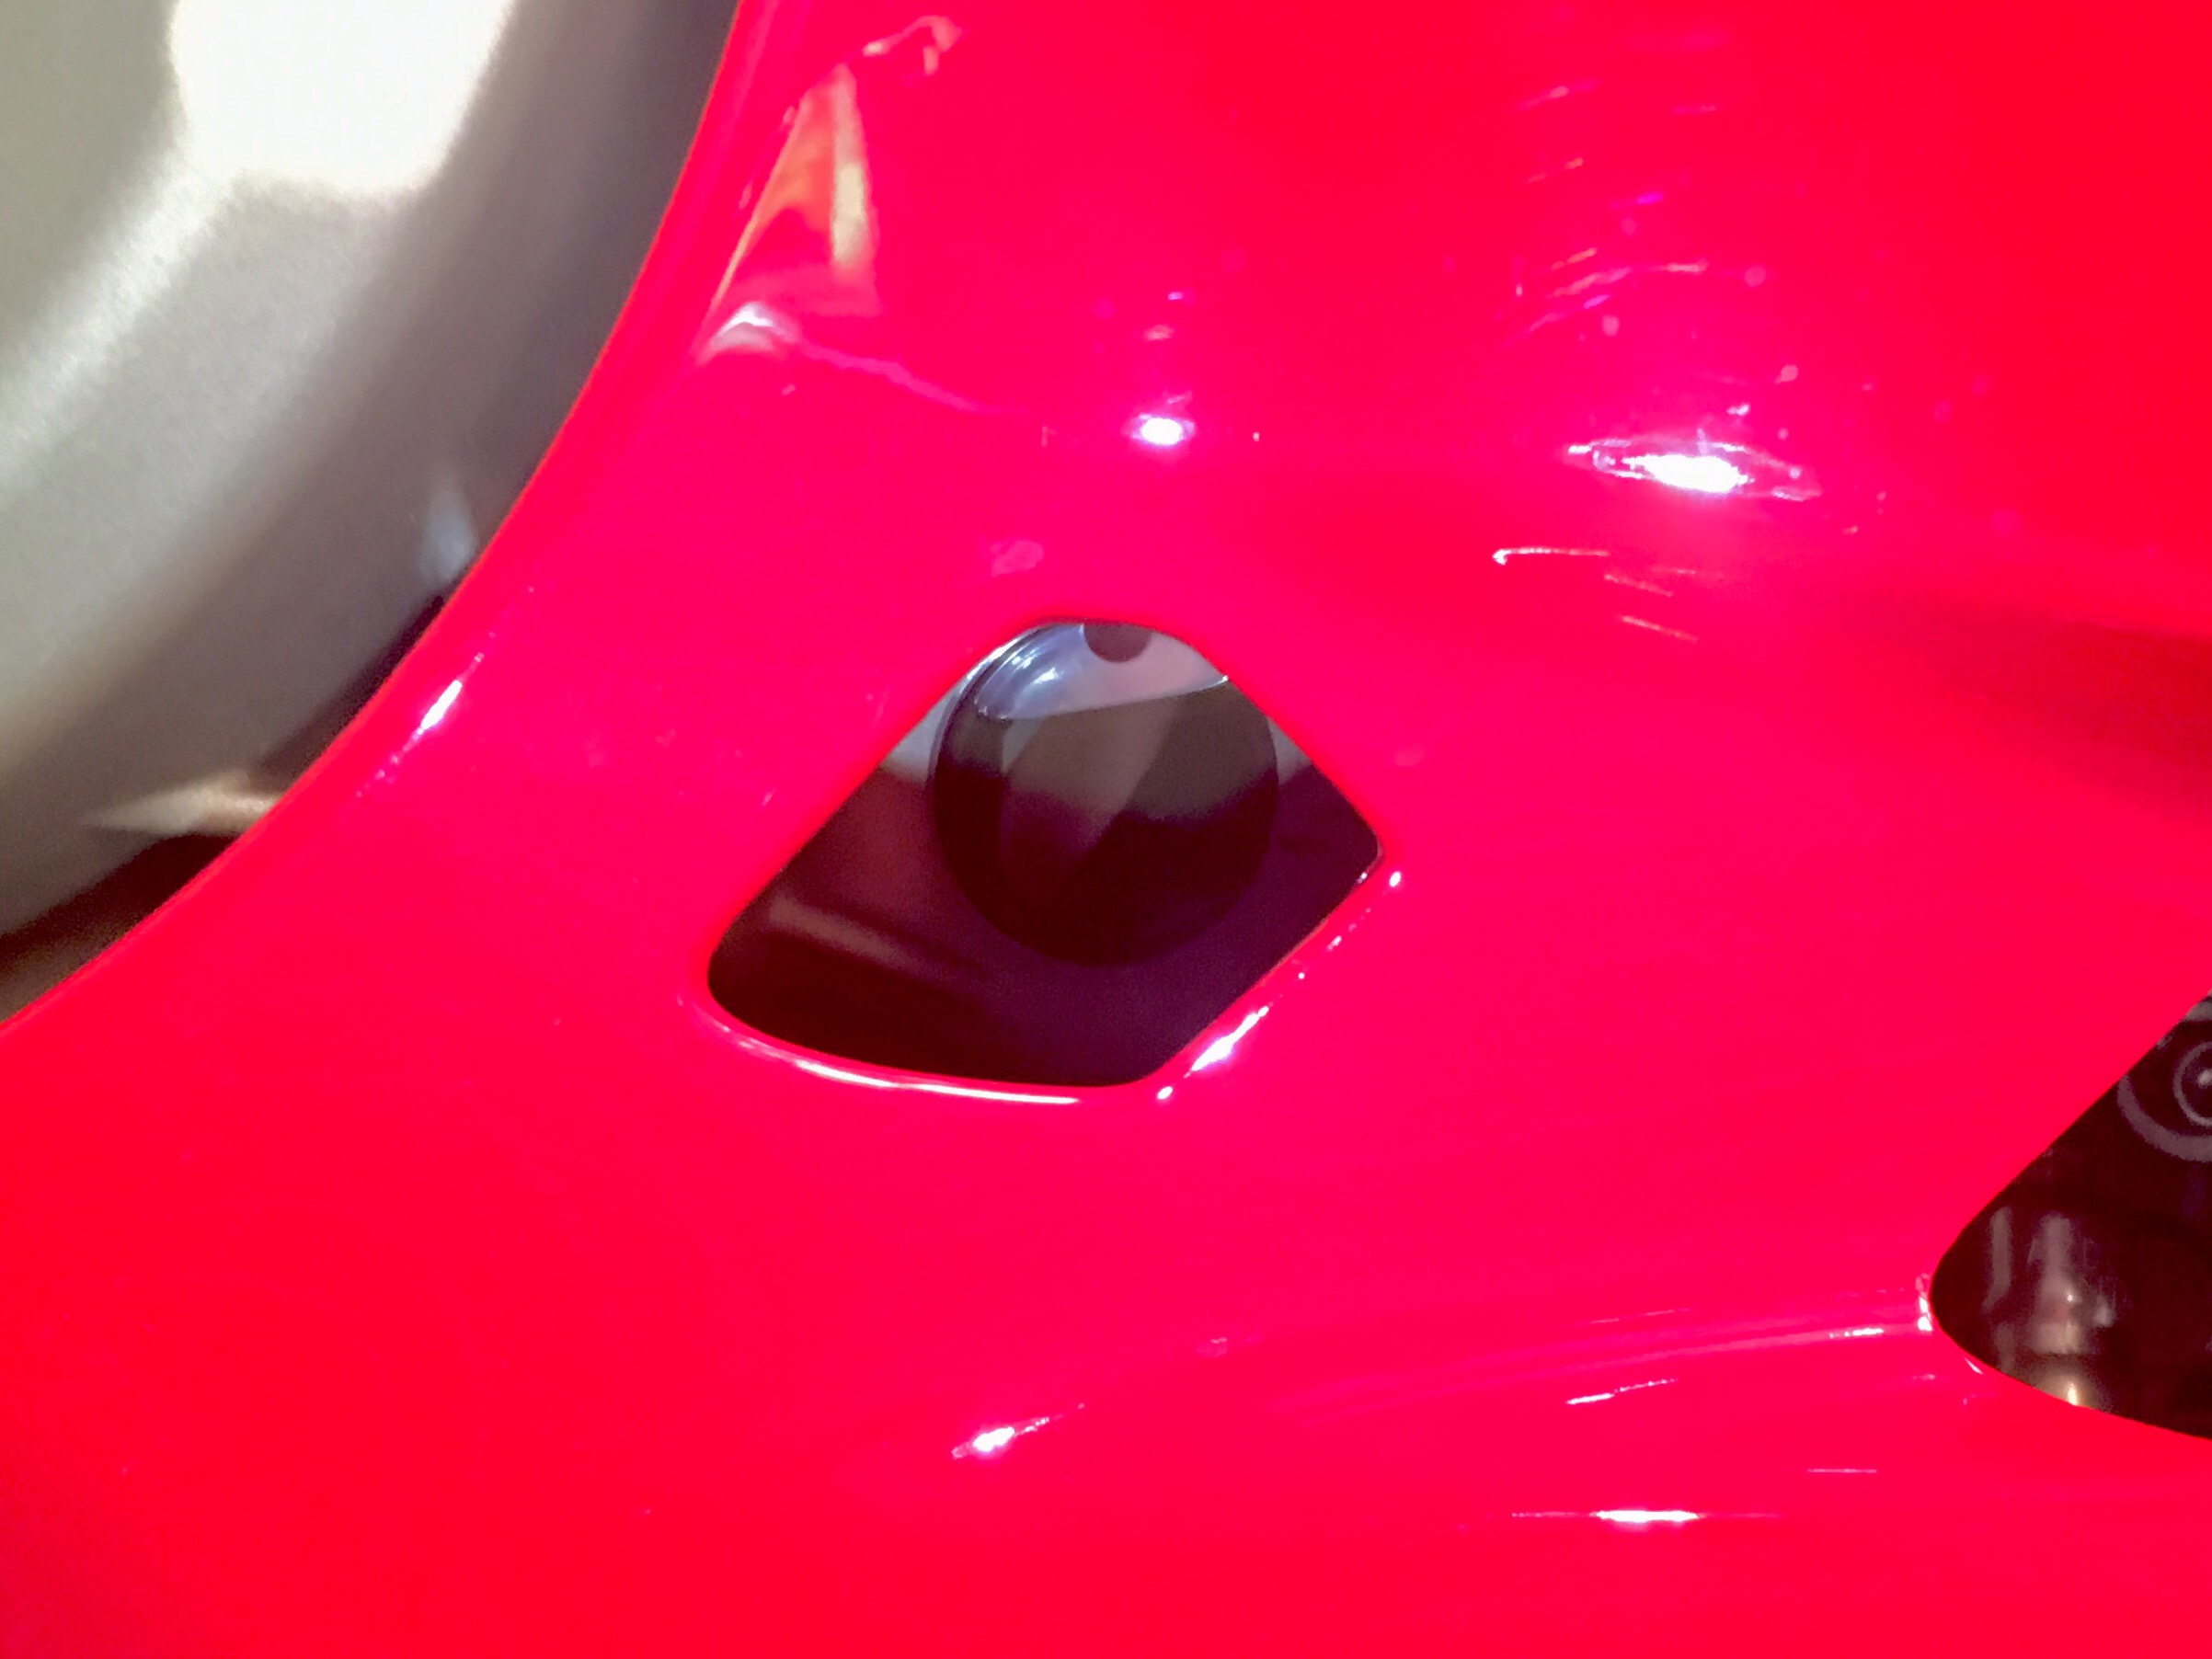
The oil filter is located behind a small round cover on the lower left part of the motor. Before taking anything apart, mark the top of the cover (we used a black marker). This will come in handy later so that you know which way the cover goes on (as it’s a-symmetrical). Next, remove the 2 bolts that hold the cover in place.
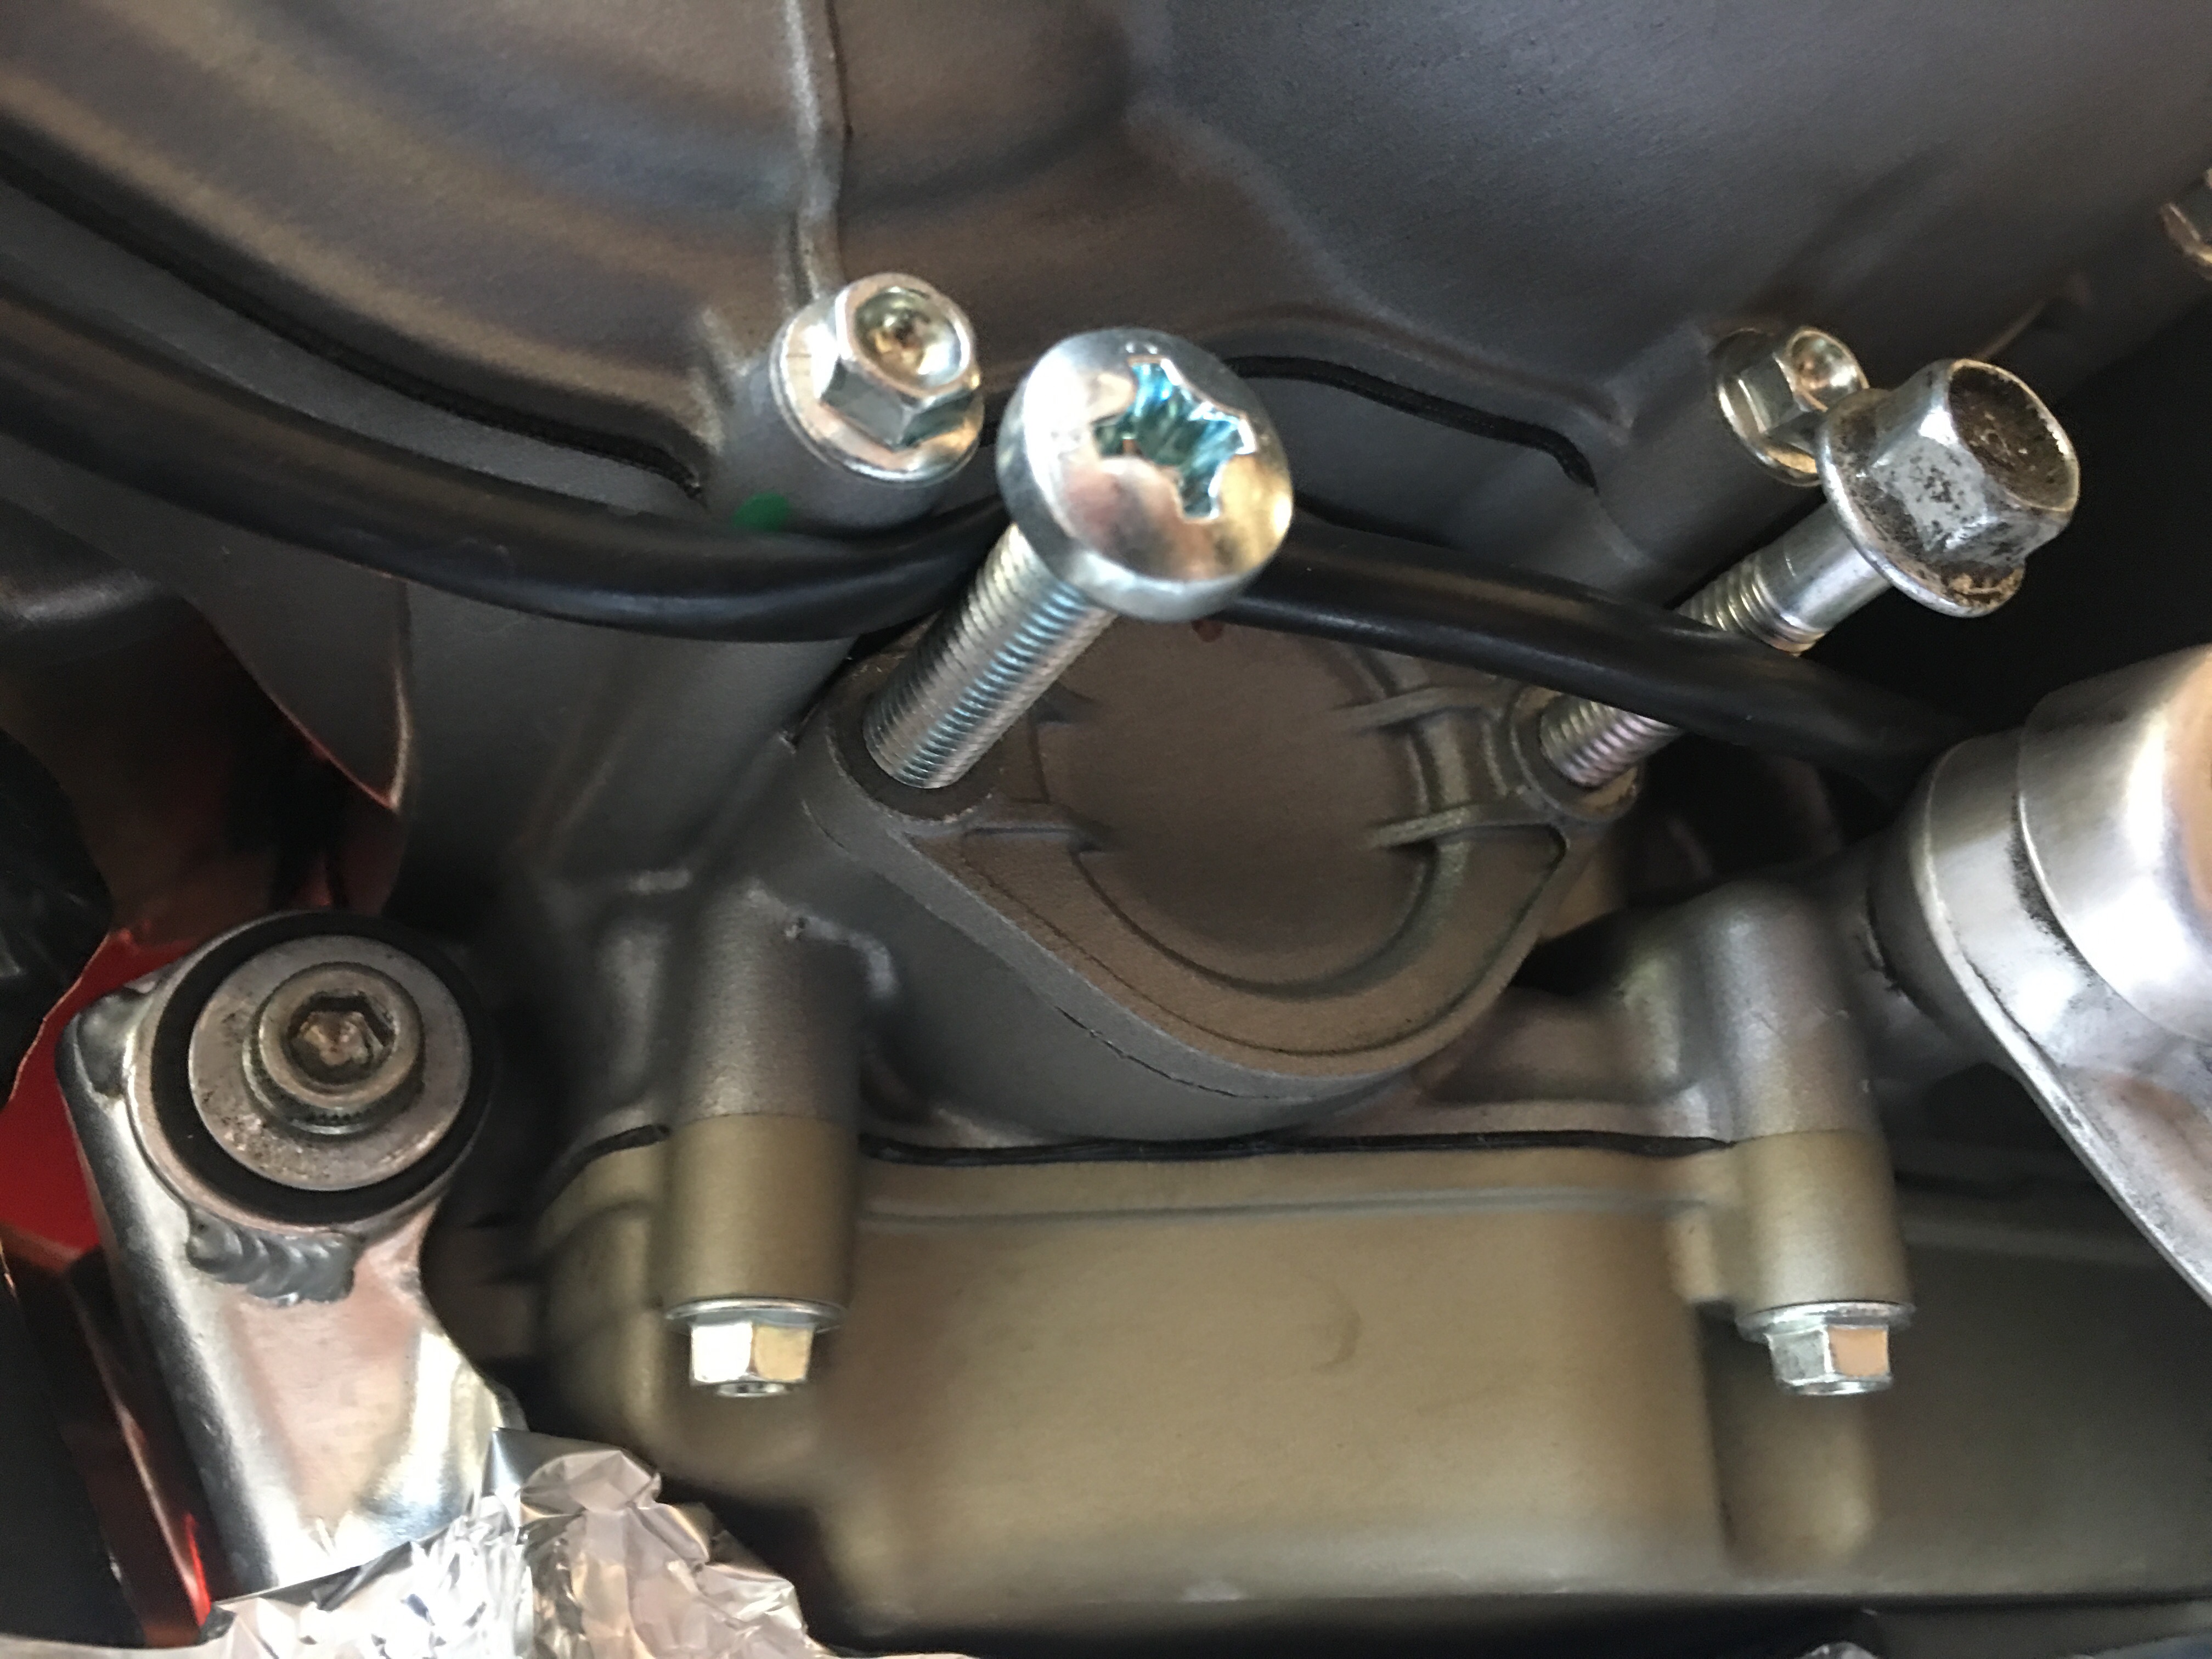
The cover fits very snugly and requires a lot of leverage to get out. On later model Panigales, the cover itself is threaded larger than where the bolts you just removed meet with the motor. This allows you to use two M8 bolts (you’ll have to supply them) as levers to gently pull the cover off. Beware that prying with screwdrivers will mar the engine cases and could damage the cover or create a leak. If you have an older model Panigale (early model 1199 for example), you can fabricate some hooks out of a coat hanger and use those tools to pull the cover off from inside the bolt holes.

Before you remove the cover, it’s a good idea to use something like tin foil to cover the exhaust. The oil from the filter will run down the side of the exhaust otherwise and could actually catch fire when you ride if you don’t clean it up properly.
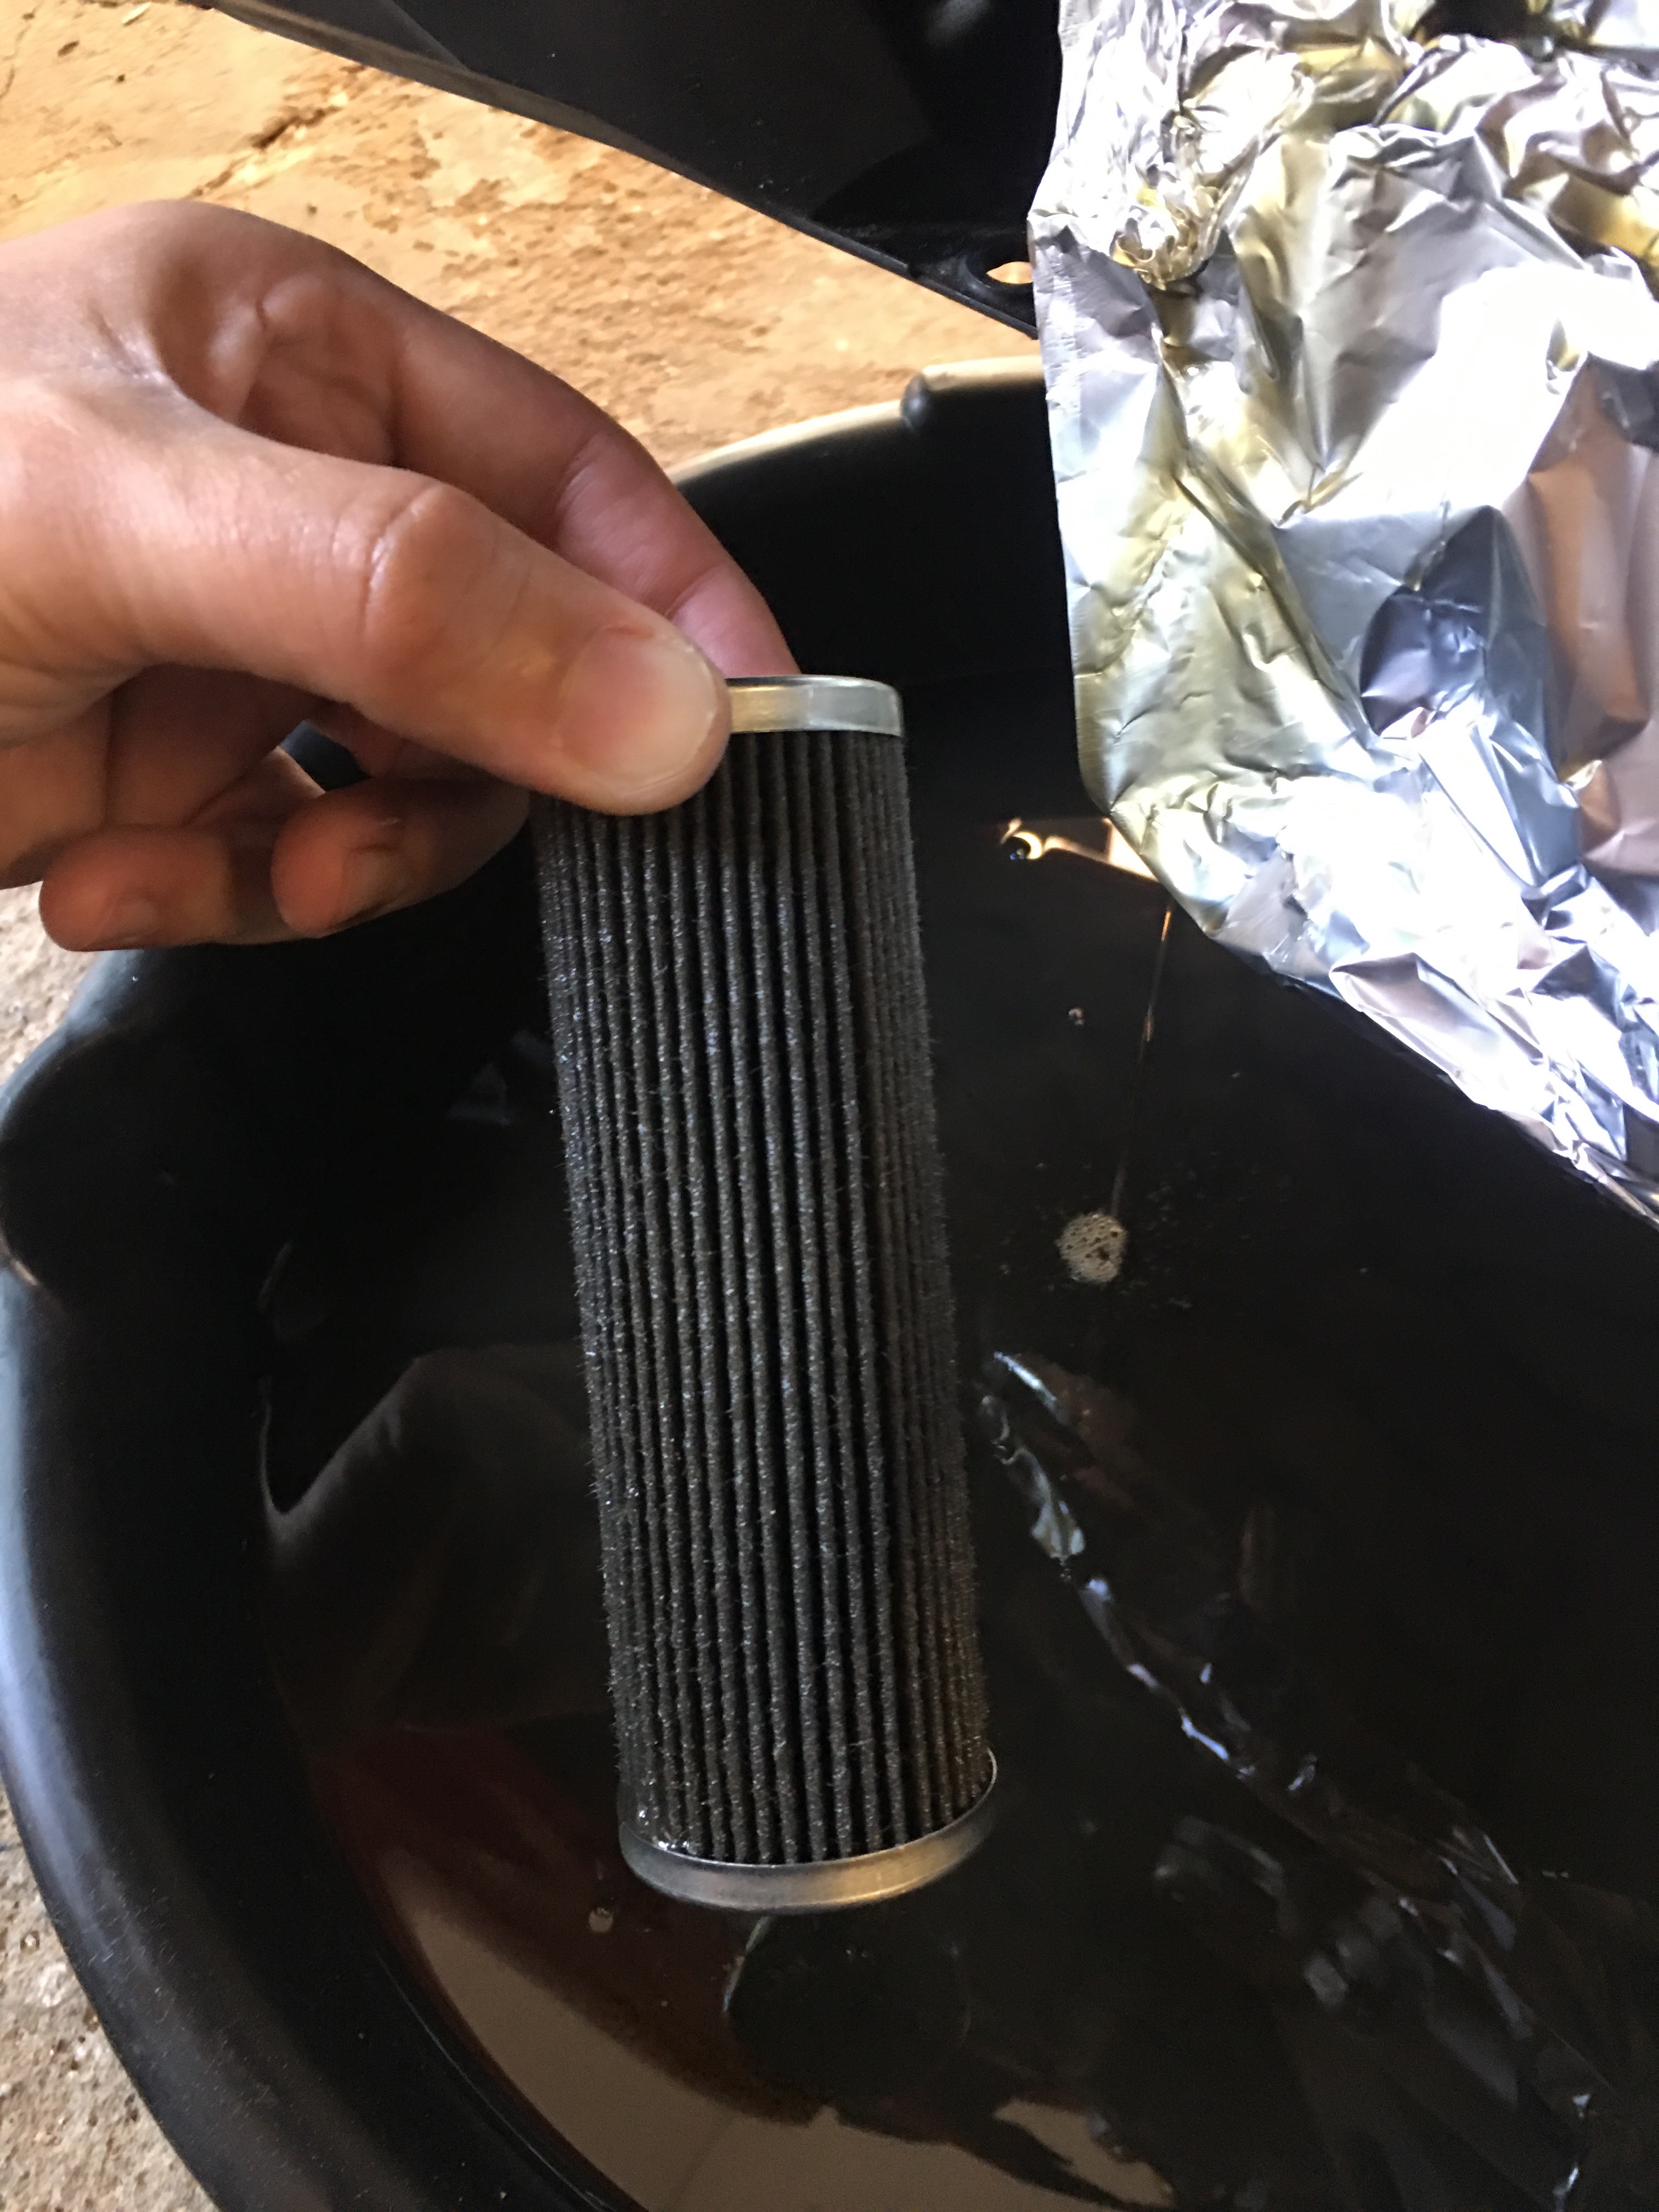
Once the cover is off, you should be able to see the oil filter, recessed in the cavity. The fit in there is pretty tight and you’ll want to be careful pulling it out so as to not scratch the inside gallery walls. The easiest way to do this is by puncturing the rubber center of the old filter and using that entry point to wiggle the filter out. Inspect the ring seals/gaskets on the oil cover for wear (replace if needed) and wipe those clean.
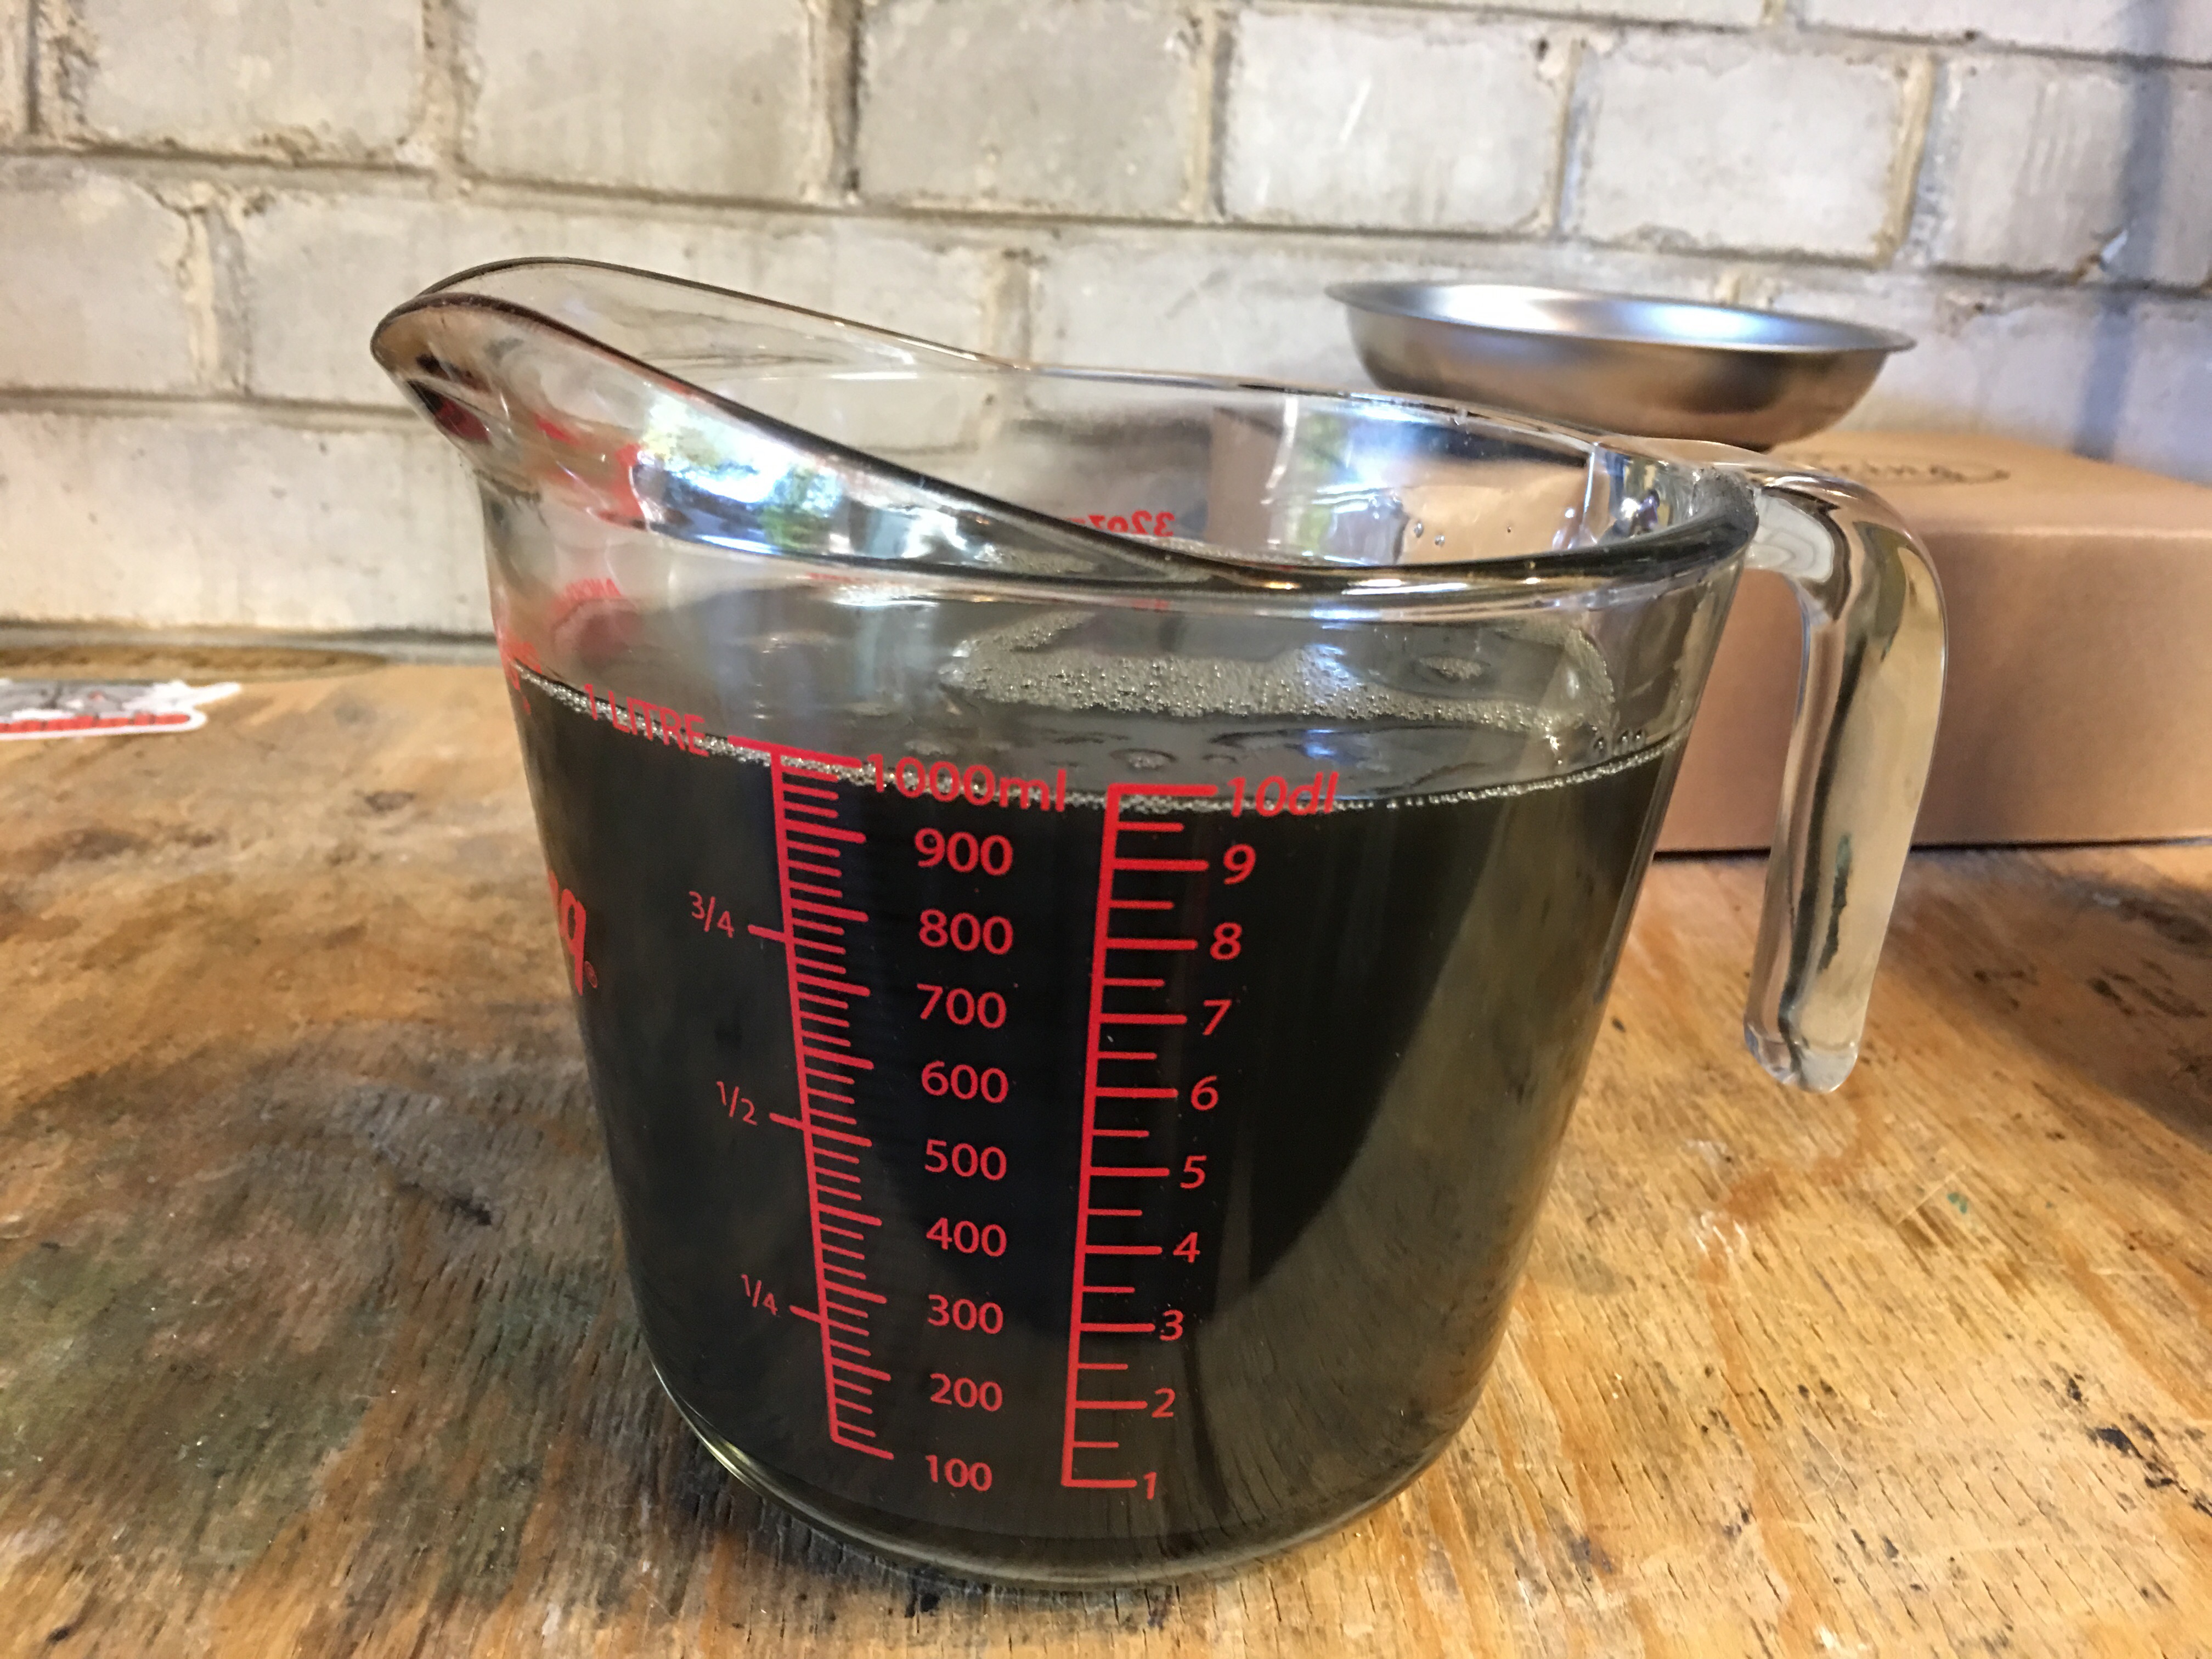
By now, most of the oil should have drained from the bike. If you’re curious (or anal) like we are, you can measure the amount that came out to ensure you fill it to the correct level (assuming of course that it was filled to the right level to begin with).
Time to begin sealing everything up so we can add the new oil. Replace the oil drain bolt first (using a new copper crush washer is always a good idea). Be sure to wipe the mating surface on the motor clean to get a good mechanical seal and torque the bolt to spec (14NM on the 1299).
Next, you can pour a little clean oil in the new filter and slide it into the cavity (hollow end goes in first). Gently press the oil filter cover back on, using the M8 bolt trick (if your cover is threaded), then torque the bolts to spec (13NM on the 1299).
The last step is to fill the bike up with fresh oil. Achieving the correct fill level is critical as overfilling the motor will cause premature wear and could lead to catastrophic failure.
If you measured the amount of oil that came out, then you know exactly how much you need to add back in. If not, you can begin by adding 3/4 of the recommended oil quantity (about 3L for the 1299). You can then replace the oil filler cap and start the bike, then let it run for about 30 seconds. The objective here is to get oil flowing through the bike and saturate the oil filter.
Turn off the bike and let it sit for a few minutes so that the oil drains down into the sump. You can now stand the bike upright and look at the sight glass that’s built into the side of the motor. There is an opening in the lower right side faring that allows you to check this easily. Note that the bike must be perfectly level to get a precise reading. This includes the front-to-rear height. If, for example, you have a paddock stand on the rear, then the reading will be off slightly so you will either need to raise the front (a brick or piece of 2×4 will do the trick) or take the bike off the paddock stand so that both wheels are level.
Continue adding oil, running the bike, and checking the level until you are between the fill lines. At this point, it’s always a good idea to run the bike for a few minutes and inspect the oil filter cover and drain plug before you put the fairing back on to ensure there are no leaks.
If everything looks good, put the lower left fairing back on, recycle the used oil and go ride!
For more information, read our comprehensive guide to motorcycle oil changes here.

I think I stripped one threads of the oil filter cover for my 1299 base model. Any advice on how to recover, move forward?
LikeLike
Hey Chris. I can see that happening as the metal in that part of the motor is very soft. Depending on how badly stripped the threads are, you may be able to chase and clean them with an OEM sized tap. Otherwise, your only option will be to tap it to run a larger sized bolt but you’ll want to check the thickness of the walls to make sure there’s enough meat to tap into. Good luck!
LikeLike
This was great – Thank You!!
I followed the steps after my oil cooler sprung a leak so replaced that and did the oil and filter too – about 90 minutes
Happy 1299
LikeLike
Glad I you found it helpful Steve. Ride safe!
LikeLike