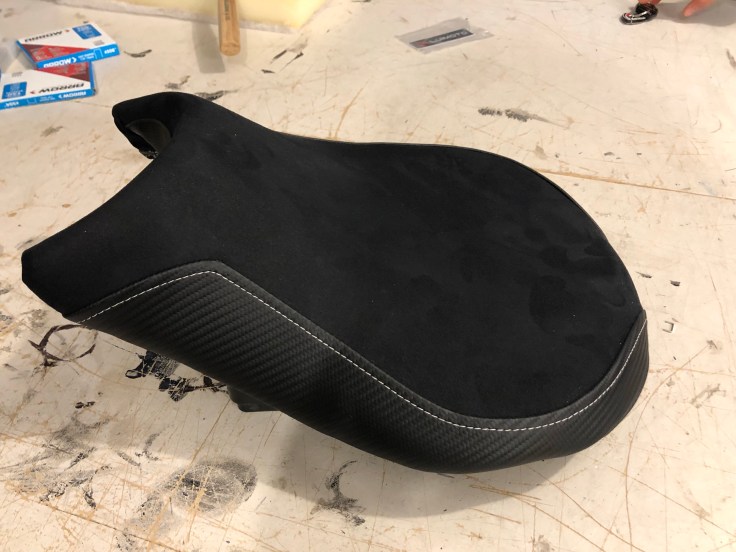
In this more-than-meets-the-eye DIY, we’ll be walking through the process for installing a Luimoto seat cover on a 2010 Ducati Streetfighter with the help from our friends over at And Once We Were custom upholstry.
Luimoto is a Canadian company out of Vancouver, BC who specialize in custom motorcycle seat covers which are made out of various high quality synthetic materials. Note that they sell the seat cover only and that you’ll need to provide the stock seat pan and foam (unlike companies like Sargent or Corbin who offer complete seats).
Disclaimer: Although we had every intention of installing the seat cover ourselves, we changed our mind when it arrived, based simply on the tolerances of our particular seat and our quality expectations. Although anyone could do the install adequately, achieveing a factory-like quality level wasn’t assured at our hand, so we spent some time with local upholstery shop And Once We Were who were more than up to the task.
Tools you’ll need for this DIY:
- Staple gun (air, electric or manual)
- 30-50 1/4 inch staples
- Staple puller or pliers
- Tape
- Scissors
- Patience 🙂
Step 1: Remove the stock seat cover from your seat. There is a combination of glue and staples holding the seat cover to the foam so a staple puller (or pliers) will make short work of it.

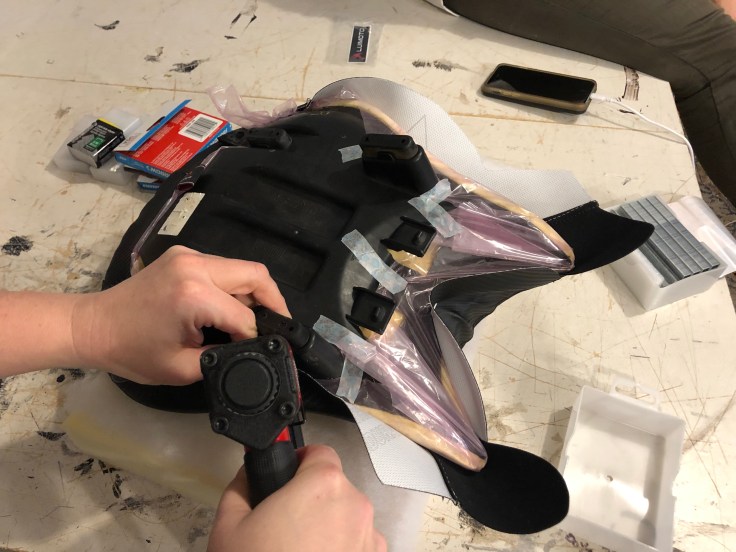
Step 2: Once you have the seat down to the foam, you’ll want to apply the (included) waterproofing film over the seat. The rationale here is that the seat cover itself is not waterproof (it’s breathable), so having a layer between the cover and the foam will prevent the seat from absorbing water if you ride in the rain or wash your bike. There’s really no downside to applying it so you might as well. Once you’ve pulled the film over the seat, you can use some tape to keep it in place so it doesn’t slide around while you fit the cover itself.
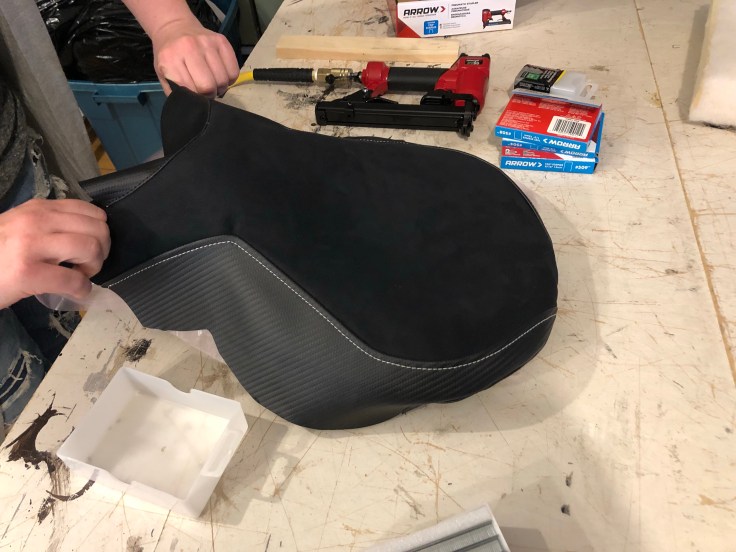
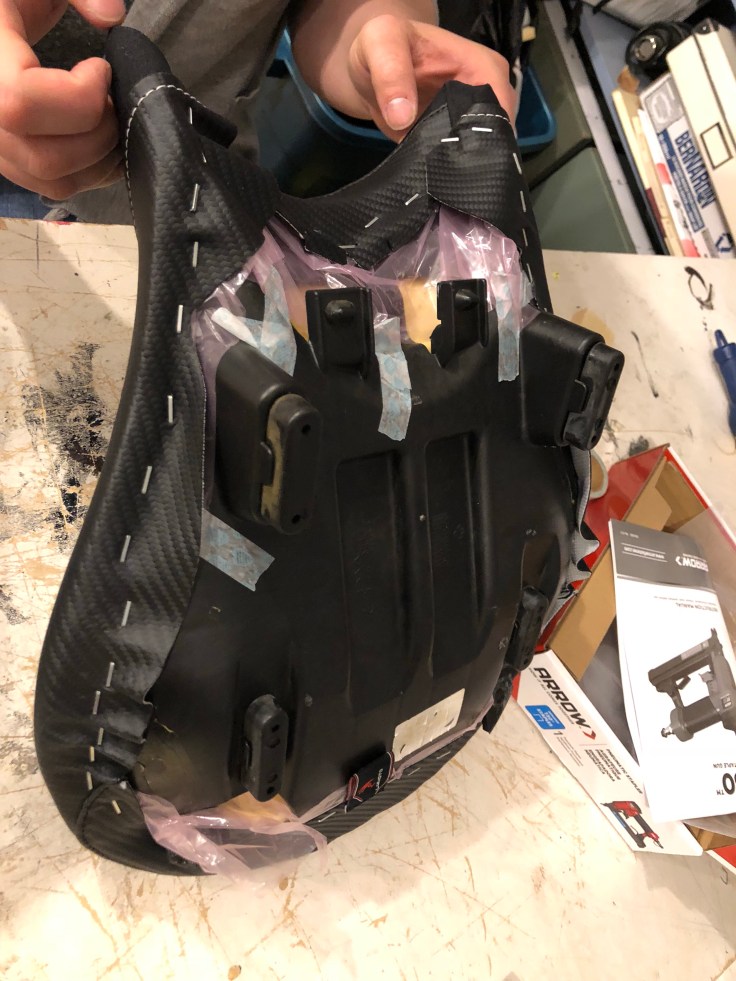
Step 3: Slide the seat cover on and get it into place so that the seams line-up with the intended contours. This part requires patience, a steady hand and a little bit of coaxing. Once the seat cover is centered and sitting the way you want it, attach the cover with a single staple in the rear of the seat. This will act as an achor as you work your way around the rest of the cover.

Step 4: You can now work your way around the seat systematically, pulling, stretching and fitting the fabric with each staple. With the Streetfighter DP Comfort Seat, the front portion was particularly contoured so we left that one for last. During this step, remember to flip the seat over after every staple to ensure the cover hasn’t shifted. Thankfully, staples aren’t permanent so if you set one wrong, just pull it out and repeat that step until you get it right.
Step 5: As you get to the front of the seat, you may notice some extra material that you’ll have to deal with by either folding it under and stapling it, or by cutting it. Depending on your particular application, folding it may be the easiest option. In our case, seat tolerances were very tight near the tank and we couldn’t tuck all the fabric underneath, so cutting the excess was the best option.
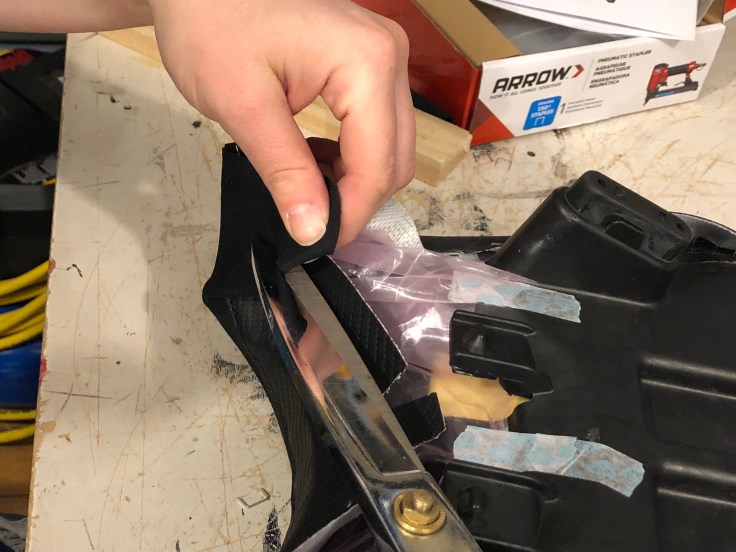
Step 6: With the seat cover stapled all the way around, you can test-fit the seat back on your bike to ensure it’s sitting properly (no pun intended) and that there are no visible staples. You can then cut away any remaining excess material to clean things up.
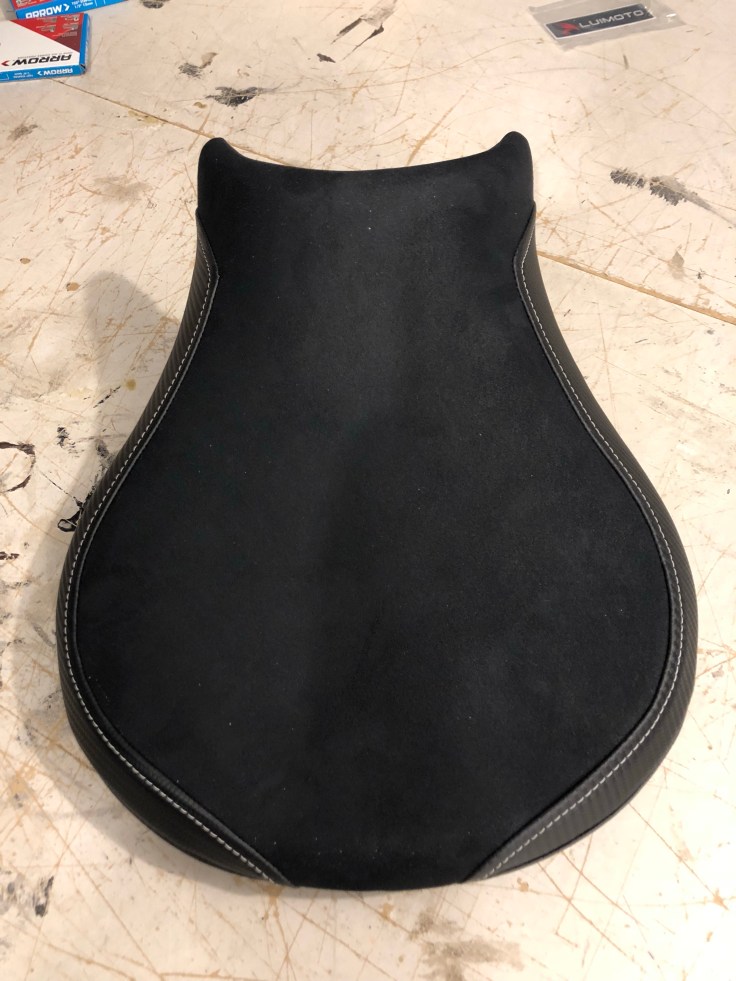
If you’ve done everything correctly, the cover should be on straight and any stitch lines should run symmetrically across the contours of the seat. If that’s NOT the case, you can easily pull out staples, adjust and try again. Just be careful throughout the process if/when cutting away excess material and leave enough room for error.
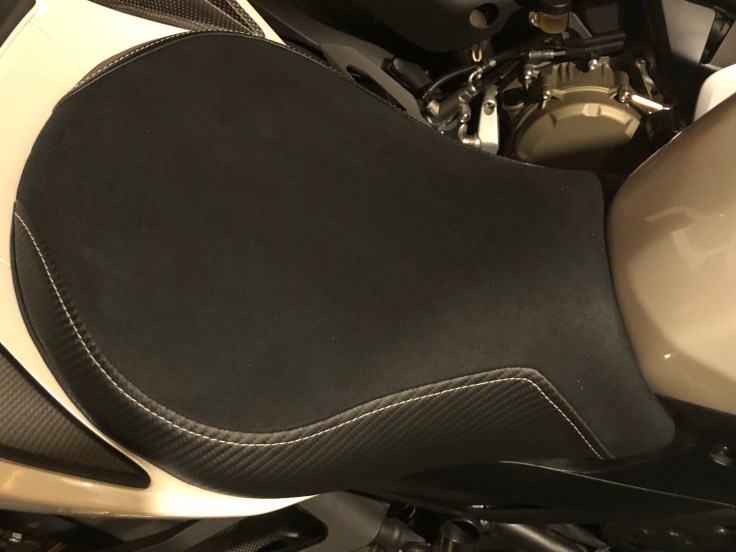
The finished product on the bike:

Leave a comment