
Washing a motorcycle is an often-neglected and malpracticed art which is why we’re bringing you this definitive guide, featuring some clever tips (if we do say so ourselves) as well as our favorite products for keeping your bike looking its best.
We are big believers in the saying “clean bikes run better”. One thing is for sure: if you want your bike to look its best, you need to keep your plastics, metals, chrome and rubber parts free of the contaminants that build up on them naturally while riding or even storing your bike.

What you’ll need:
- A wash bucket
- A source of water (preferably a hose)
- 1 or more wash mitts
- A scrubbing brush
- Detailing soap
- A chamois
- A leaf blower (optional, but recommended)
- Various detailing products (as-needed, described below)
Step 1: Prepare
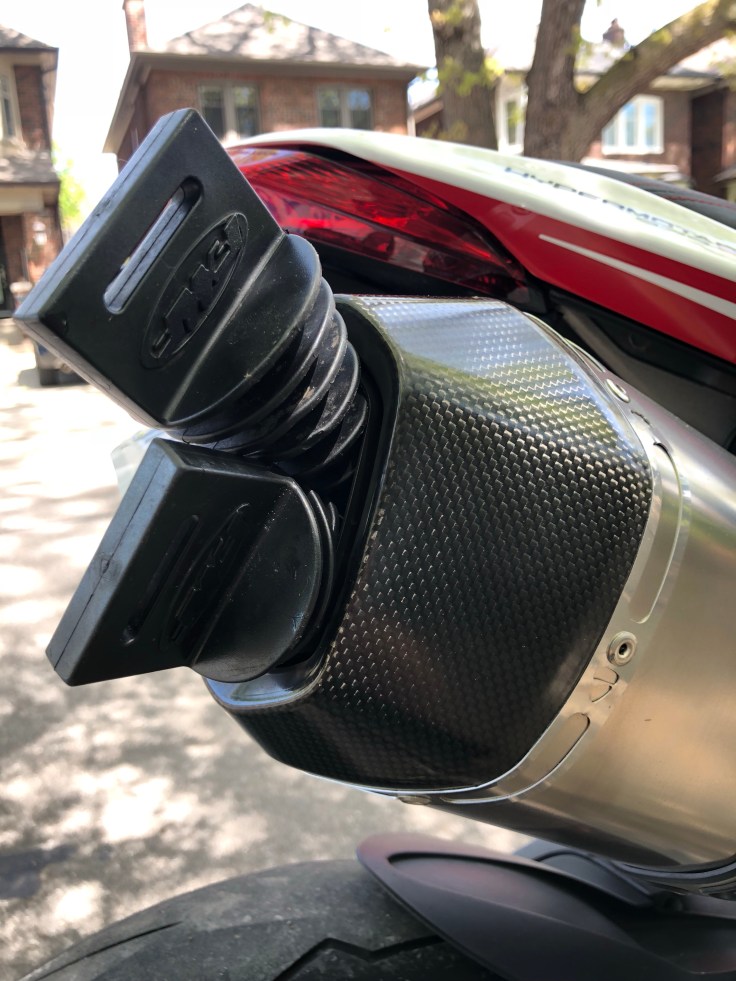
- Bikes are designed to get wet and to be washed but there are a few key areas you’ll want to plug, cover up or otherwise avoid:
- Exhaust ports (particularly aftermarket exhaust systems)
- Open dry clutches
- Non-waterproof aftermarket seats
- Electronics such as switches and wiring
- Make sure your bike has cooled down if you’ve recently ridden it
- It’s never a good idea to wash a hot bike as adding cold water to hot metal parts will subject them to undue stress
- Burning yourself on hot exhaust parts isn’t fun
- Park in the shade
- Sun can dry the bike prematurely and cause spots and streaks
- You can always move the bike back into the sun once it’s been washed to help some of the water evaporate
- If you have a paddock stand or if your bike has a center stand, use it
- This will make accessing the rear wheel easier
- Remove any luggage or snap-on accessories to allow access to as much of the bike as possible
Step 2: Wet
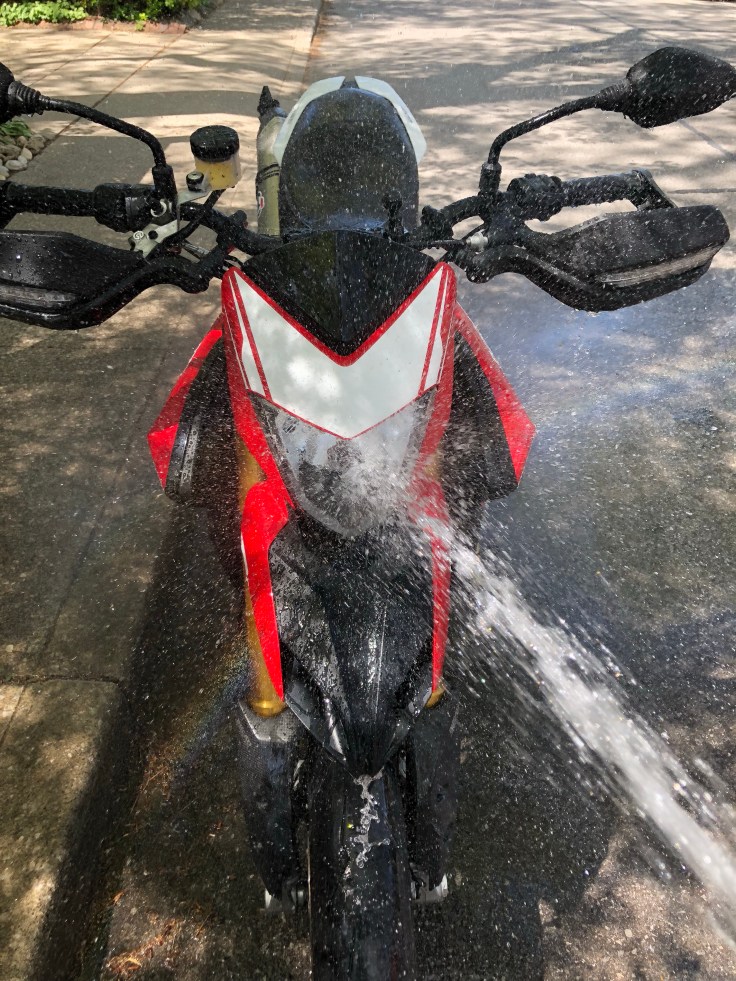
- The purpose of wetting the bike is to remove any loose dirt/bugs and get it ready for washing
- If you are using a garden hose setup, you can use the most powerful setting
- If you are using a pressure washer (not necessary), beware of how much pressure is being applied, as a commercial pressure washer can easily peel paint, decals and scuff plastics when applied at close range
- If your bike has chain final drive, avoid spraying the chain directly, especially with a high pressure hose
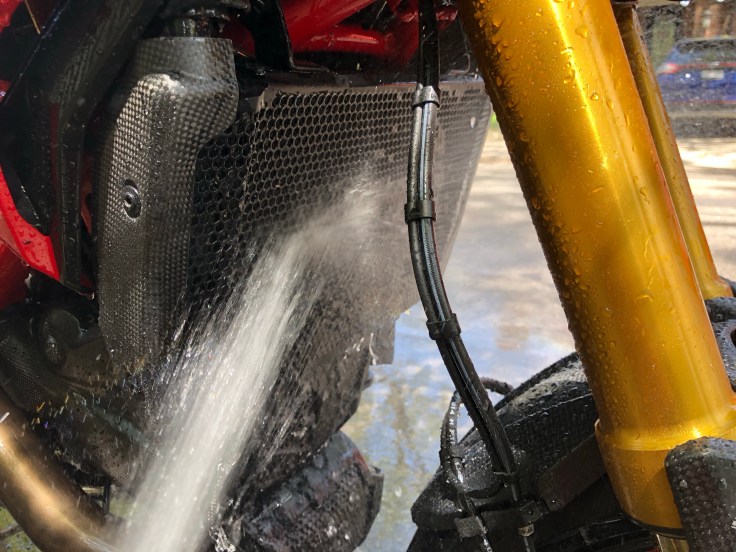
- Get water into every crevisse possible, paying particular attention to dirty areas such as under the fender(s), the radiator, tail, under the motor, etc
- Each bike has its own hiding spots for dirt and the more you wash the bike, the more you’ll understand yours
Step 3: Pre-soak
- Certain parts of the bike are particularly prone to road grime and will benefit from soaking a little while, prior to washing

- Wheels (particularly the rear wheel) collect all kinds of dirt from brake dust, tar and chain lube
- Spraying your wheels with a degreaser or road grime remover and letting them soak for a few minites will make things much easier during the “wash” step
- We can recommend Simple Green’s degreasers, as well as Super Clean degreaser as high performers
- You can also use a specialized wheel cleaner such as Mothers Wheel and Tire Cleaner wich literally melts brake dust off (but can get expensive)
- In a pinch, WD-40 is also a really good degreaser but it should be used sparingly on dry wheels (never mix WD-40 and water!)

Windshields, front fairings, headlights, hand guards, mirrors and forks tend to collect bugs which have a tendency of turning to glue when splattered on your bike and dried in the sun
- A simple bug and tar remover will help loosen them up, again making much shorter work during the “wash” step
- We’ve seen really good results from Autoglym’s Active Insect Remover
Step 4: Wash
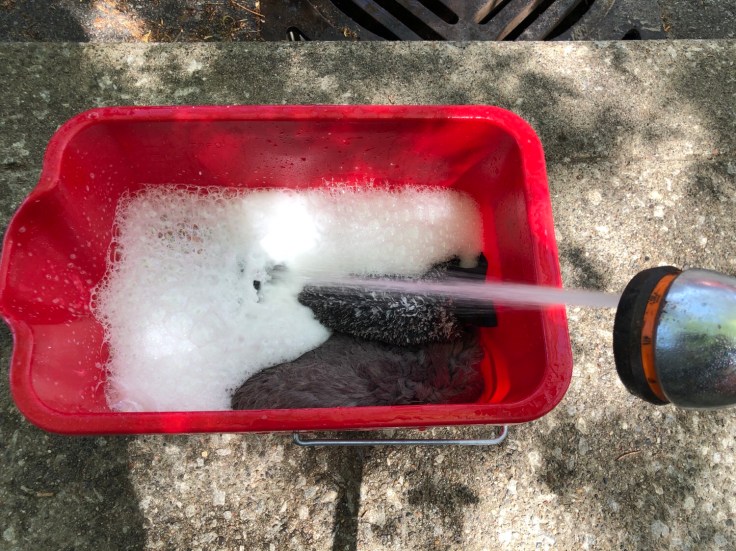
- Put a generous amount of detailing soap in a bucket and fill with water
- If available, warm water will clean better (and won’t freeze your hands)
- Toss in your wash mitts and ensure the mitts are saturated before beginning to wash
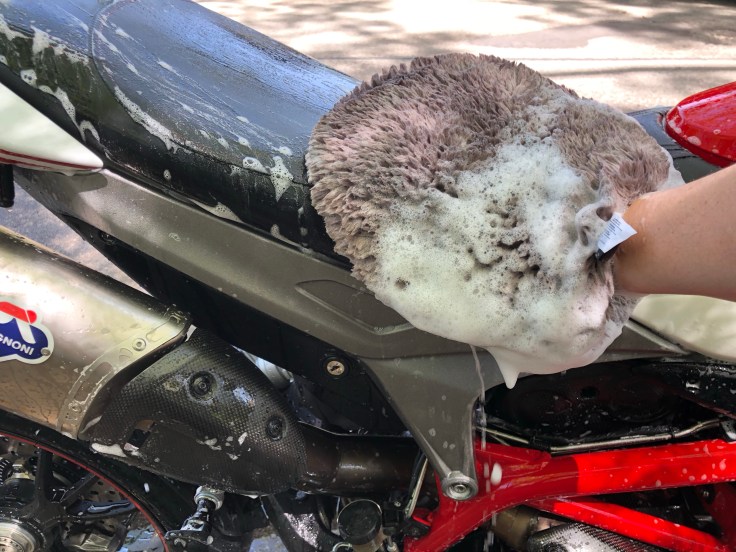
- Put your hand in the mitt and wash, using a back-and-forth or circular scrubbing motion and light pressure
- Especially if you’ve done the “pre-soak” work, there should be no need to scrub vigorously
- Use a clean wash mitt for the highly visible painted and scratch-prone parts such as your fairings, gas tank and headlight

- If you have an older wash mitt (or cloth), use that one for the really dirty parts such as the wheels, motor, tires, exhaust and underbelly
- What you’re trying to do is avoid getting any serious road grime onto the “clean” wash mitt as it could scratch the “pretty parts” of your bike or just spread grease to clean parts of the bike
- Every minute or so, dip your wash mit back in the bucket to cover it in fresh soap and water
- Think of the soapy water as a lubricant that will keep any dirt from scratching your bike as your break it loose
- If you have a large bike or are taking your time, you can rise soapy water off the bike occasionally to keep it from drying and creating spots
- This is also a good way of checking if you’ve gotten all the dirt off a specific area before moving on to the next
Step 5: Rinse

- All we’re trying to do in this step is get all the soapy water off the bike
- A light/medium spray will work best to remove soapy water and keep it from creating more foam
- As in Step #2 (“wet”), avoid getting water on any sensitive parts or down the exhaust and avoid spraying the chain directly
- Before putting away your water source, dispose of the soapy water in your bucket, squeeze out the wash mits and give all your cleaning tools a good rinse so they are ready for next time
Step 6: Dry
- Motorcycles are an amalgamation of hard-to-reach places which makes them incredibly difficult to dry
- In this step, you are trying to get as much water off the bike as possible since residual water can cause corrosion of metal parts electrical systems
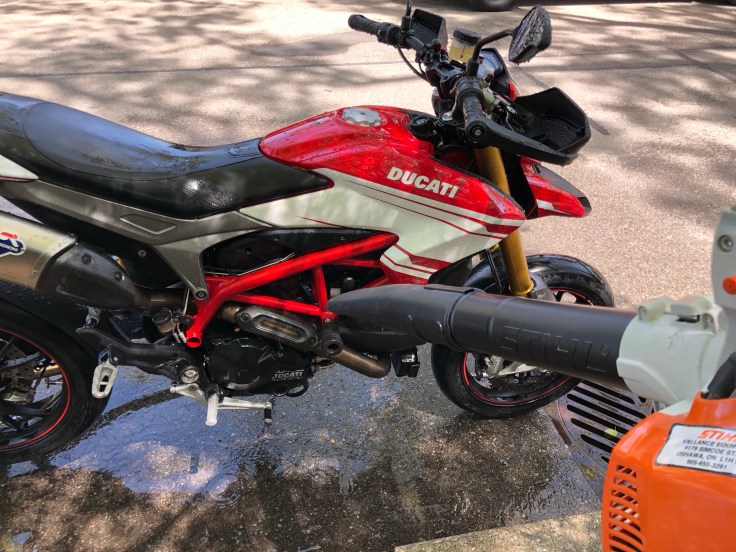
- For this reason, air is your best friend as it can get into hard-to-reach places and makes drying your bike a literal breeze (pun intended)
- A gas or electric leaf blower is a very convenient tool for drying a bike and is a worthwhile investment for any enthusiast (even if you never intend on blowing a single leaf or don’t even live near trees)
- Starting at the controls, use the air to remove water from the bike, pushing it downward and paying particular attention to the tight spaces around your motor, between body panels and in your wheels
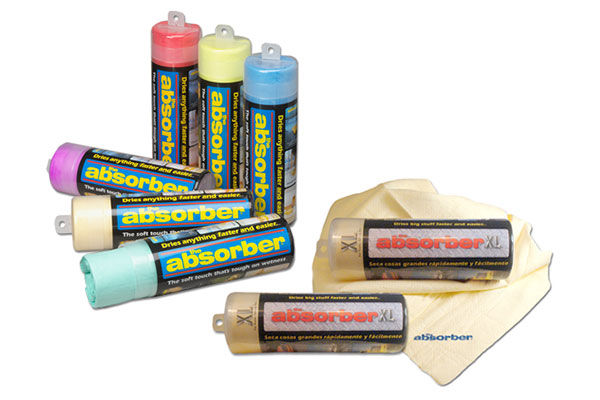
- If you don’t have a leaf blower, you can use a dedicated drying cloth or chamois
- On this note, we can’t say enough about The Absorber Sythentic Chamois ($20) which are available at most auto parts stores (we’ve been using them for over 10 years and our original is still going).
- We recommend against using a household towel or t-shirt as they can easily scratch your bike and leave swirl marks
- If you’ve put your bike on its center stand or on a paddock stand, the last step of drying it is to put the bike back on its side stand
- Doing so will always result in water draining out of the bike, even if you’ve used a leaf blower earlier
- If you want to get as much water out of the bike as possible (and especially if your bike has a tubular frame), lean the bike as far as you can on the opposite side of the kickstand
- Because bikes are assymetrical, you’ll notice that even more water will drain out when you do this

Leaving standing water on your bike can lead to corrosion so do as much as possible to get it all out.
- Because bikes are assymetrical, you’ll notice that even more water will drain out when you do this
- Once you are satisfied with your drying work, take a look around the bike to make sure you didn’t leave any dirt behind
- If you do find a small spot or two, a damp cloth can be used to wipe it clean
- If you completely forgot a panel, then you may need to get the bucket back out…
Step 7: Treat (also known as “dressing” or “finishing”)
- Now that you have a clean and dry bike, you can proceed to applying various products to bring out the finish of your bike and keep keep it looking good for as long as possible

- Black plastics are a good area to address as they are the most prone to wear from the sun
- This includes body trim panels, mirrors, seals, hoses and covers
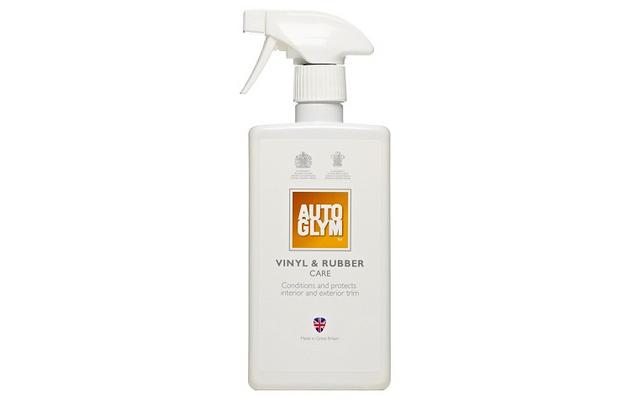
- There is a broad variety of products you can use to dress black plastics but our favorite is Autoglym’s Vinys & Rubber Care
- Failing that, your dad’s Armor All Original Protectant or the equivalent Simoniz product will perform similarly
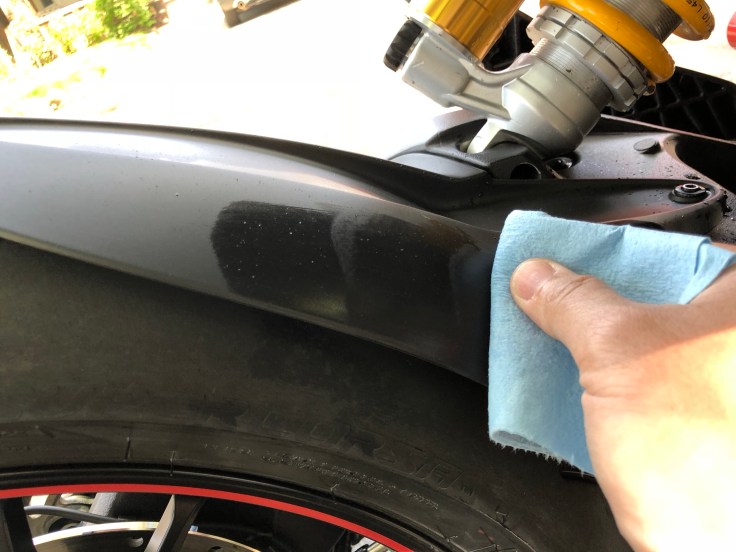
- Apply product to a clean cloth or disposable shop towel (not to be confused with household paper towels which can scratch your bike) and work it into the plastics until there is no excess remaining
- Try to confine the cleaner to the intended surface as the protectant for black plastics can leave streaks on painted panels (and vice-versa, as we will see in the next step)
- Clear plastics are another good area to focus on as over time, headlights, tail lights, turn signals and windshields will fog and crack
- You can restore and polish clear plastics every few months with products such as Meguiar’s PlastX
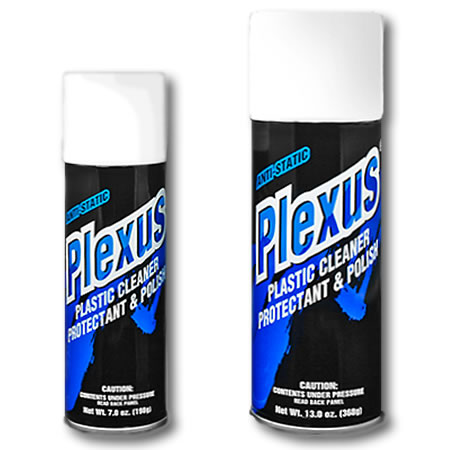
- For newer or already-treated plastics, we swear by (and love the smell of) Plexus Plastic Cleaner
- Incidentally, Plexus is also the best cleaner for your helmet’s visor
- In both cases, a couple microfiber cloths is the best way to apply and buff these surfaces
Step 8: Polish & Protect
- We recommend applying a protective polish to your bike’s plastics at least once a year
- This will prevent dirt from building up, keep bug guts from sticking and make subsequent cleaning of your bike much easier
- If you use quality products, this will also preserve your paint and plastics and keep them from fading in the sun
- You can spend as much or as little time as you want polishing the bike but your options fall into 2 categories:
- 1 step, rapid detailer products
- 2 (or more) step, complete waxing products
- A 1 step detailer is relatively quick way to add a protective barrier to your bike’s paint and plastics and you can do it as often as you like
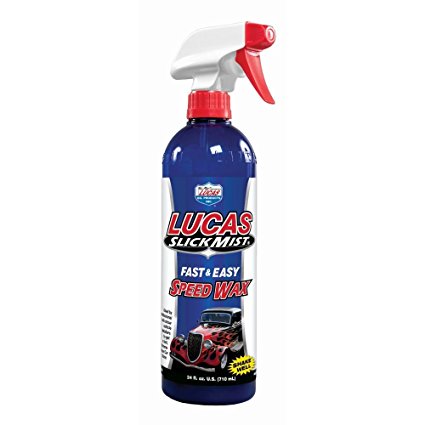
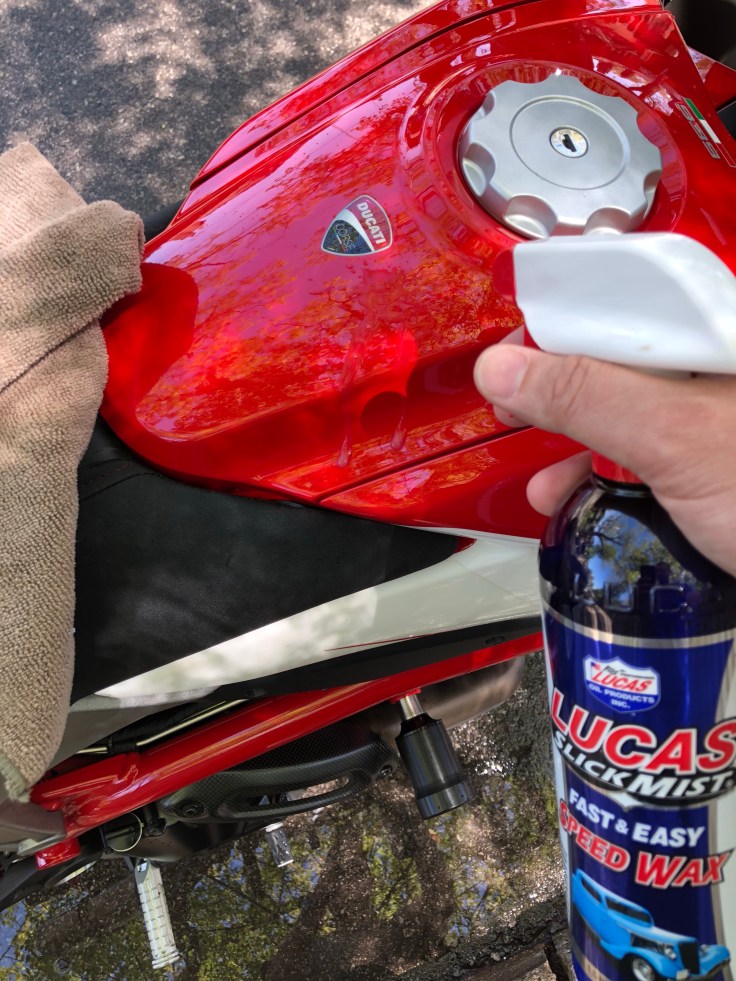
- Most of them involve spraying/misting the product onto the bike, then wiping it off with a microfiber cloth
- We’ve seen really good results from Lucas Oil Slick Mist Speed Wax as well as the more specialized Maxima SC1 High Gloss
- This is also a great way of upkeeping your bike once you’ve done a more in-depth, 2 step wax job
- If you are opting for the more in-depth wax coating, you are looking at a 2 step process:
- 1) Application: Getting the wax onto the desired surfaces and filling in any micro-pores or scratches in the paint/clear coat
- 2) Buffing: Removing the excess wax to give the surface a coated, mirror-like (and water-repellant) finish
- Waxing can be done with a dedicated automotive wax application sponge and buffing is best done with a clean microfiber cloth
- The main areas you’ll want to use the wax on are the font, side and tail fairings, as well as the fuel tank

- We can recommend waxes such as Meguiar’s Ultimate Liquid Wax which provide a water-repellant, hydrophibic coating that keeps your bike cleaner, longer
- Whichever wax you choose, make sure that it’s appropriate for the types of surface you plan on treating (typically just your painted metals and plastics) and avoid getting any wax on your black plastics as this will usually leave undesirable white marks which is difficult to remove once dry

Leave a comment