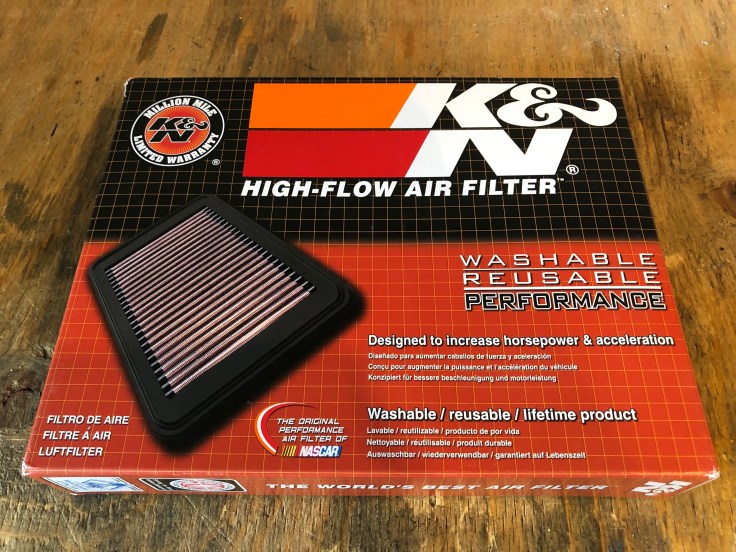
In this Chance Moto DIY, we’ll be providing a step-by-step guide to replacing the air filter on KTM’s 1290 Super Duke R, using your preferred filter brand (in this case, K&N’s re-usable KT-1113). Total time required is about 90 minutes.
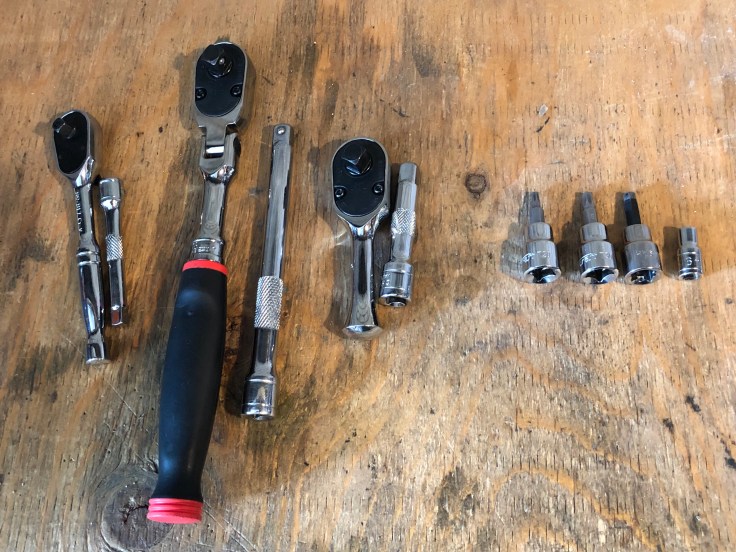
Tools you’ll need:
- Ratchet w/extension
- T20 and T30 torx
- 6mm hex
- 6mm socket
Step 1: Remove the seat & tail cover/passenger seat
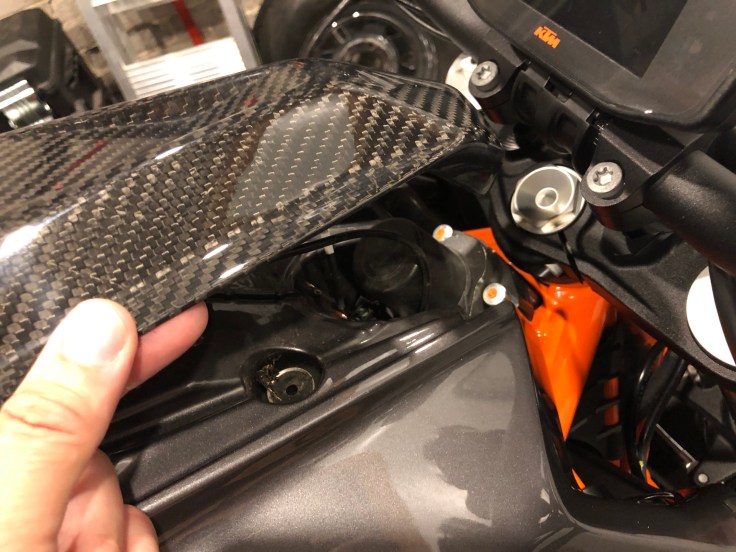
Step 2: Remove the left and right intake panels
- There are 3 x T30 torx bolts that hold each panel in place
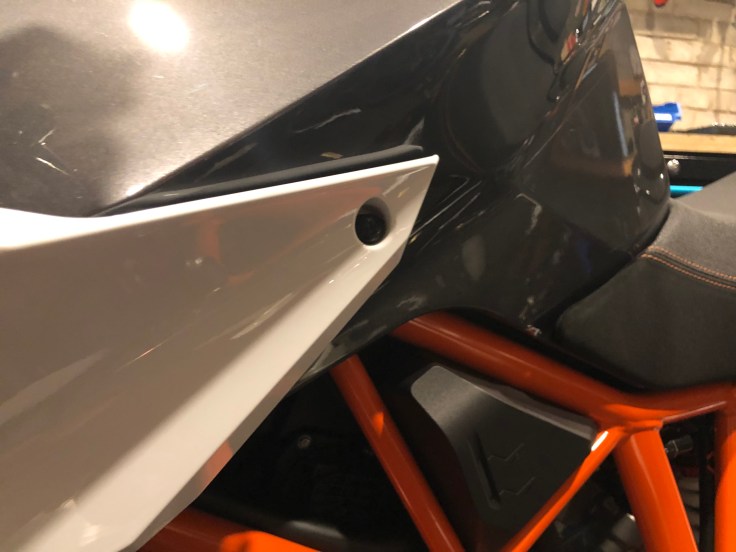
- Once all 3 bolts are removed, the panels come off by sliding forward (as there is a boss holding them in place)

Step 3: Remove the key guard cover
- The key guard cover is held in place by 2 rubber grommets
- Simply pull up on the front of the cover to release it
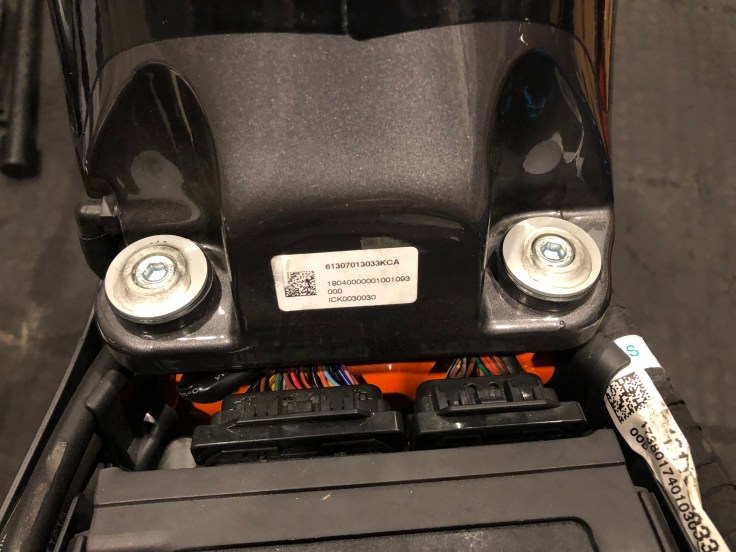
- Disconnect 2 wires under the key guard (fuel cap sensor and keyless ignition sensor)
Step 4: Remove the fuel tank bolts (2 x 6mm hex)
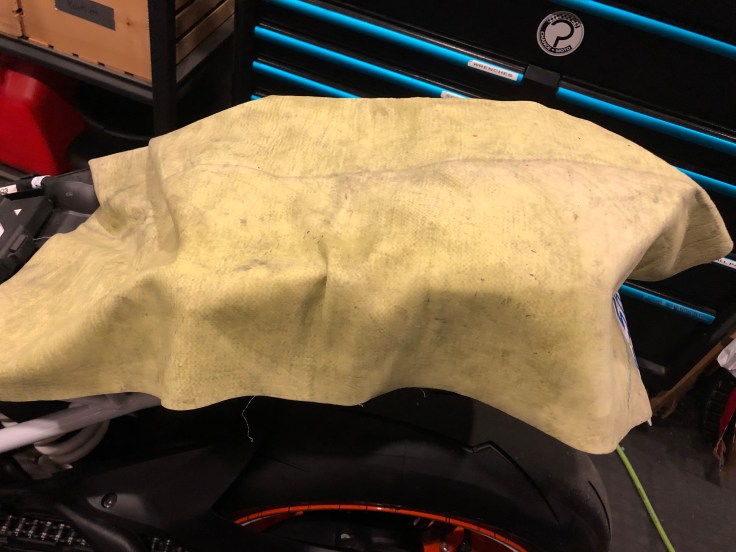
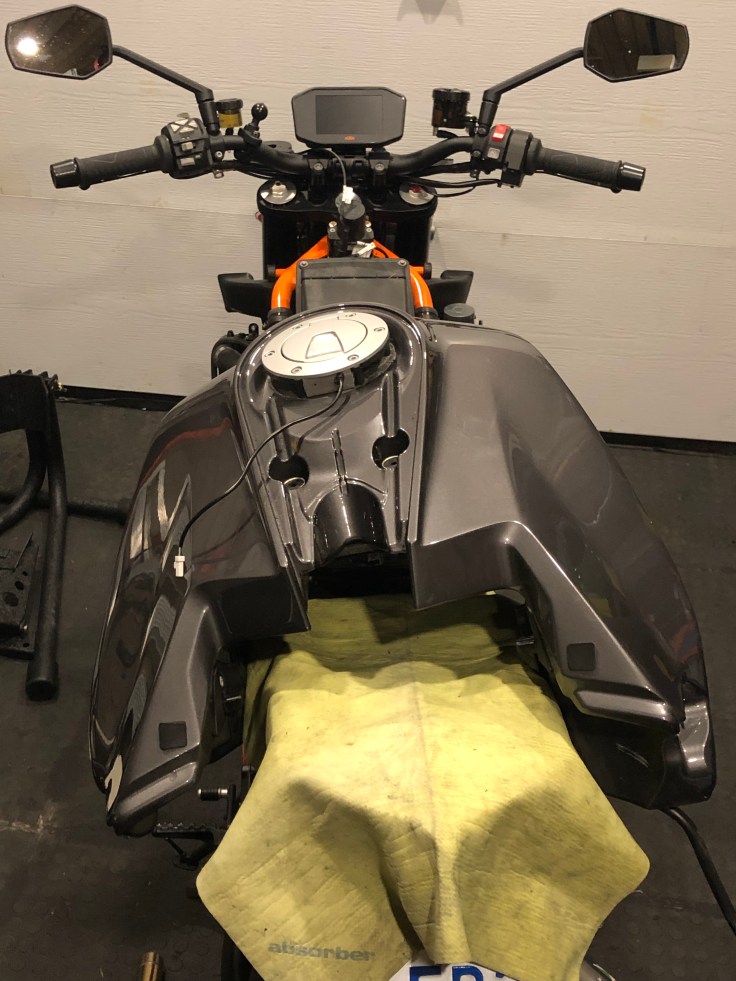
Step 5: Prepare the tail section to hold the fuel tank
- You do not need to drain and remove the fuel tank
- It can simply be rotated 180 degrees without damaging or kinking any lines
- The fuel tank will sit squarely on the back of the bike, so adding a towel or protective cover will ensure nothing gets scratched
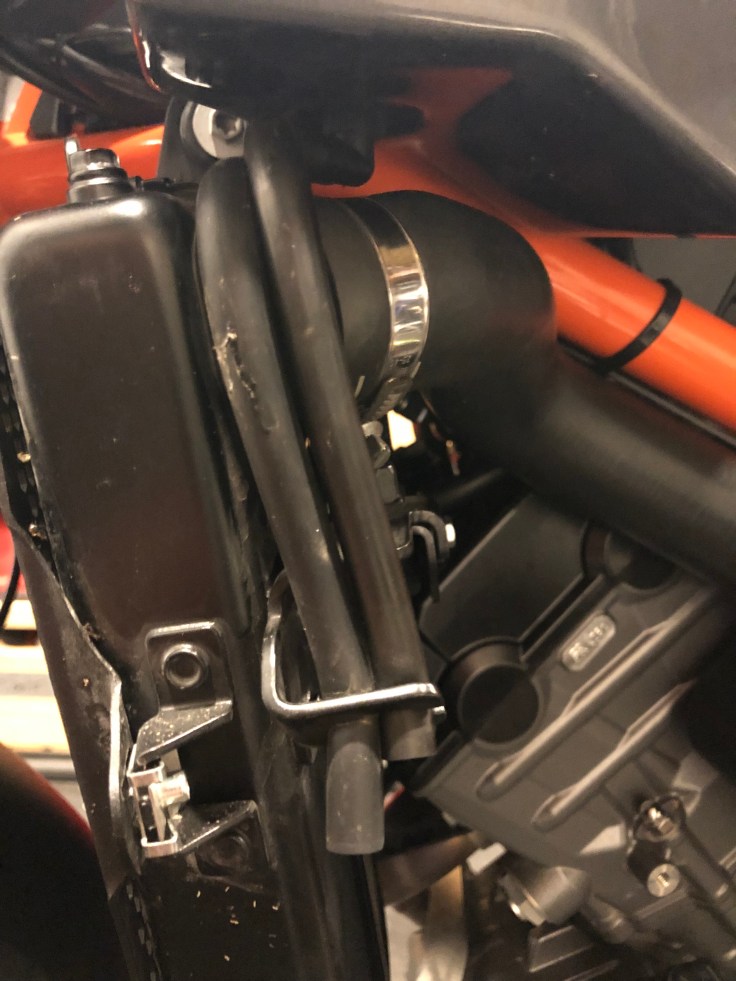
Step 6: Locate and disconnect breather hoses
- 2 breather hoses require attention in order to allow enough room for the tank to rotate 180 degrees
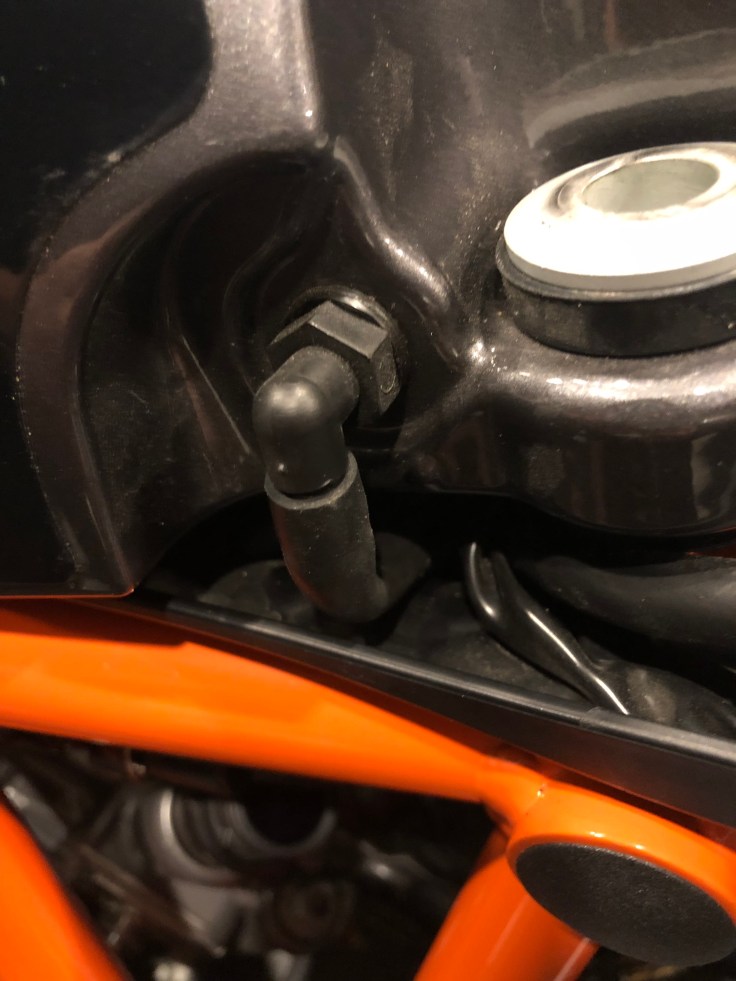
- The second breather hose does not need to be removed or disconnected -it can simply be freed from the guide to move around
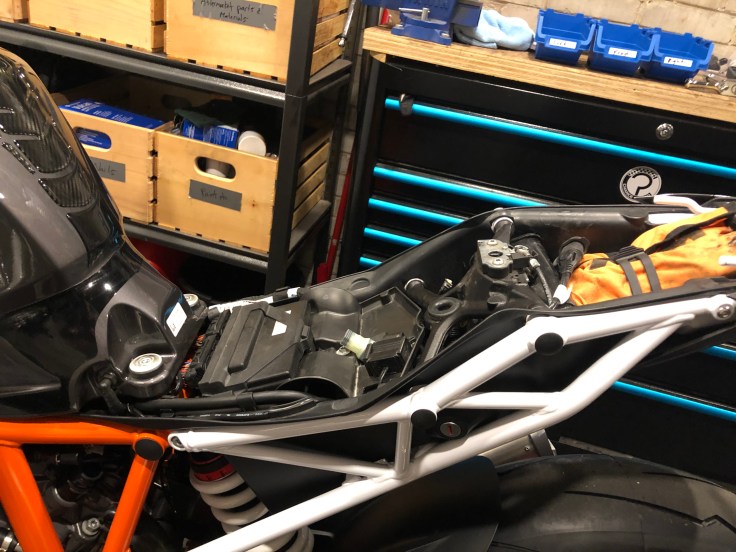
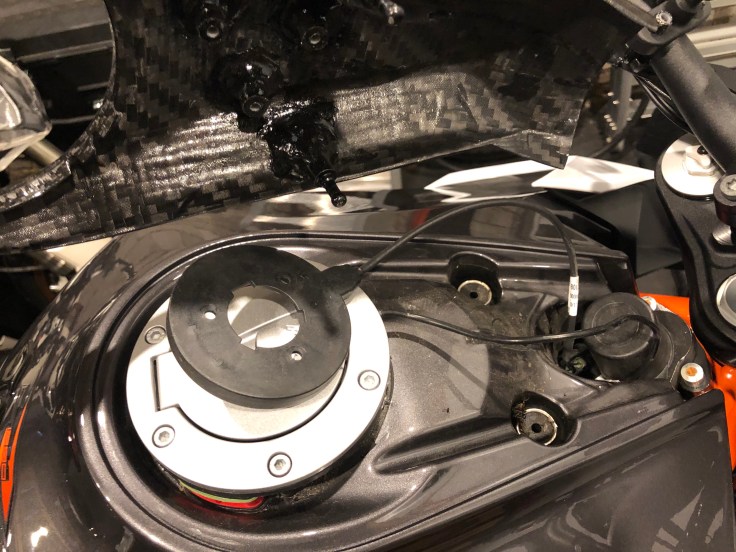
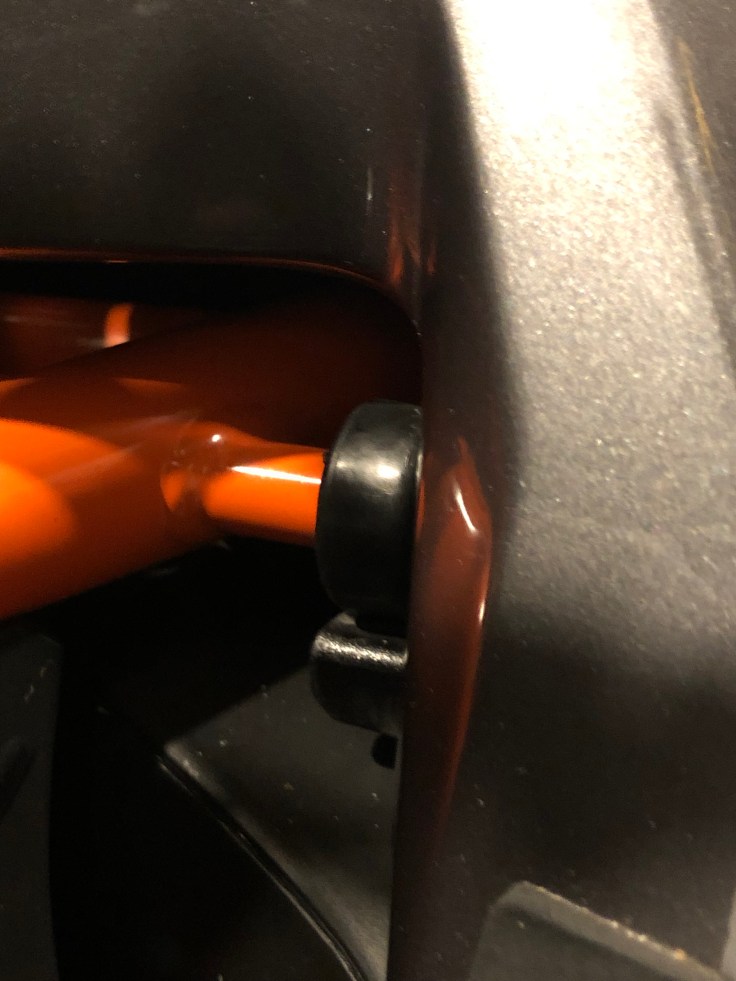
Step 7: Remove the fuel tank
- The fuel tank slides backward and up
- It is held in place by a guide on each side of the frame (as seen below)
- Gently rotate the fuel tank 180 degrees counter-clockwise (to the left) and rest it on the rear subframe
- Remember which direction you rotated the fuel cell so you don’t kink the line when you re-install it
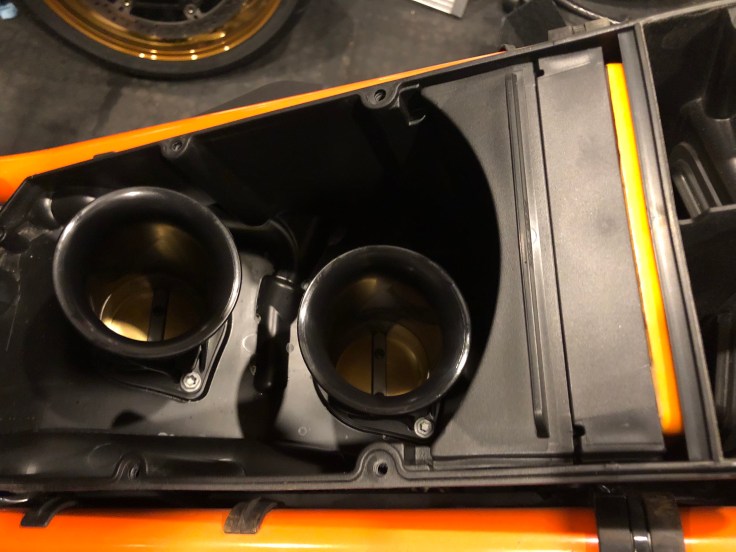
Step 8: Remove airbox cover
- The airbox cover is held on by 8 x 6mm bolts

- Once the airbox cover is off, take a good look at how the OEM filter assembly is mounted so that you know how the parts fit together
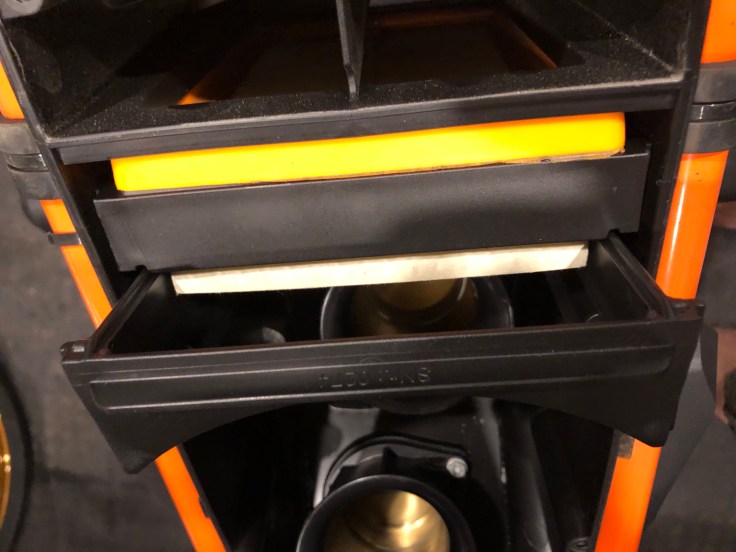
Step 9: Remove air filter assembly
- The filter assembly comes in 3 parts: the filter itself and 2 plastic guides
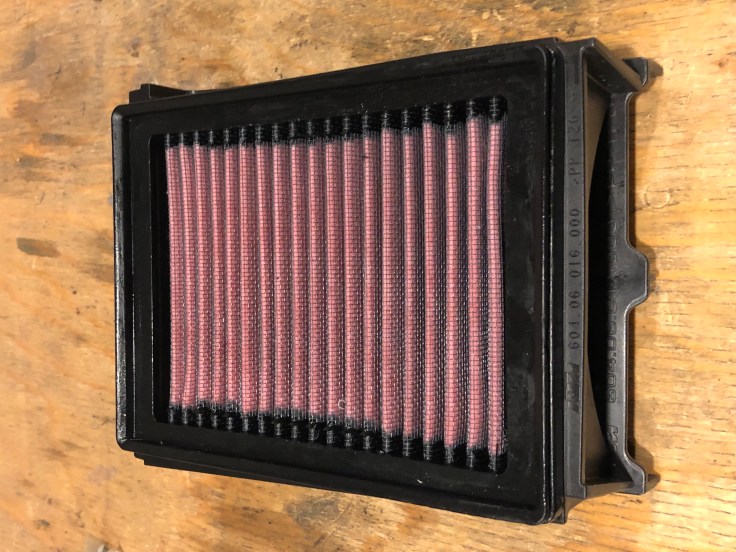
Step 10: Inspect air filter
- Take a look at the dirty air filter to determine if it needs replacement (or cleaning, if you’re already running a re-usable filter)
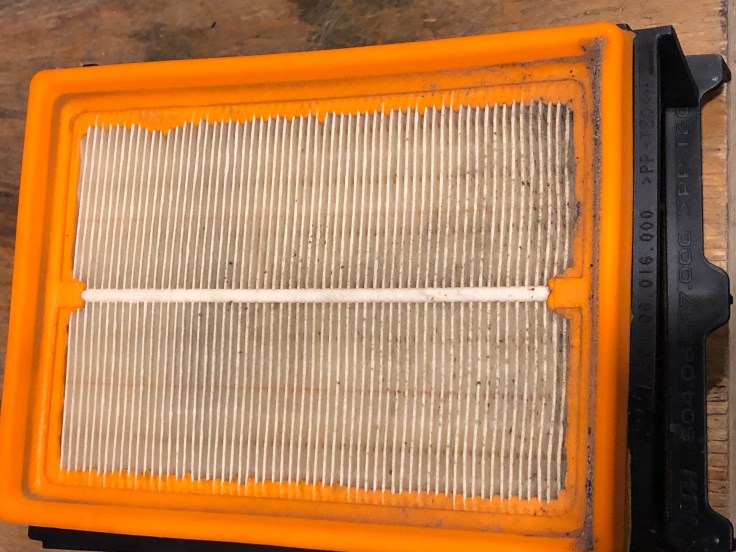
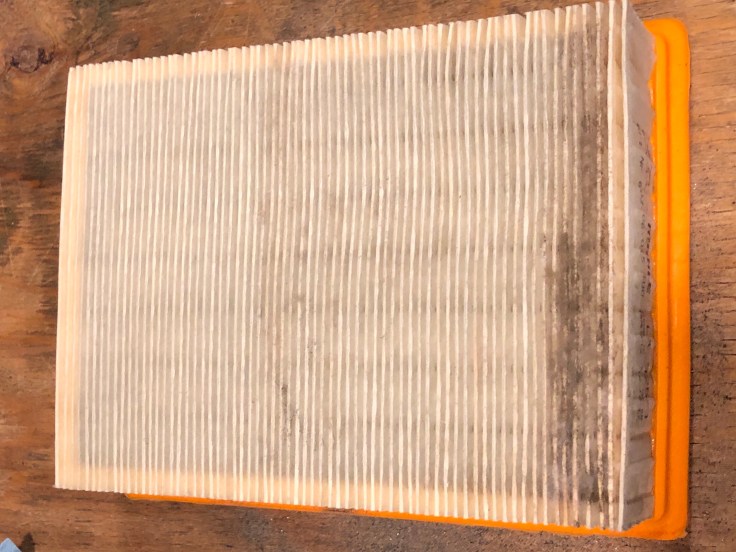
- Shake out the filter to analyse what’s been trapped in it (optional)
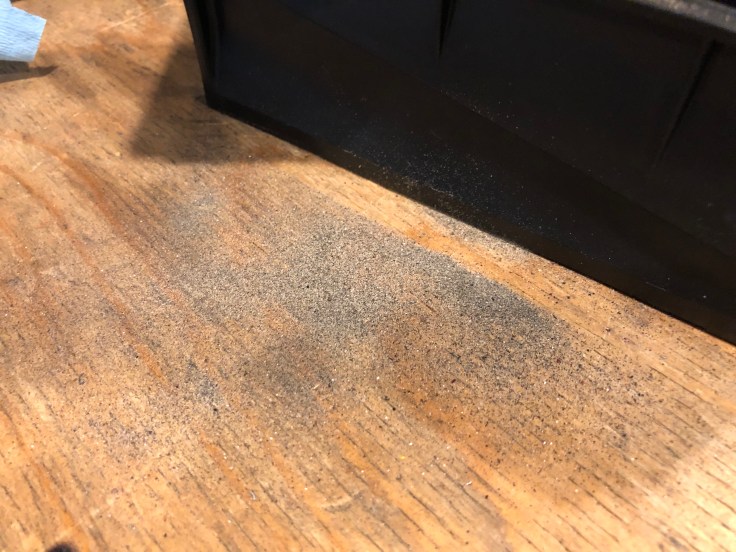
- Lastly, inspect the airbox for any debris and wipe it clean if you see any dirt
- Be careful not to get any dirt (or drop any tools) in the velocity stacks
Step 11: Fit replacement filter
- Get out your new filter and fit it with the plastic guides, paying particular attention to the filter orientation
- Note that if you are using a K&N Filter, that there is no need to oil it as they come pre-oiled from the factory
- Slide the new filter assembly into the airbox
- There should be no free play or gaps from the intakes through to the airbox and the filter’s gasket should be tight against the leading edge of the airbox

Step 12: Re-assembly & testing
- Replace airbox cover (8 x 6mm bolts)
- Replace fuel cell
- Re-connect / re-position vacuum hoses (x2)
- Re-connect fuel cap and keyless ignition sensors
- Turn on bike and let it run for 2 min (idea is to ensure there are no kinks in fuel line which requires running the bike long enough to burn residual fuel
- Secure fuel tank bolts (2 x 6mm hex)
- Replace key guard
- Replace left and right side covers (3 x T30 torx per side)
- Replace seat and tail cover/passenger seat

Leave a comment