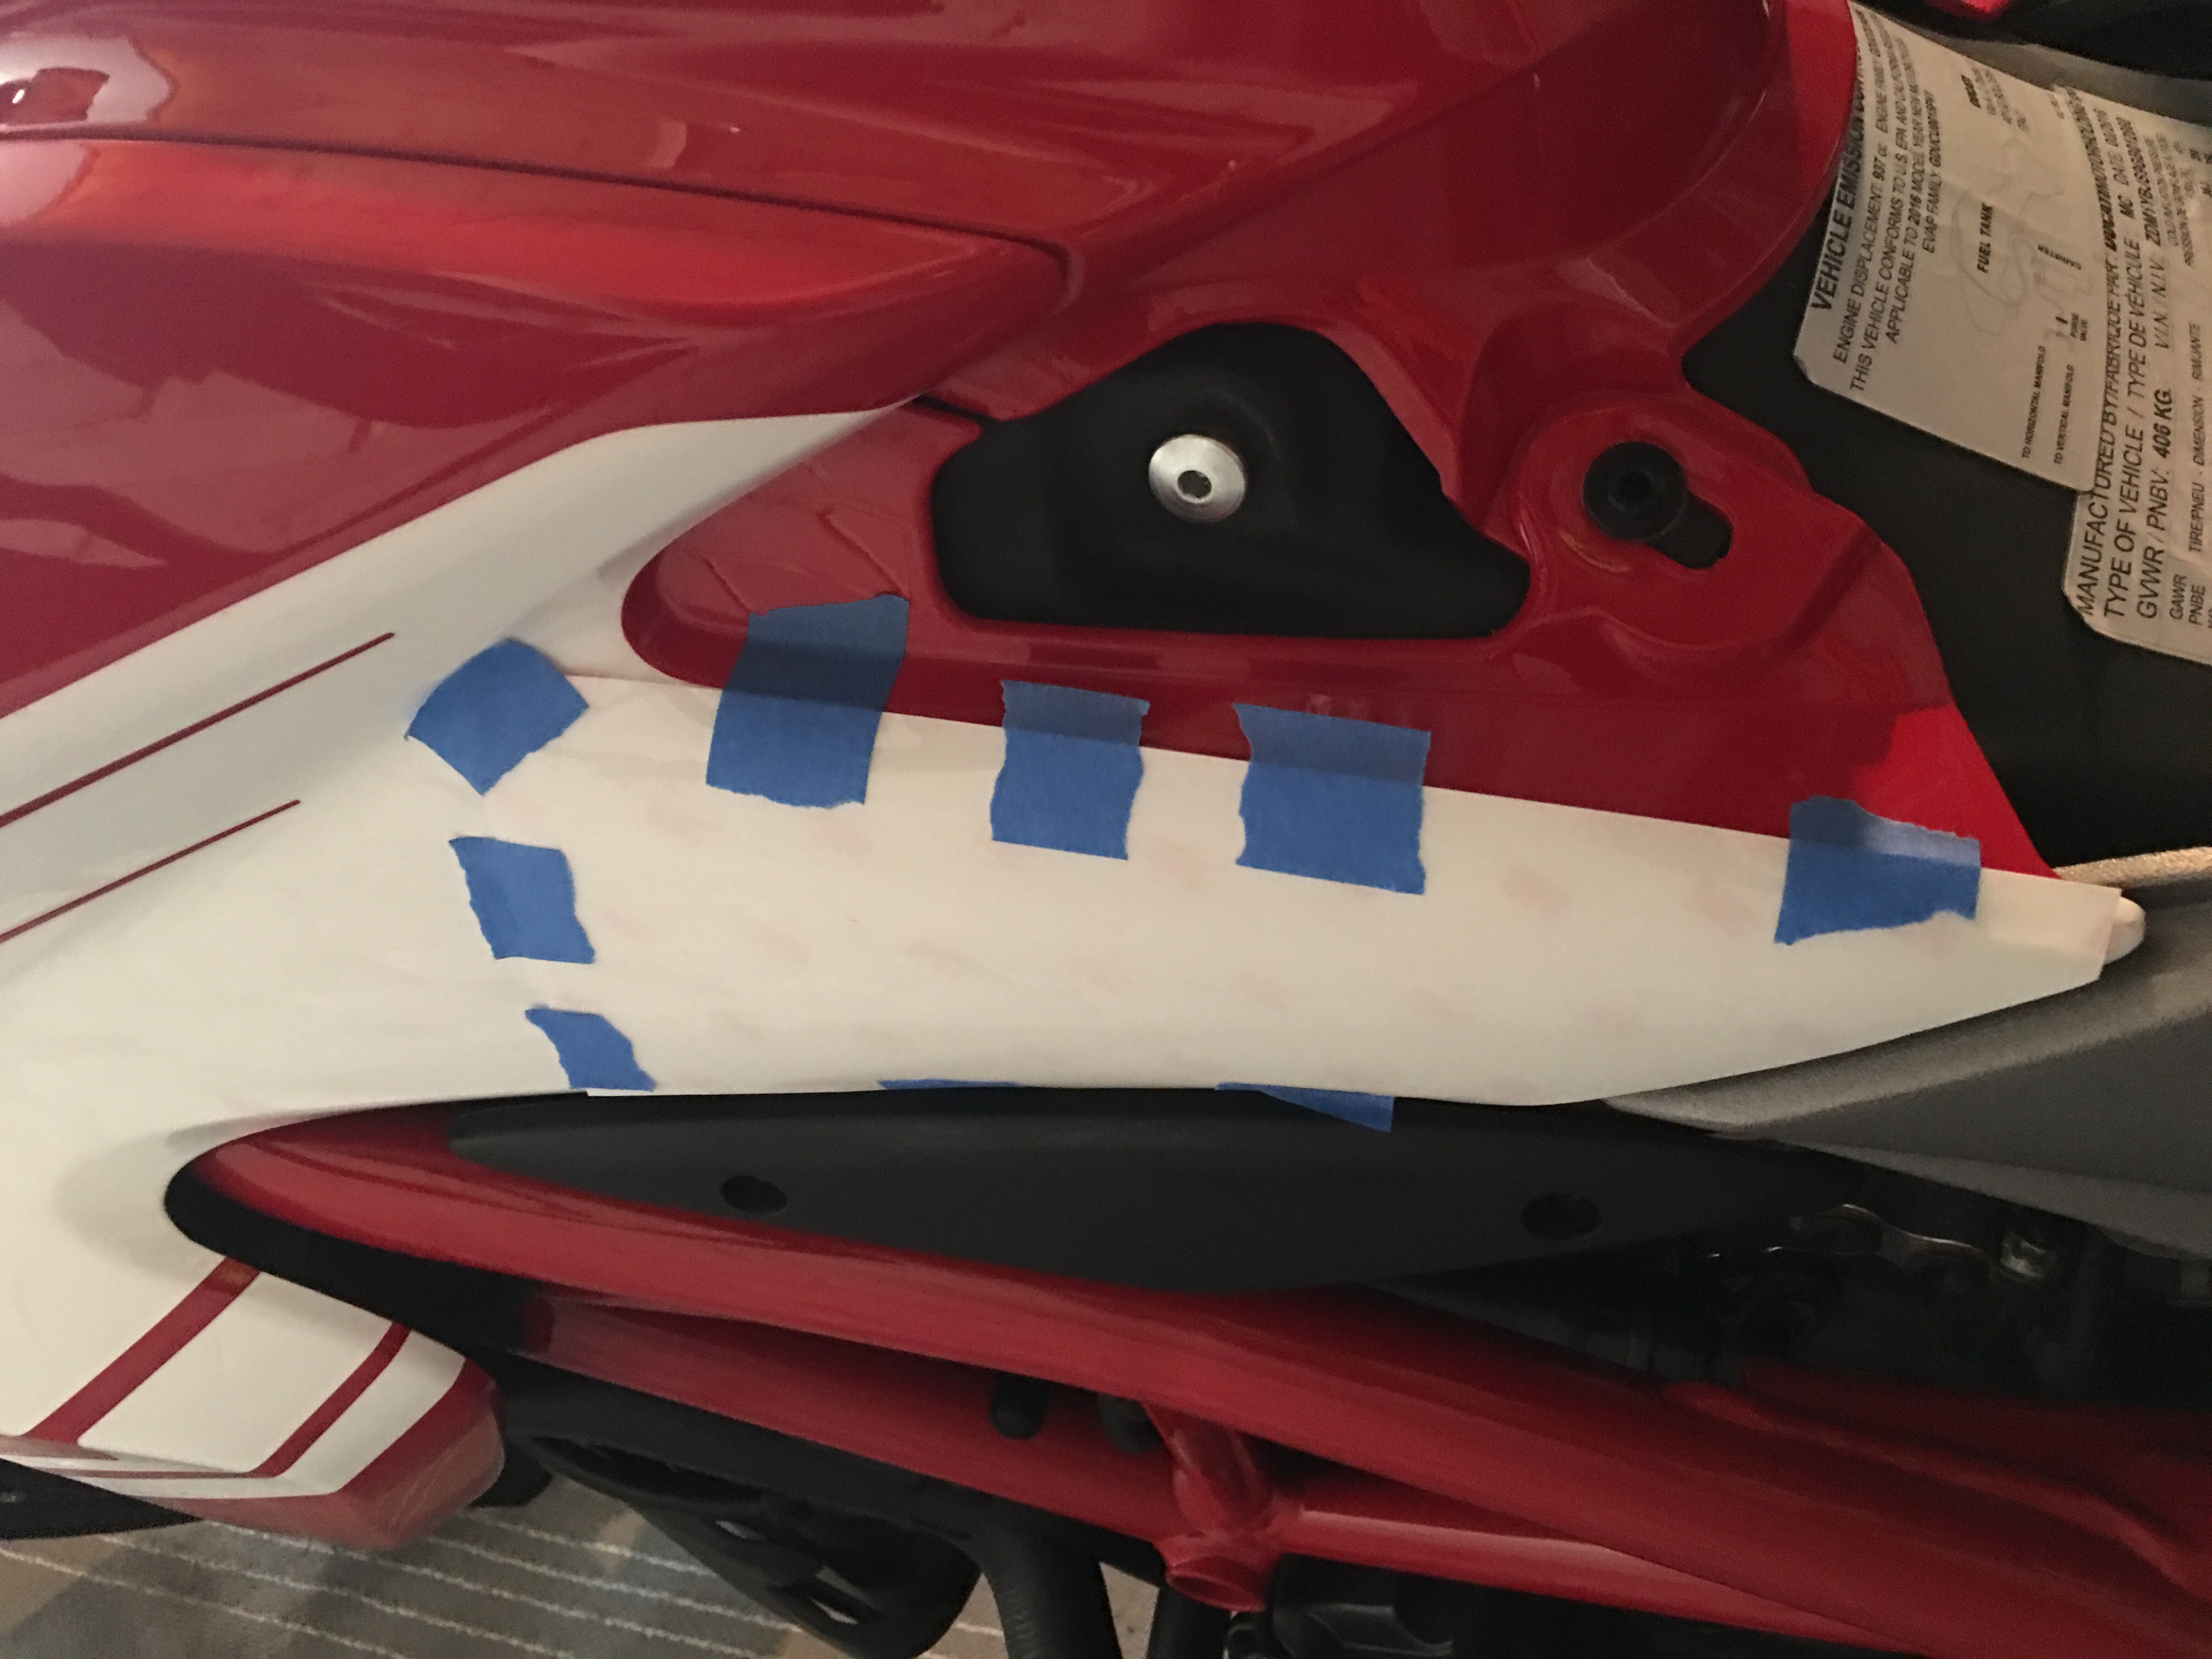
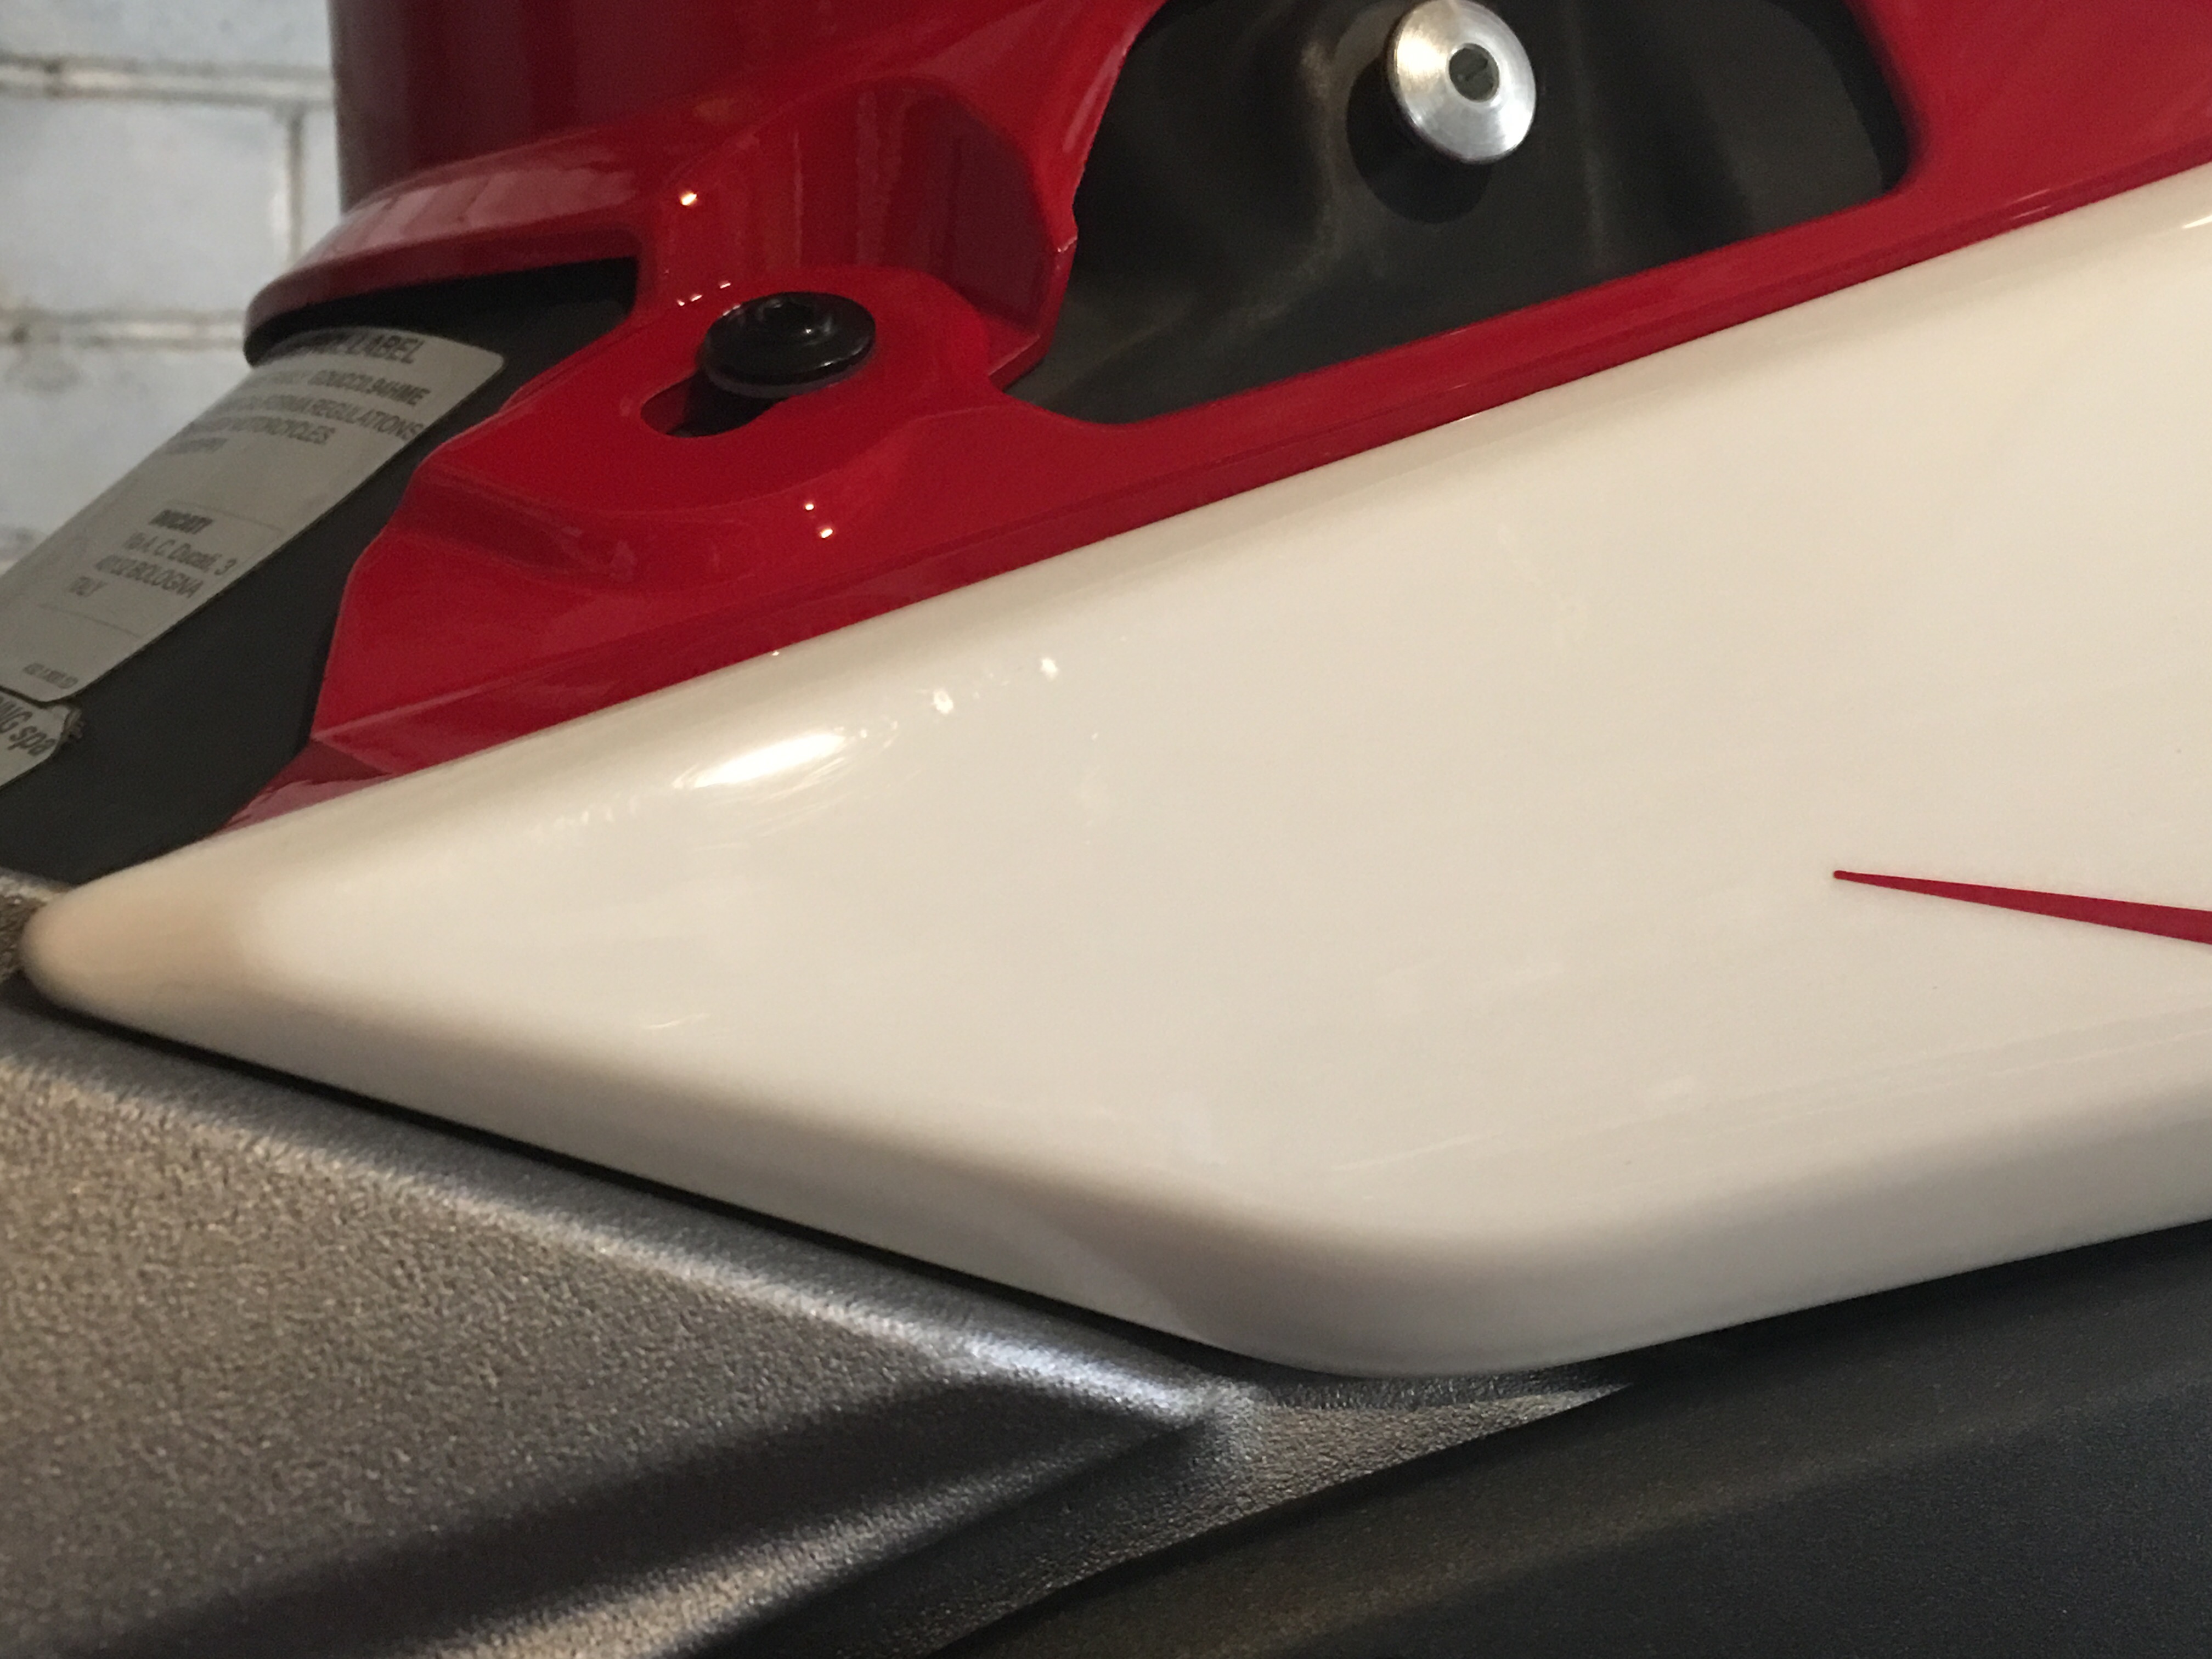
The narrow profile of the Hypermotard encourages a rider to grip the tank panels with his knees. Problem is that those glorious, shiny tank panels scuff easily which is why we developed this simple and affordable DIY.
The solution involves the application of clear, protective film to the area where the rider’s legs make contact with the side panels.
For this mod, you will require:
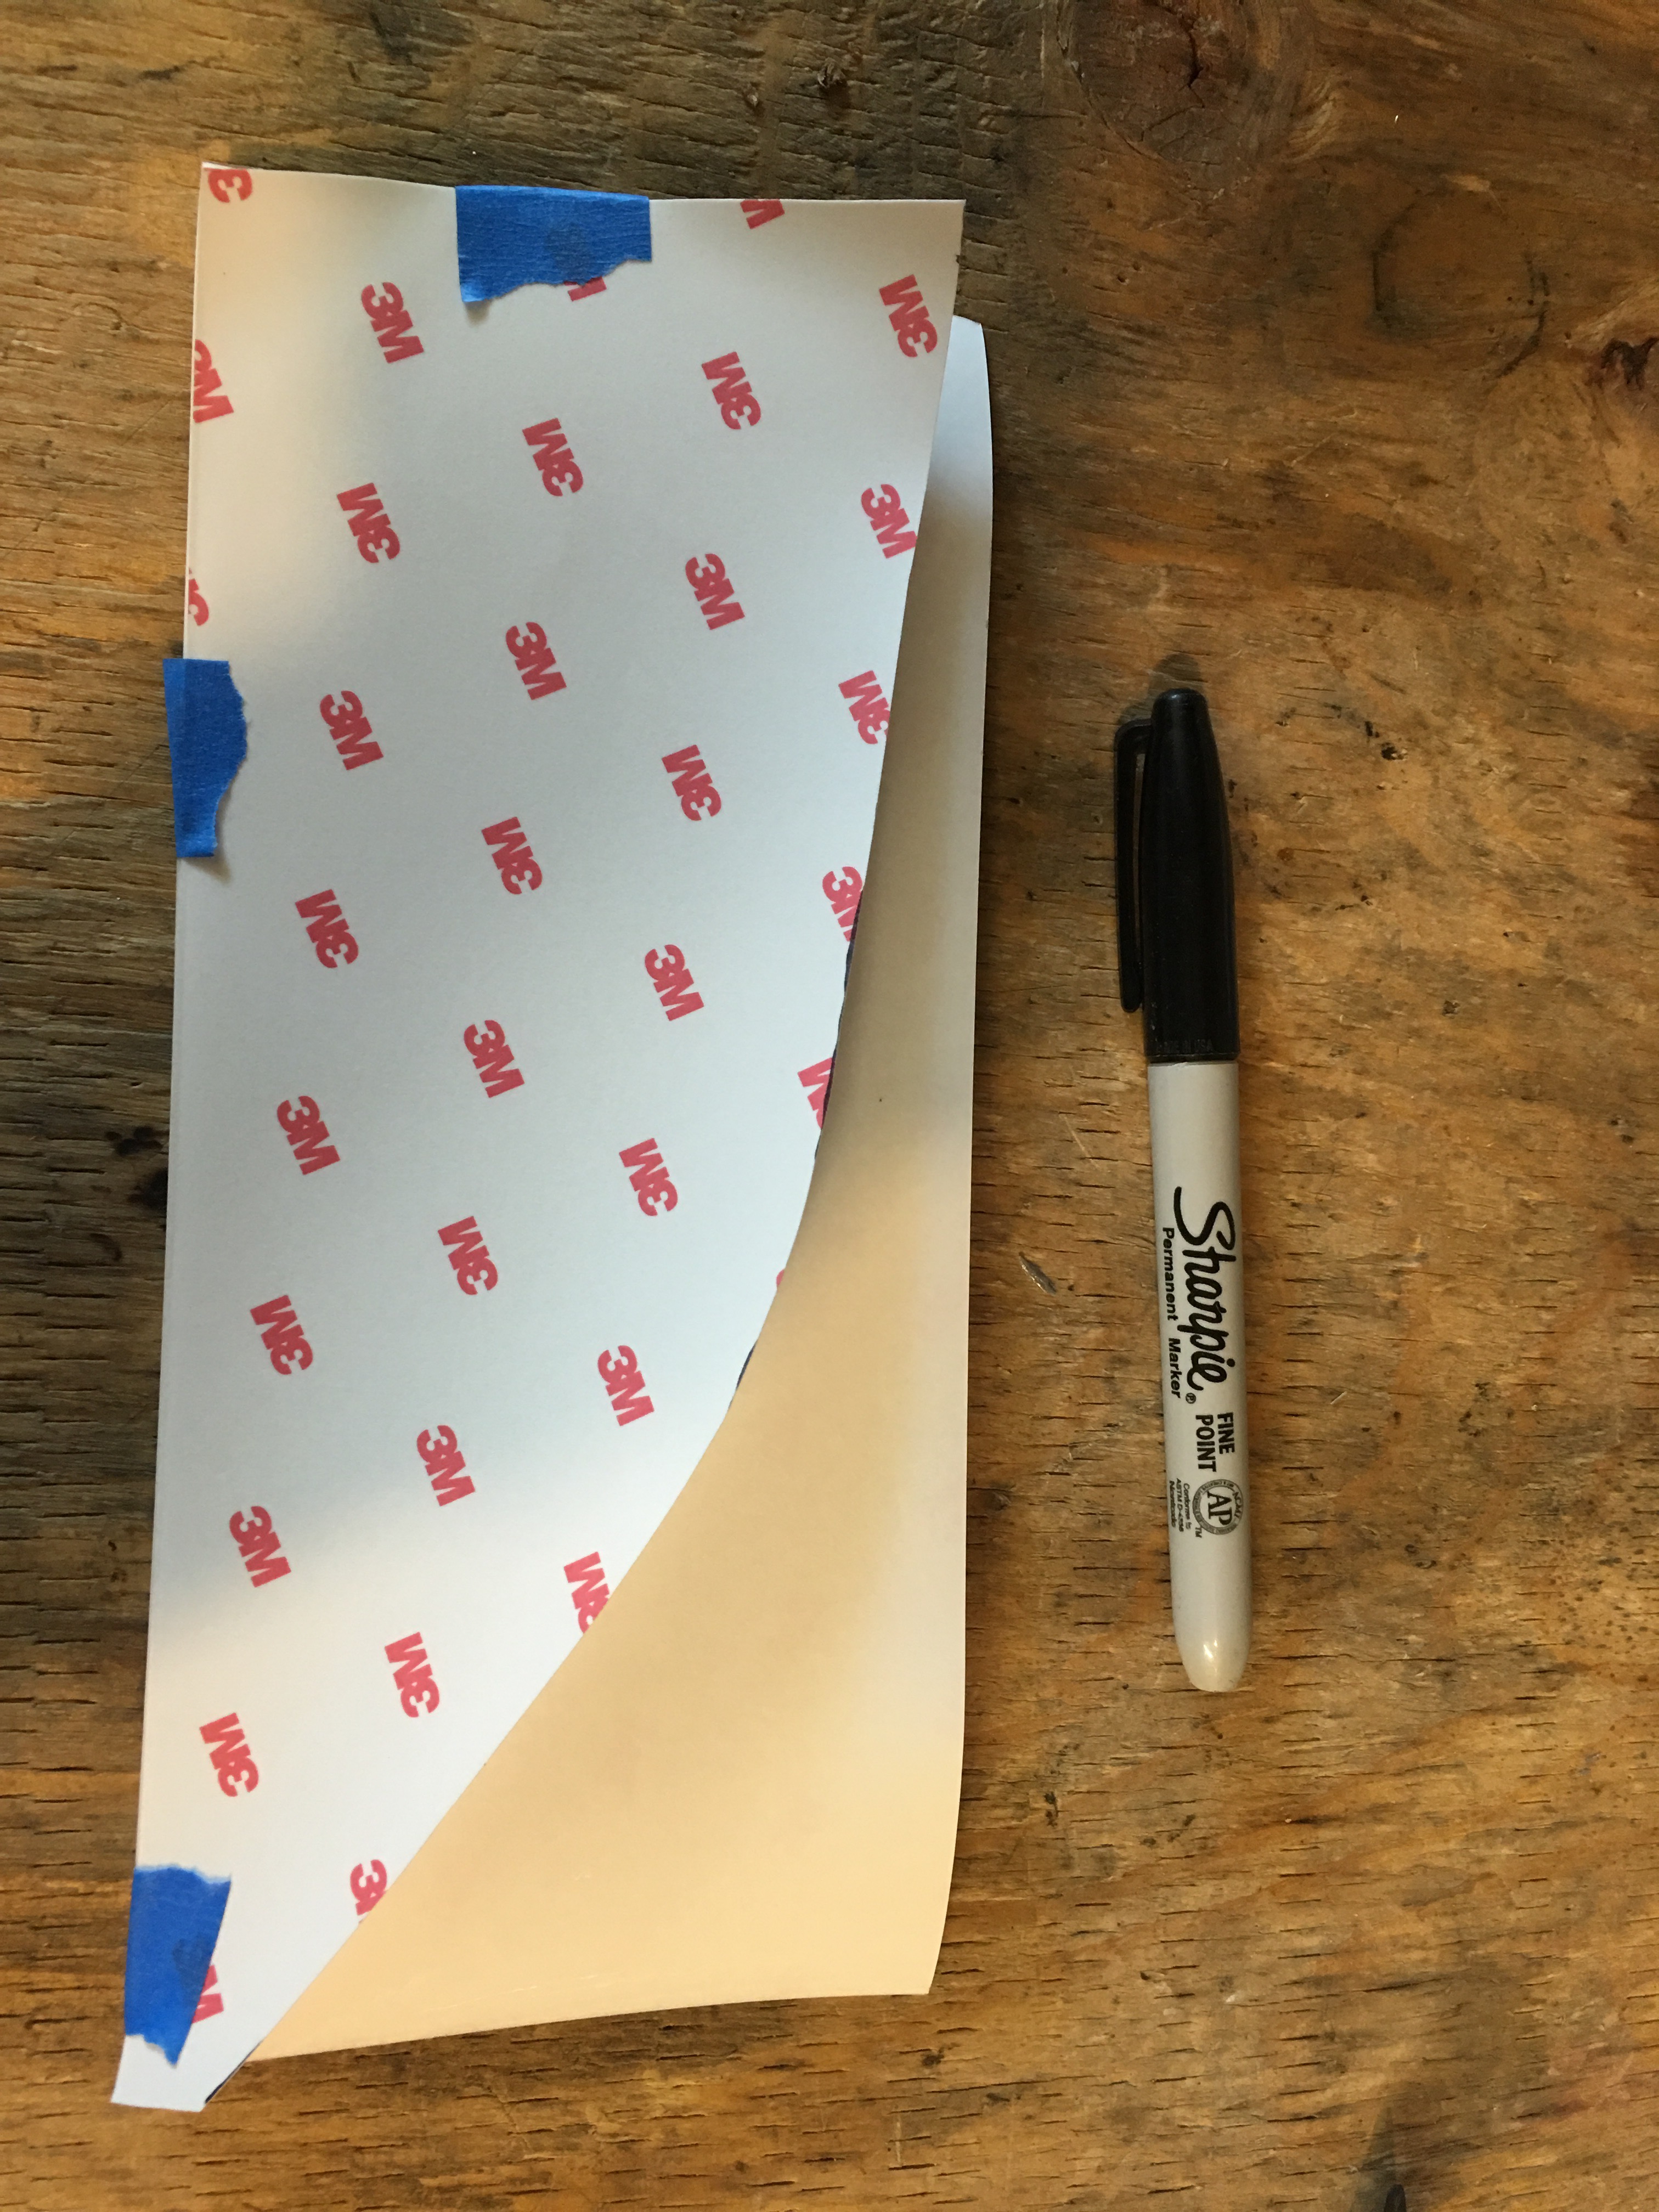
–3M paint protection film (available on Amazon and elsewhere online)
-Scissors and an x-acto knife
-A black Sharpie (or equivalent marker)
-Masking tape
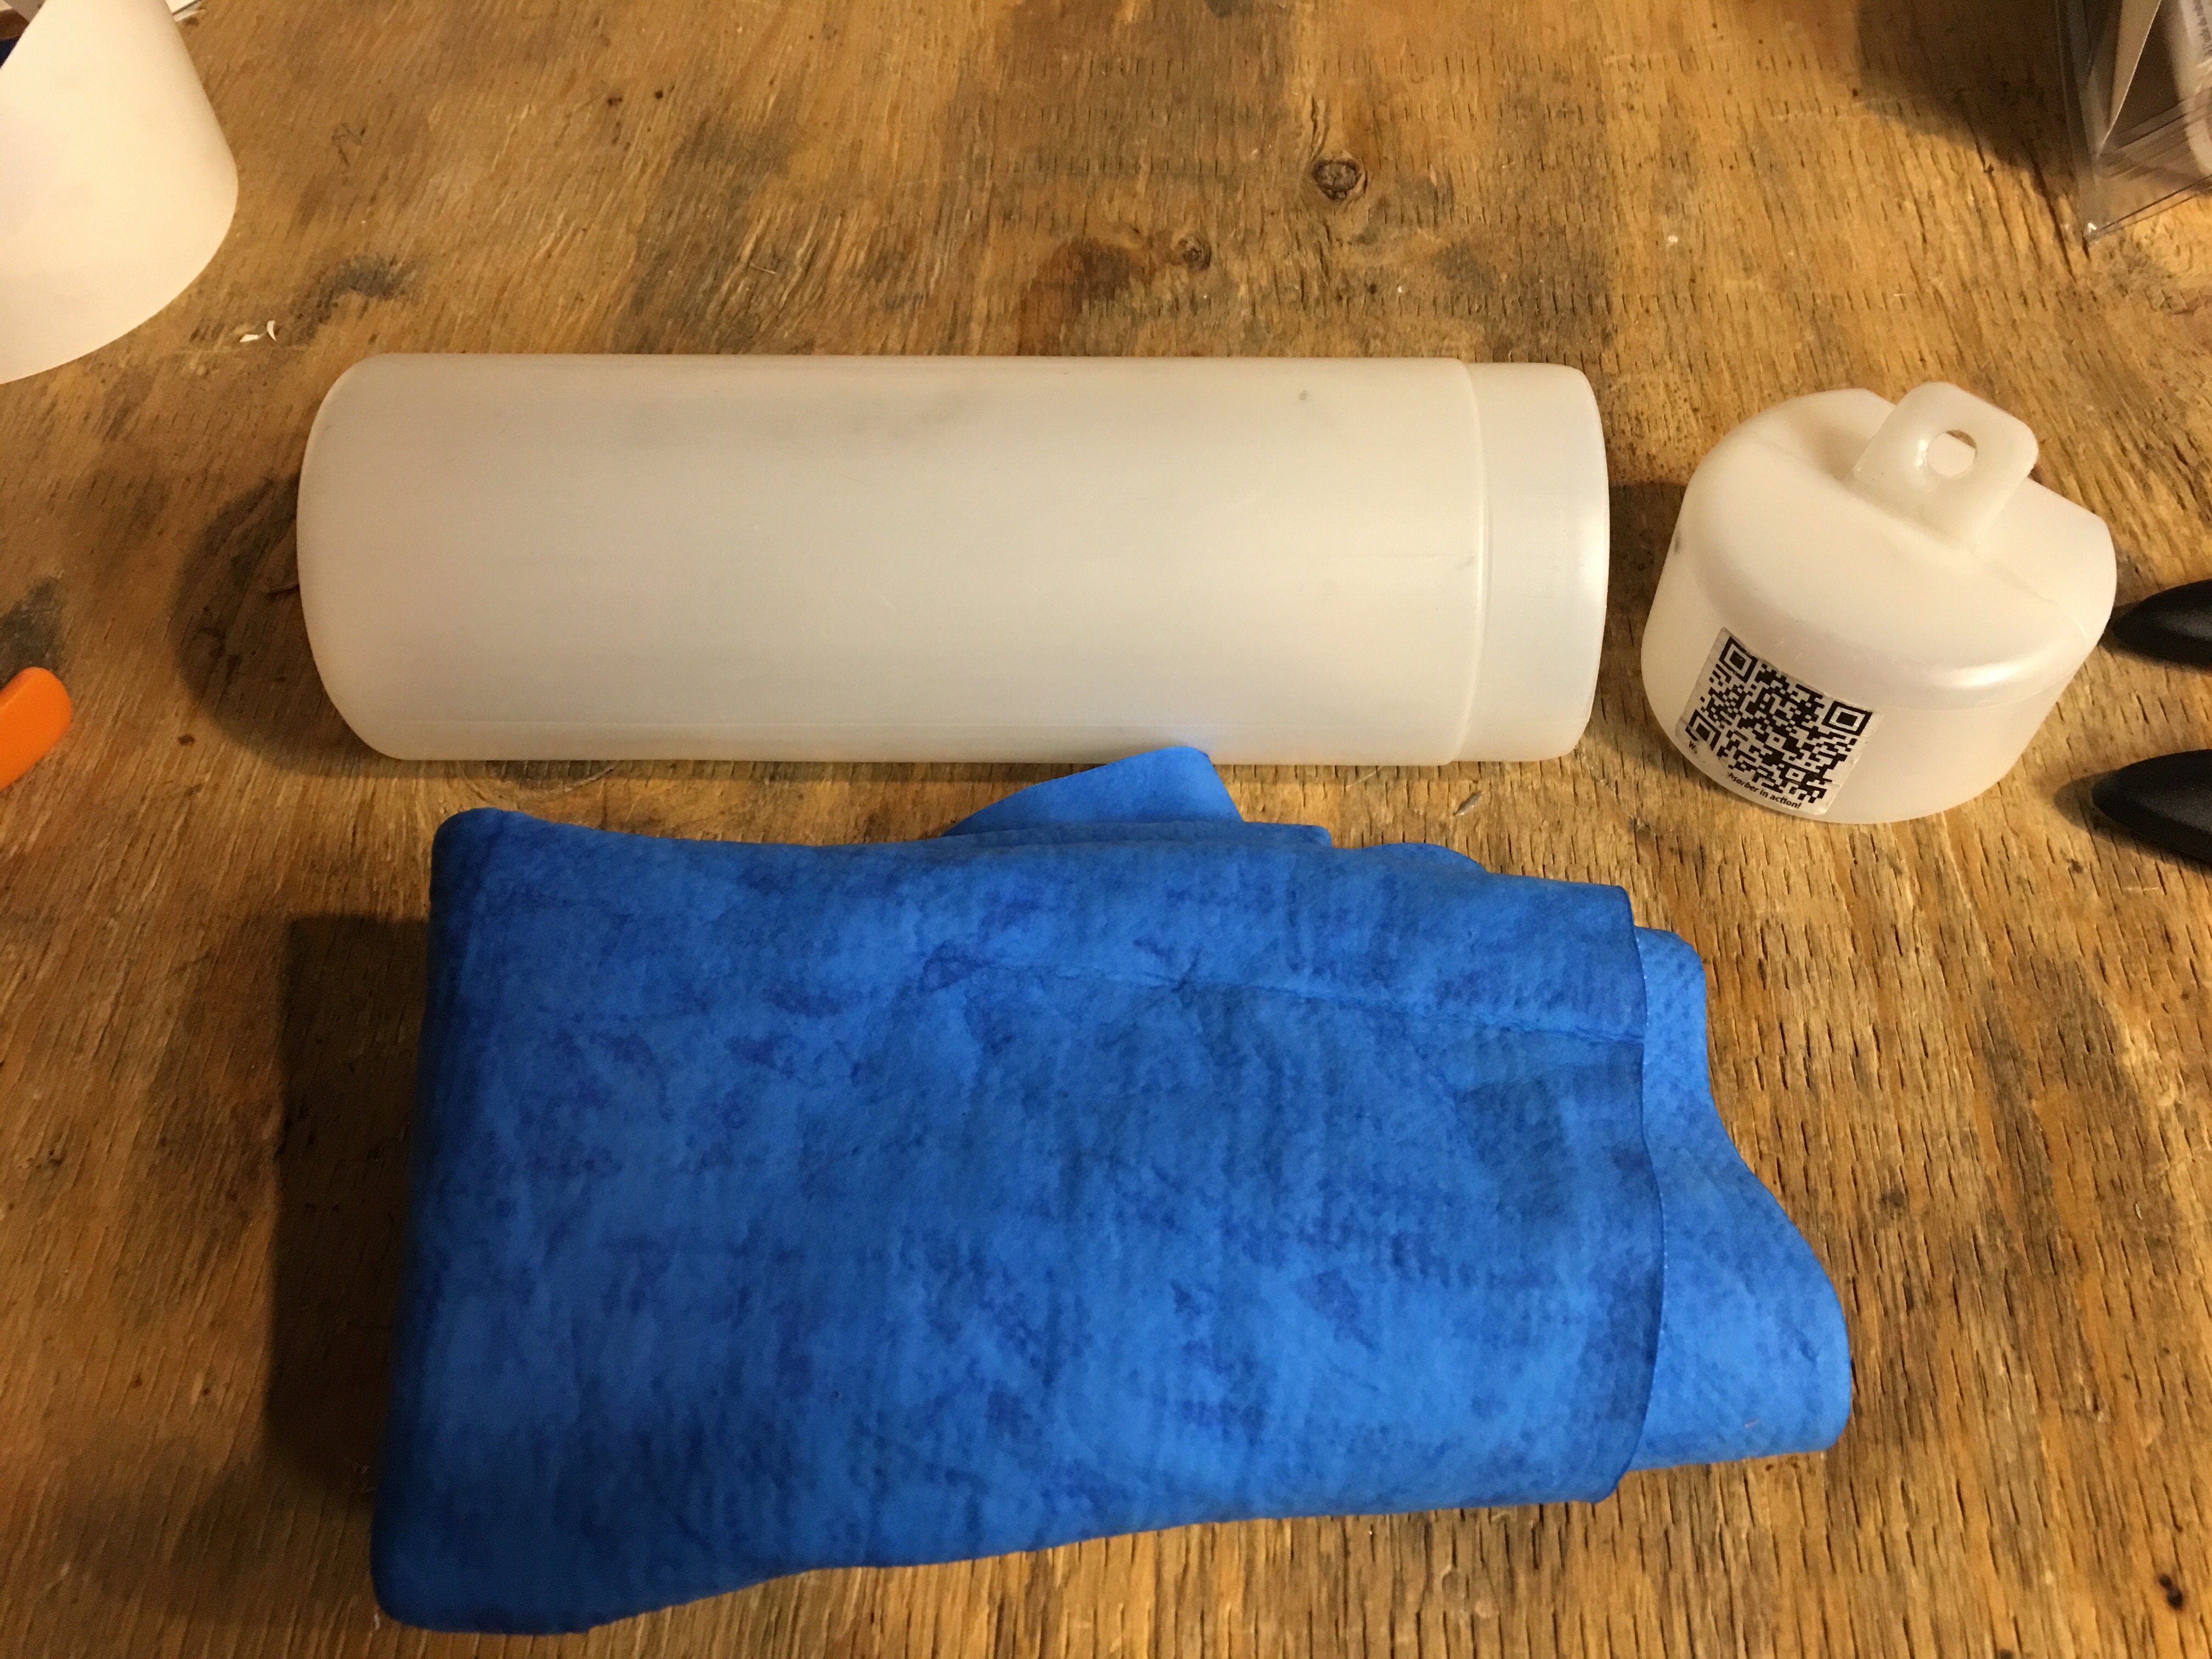
-A spray bottle with warm water and a drop of detergent
-A squeegee (or a credit card wrapped in a chamois or soft cloth)

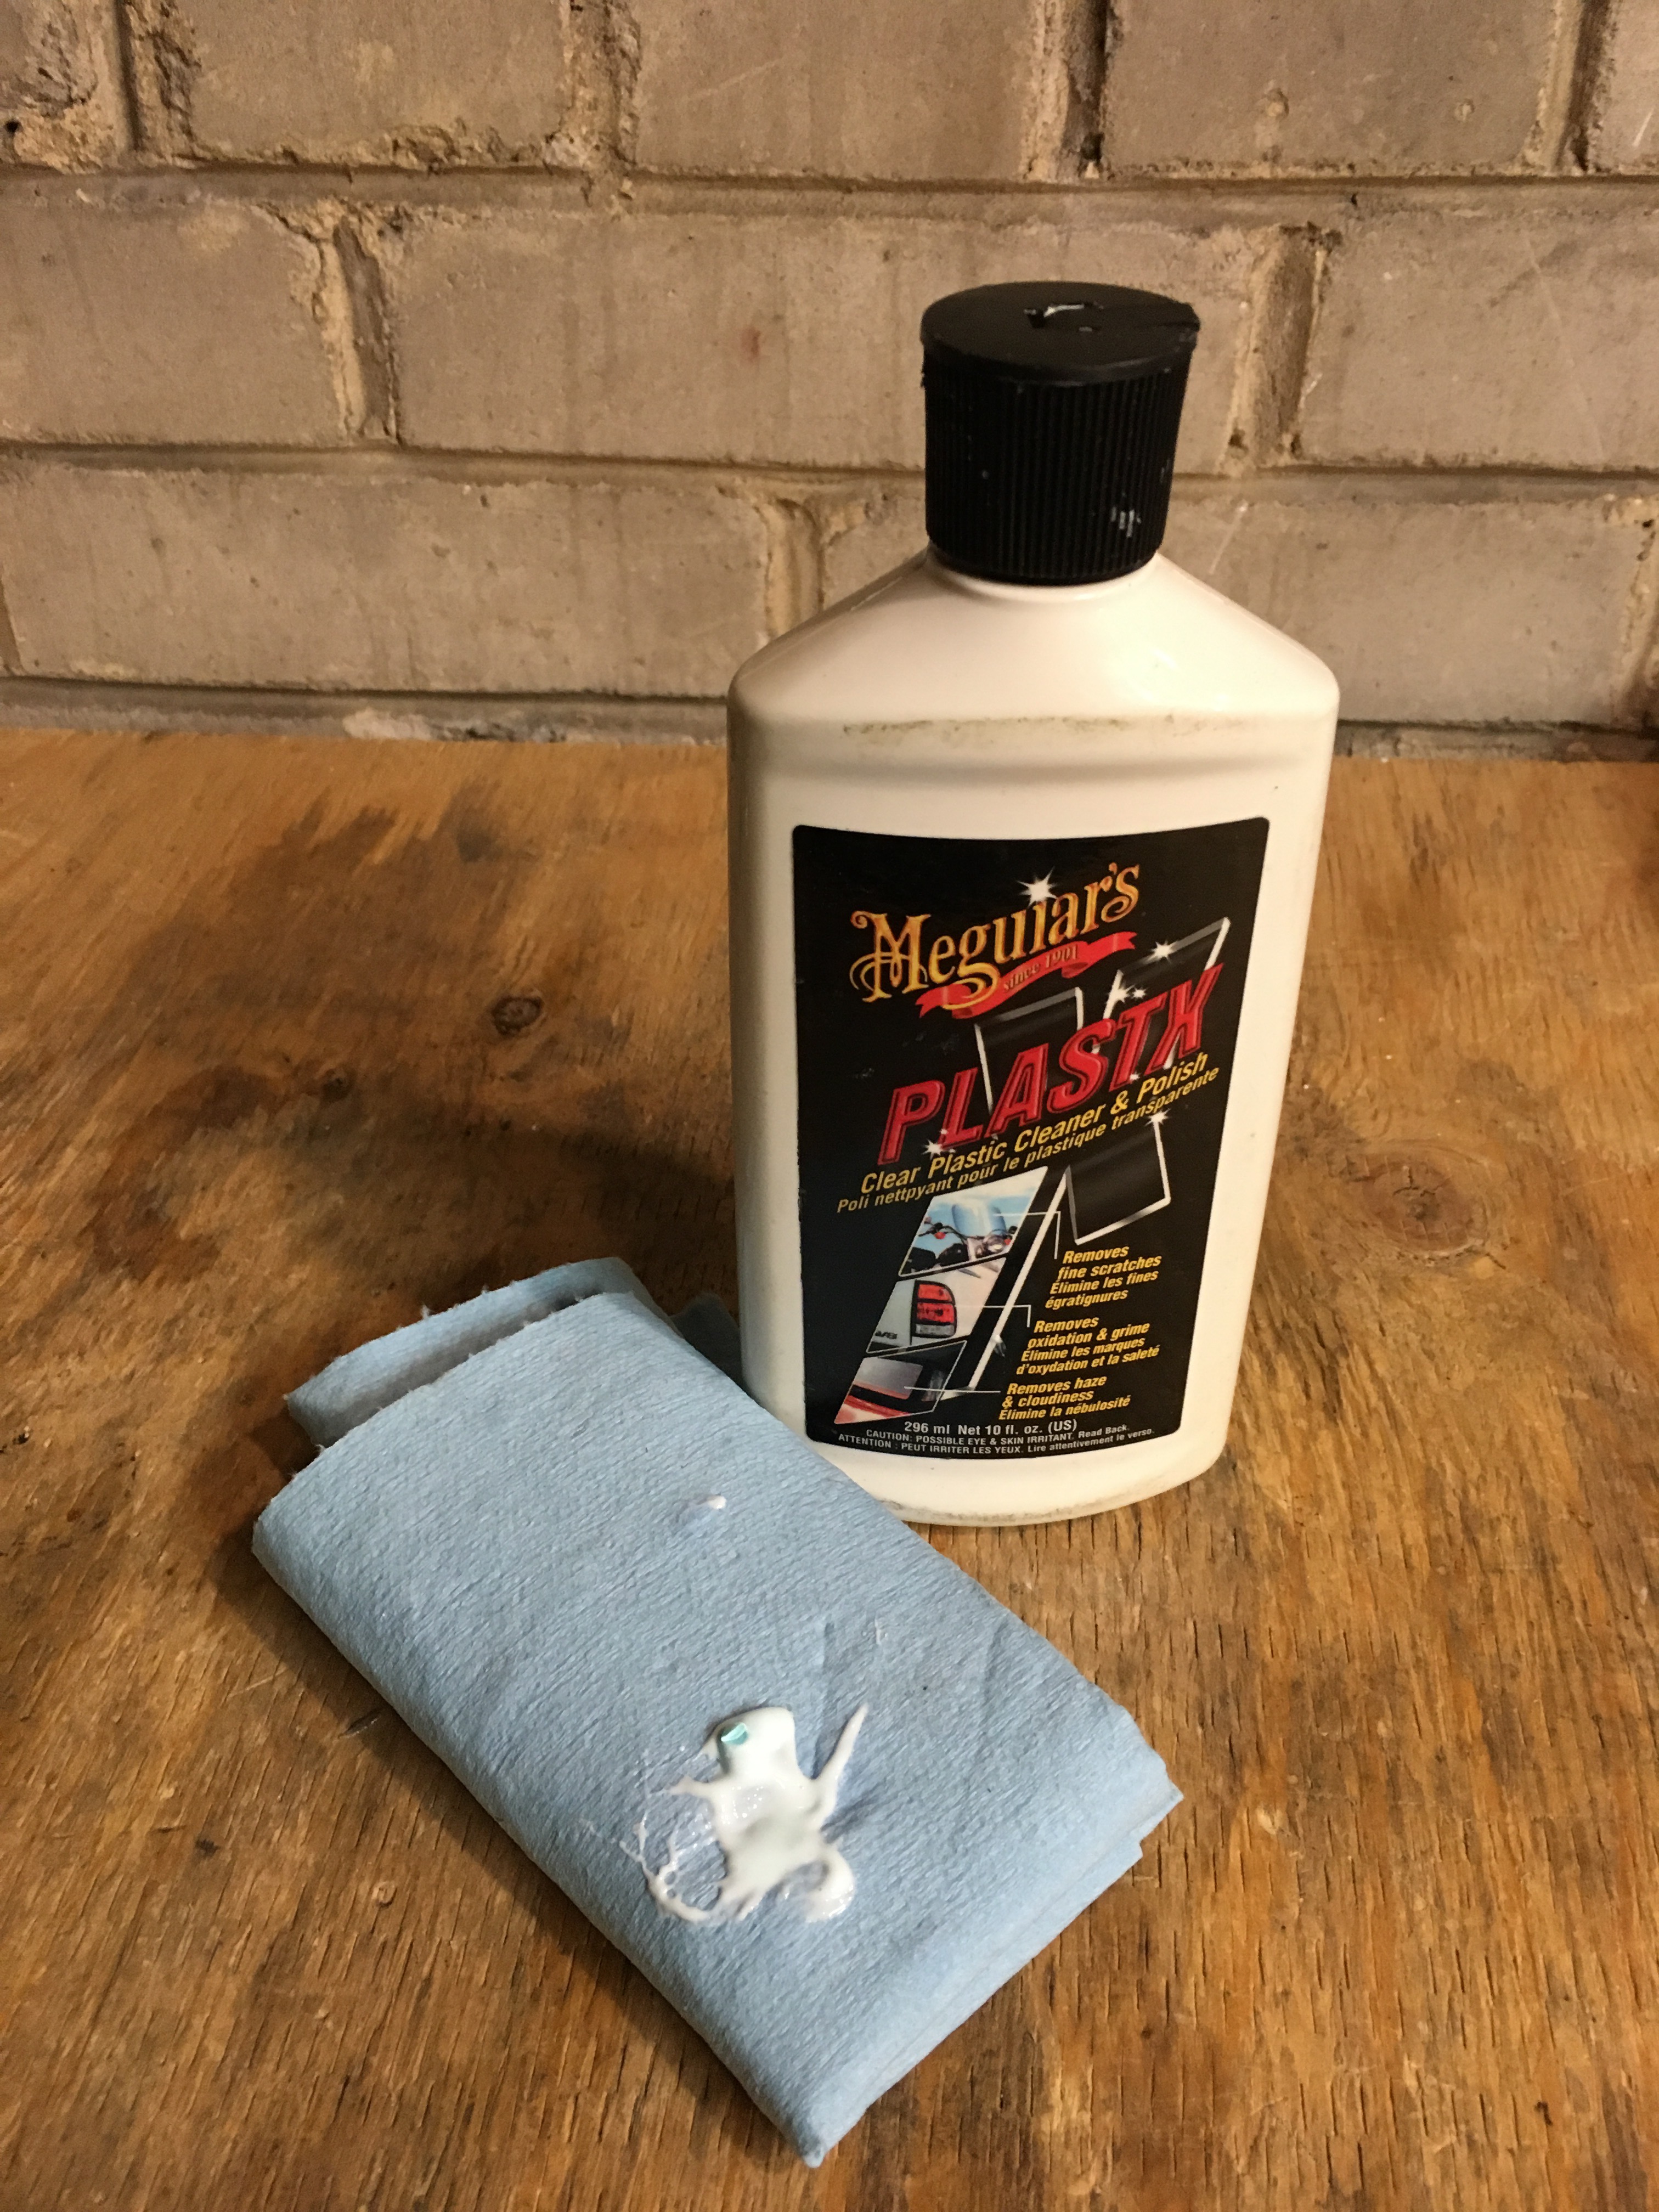
Step 0 (optional): If your tank panels are already scuffed from your riding pants or race leathers, fear not! You can use a simple plastic scratch removal compound (such as Meguiar’s PlastX) to buff your panel(s) back to a shine before applying the clear protective film.
Step 1: It’s important to start with a clean surface when applying the protective film. Using a cleaner like Simple Green All Purpose Cleaner will ensure that bugs/tar/dirt are removed and that you’ll get good contact between the film and the body panels. Just make sure you wipe the surface clean and don’t leave any residual cleaner on the panel.

Step 2: Cut a strip of protective film off the roll. Make sure it’s long enough to cover the part of the panel where you grip the bike. We used painter’s tape to hold the film in place so we could mark it.
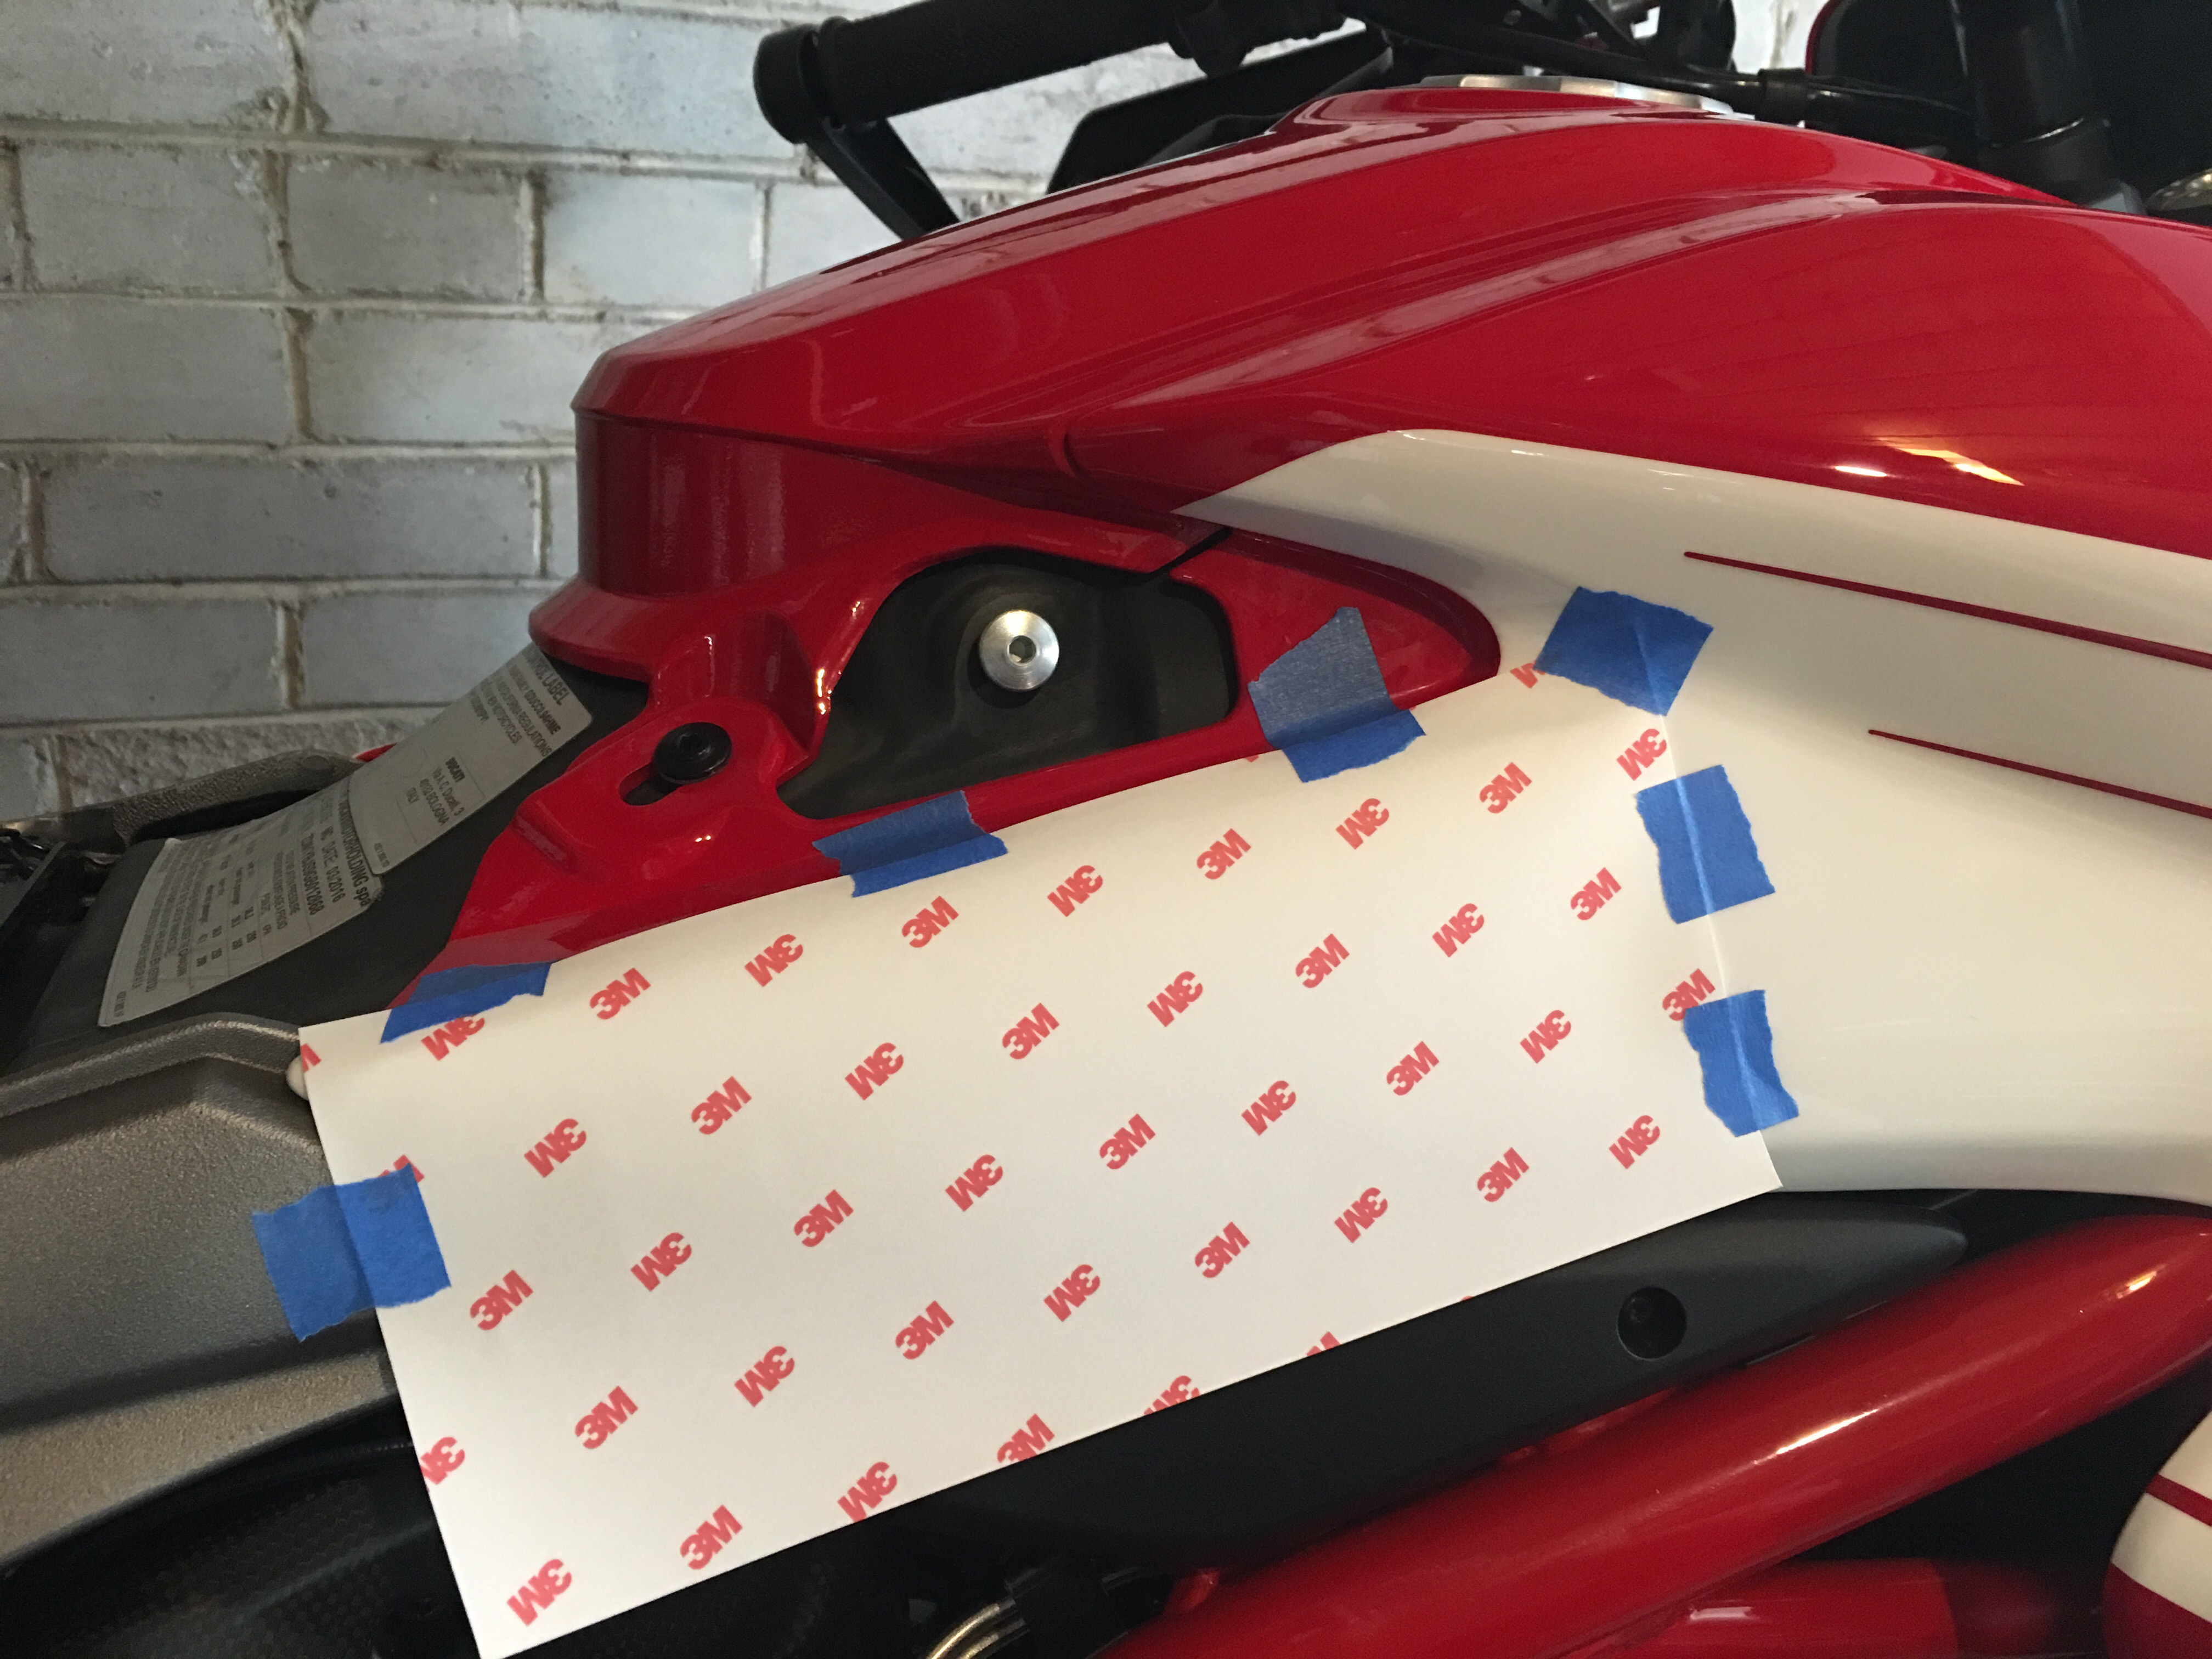
Use the sharpie and follow the line of the bike. Don’t worry if you don’t get it exactly right since the film is clear and will be invisible once applied.
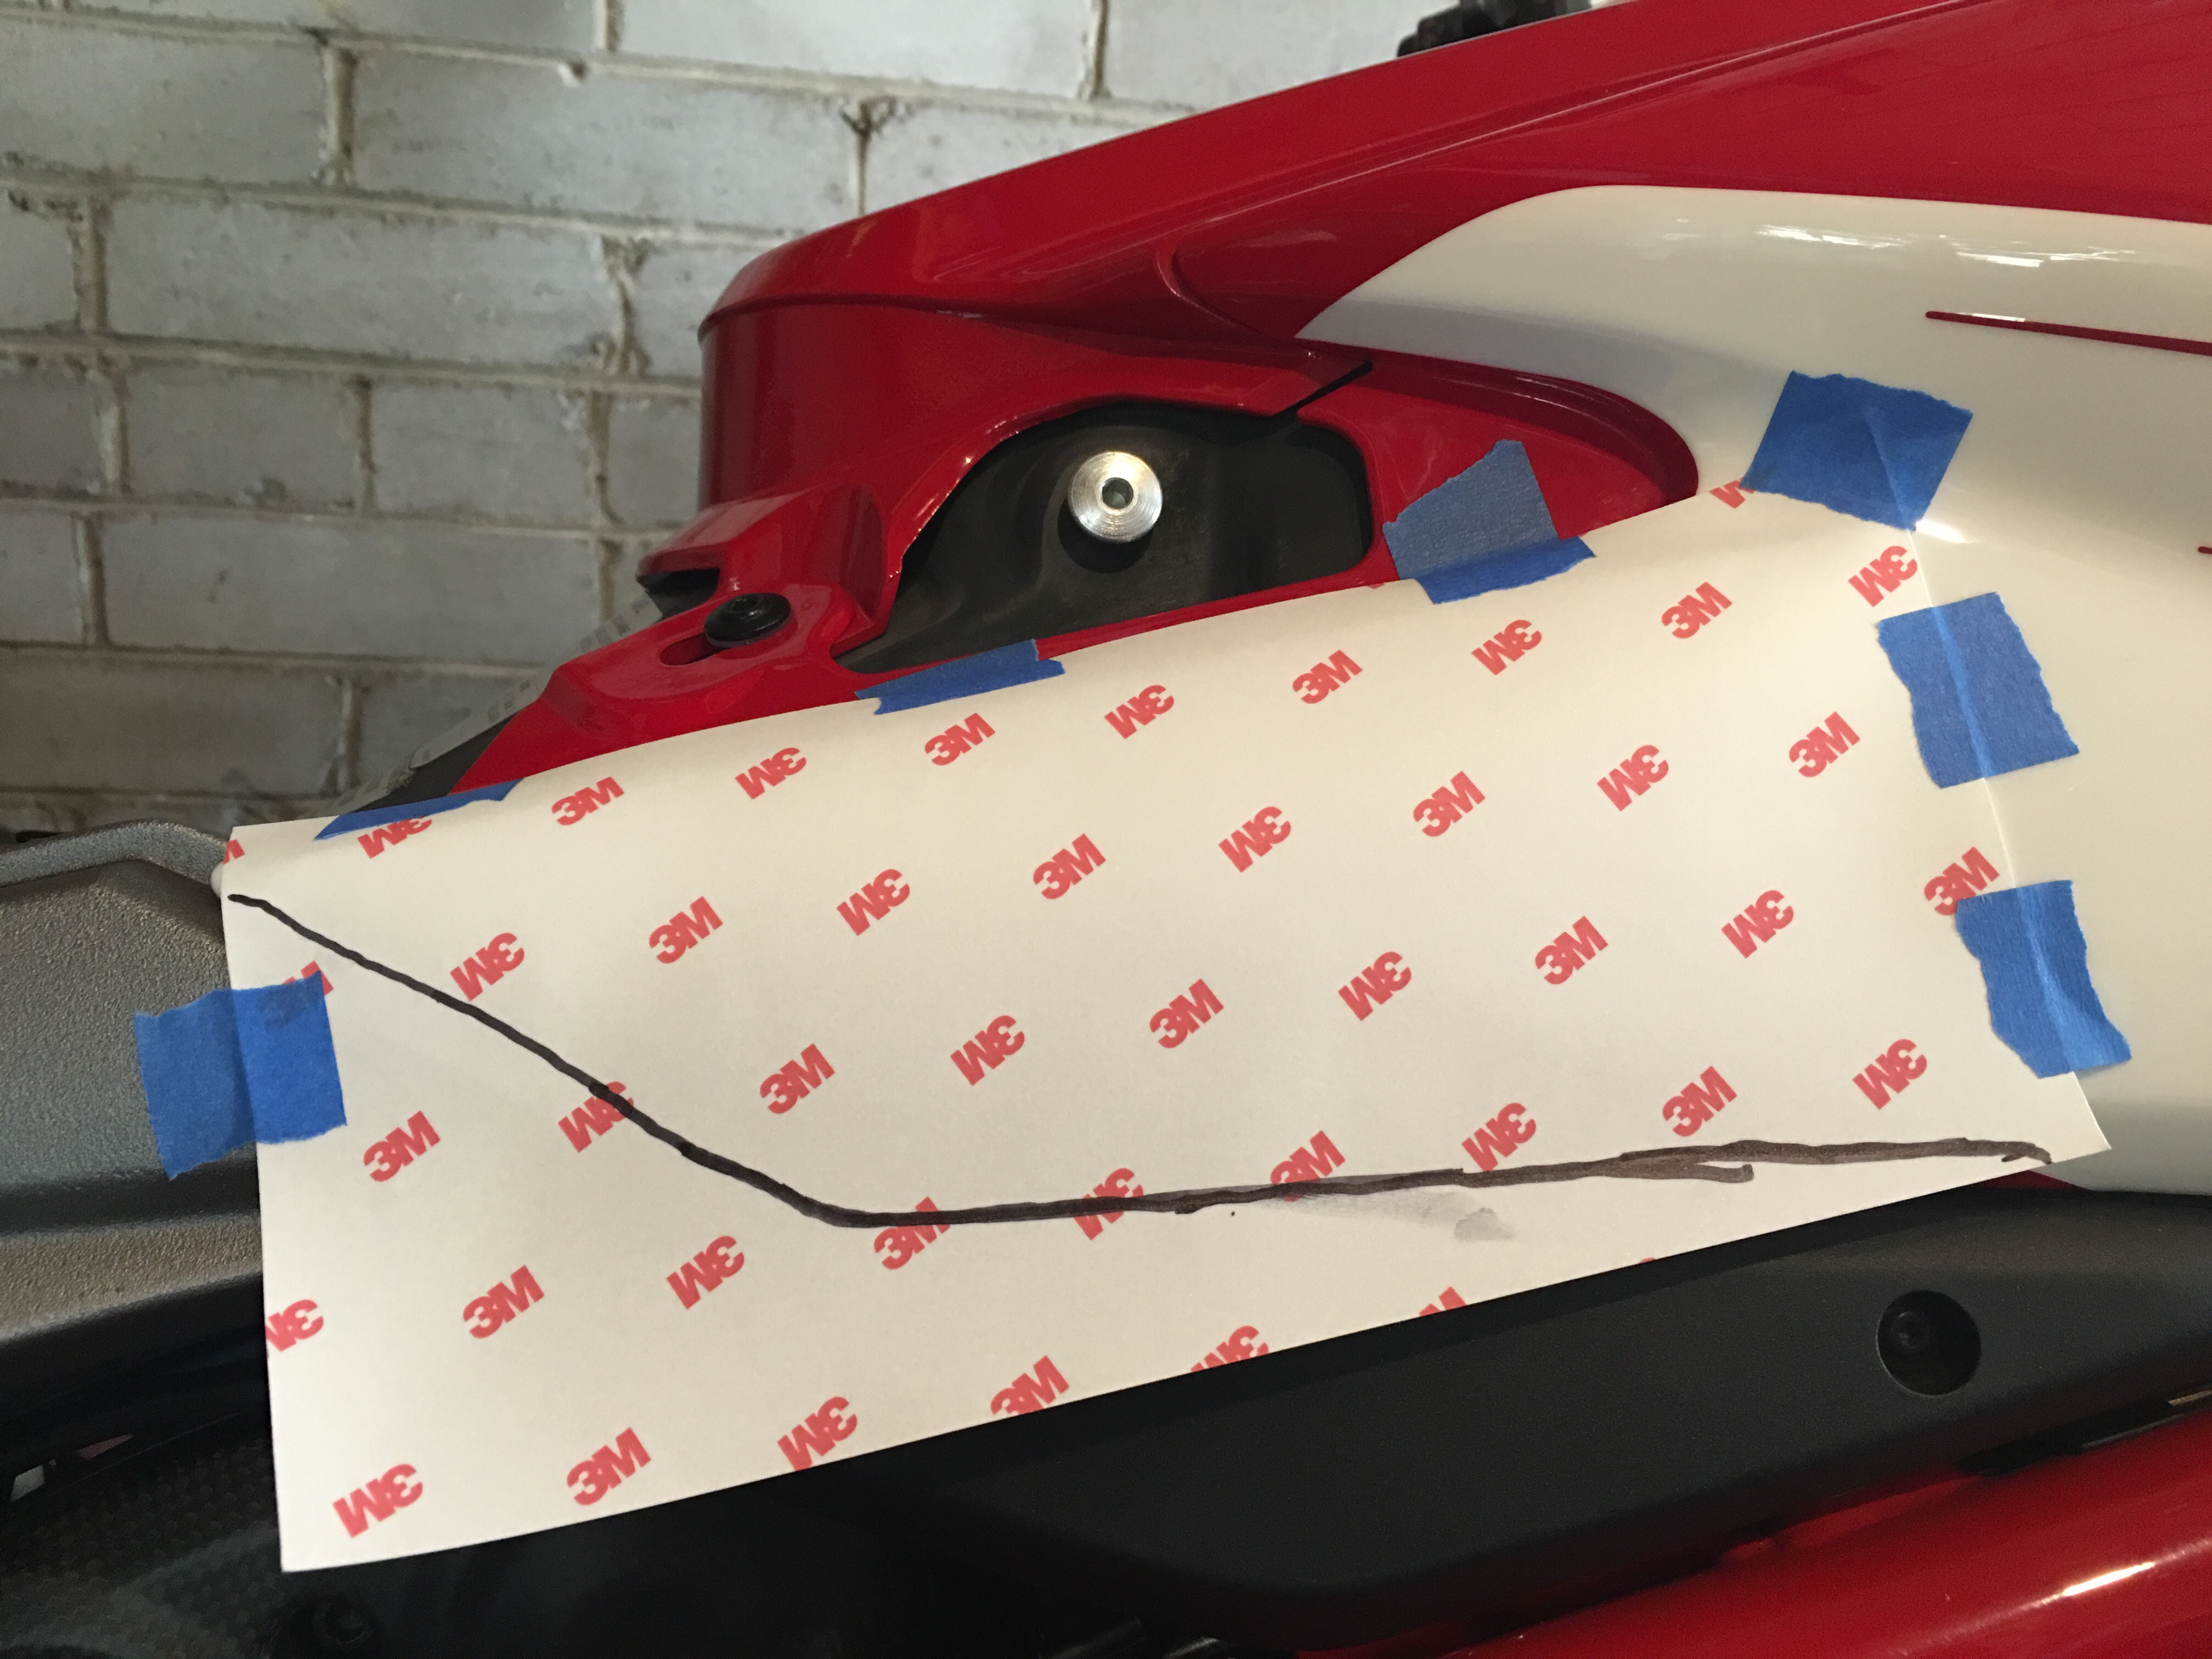
Step 3: Next, remove the marked template from the bike and cut out the form with scissors or the x-acto knife. Once you’re happy with the shape, you can test fit it on the bike with masking tape and make adjustments if needed.

Step 4: Since the Hypermotard panels are exact mirror images of each other, you can save yourself some time by using the shape you’ve already created and cutting out the reverse template other side (just keep in mind which side is up so you mark it correctly).
Step 5: Now comes the tricky part: application. This is somewhat of an art form and requires patience and a little finesse. First, use the mixture of warm water and a tiny amount (just a drop) of dish detergent to wet the surface with the spray bottle. Next, peel back the decal and apply water to the sticky side of the decal (important!). The objective here is to allow the film to slide into place without sticking immediately (as a plain sticker would). This is desirable because air bubbles will inevitably get trapped underneath and you can work them out from under the decal much more easily with the wet method.

Step 6: No matter how carefully you apply the film, air bubbles will inevitably appear behind the film. Don’t worry, this is normal. This is where your trusty squeegee (or chamois and credit card) come into play. Without warping the film, slowly and gently work the air/water bubbles out towards the edges. You may spend quite a bit of time on this, depending on how meticulous you are about the final product and how many air bubbles you’re dealing with. Once you’ve got as many of the air bubbles out as possible, let the film cure for 24-48 hours. During this period, residual bubbles may dissipate naturally. If not, go to step 7.
Step 7: If you have let the film cure and still see air/water bubbles behind it, there is a simple and effective solution: pop them with a pin! The smaller the pin, the better. A sewing needle for example will let the air and water out, leaving virtually no trace of the hole, since the film is elastic and will “heal” itself once the bubble is released. You can use a larger pin like a push pin but it may leave a small mark.
Stay tuned for more updates on our Hypermotard 939 SP project bike and don’t forget to subscribe to our blog (below) and follow us on Facebook for the latest updates.

This DIY project sounds like an easy way to protect my bike’s tank panels.
LikeLike