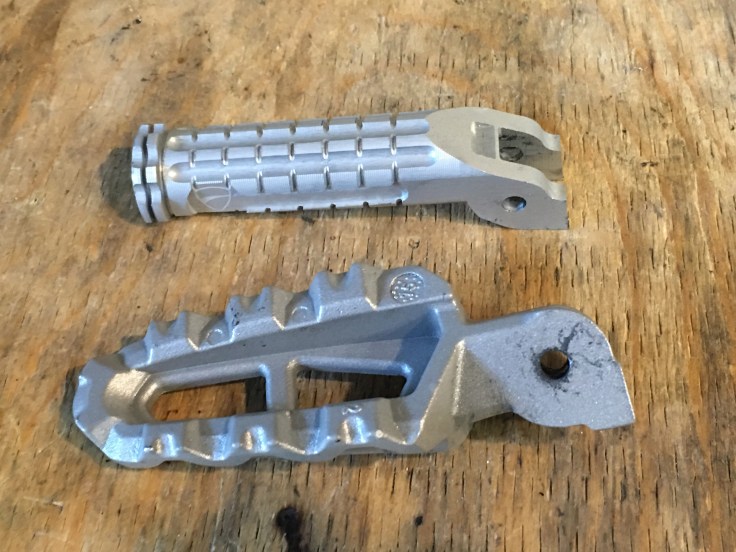
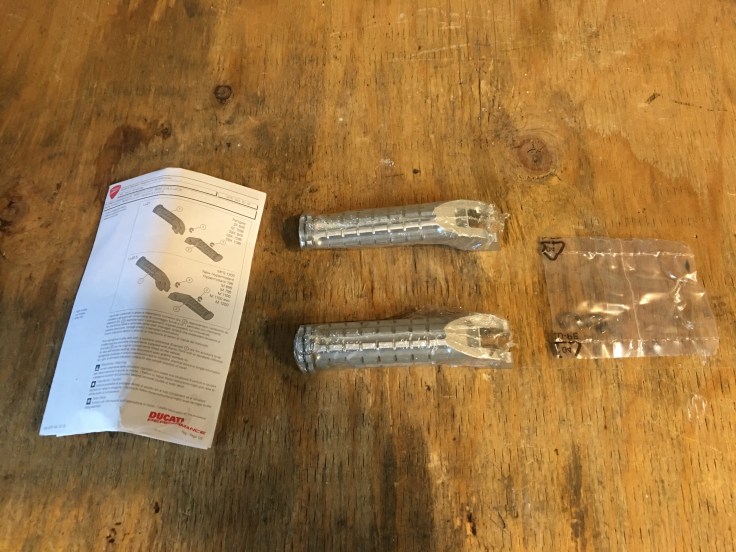
Ducati’s Hypermotard platform is arguably its most versatile, featuring models that can do everything from touring (Hyperstrada), street riding (Hypermotard) and track duty (Hypermotard SP). What’s unfortunate however is that Ducati outfitted all 3 bikes with the same footpegs. Under normal riding conditions, the stockers are up-to-task, but push closer to a racing pace and their limits of shape and grip immediately become apparent. For this reason, we sourced a new set of pegs for our Hypermotard 939 SP project bike and settled on the Ducati Performance aluminum racing pegs (part #96280121A). Not only do they provide a gripper surface, they are more compact, lighter, look trick and maintain the folding feature of the stock footpegs.
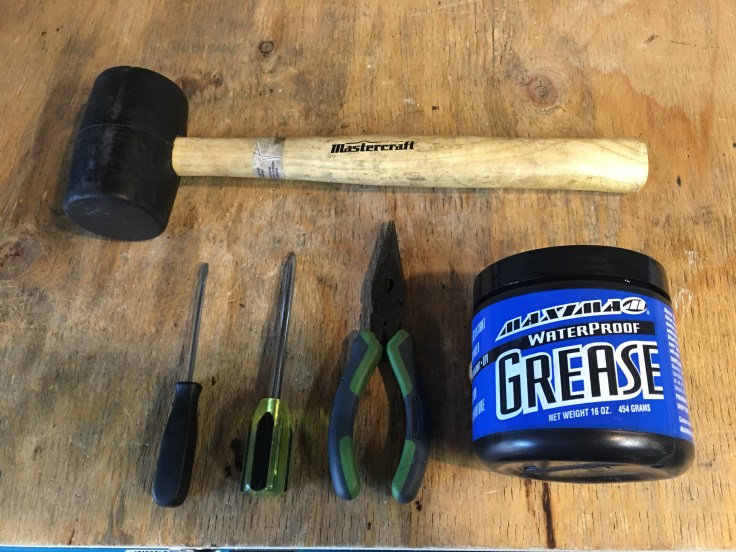
Swapping out the pegs is relatively simple and requires only a few tools:
-A small flat head screwdriver
-Needle nose pliers
-A punch (optional)
-A rubber mallet (or hammer)
-All-purpose grease (optional but recommended)
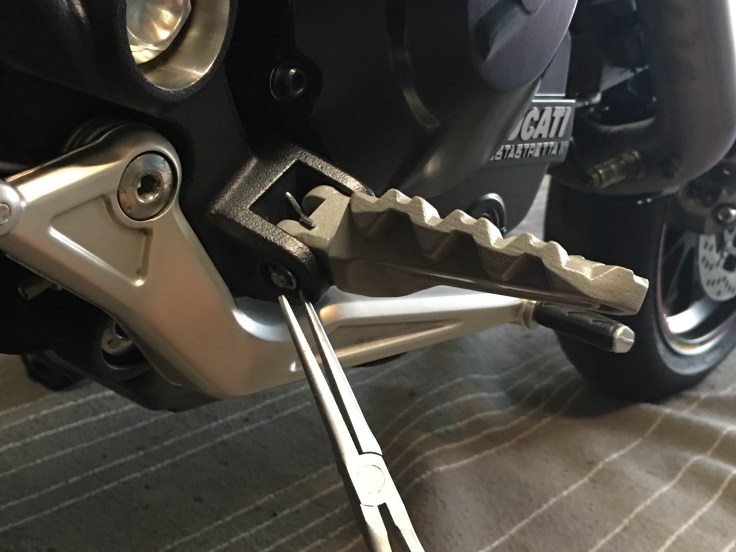
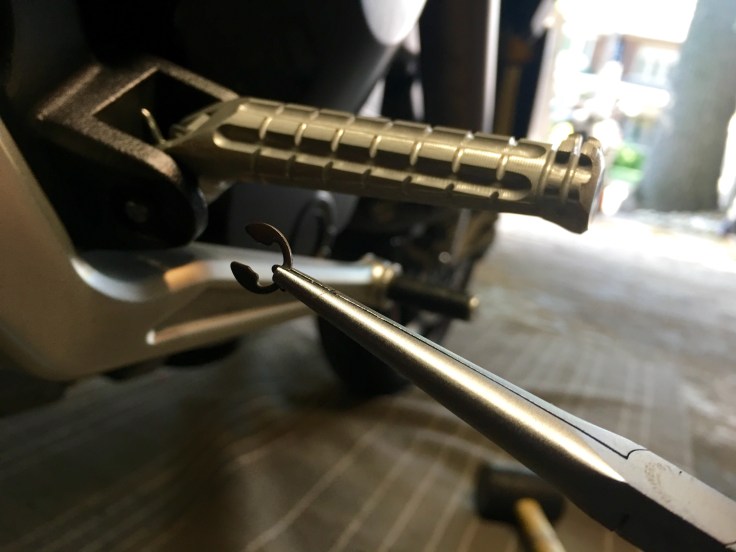
Step 1: To remove the stock peg, you will need to remove the metal c-clip that holds the pin in place. There are 2 ways to do this (we found the flat head screwdriver method to be easier but results may vary based on your specific bike and tools).

Alternately, you can use needle-nose pliers to pull the clip off:
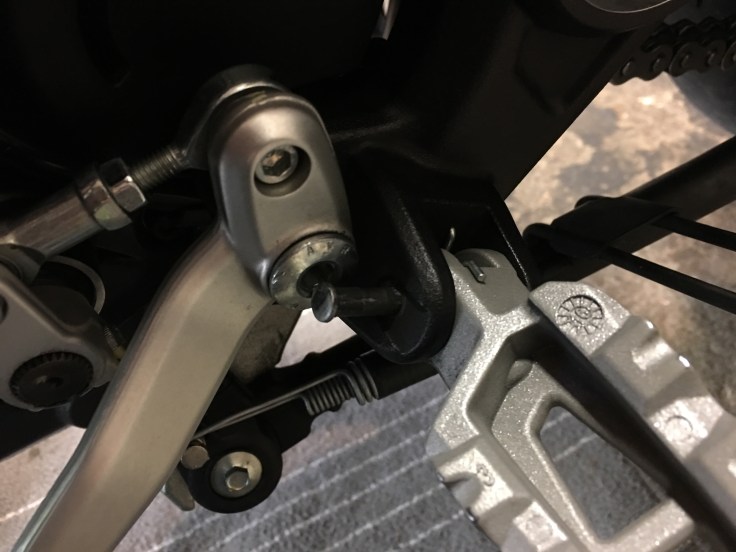
Step 2: Remove the pin that holds the stock pegs on the bike. As you do this, take note of the location of the return spring and be sure to catch it when the peg comes off as you’ll need it later. There’s only a few millimeters of clearance between the pin and the clutch cover on the right side. Take your time and you can clear it without scratching anything.
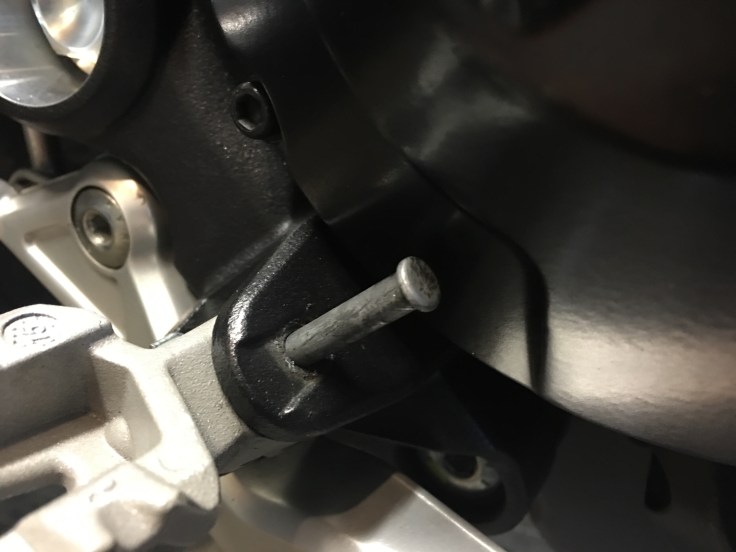
Getting the pin out on the left side of the bike is even tighter but it can be done without removing (or scratching) the gear shifter if you are careful. For stubborn pins, you can use a punch and mallet while working the peg through its range of motion.
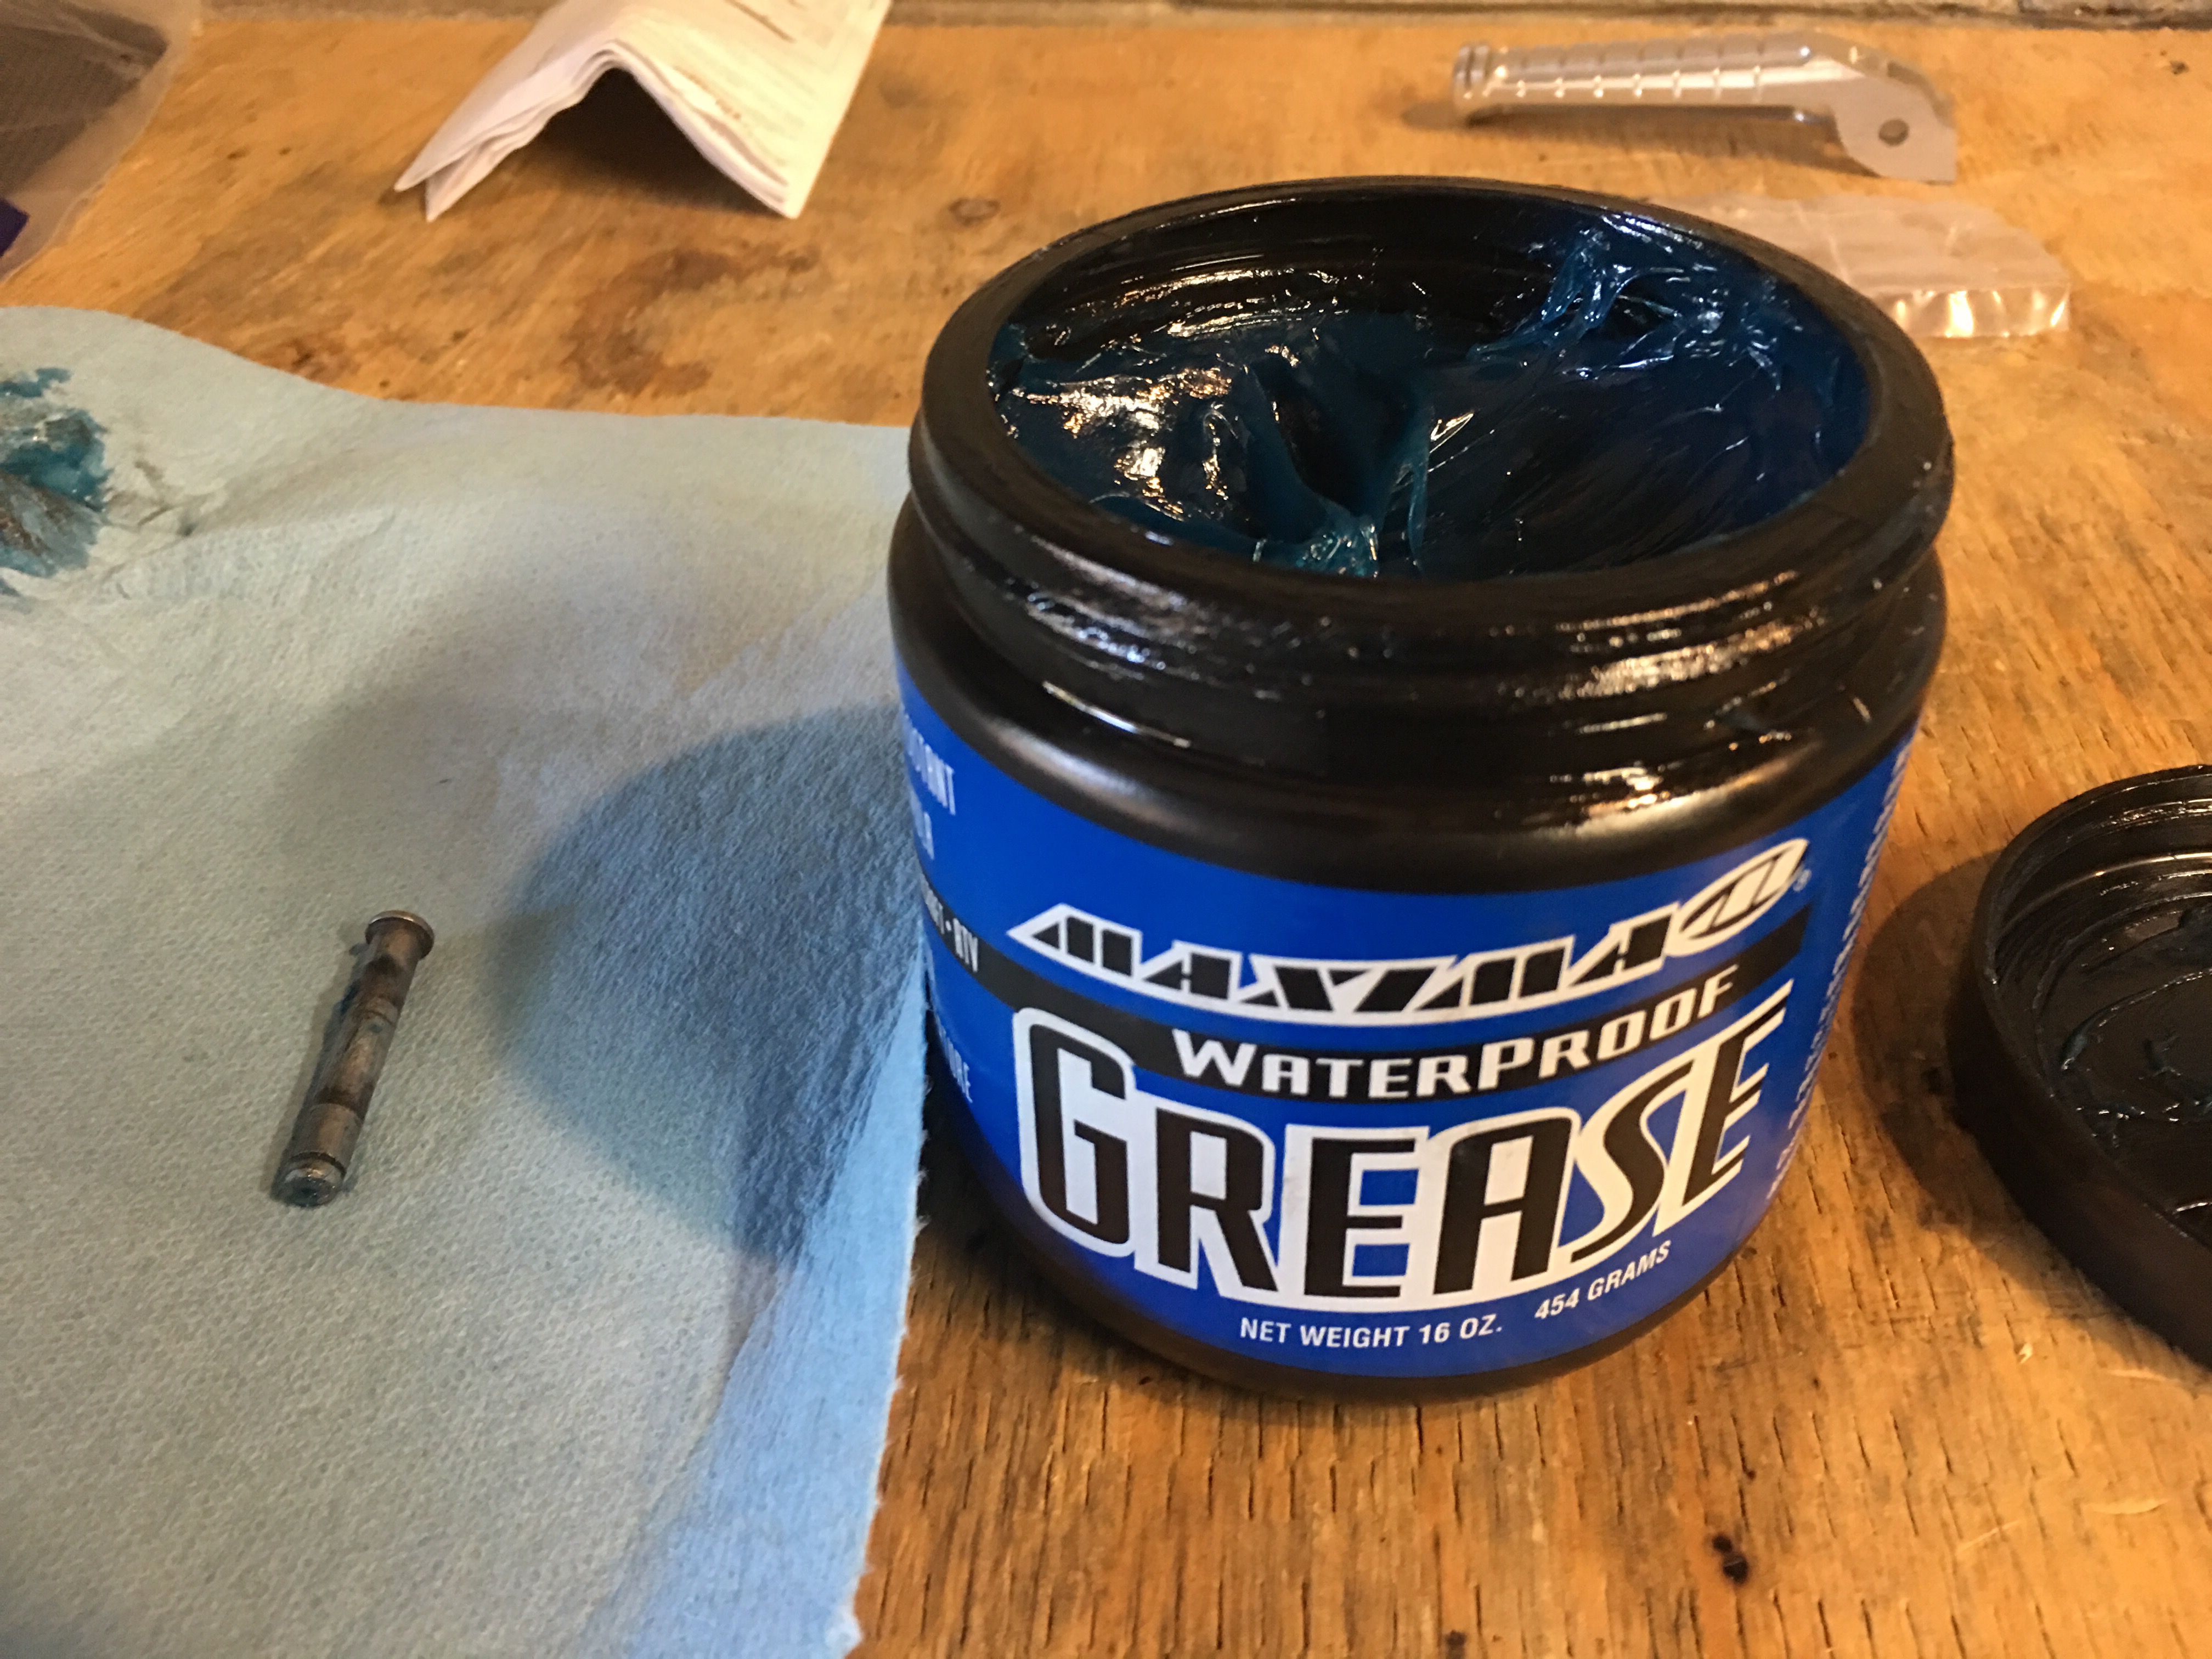
Step 3: With the pins extracted, it’s a great opportunity to clean and re-lubricate the mechanism. This will ensure smooth action if the peg needs to fols up and has the added benefit of making it easier to get the pin back through in the next step. A good wipedown and the re-application of some waterproof all-purpose grease does the trick.
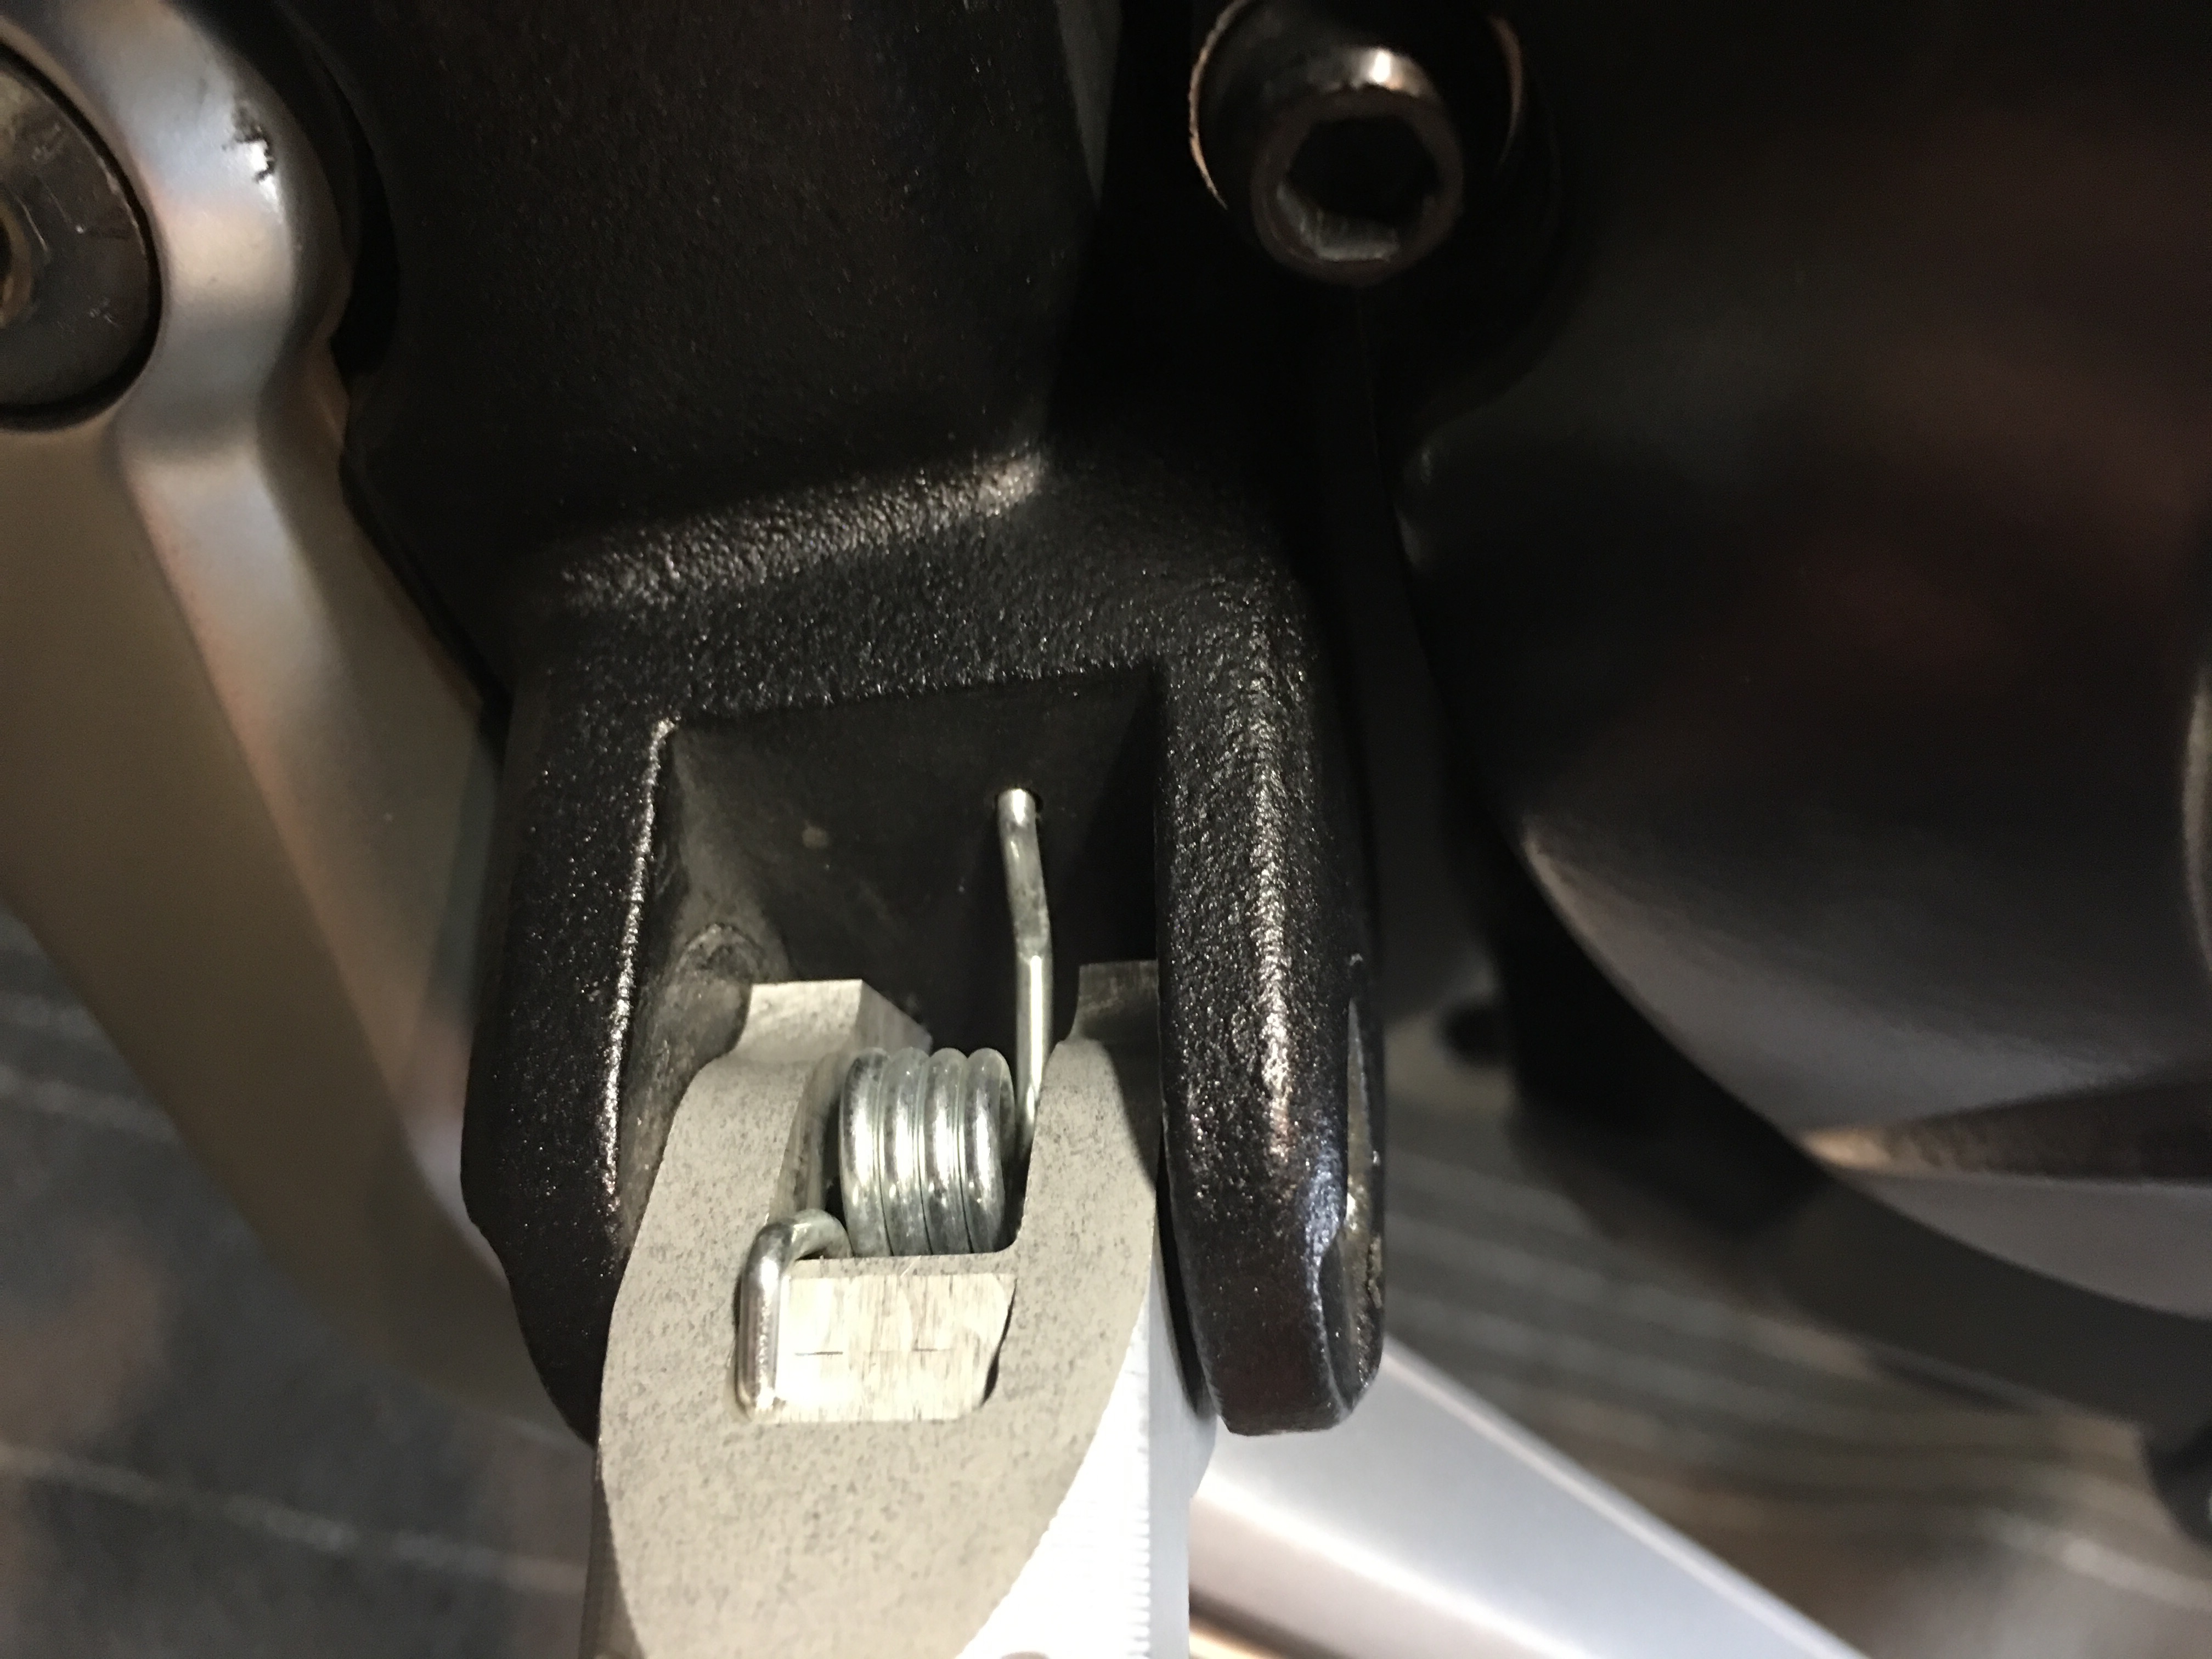
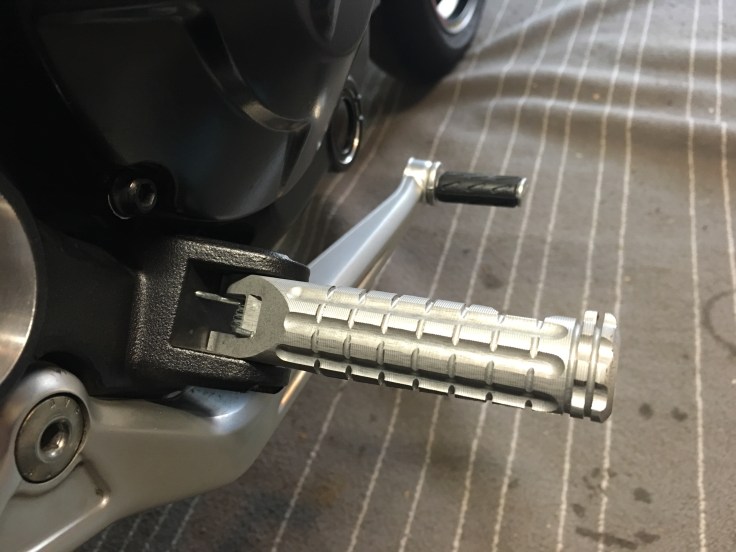
Step 4: The next step is to mount the new pegs (remember that the pegs are directional meaning there’s a left and a right side). The spring from the stock setup has 2 ends: one goes in a hole on the bracket and the other sits on top of the aftermarket peg (as shown below). Getting the pin back in requires compression of the peg inward and upward. Before trying to ram the pin through blindly, move the peg around and look through the holes to get them aligned. Once you’ve got them straight, it shouldn’t require too much effort to get the pin through. Pliers, the newly applied grease and a little jiggling of the peg should be enough.
Step 5: The last step is to re-attach the c-clip to the pin. You can re-use the stock clips if they are still straight. Alternately, the Ducati Performance footpegs come with new clips. The easiest way to re-attach the clip is to grab it in the center with the needle nose pliers (as shown below) and it should slide on without much hassle.
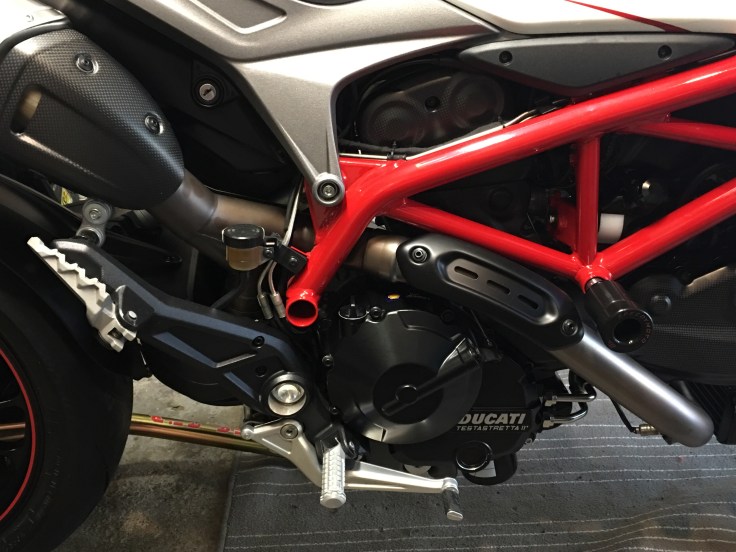
Here’s how the new footpegs look, once mounted on the bike:
Thinner, grippier, sexier and ready for quicker-pace riding:
We hope you enjoyed this quick DIY and are here to help with any of your motorcycle modification or repair needs. Be sure to follow us on Facebook or subscribe to our newsletter (below) for the latest news, reviews and DIY’s.
